This chapter looks at some of the important and common gameplay classes you use in almost all projects.
Actor
The Actor class is the base for all placeable and spawnable objects in a game world. Anything that can be dragged and dropped into the world or spawned at runtime is inherited from the Actor class. Actor classes are basic classes that can support translation (position), rotation, and scale (size). Actors can contain any number of Actor Component classes that define how it should move and render. By default, Actors are generic classes and do not have any kind of visual representation. It is up to the component to give it a visual representation. Actor classes also support replication and function calls across the network.
Game Mode Base
Game Mode Base defines the basic rules for your game, such as which actors are allowed, player scores, winning rules, and so forth. It holds information about all the players in the game world. For example, you can define the score required to win a match. Game Mode sets the classes for Pawn, Player Controller, Game State, Player State, Spectator, and more. In a multiplayer game, the Game Mode class only exists on the server, and for the client, it is always null, as if it never exists. This is only applicable to multiplayer games because, in single-player games, there are no clients, only the server.
Game Mode, a subclass of Game Mode Base, is designed toward multiplayer games. It contains default behavior for picking spawn points for each player.
Game State Base
Game State Base defines the current state of the game. Game State classes are spawned by the Game Mode. They are particularly useful in a multiplayer game because Game State classes are replicated to every client, so any change that happens to a replicated value reflects all clients. For example, imagine you have a game mode that requires some number of kills to win the game. Every time the player eliminates another player, it runs a server function that updates the current number of total kills in Game Mode, which is then changed in the game state, and it is updated on all clients. Game State is a subclass of Game State Base.
Game Instance
The Game Instance class is created when you run the game. It exists when the game is running. It is useful for transferring information between levels. For example, imagine in your game that the player finishes a certain challenge. You can store this specific information in Game Instance. When the player returns to the main menu, you can show a message on the screen that says the challenge has been completed. Game Instance is a UObject-based class; it is not replicated to anyone. The server or client is not aware of any other game instances other than their own.
Setting Game Instance class
Game Mode holds authority of the game flow and only exists on the server, which prevents cheating.
Game State holds the replicated state of the game. It exists on the server and client. Clients can ask the Game State about the current state of the game, and the server can modify the current state of the game, which is replicated to all clients.
Game Instance is a true persistent class that is guaranteed to be available and accessible from the very beginning of your game until you exit. It is not replicated and exists on both the server and client.
Pawn
Pawn is an Actor-based class that acts as a physical representation of a player or artificial intelligence (AI). Pawns are controlled by a Controller, which is either a Player Controller or an AI Controller. Even though the pawn does not have visual representation by default, it still represents location, rotation, and so forth, within the game world. Pawns can contain their own movement logic, but it’s better done in the Controller. Pawns can be replicated across the network.
Character
Character is extended from the Pawn class to support visual representation by using the Skeletal Mesh Component for animations. It also includes the Capsule Component to simulate movement collisions, and the Character Movement Component, a feature-rich component that includes movements such as walk, run, jump, swim, and fly. It also includes basic networking support, which makes it a first-class choice for bipedal characters. The Character Movement Component is specific to the Character class, so it cannot be used in any other class.
Player Controller
Player Controllers are subclassed from the Controller, which is essentially the brain of the Pawn it is controlling. Based on the context, the Controller is a Player Controller if it is controlled by a human player (and can handle all player inputs) or an AI Controller is controlled by artificial intelligence.
By default, a Controller can only control one Pawn at any given time by calling the Possess() function. It stops controlling by calling the UnPossess() function. A Controller also allows notifications from the Pawn class that it is controlling. In a networked game, the server is aware of all controllers while the client is only aware of its own local controller.
Player State
Player State is a replicated Actor that is available for every player. There is only one player state in a single-player game, but in a multiplayer game, each player has their own player state. Since it is replicated, the server and client are aware of all player states, and all of them can be accessed from the Game State class. This is a good place to store network-relevant information about a player, like score, player name, and so forth.
Game Mode: This class defines the rules. In this class, you track the number of players that have entered the match, the number that are alive, the number that are dead, and the quitters. This class also tracks and decides other game elements, such as a battle plane (or a battle bus in Fortnite), circle, and so on, and whether the match has started or is waiting to start (warm up).
Game State: This class tracks the replicated state of the game. For example, when the game mode transitions from prematch (lobby) to a match state (battle plane or bus starting on top of the map), it notifies the game state that the state has changed, and the game state can notify all the clients that match started.
Game Instance: This class saves information about any objectives or challenges completed in the game so that the player can be rewarded when they return to the main menu.
Character: The visual representation of the character.
Pawn: A vehicle or an animal in your game. (Optional)
Player Controller: This class handles all the input and creates and manages the user interfaces. It can also send RPCs (remote procedure calls) to the server. The server is aware of all player controllers (e.g., if the game has 100 players, the server knows all 100 player controllers), but the client is only aware of its own.
Player State: This class holds the information related to player-specific states (e.g., the number of players you killed, the amount of ammo you fired, and so forth).
Creating Character Class and Player Controller Class
In this section, you learn how to create a new character class that allows the player to move around in the game world using the Player Controller class. Later in this section, a UMG (Unreal Motion Graphics) widget shows health information to the player.
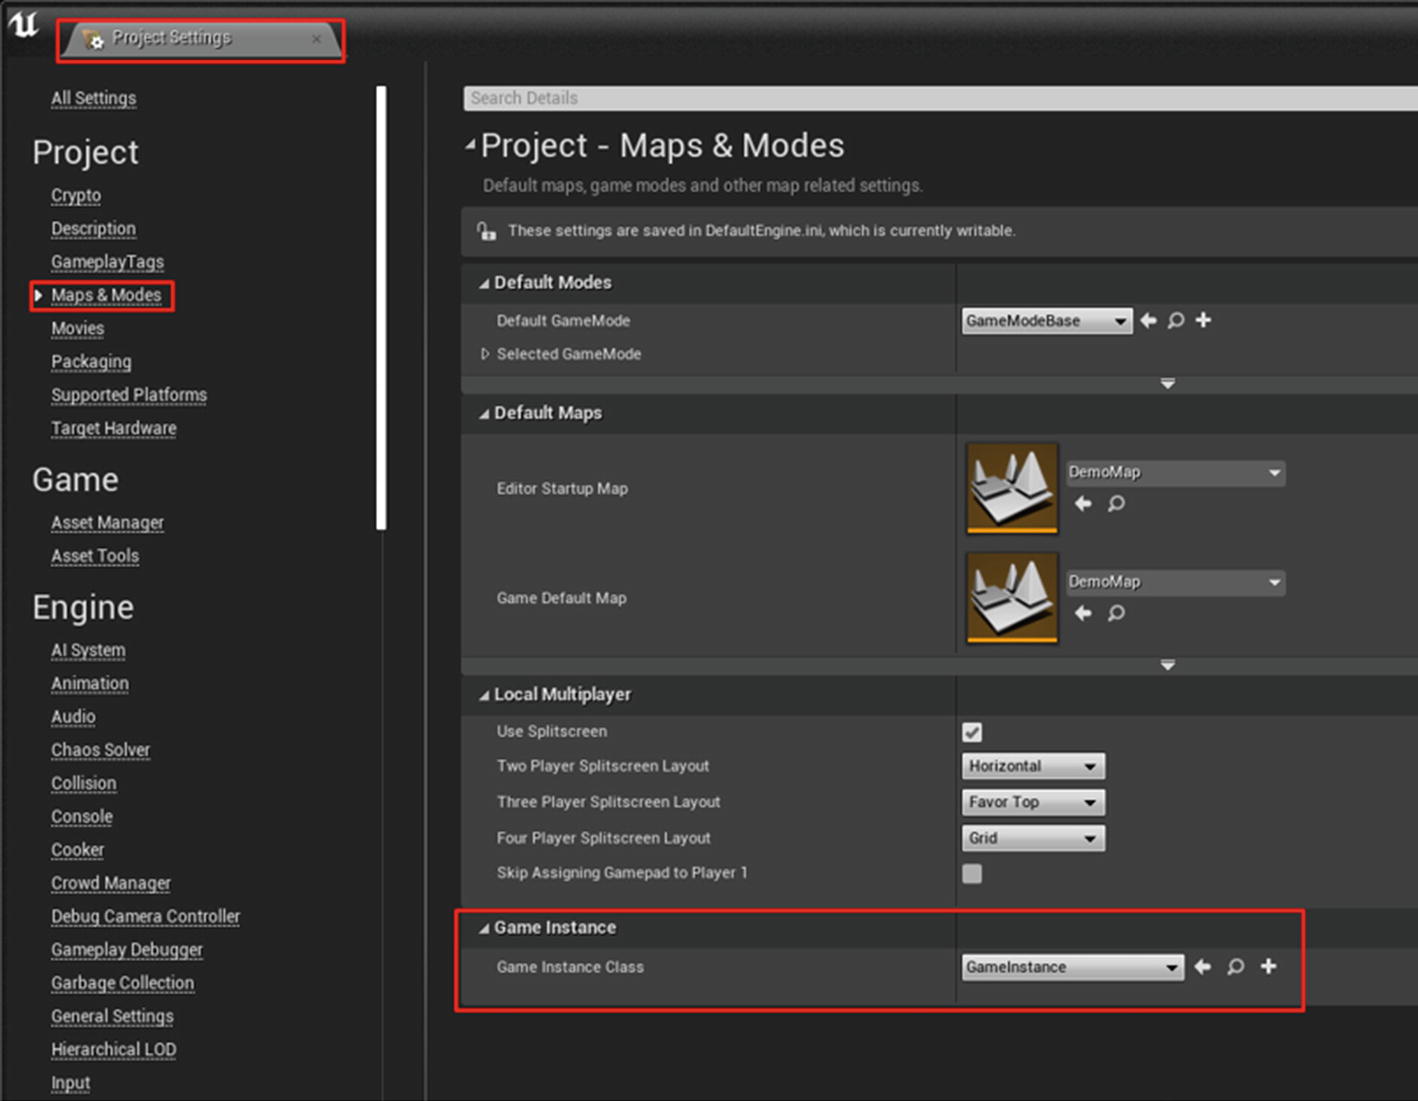
Selecting character class
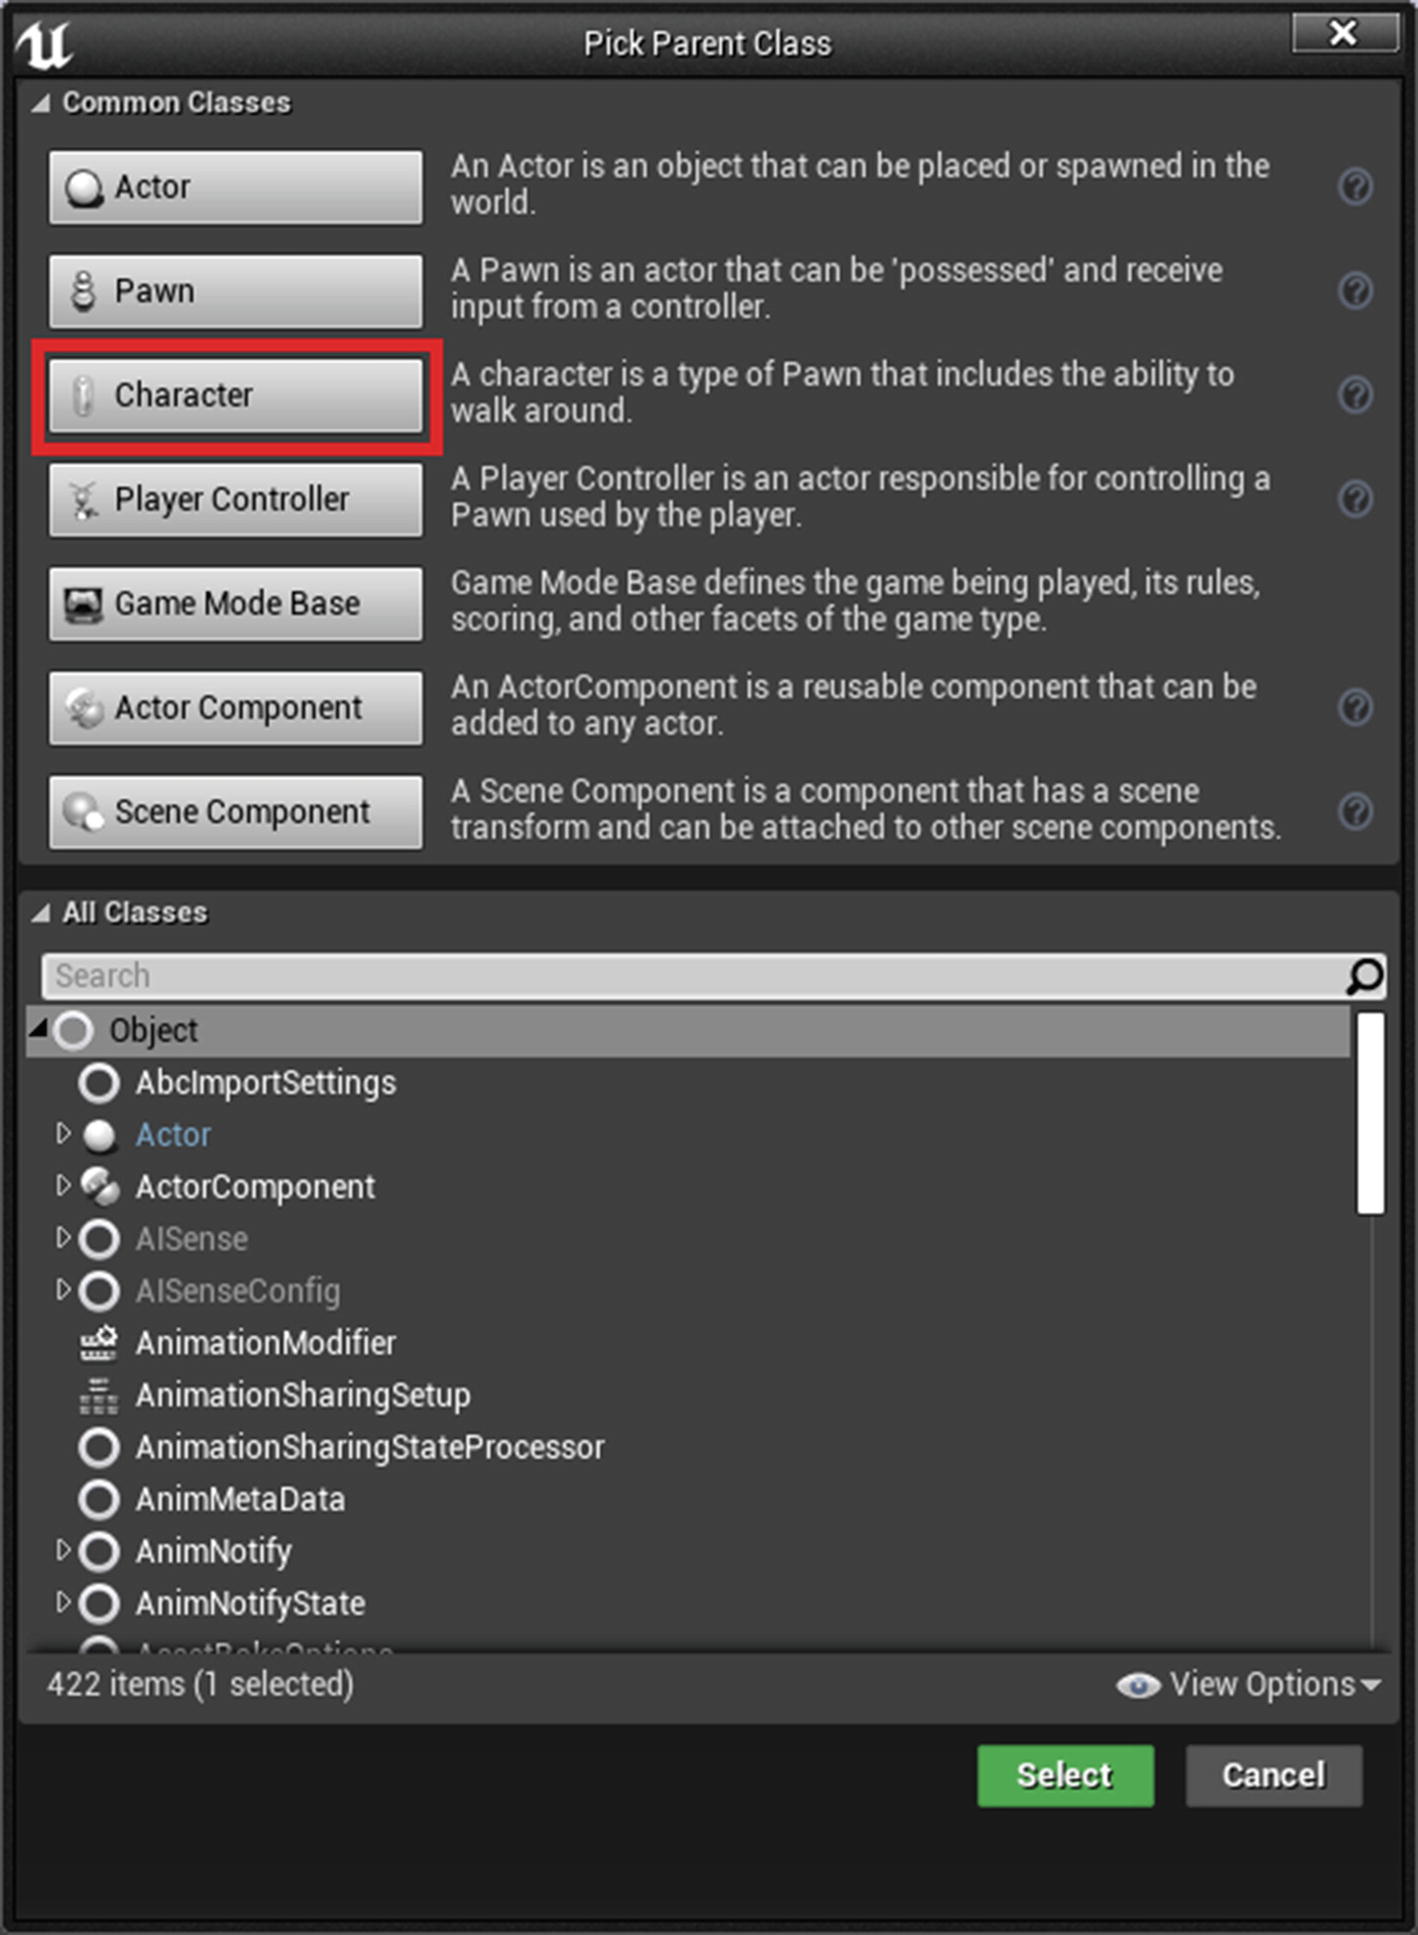
Default components
CapsuleComponent is the actor’s root component. It is responsible for collisions. CharacterMovement is aware of this capsule component and moves it around according to the player input.
ArrowComponent is an editor-only component that helps indicate which direction the object is facing.
Mesh is the visual representation of the character and is of the Skeletal Mesh Component type.
CharacterMovement handles the movement logic of the associated character. This component updates the location and rotation of CapsuleComponent, which makes the character move. It is a highly featured component and includes network support.
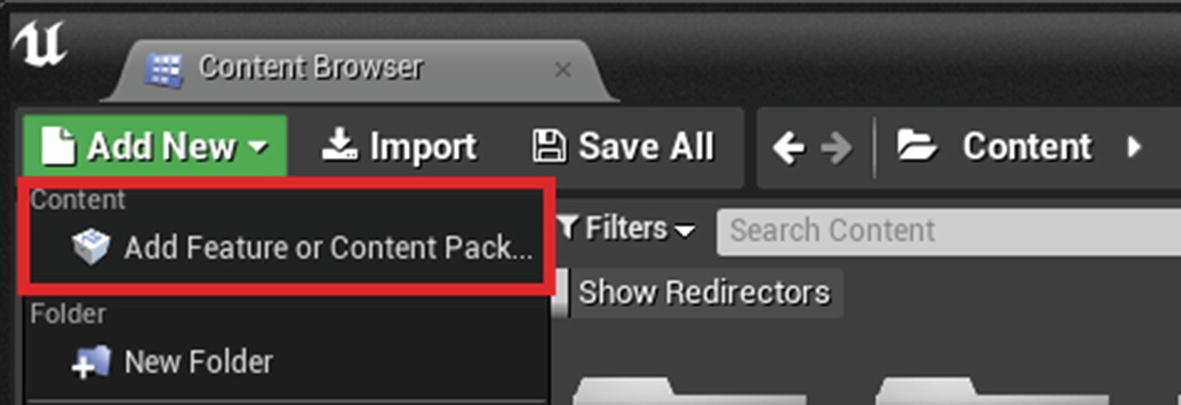
Adding feature pack or starter content from Content Browser
Next, select Third Person from the Blueprint Feature tab and click Add To Project. Now you have the Mannequin. Assign the Mannequin to the previously created Character Blueprint class.
Location: X: 0, Y: 0, Z: –97
Rotation: Roll: 0, Pitch: 0, Yaw: 270

Add spring arm component

After adding Camera to Spring arm
If you drag and drop the character into the Level Editor, you can preview how the player sees the character from this camera angle. There are few settings to change in the Character class. Click the Class Defaults button in the Blueprint Editor toolbar. In the Details panel, disable Use Controller Rotation Yaw under the Pawn section. After that, select the Spring Arm Component that you added and enable Use Pawn Control Rotation under Camera Settings. Finally, select the Character Movement Component and enable Orient Rotation to Movement.
Now that our character is almost ready, let’s implement a basic function that moves it around.
First, you need to add two functions that make the character move forward/backward and left/right. To create a new function, click the Function button under the Functions section in the My Blueprint tab in your Character class. After you click the button, you can rename the function; let’s call it Move Forward or Backward .

Adding input to function

Final function

Same function with Get Right Vector
Note that the two functions look the same except for Get Forward Vector and Get Right Vector.

Adding inputs via Project settings
The axis values can be accessed from a Pawn class or Controller class. We will use the latter option.

Final graph with all functions
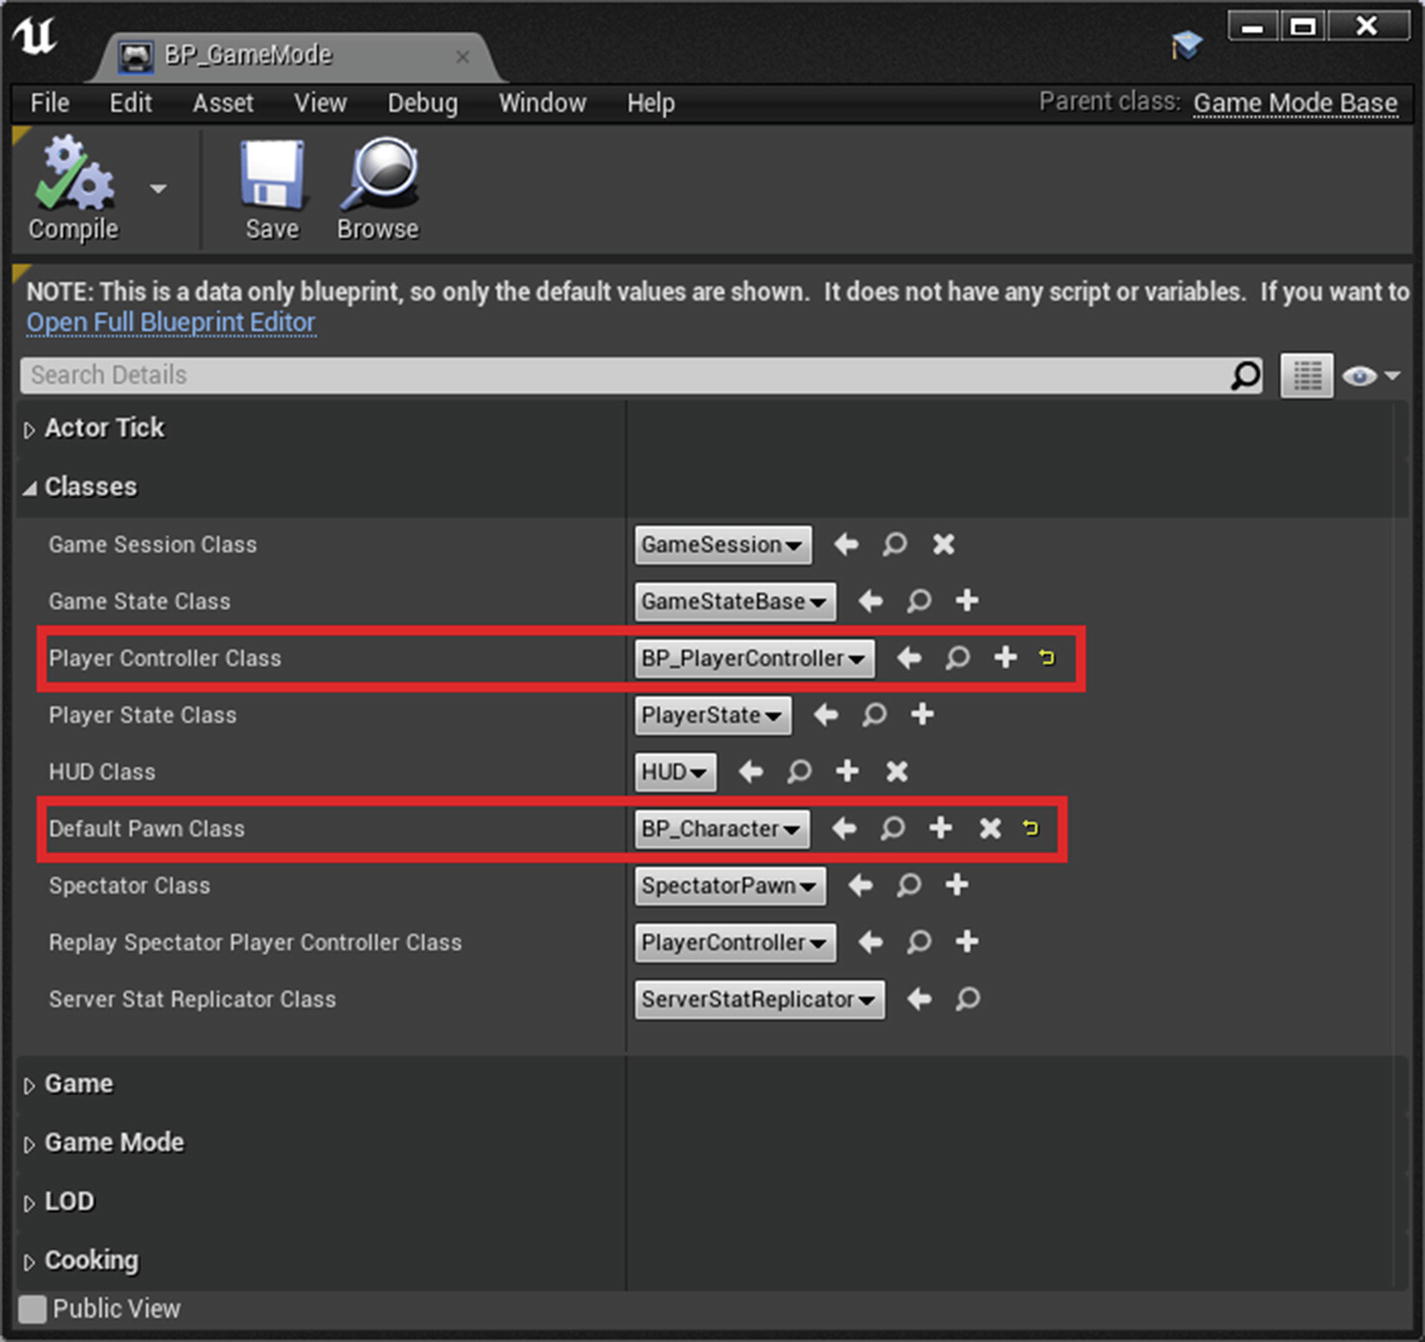
Assign controller and pawn in game mode

Select world settings from settings
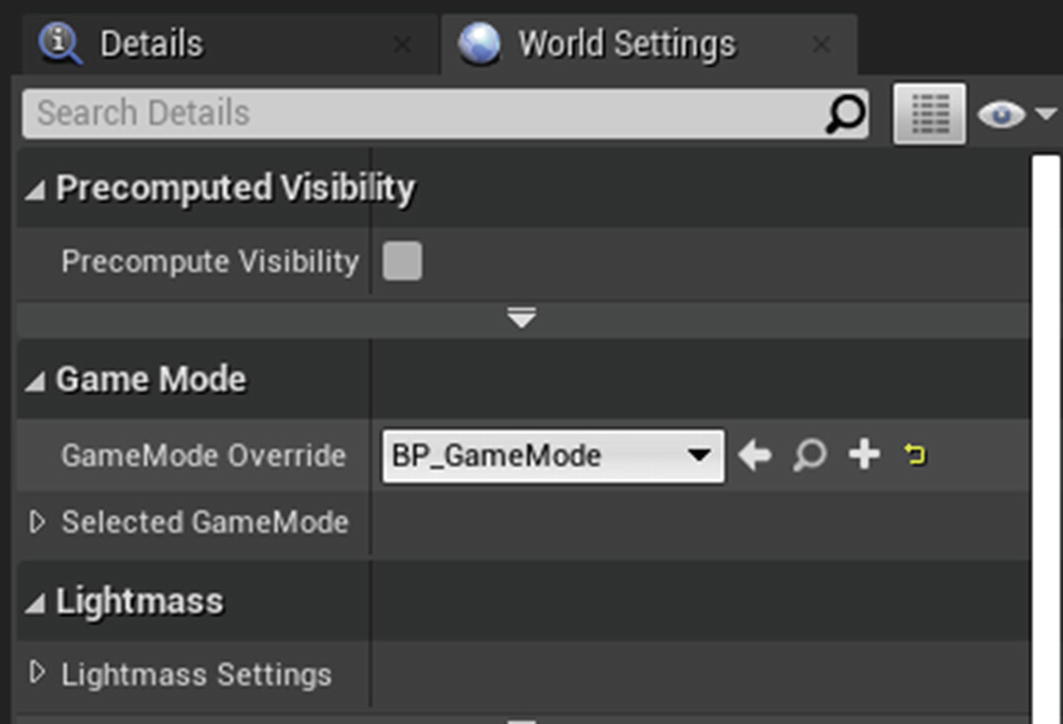
Assign game mode
If you press Play, you can move the character around using the W, A, S, D keys, or any keys you assigned in Input Settings.
Creating and Showing Data on HUD
In this section, you add a basic HUD to the player character, create a health variable that changes when the player takes damage, and create a welcome text that automatically disappears after 3 seconds. Note that the implementation shown here only works in single-player games; it does not work in multiplayer games.

Creating widget blueprint

UMG layout

Setting variable name
To implement the logic, let’s first switch to the Graph view and create a new event. Right-click inside the graph and select Add New Event from the Add Event category. Rename this event to UpdateHealth and add two float parameters called CurrentHealth and MaxHealth. Drag from the CurrentHealth float pin, search for the Divide operator, and select it. Then connect MaxHealth to the B input of Divide. This is the result that you use in ProgressBar. It is done because ProgressBar works in the 0–1 range, and since you are dividing CurrentHealth by MaxHealth, you get the result in this range.

Update health setup

Promoting to variable

Adding widget to viewport

Calling update health event initially
Once you have set up everything, add the welcome text. Drag and drop the Text widget from the Palette tab to the designer. To align this text in the center of the screen, set the Anchor to center by expanding it and setting both Minimum and Maximum to 0.5. You need to set the alignment to 0.5 also. After that, set Position X and Position Y to 0. The text is now centered on the screen. Next, enable Size To Content to automatically size the widget according to the text.

Setting variable name for text
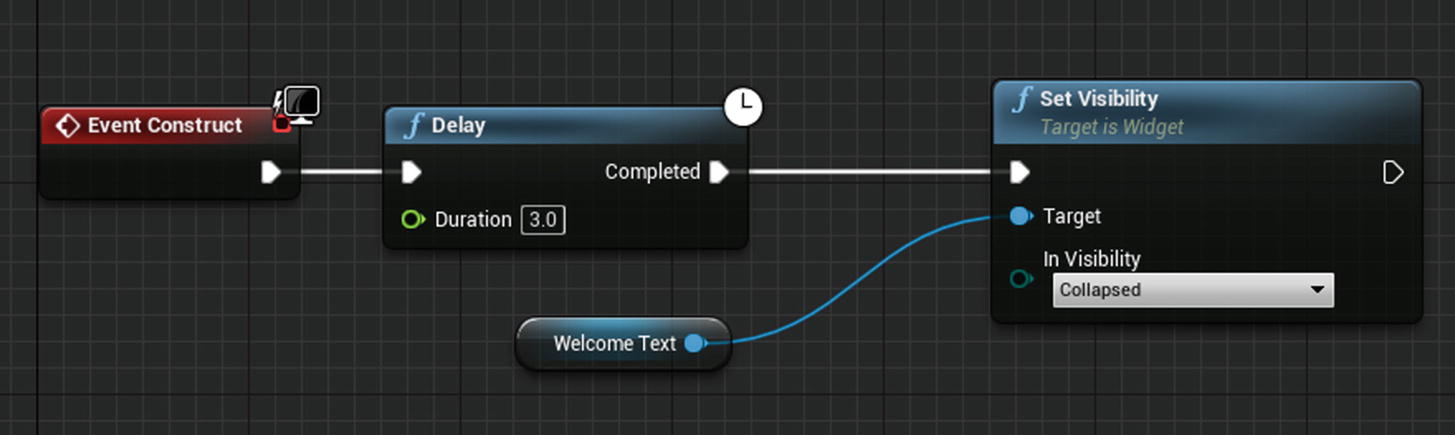
Graph with delay node

Playing game with UMG widget added
Whenever your player is taking damage, you can reduce your health and call Update Health with Health connected to Current Health, which properly updates the progress bar in UMG.