
In the previous chapter, you learned about sending data to a mobile app (micro:bit UART Terminal app) using the micro:bit’s built-in Bluetooth Low Energy feature.
In this chapter, you’ll be sending the Wearic pressure sensor data to the ThingSpeak IoT server using WiFi. This doesn’t involve any intermediate app and provides fast, stable, and secure connectivity.
8.1 Building the WiFi Pressure Sensor
micro:bit – Works as the microprocessor
MuseLab micro:bit WiFi Booster – Allows the micro:bit to connect to the Internet through WiFi (Figure 8-1)
Three-pin generic connection cable – Allows you to connect the Wearic pressure sensor to the WiFi booster. you will get with the WiFi booster.

micro:bit WiFi booster. Image courtesy of MuseLab (https://muselab.cc/product/muselab-microbit-booster/
You can read more information about the MuseLab micro:bit WiFi Booster at https://muselab.cc/product/muselab-microbit-booster/.
micro USB cable – Allows you to flash code onto the micro:bit
Before connecting anything to the micro:bit WiFi booster, make sure that the power switch on the “multi-voltage power shield” is in the OFF position. Then connect things to the micro:bit WiFi booster as explained in the following:
Push the micro:bit to the edge connector of the WiFi booster.
Connect the Wearic textile pressure sensor to the P1 I/O port (you can use other ports too and update the code accordingly). The P1 I/O port has three pins, GND, 3.3V, and SIGNAL. The textile pressure sensor should connect between 3.3V and the SIGNAL pins. Then connect GND and SIGNAL through a 10 KΩ resistor to pull-down the pin (Figure 8-2).

Wiring diagram. Use hookup wires to connect alligator leads with the WiFi booster
The P1 I/O port on the micro:bit WiFi booster internally connects with the micro:bit P1.
Now slide the power switch on the “multi-voltage power shield” to the ON position.
Now your hardware setup is ready, and you should program it to send data to the ThingSpeak IoT cloud.
8.2 Creating a ThingSpeak Account
As ThingSpeak says, “ThingSpeak is an IoT analytics platform service that allows you to aggregate, visualize, and analyze live data streams in the cloud.” You can send data to ThingSpeak from your devices, create instant visualization of live data, and send alerts.
<3 million messages/year
~8,200 messages/day
Standard – For use at a commercial, government, or other organizations
Academic – For use in teaching and academic research at a degree-granting institution
Student – For use in conjunction with courses offered at a degree-granting institution
Home – For personal use only. Not for government, academic, commercial, or other organizational uses
Go to https://thingspeak.com/.
Click the Sign Up button at the top right of the page (Figure 8-3).

Sign Up button for ThingSpeak
- Fill in the following fields (Figure 8-4):
Email Address – Any email address you own (Gmail works)
Location – Your country
First Name – Your first name
Last Name – Your last name
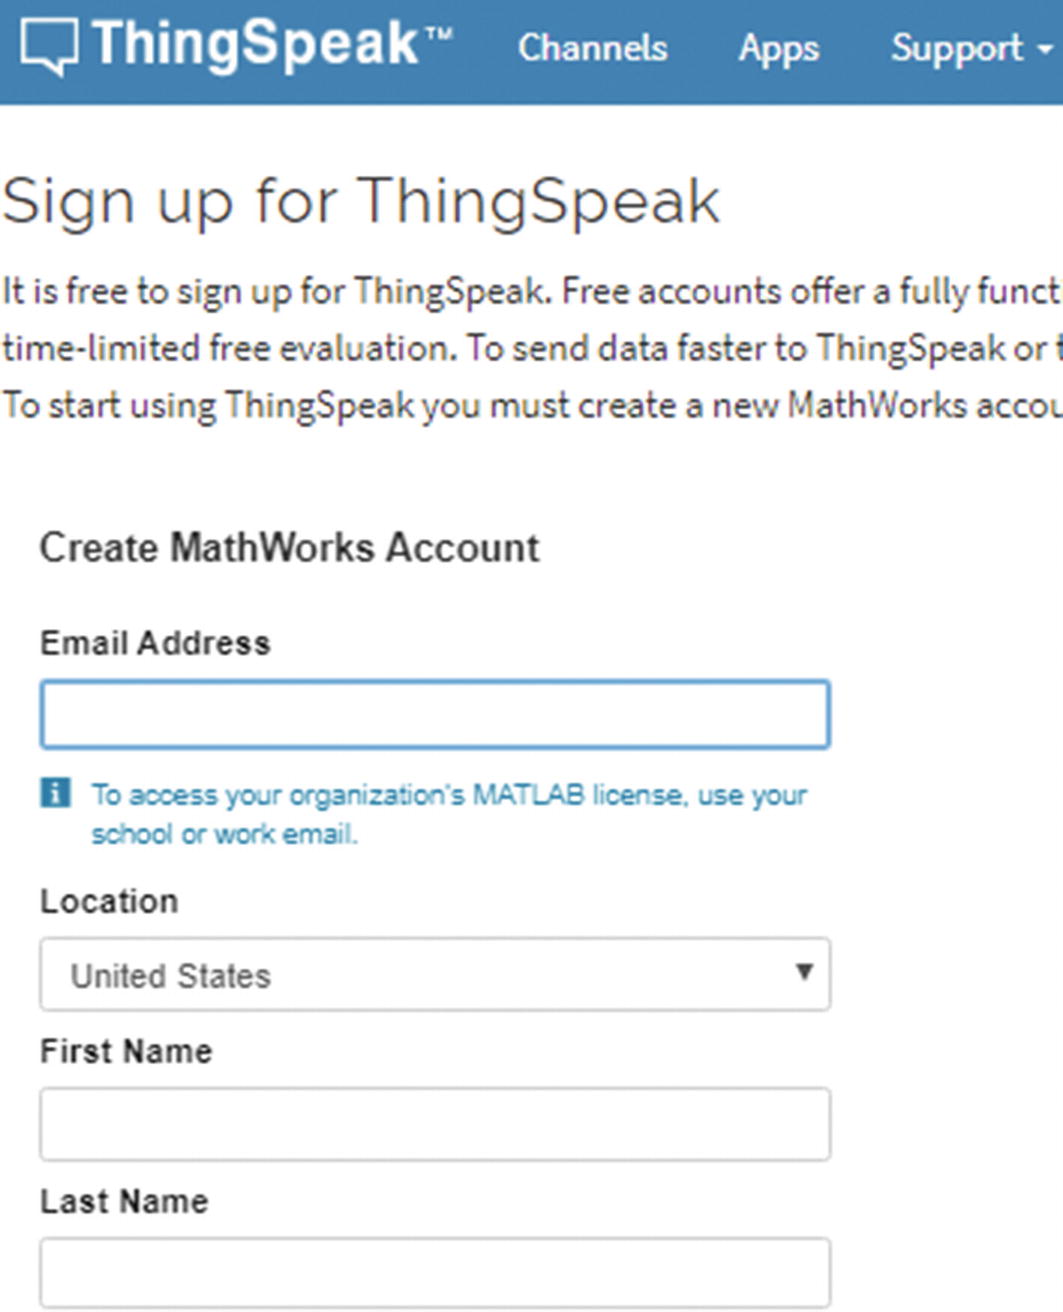
“Create MathWorks Account” page
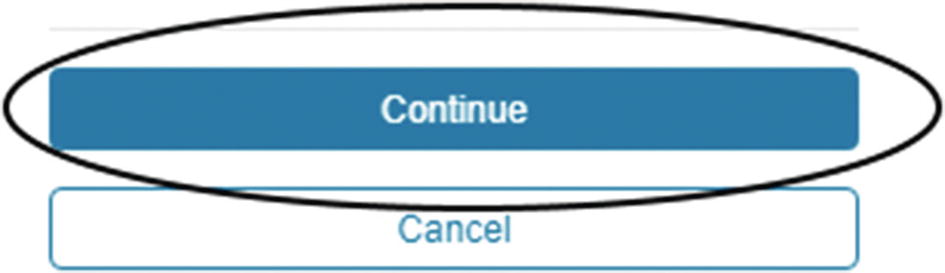
Click the Continue button (Figure 8-5).

Creating the account
You will get an error message about your email address. That’s normal. First, click the checkbox next to the “Use this email for my MathWorks account,” and then click again the Continue button (Figure 8-6).
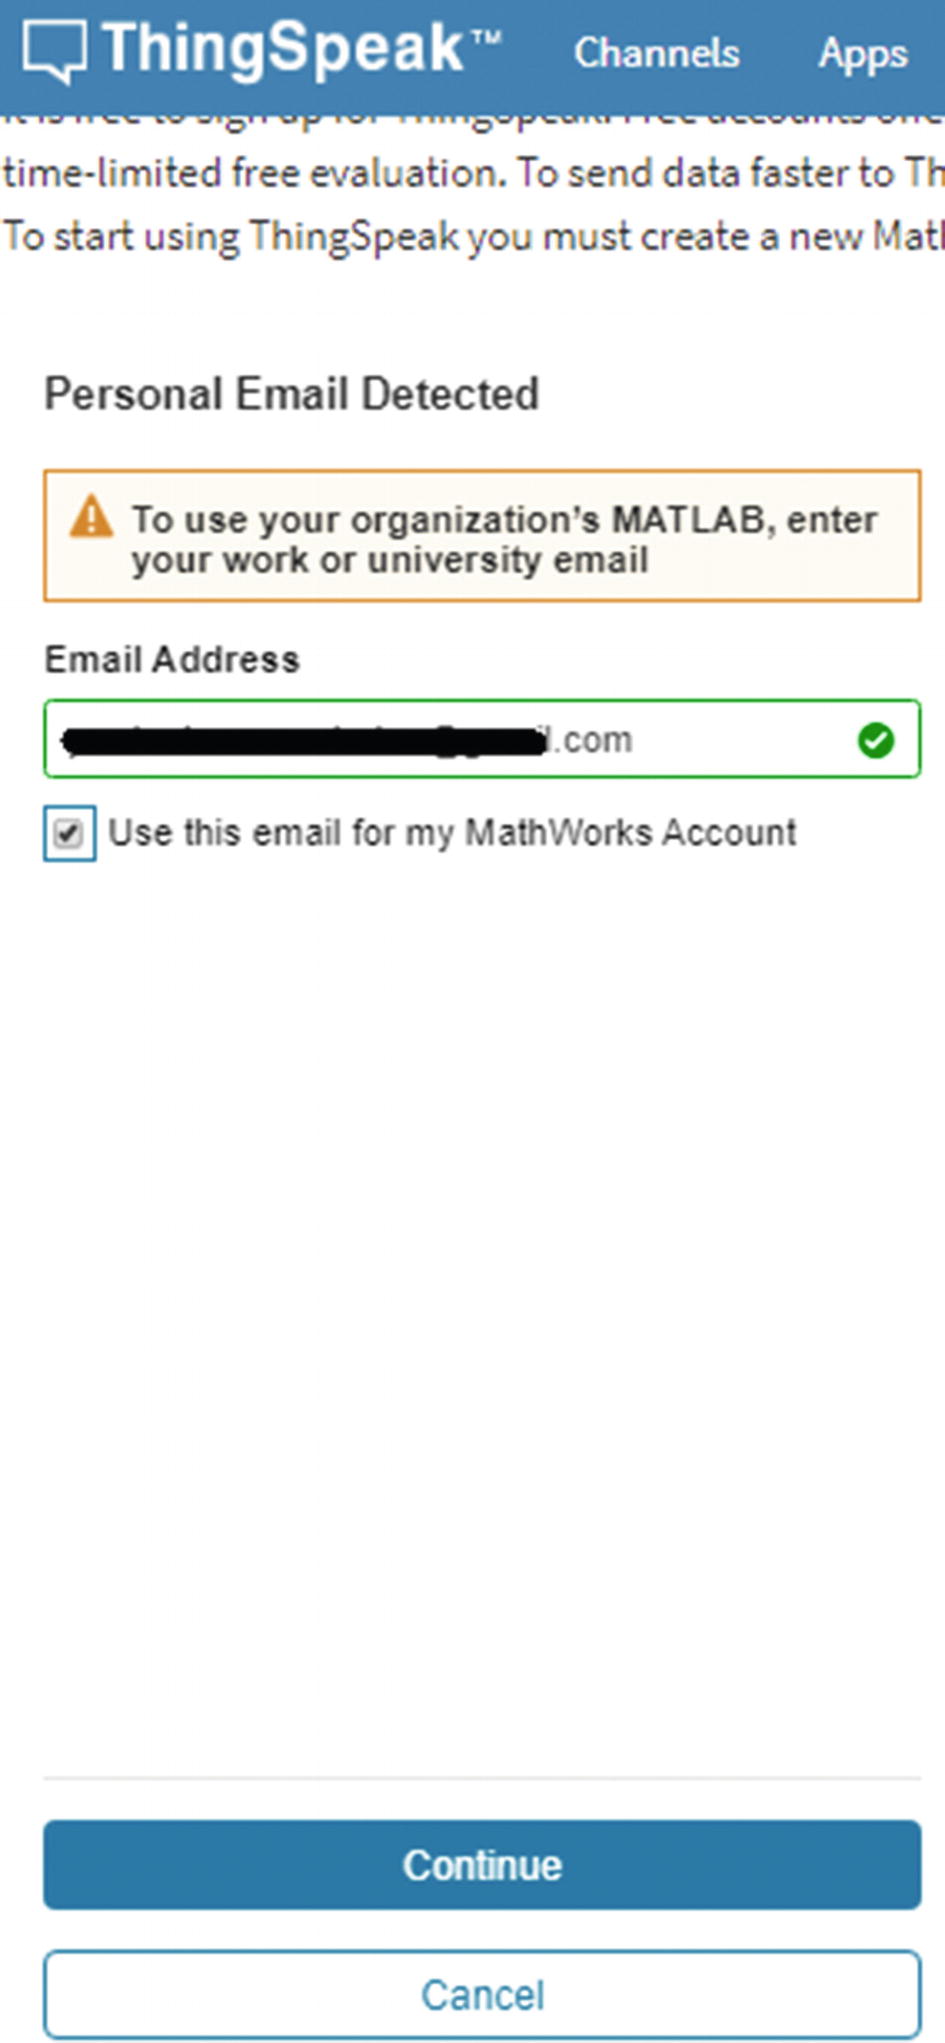
Continue anyway
You will get the following message. First, check if you have received an email from MathWorks. If yes, in the email, click the Verify your email button (Figure 8-7).

Email for account verification
Then go to ThingSpeak and click the Continue button (Figure 8-8).
Continue with account creation
If not, click the “Send me the email again” link. If that doesn’t work for you, contact the customer support by clicking the “Customer Support” link (Figure 8-9).
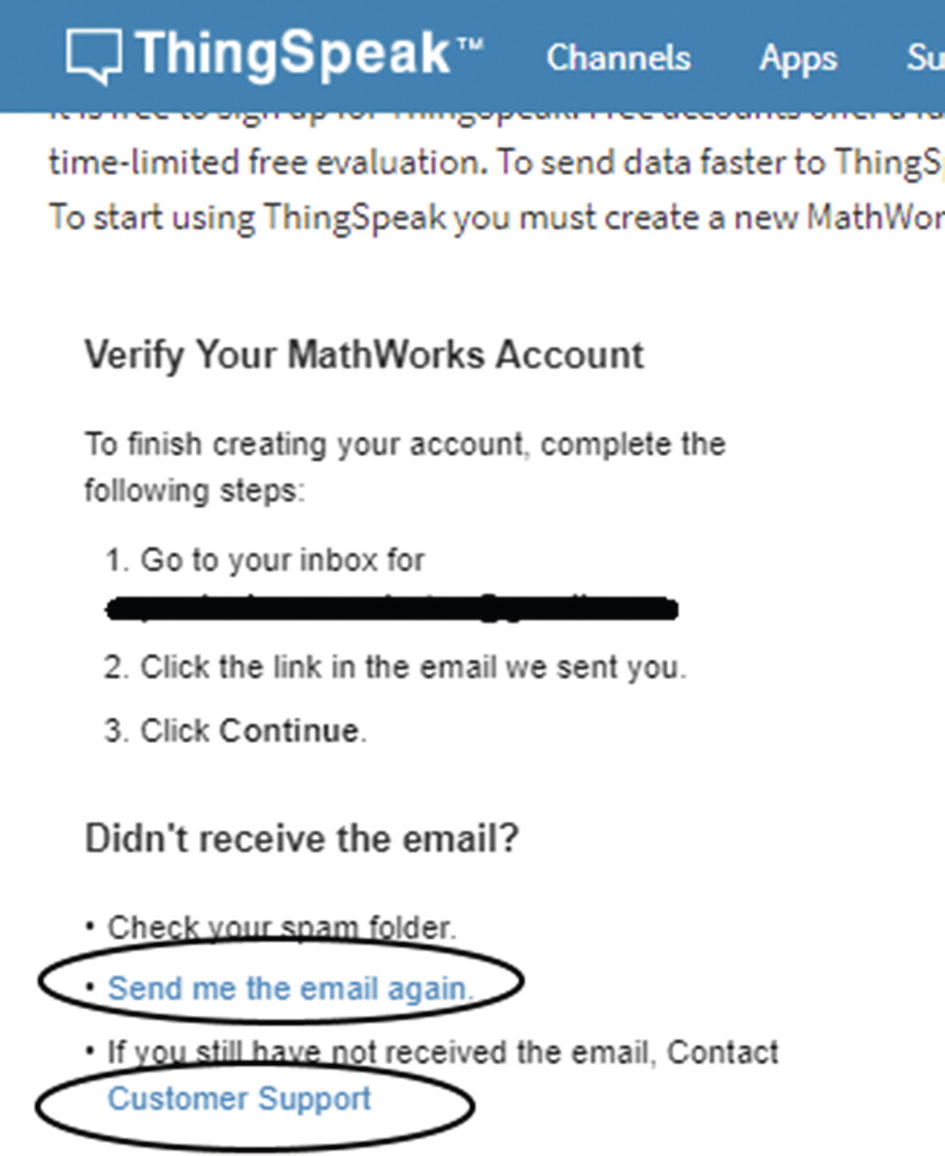
Request to resend the verification mail
After successfully creating and verifying your account, you will get a message saying “Your profile was verified” (Figure 8-10).

A message saying that your profile was verified
Now you will get the “Finish your Profile” page (Figure 8-11). You should provide a user id and a password. Then click the Continue button.

Providing a user id and a password
Now your account is completely created, and you have logged in to ThingSpeak. Click the OK button (Figure 8-12).

“Sign-up successful” message
Choose the option “Personal, non-commercial projects,” and then click the OK button (Figure 8-13).
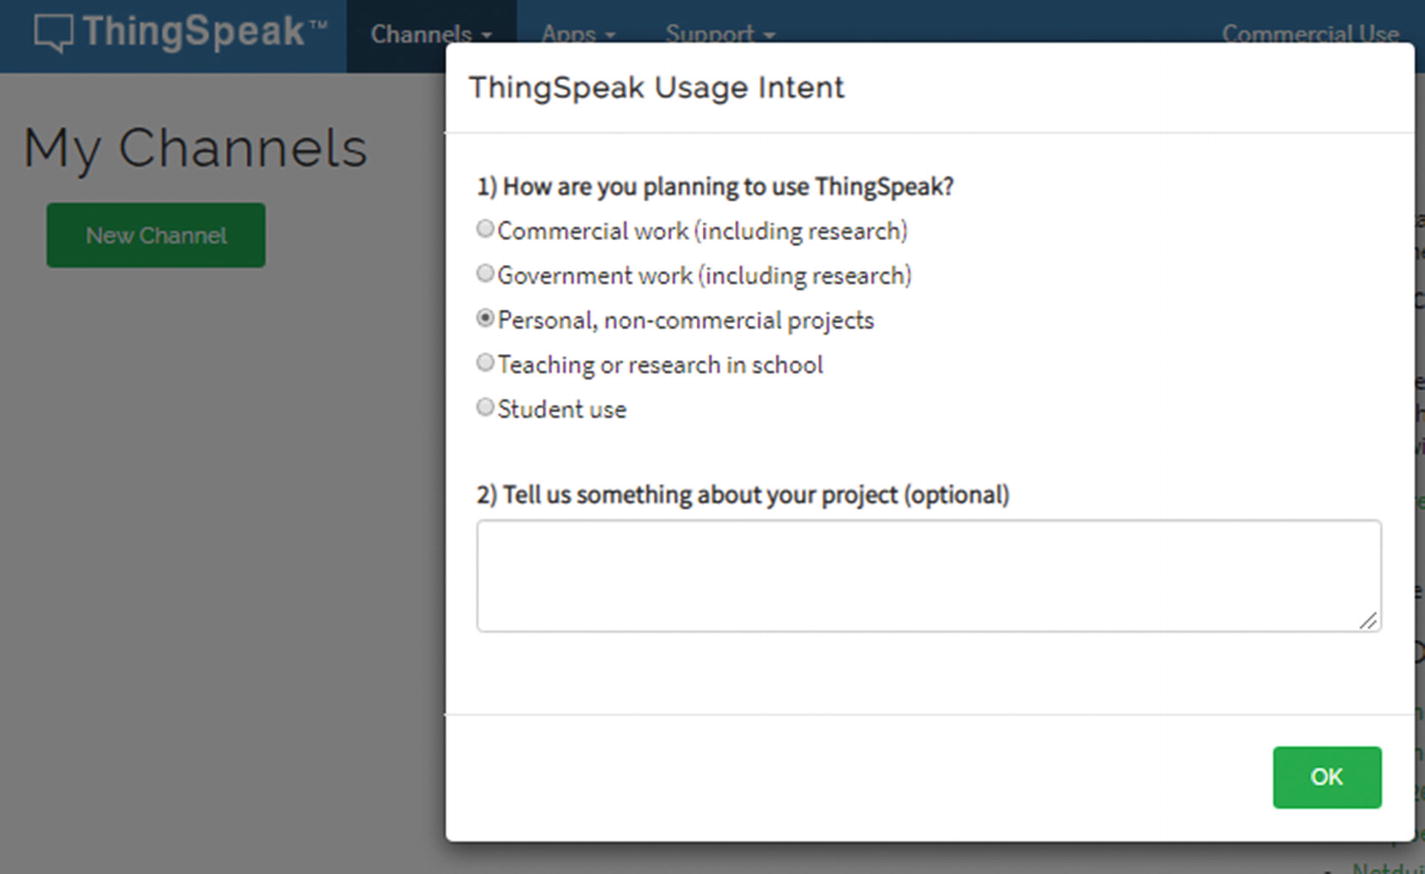
Confirming the ThingSpeak usage intent
8.3 Creating a ThingSpeak Channel
In the ThingSpeak My Channels page (Channels ➤ My Channels), click the New Channel button (Figure 8-14).

Creating a new channel
- In the New Channel page, fill the following fields (Figure 8-15):
Name – Chapter_8
Description – Displays textile pressure sensor data.
Field 1 – pressure
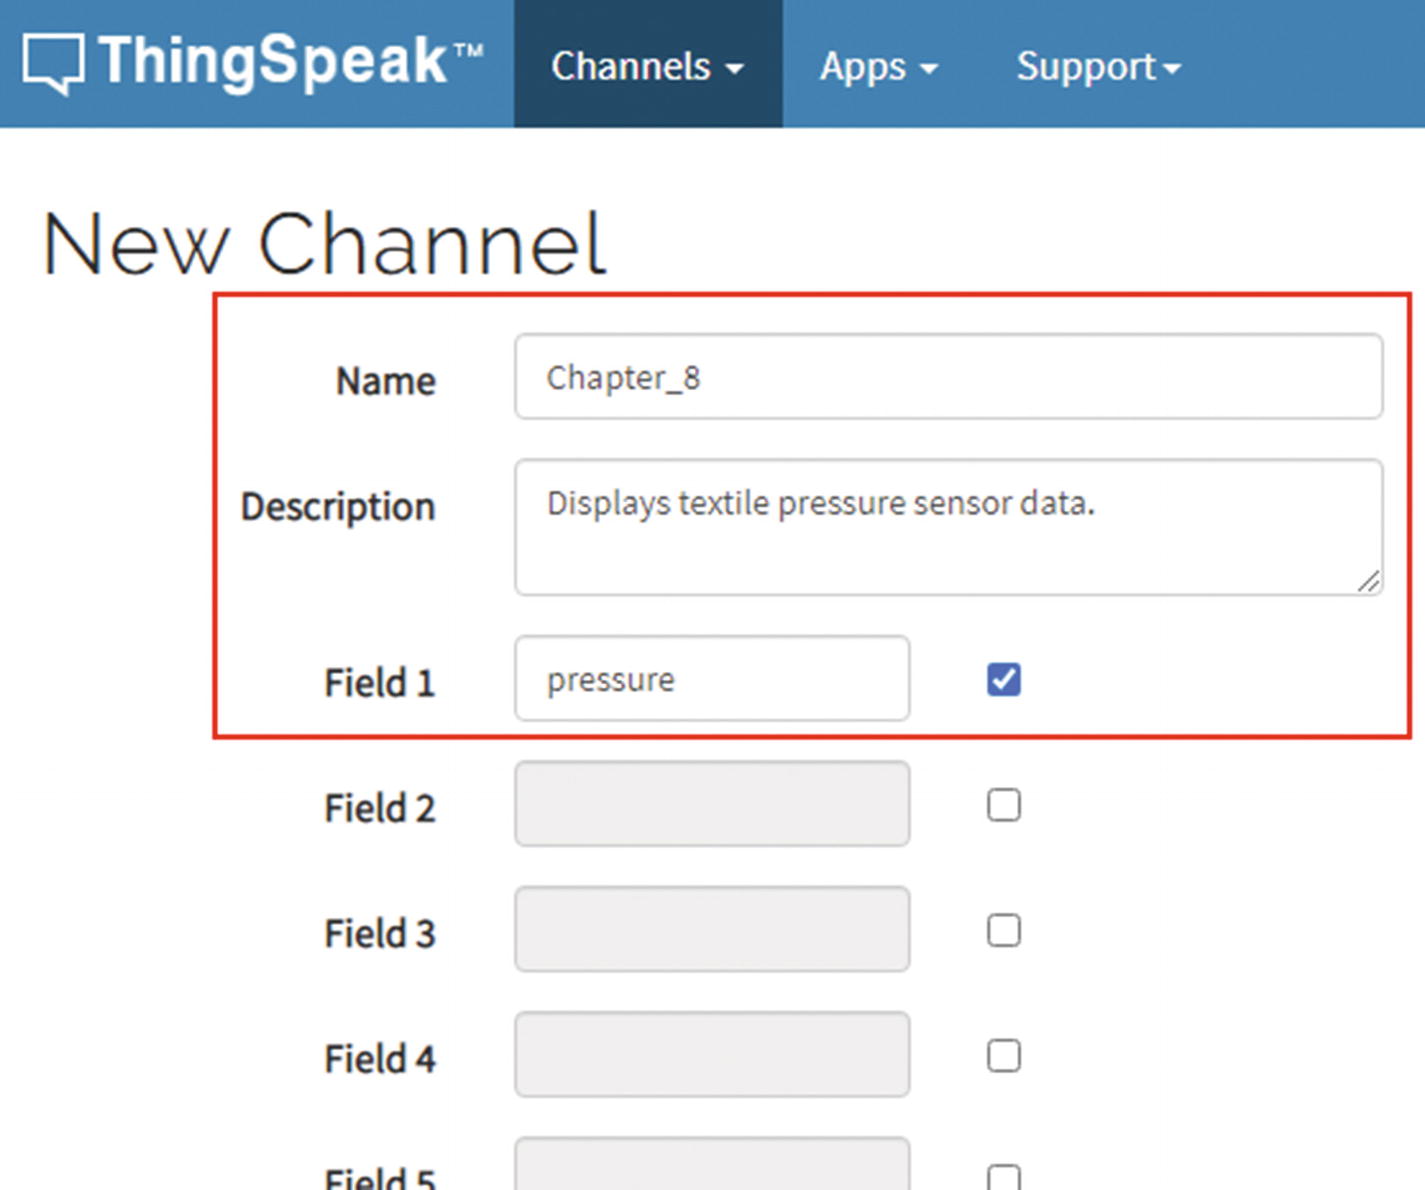
Channel settings
That’s all. Leave the other fields as it is.
Scroll down the page and click the Save Channel button (Figure 8-16).
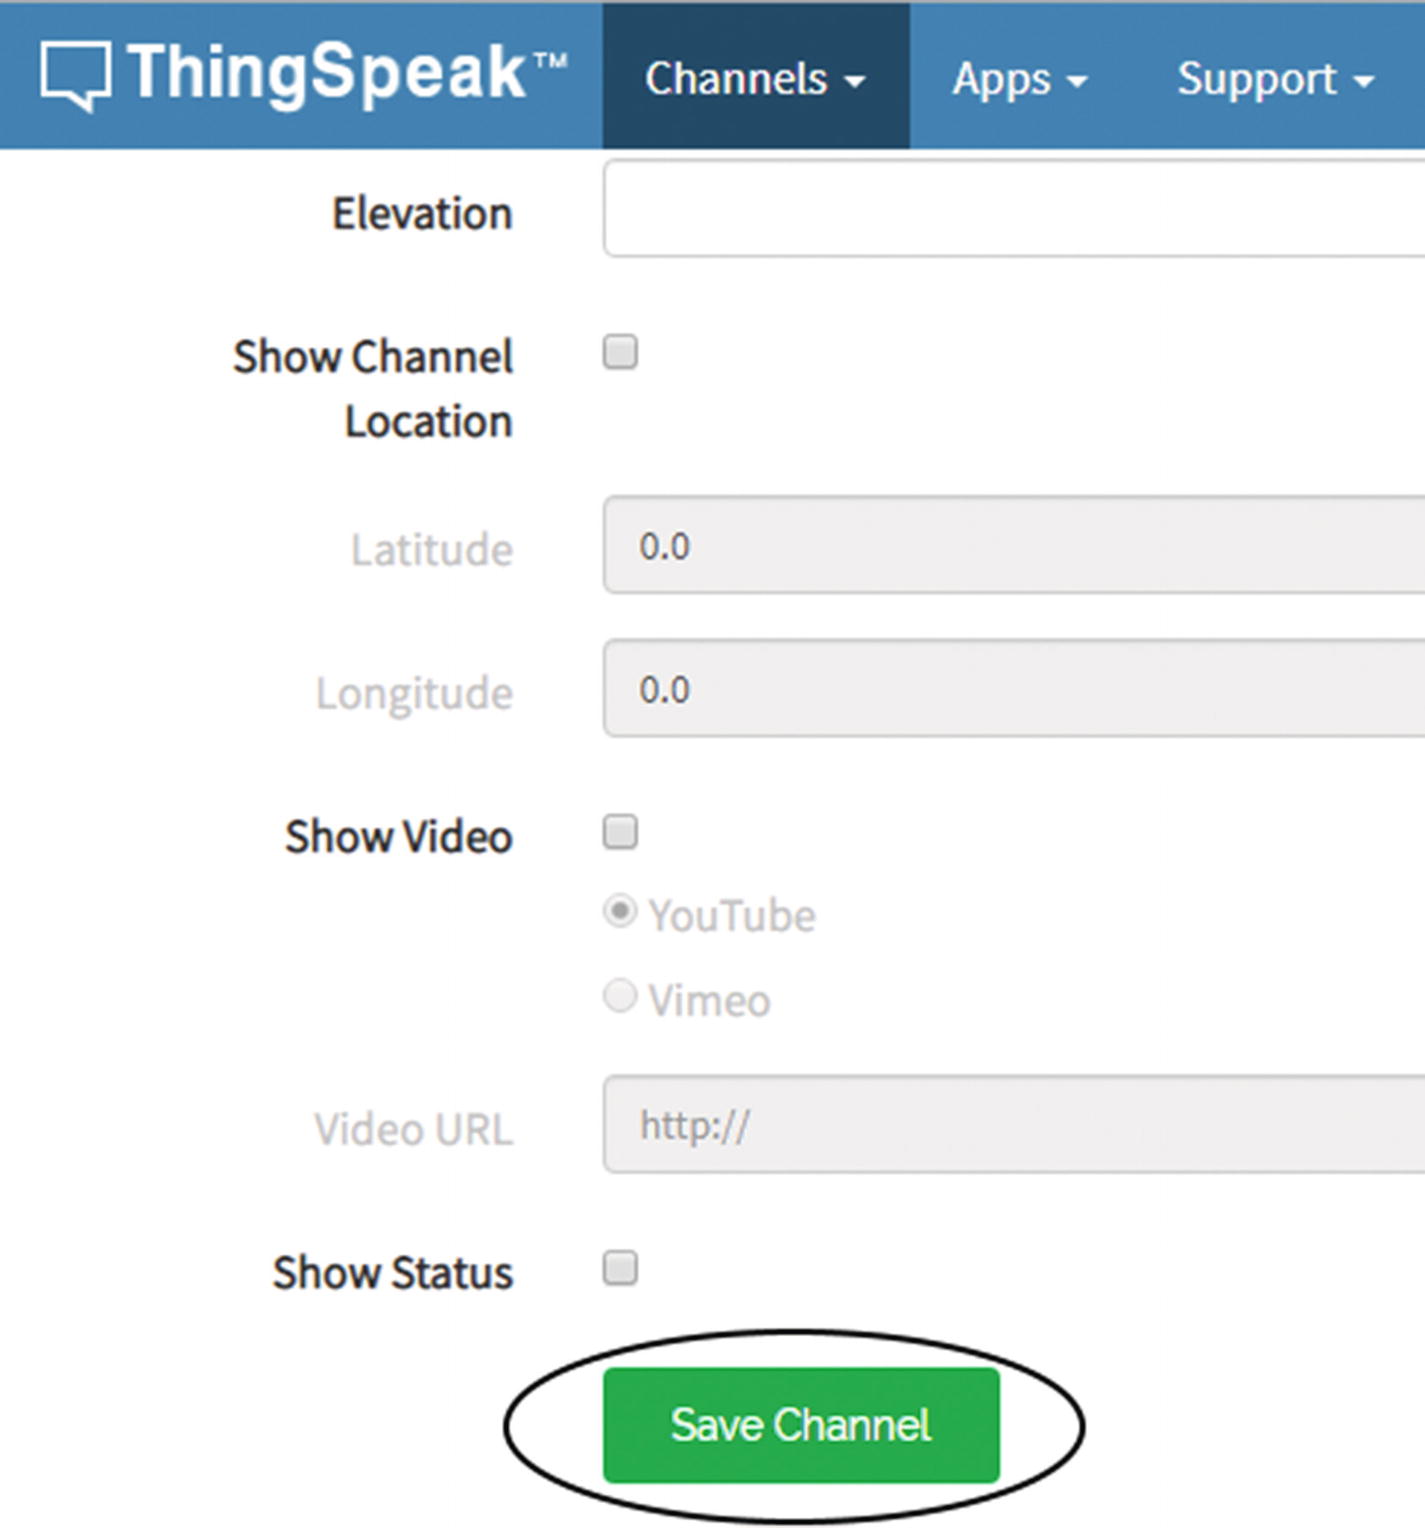
Saving a channel
The channel has been created and displayed in the My Channels page (Figure 8-17).

My Channels page
Now click the channel name (Chapter_8). You can see a blank chart (Figure 8-18). Don’t worry. In the next few sections, you will write and flash the code onto the micro:bit for sending data.

Blank chart. No pressure sensor data available yet
8.4 Downloading Muselab IoT Shield Extension
In the Editor controls, click the cogwheel icon (Figure 8-19).

Cogwheel icon
In the drop-down menu, click Extensions (Figure 8-20).

Extensions menu
In the Extensions page, type muselab (Figure 8-21) and click the Search button.
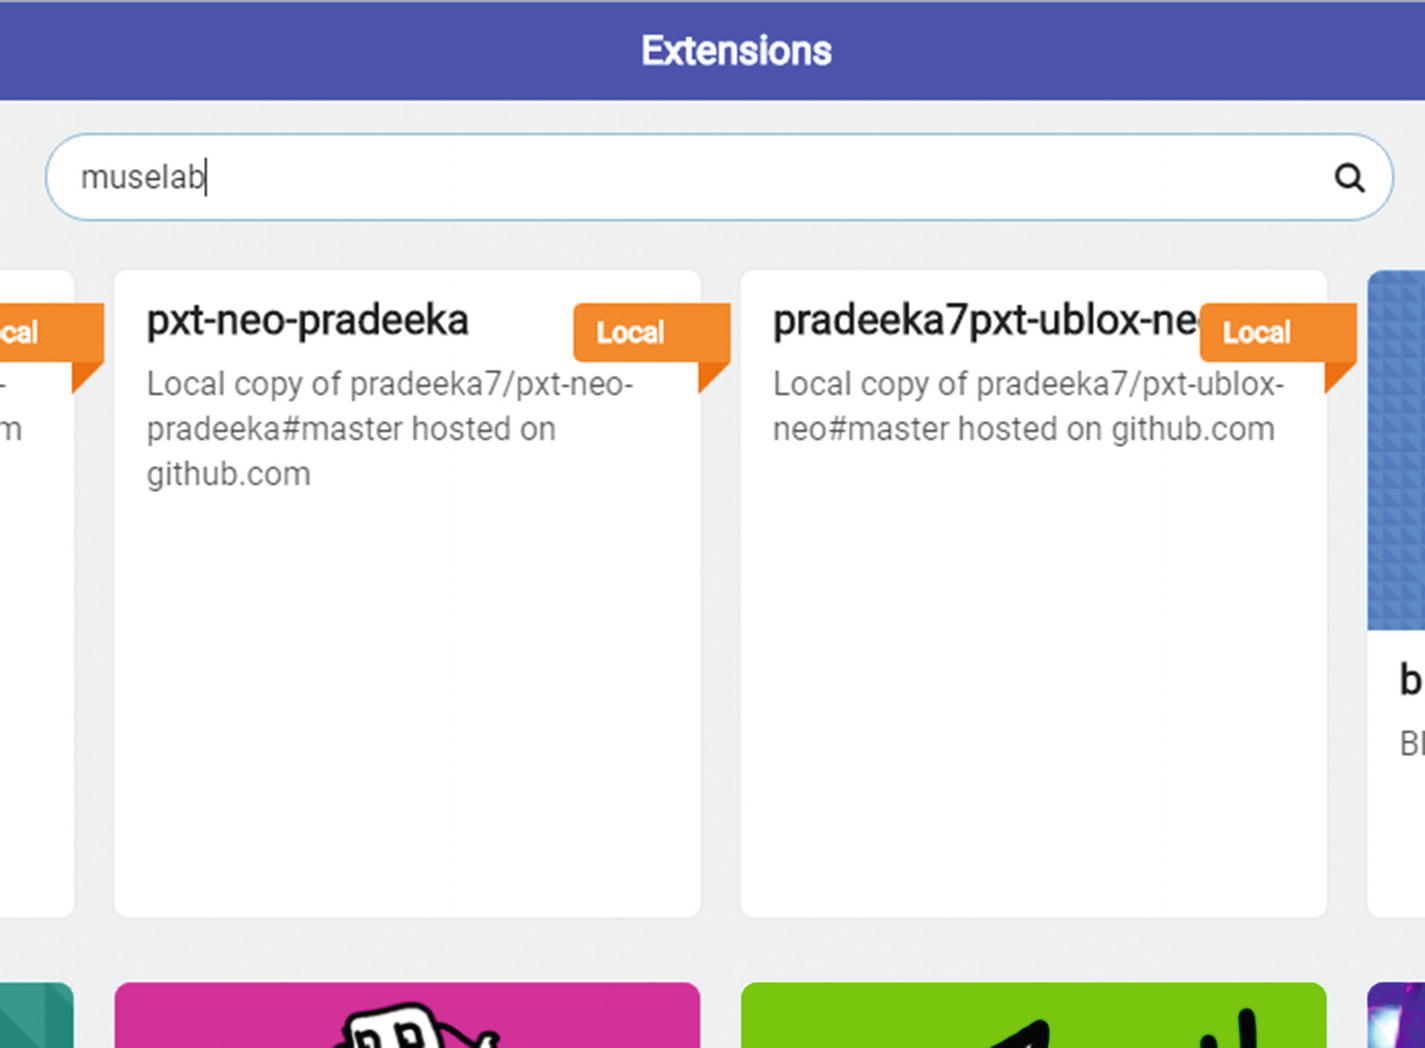
Extensions page
The Muselab wifi-shield extension will show on the search result (Figure 8-22). Now click it to add to your project.
It will take some time to download the extension to your project. Once downloaded, it can be found in the toolbox. The Muselab wifi-shield extension creates six toolbox drawers (Figure 8-23).
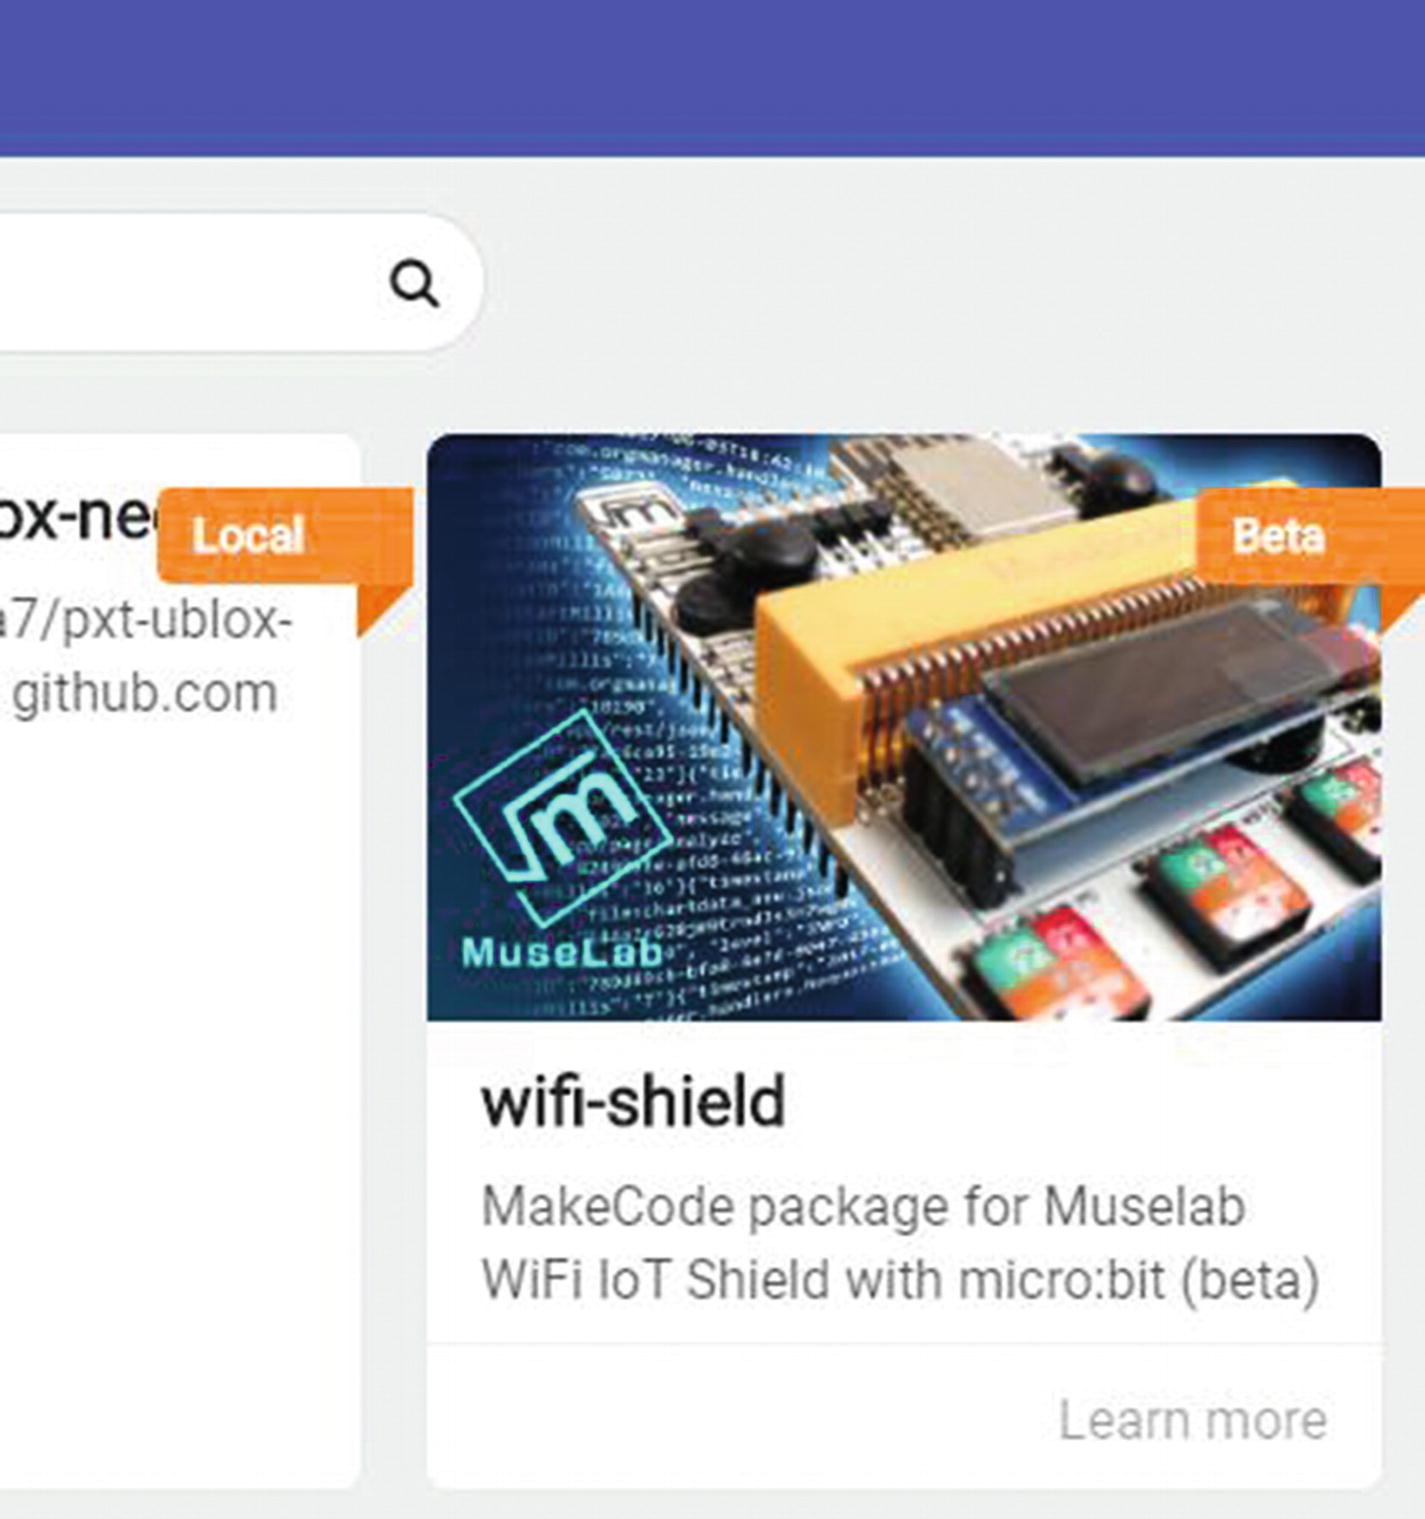
MakeCode extension for Muselab WiFi IoT shield

Toolbox drawers of the Muselab extension
Among them, we will be using the MuseIoT toolbox drawer to build our code (Figure 8-24).
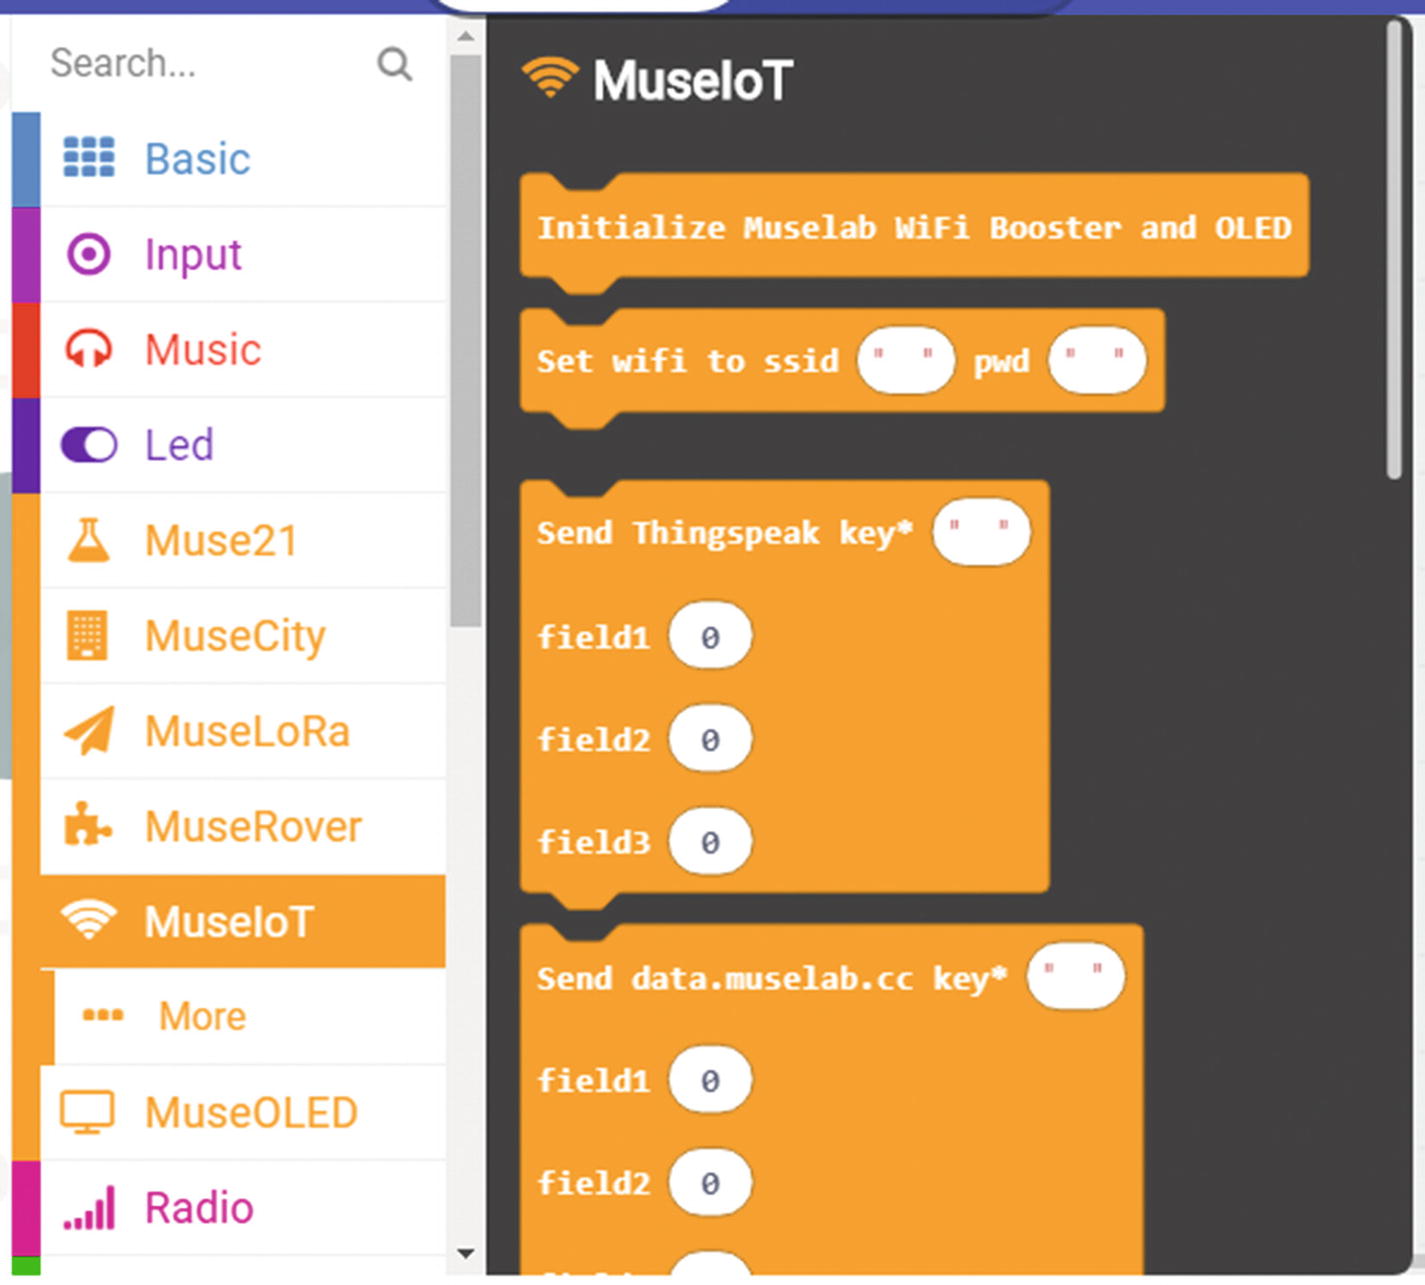
MuseIoT toolbox drawer
8.5 Coding the WiFi Pressure Sensor
Open the MuseIoT toolbox drawer. Drag out the Initialize Muselab WiFi Booster block onto the workspace, and place it into the on start block (Figure 8-25).
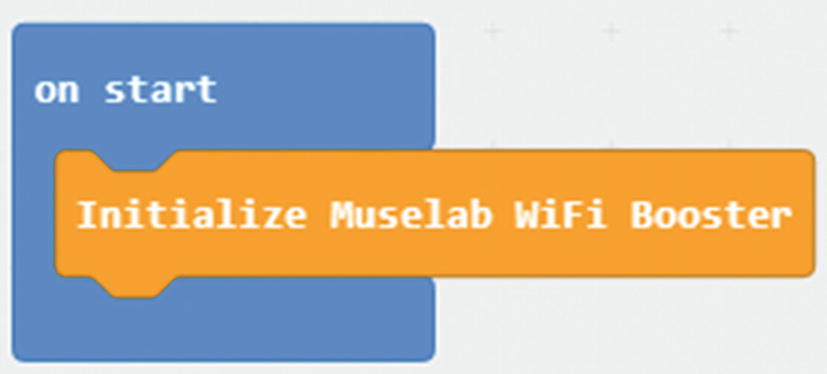
Step 1
Open the Basic toolbox drawer. Drag out the pause (ms) block onto the workspace, and place it into the on start block under the Initialize Muselab WiFi Booster and OLED block. Then in the pause (ms) block, type in 5000 (Figure 8-26). This will tell micro:bit to wait for 5 seconds and execute the next block.
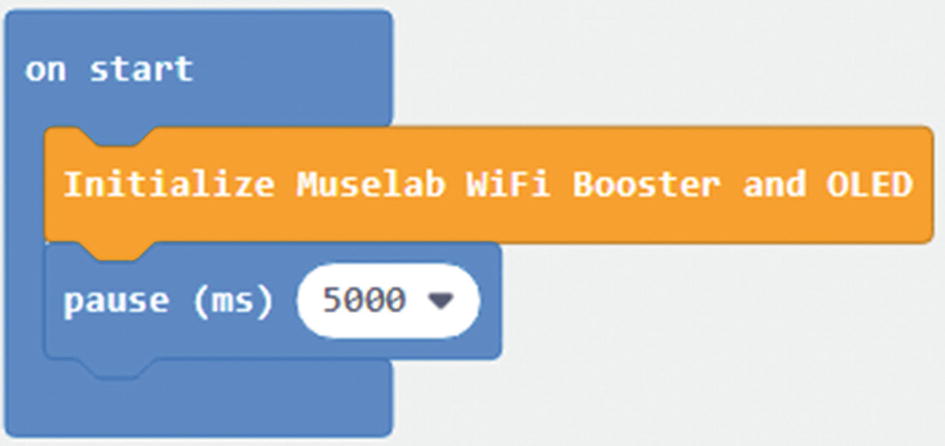
Step 2
Open the MuseIoT toolbox drawer. Drag out the Set wifi block onto the workspace, and place it into the on start block after the pause (ms) block (Figure 8-27).

Step 3
Type in SSID and password of the WiFi network you are going to connect with. If you have a home WiFi network, the SSID and password can be found on the router (Figure 8-28).
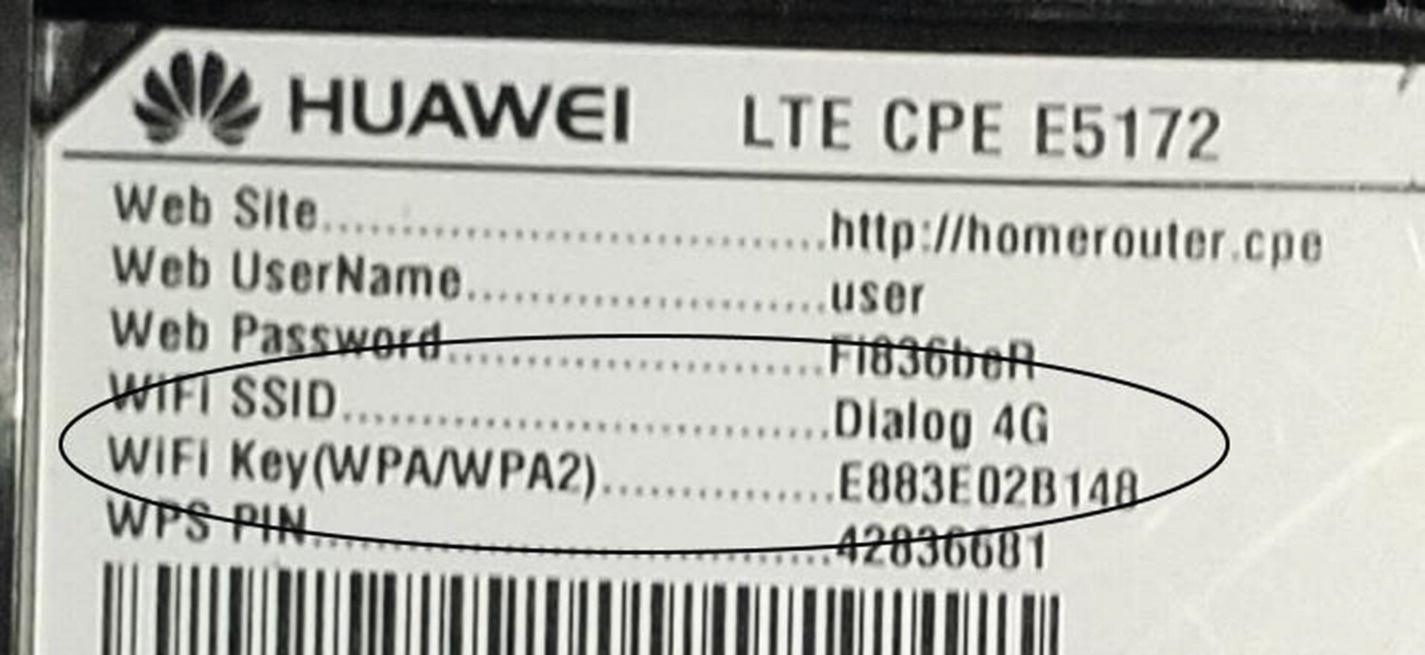
Finding SSID and the password to connect to the WiFi router
After filling SSID and the password, the Set wifi block looks like that in Figure 8-29.

Step 4
Open the MuseIoT toolbox drawer. Drag out the Send Thingspeak block onto the workspace, and place it into the forever block (Figure 8-30).

Step 5
Find the Write API Key in your channel settings page (Figure 8-31).
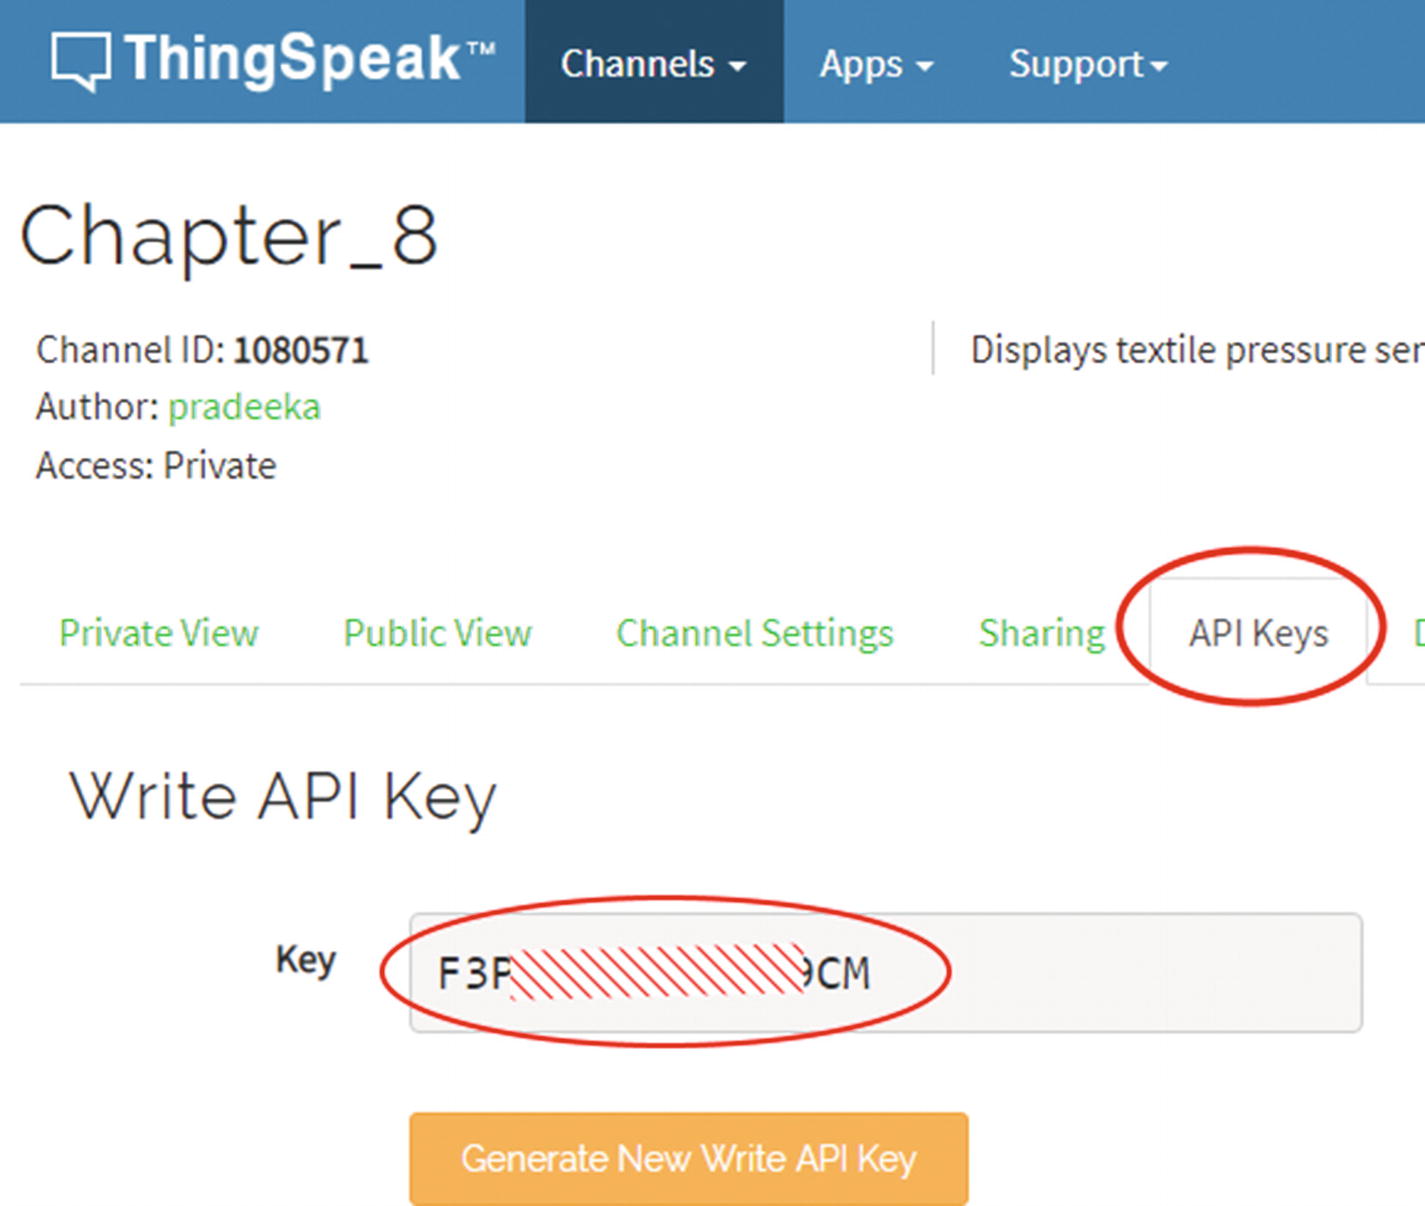
Finding the Write API key
In the key* textbox, type in the ThingSpeak Write API Key (Figure 8-32).

Step 6
Open the Pins toolbox drawer. Drag out the analog read pin block onto the workspace and place it into the field1 of the Send Thingspeak block. Then choose P1 from the drop-down menu (Figure 8-33).

Step 7
Open the Basic toolbox drawer. Drag out the pause (ms) block onto the workspace and place it into the on start block under the Send Thingspeak block. In the pause (ms) block, type 20000 (Figure 8-34). This will tell micro:bit to wait for 20 seconds and continue with the next cycle.

Step 8
For users of the free option, the message update interval limit remains limited at 15 seconds. So we will use 20 seconds for fair use.

Full code listing for sending pressure readings to ThingSpeak
In the project name box, type in a name for your project (first delete the default name, “Untitled”) (Figure 8-36). The new name of the project will be updated in your browser’s local cache.
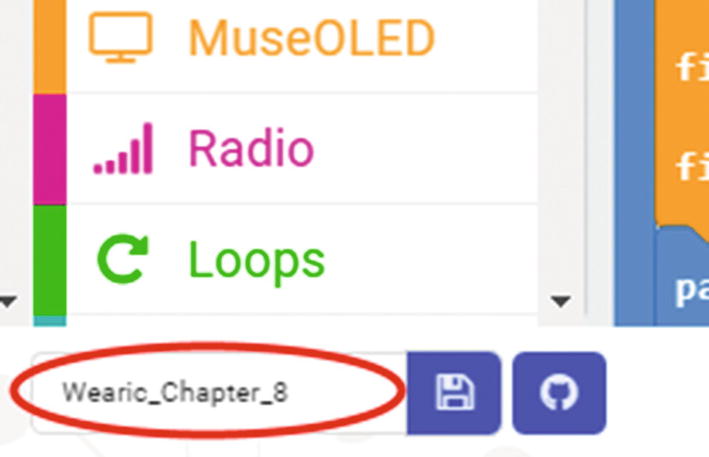
Providing a file name for the project
Click the Download button at the bottom of the editor page. A hex file will download to your computer (Figure 8-37).
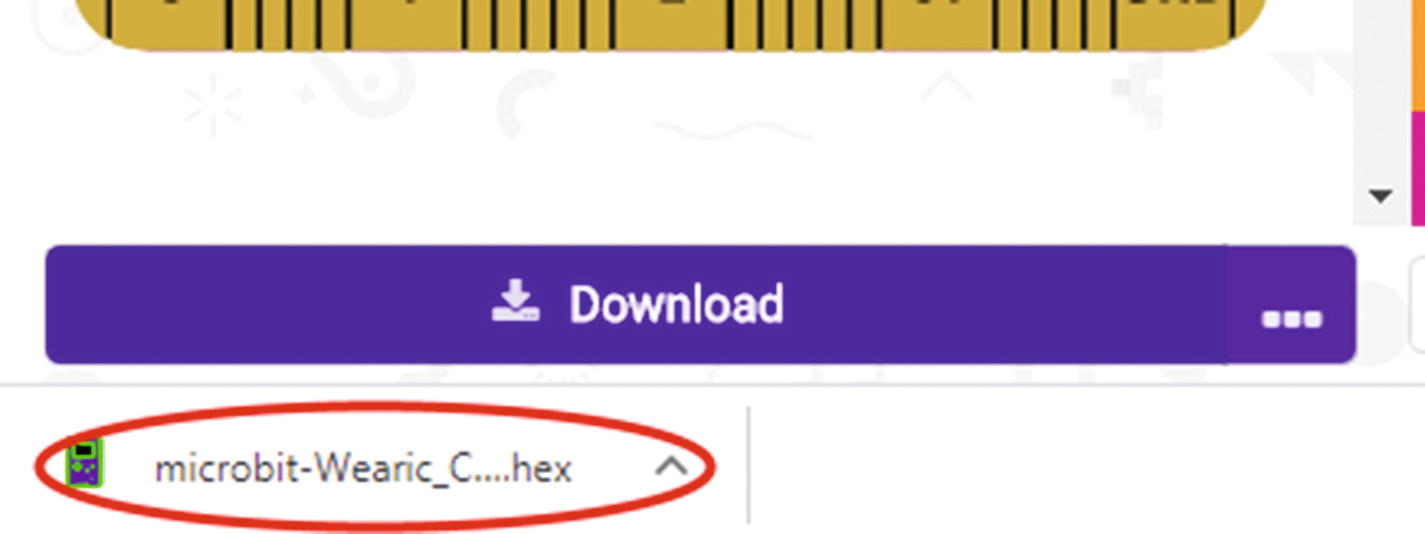
Downloaded hex file
Drag and drop the hex file onto the micro:bit drive. The LED on the back of your micro:bit flashes during the transfer. Once this has completed, the micro:bit will automatically restart and start executing your code.
8.6 Visualizing the Data
Go to your ThingSpeak channel and click the Private View tab. You can see the pressure data is coming from the micro:bit. Now using your fingers, apply some pressure onto the Wearic textile pressure sensor. You can see the pressure values get increased (Figure 8-38).

Pressure sensor data is displaying on the chart
8.7 Summary
In this chapter, you learned how to send pressure sensor data to the ThingSpeak IoT cloud through WiFi. The same thing can be applied to any type of sensor. Alternatively, you can modify the code to send data to data.muselab.cc (http://data.muselab.cc/), IFTTT (https://ifttt.com/), or ArcGIS (www.arcgis.com/index.html/).