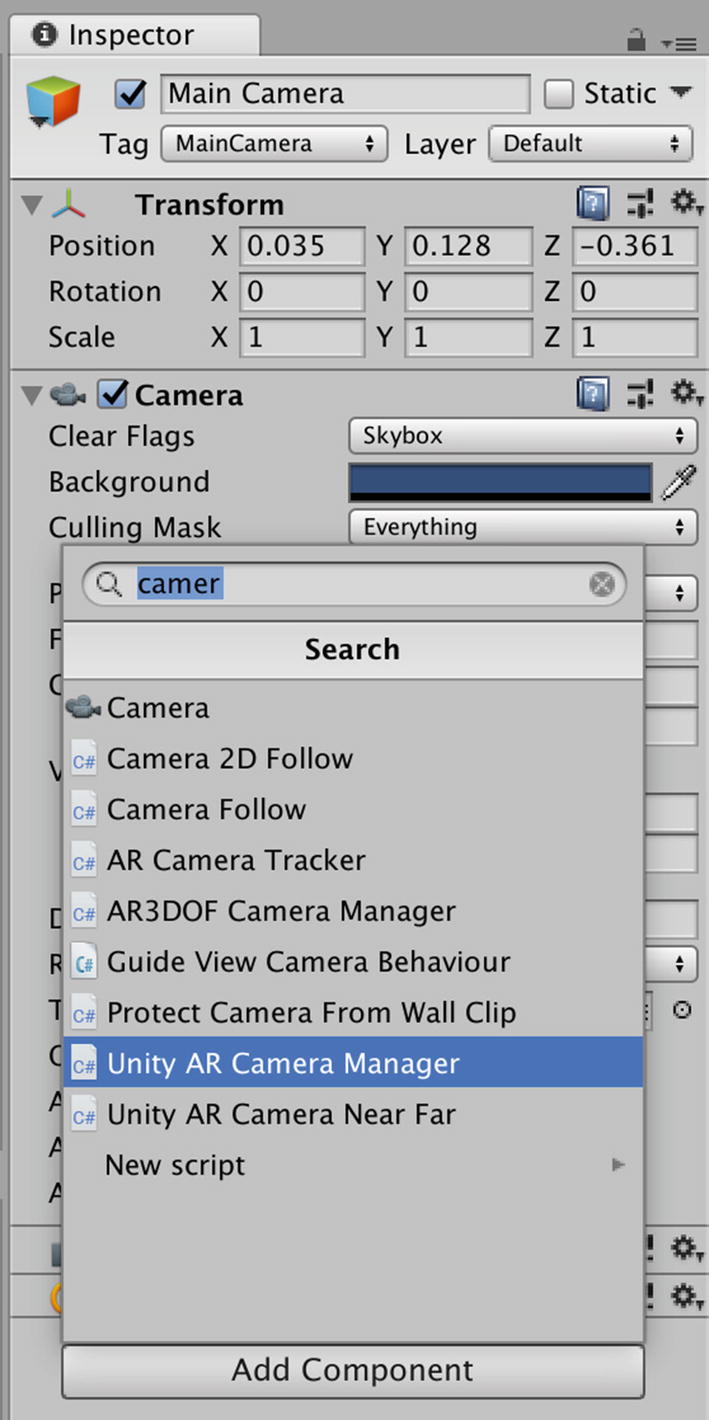
In the last chapter we were able to test our Game in the Unity Game View; now, let’s see what the game will look like in AR. With the FuguBowlAR Game open in Unity, let’s add the Unity AR Camera Manager to our Main Camera. In the Hierarchy select the Main Camera and then in the Inspector, select Add Component (Figure 6-1). In the Add Component search bar, search for Camera and select the Unity AR Camera Manager (Figure 6-2).
Figure 6-1
Add Component
Figure 6-2
Adding the Unity AR Camera Manager Component
With the Unity AR, Camera Manager Component added, now select and drag the Main Camera from the Hierarchy and add this to the Camera properties box of the Unity AR Camera Manager component (Figure 6-3).
Figure 6-3
Adding the Main Camera to the Camera Properties
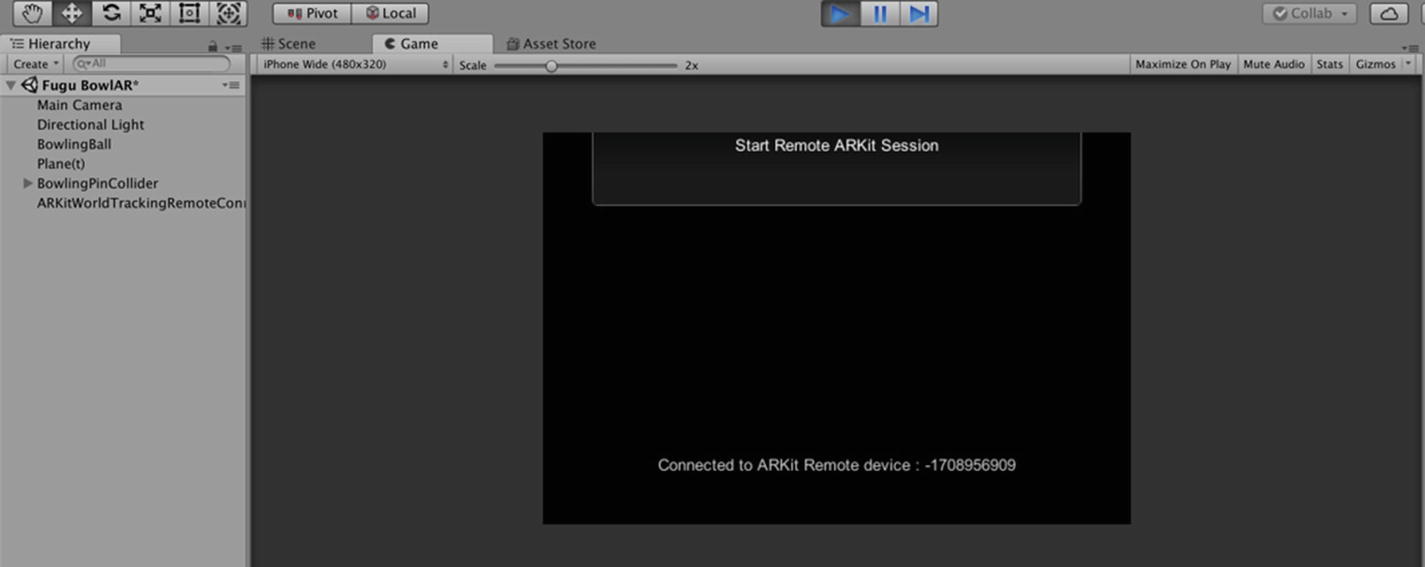
Now with the Unity AR Camera Manager component added to the Main Camera, let’s preview what the game will look like in the Game view, using the Unity AR Kit Remote App we installed on our device. First, connect your device to your Mac, and then start the Unity AR Kit Remote App on your device. In Unity, select the Console view and select Editor and then select your device (Figure 6-4). Now, select the Play button from the Unity Game view and then in the game view, select (Figure 6-5). You should see the game now working in the Game view of Unity (Figure 6-6).
Figure 6-4
Connecting to the iPhonePlayer
Figure 6-5
Start the Remote ARKit Session
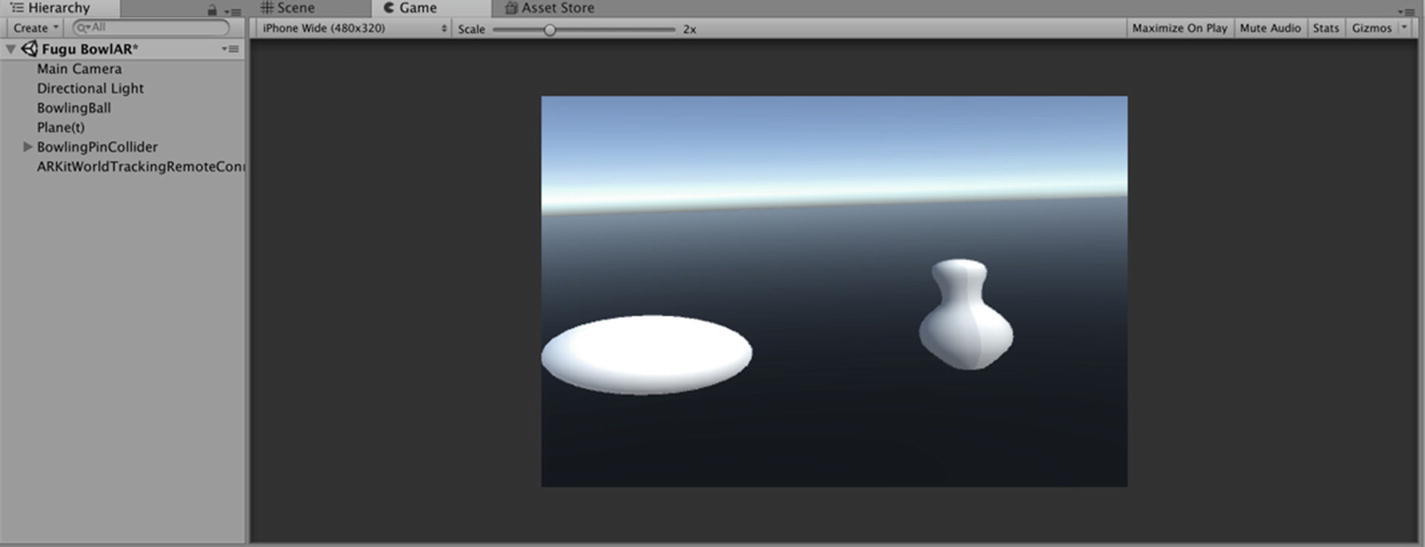
Figure 6-6
Game view of the AR version
Some Challenges
You will note there are a couple of challenges with our game. First, as expected, the Bowling Ball does not move. This is because we initially set the BowlingBall code to respond to keyboard input. We did this intentionally because the Unity Game view does not (currently) enable us to test out user iteration with touch. The other challenge is that our Plane(t) is still visible. Let’s first disable the Plane(t). I don’t want to delete it right now, because I might want to use it for testing later on.
Disabling the Plane(t)
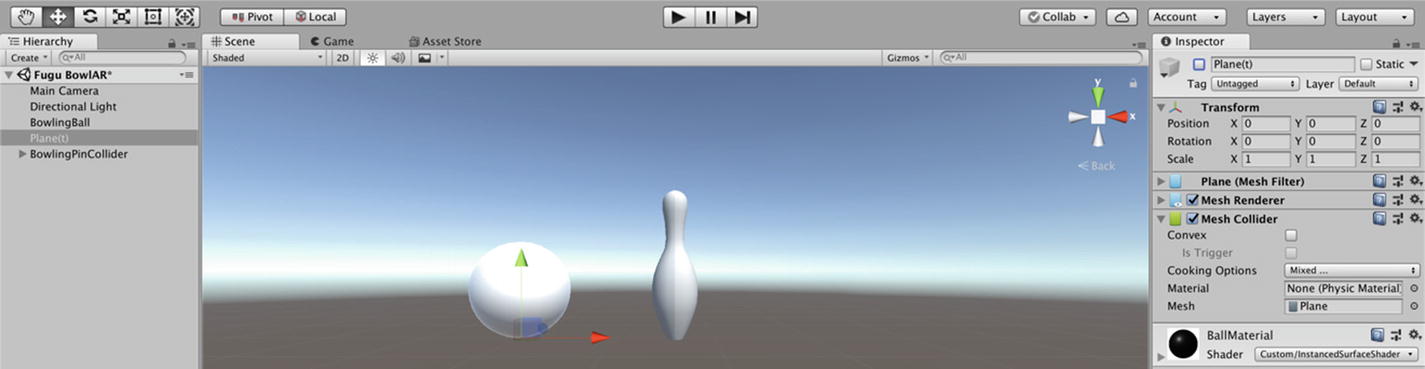
Disabling the Plane(t) GameObject is relatively straightforward. In the Hierarchy view, select the Plane(t) GameObject and then in the Inspector, select the check box to the left of the GameObject name (Figure 6-7). You will immediately see that the Plane(t) GameObject is no longer visible. The impact of this will be clearly visible when we test our game.
Figure 6-7
The Plane(t) GameObject disabled
Testing
To test our game, there are two ways. The first and most efficient way would be to test it in the Game view. To do this, we need to disable the Unity AR Camera Manager Component that we added to the camera. Select the Main Camera, and then deselect the check box to the left of the file name (Figure 6-8).
Figure 6-8
The Unity Camera Manager deselected
Now press the play button, and you should see the BowlingBall and the Bowling_Pin fall to infinity (and quite possibly beyond infinity).
The second way to test our game would be leaving the Unity AR Camera manager selected and connecting our device to our Mac and then running the Unity AR Kit Remote App on our device. Then in the Console tab, select our device and select the play button in Unity. After selecting the Play button, you will be prompted with the Start ARKit Remote Session prompt, and the preview of the game will appear in the Unity Game tab. However, once again, the BowlingBall and Bowling_Pin GameObject’s fall and keep on falling.
Implementing Touch Controls
Now we are going to try to get the Bowling_Ball to respond to the user touching the screen on their device. Over the years, Unity has made a number of changes on how to manage user input using a device with touch controls. In my example, I am going to use the Unity CrossPlatformInput Manager, which was the way to manage multiple forms of input (including touch), when I wrote this book.
Importing the Unity CrossPlatformInput Package
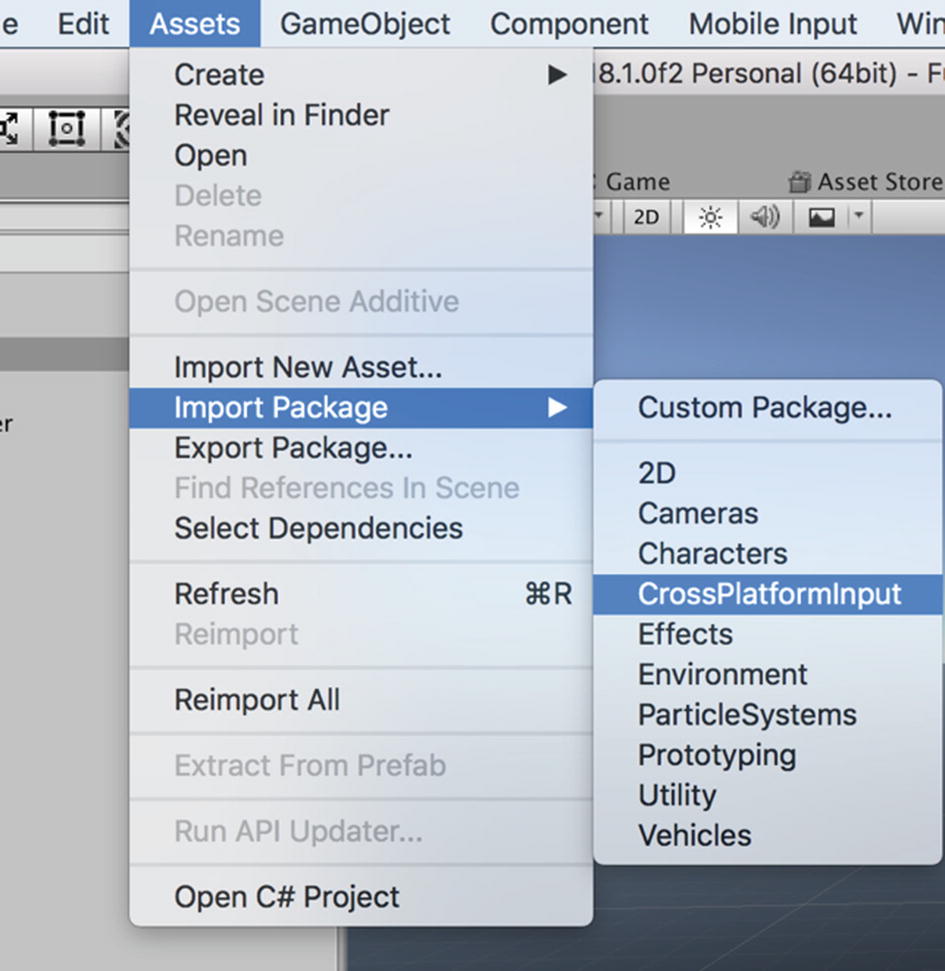
Let’s import the Unity CrossPlatformInput package. From the menu, select Assets ➤ Import Package ➤ CrossPlatformInput (Figure 6-9).
Figure 6-9
Import the Unity CrossPlatformInput Package
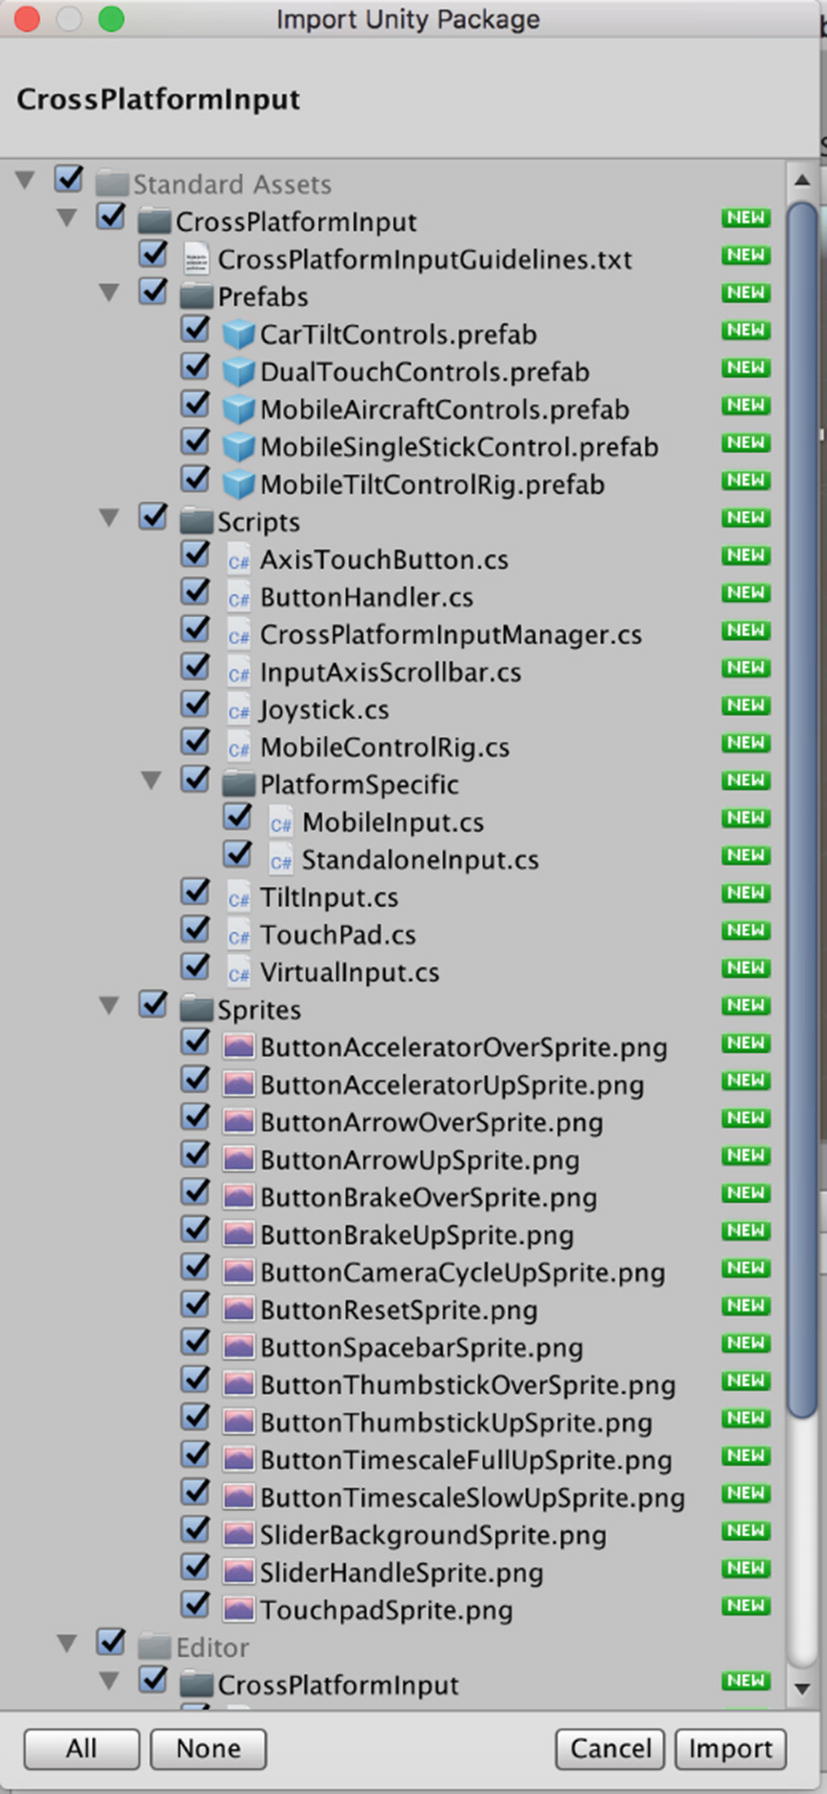
The file will download and, when complete, will open the Import Unity Package utility (Figure 6-10). While we don’t need all of this content, let’s select Import. The Import Unity Package utility will now add the complete package.
Figure 6-10
Importing the Unity CrossPlatformInput Package
Adding Touch Controls
Now we are going to create a graphical user interface (or GUI) so that the player can control the bowling ball by touching the screen. As we are creating an AR version of Fugu Bowl, we are going to need to do things a bit different. We are going to create a Joystick controller and put this on the screen so that the player can move the bowling ball in both the X- and Y- axes. Now, I don’t do a lot of bowling, but even I know that this is not how we would typically control a bowling ball.
Download the Joystick Asset Pack
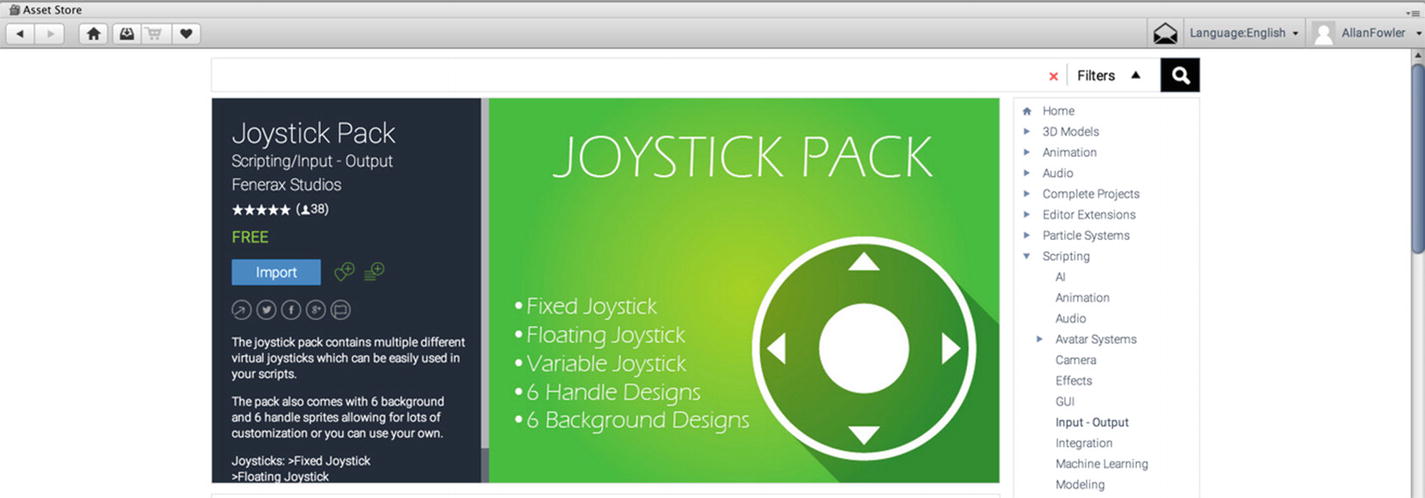
First, we need some good assets, so let’s go and get something from the Unity Asset Store. In the Unity Asset store Tab, from the search bar, search for Joystick (Figure 6-11). If you want to add the Free Only filter, that might save you some time.
Figure 6-11
Searching for the Joystick Pack asset pack
Select the Joy Stick Pack asset pack (the one with the green icon) and select Import (Figure 6-12).
Figure 6-12
Importing the Joy Stick Asset Pack
From the Unity Import Package Utility, select Import All (Figure 6-13).
Figure 6-13
Import Unity Package Utility
Creating a Canvas
In Unity to create a UI, we need to create a canvas. In the Hierarchy, right-click and select UI ➤ Canvas (Figure 6-14).
Figure 6-14
Creating a Canvas
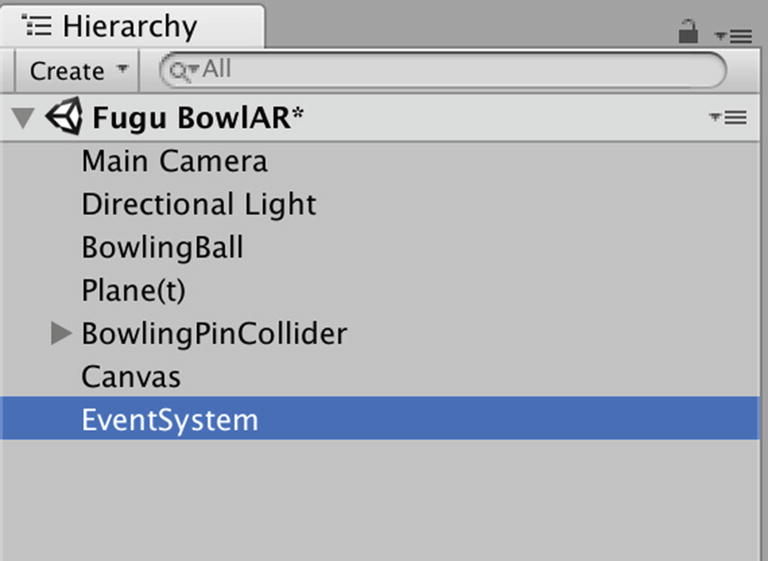
When we created the Canvas, Unity also added the EventSystem GameObject (Figure 6-15). The EventSystem is currently how Unity handles UI events.
Figure 6-15
The EventSystem GameObject added to the Hierarchy
Adding the Joystick UI to the Canvas
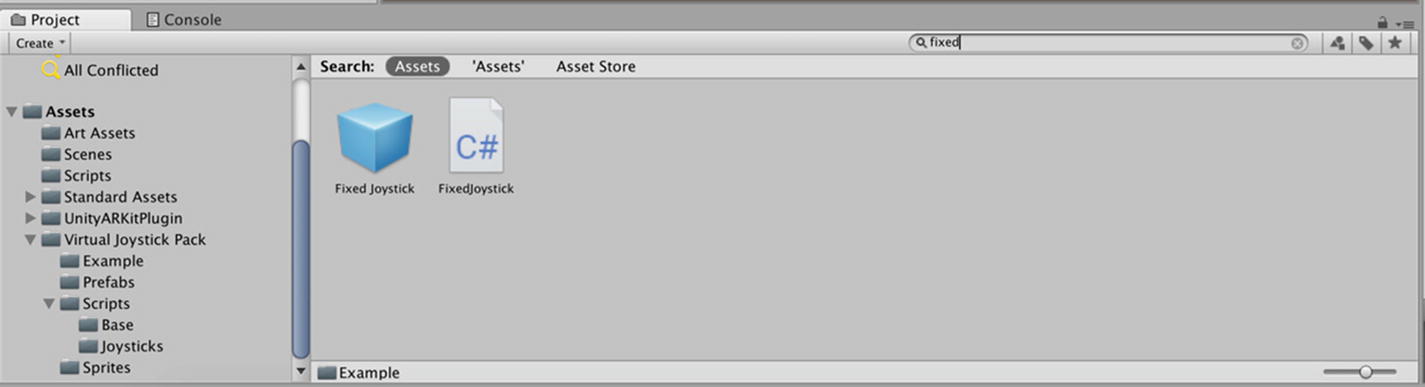
Now we are going to move the Fixed Joystick Prefab from the Virtual Joystick Folder in the Project tab to the Canvas. To do this, in the Project tab, search for Fixed (Figure 6-16) and select the Fixed Joystick Prefab and then drag this to the Canvas folder in the Hierarchy (Figure 6-17). Once added, you can actually playtest the Joystick to see it in action. It won’t move our BowlingBall; we need to add a script to do this.
Figure 6-16
Searching for the Fixed Joystick Prefab
Figure 6-17
The Fixed Joystick Prefab added to the Canvas
Adding a Script
In the Hierarchy, select the BowlingBall GameObject and in the Inspector, disable or remove the Player Controller Script. To remove the Player Controller Script Component, in the Inspector right-click the small gear to the right of the Player Controller Script Component and select Remove Component (Figure 6-18).
Figure 6-18
Removing the Player Controller Script Component
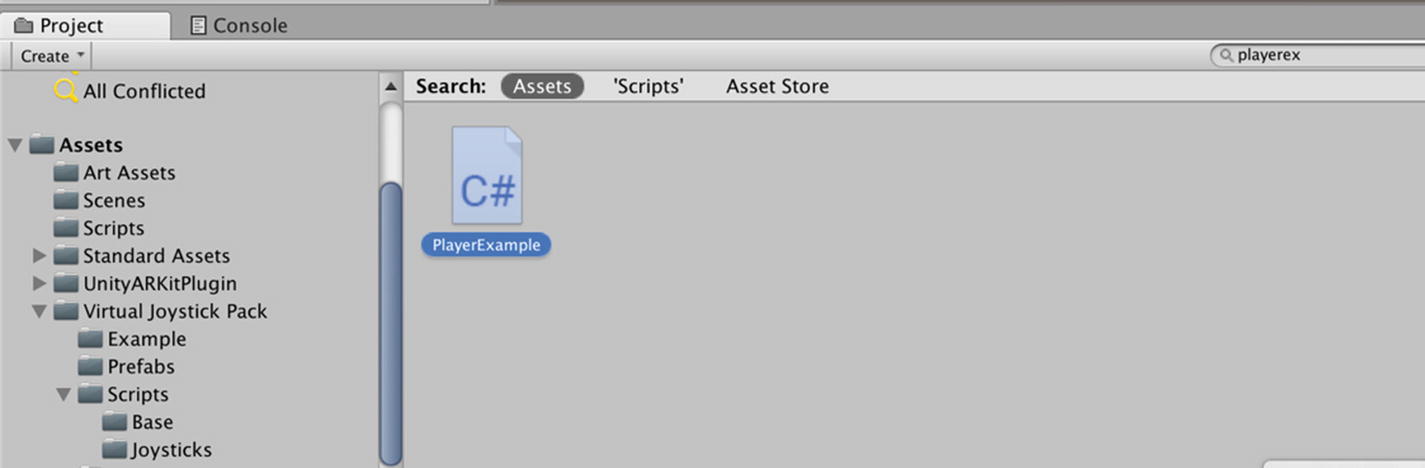
Now in the Project tab, search for and select the PlayerExample Script (Figure 6-19) and drag this script onto the BowlingBall Game Object (Figure 6-20).
Figure 6-19
Searching for the PlayerExample Script
Figure 6-20
The Player Example Script added to the BowlingBall
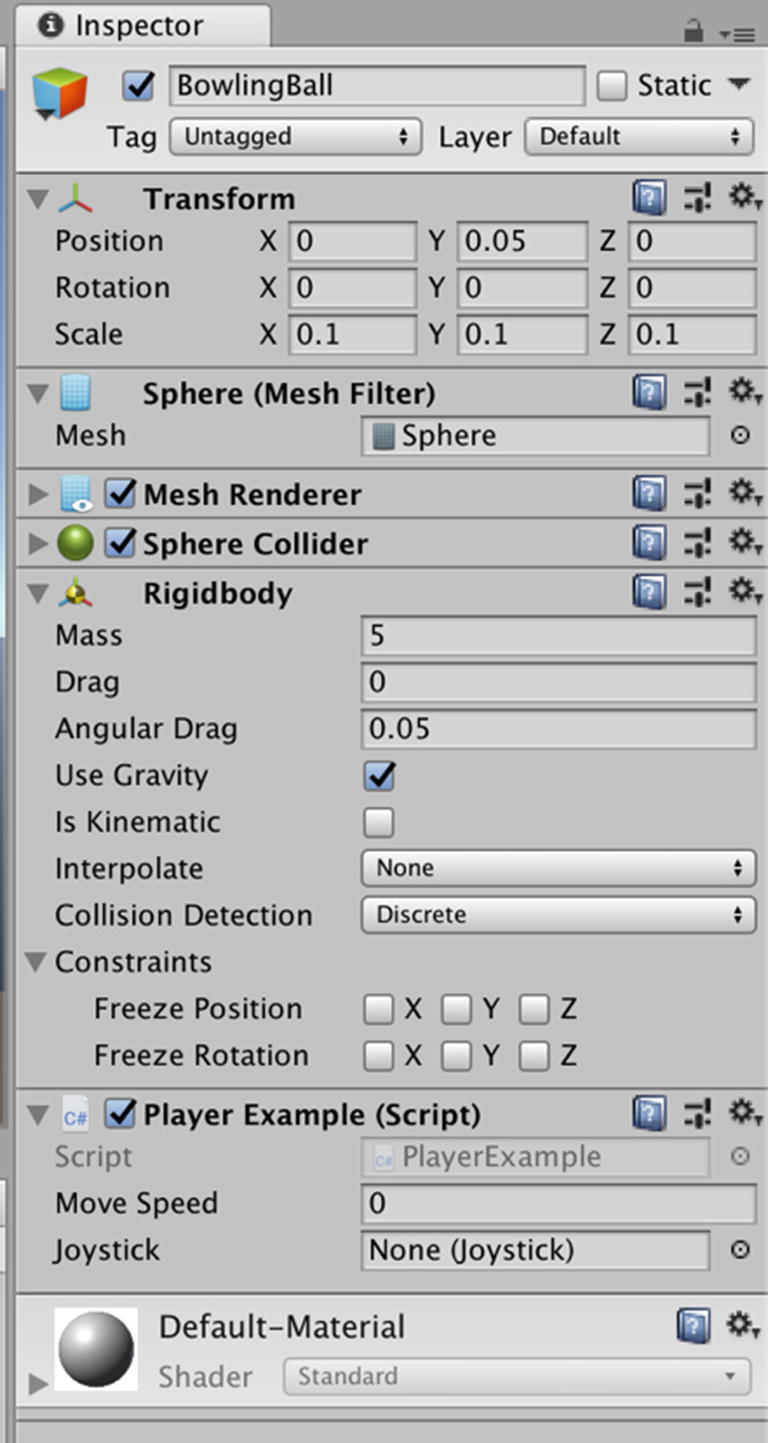
Before you do anything else, make sure the speed is set. From the Hierarchy, select the FixedJoysick GameObject (Figure 6-21) and drag this to the Joystick properties box of the Player Example Component of the BowlingBall GameObject (Figure 6-22). I have set the Speed to 5. This may be a bit fast, but we can change this later on.
Figure 6-21
Selecting the Fixed Joystick GameObject
Figure 6-22
Setting the Move Speed and Joystick properties
Testing
Now we can test our Virtual Joystick and see if it works. First, I highly recommend you test it in the Game tab. This will save you exporting the build to your device and finding that it does not work (however, just because the game will work in Unity, this does not always mean it will work on our device).
If the game works in Unity, now test it on a device.
On Device Testing
From the Unity menu, select File ➤ Build Settings (Figure 6-23). In the Build Settings select player settings and, in the Inspector, change the version number (Figure 6-24).
Figure 6-23
Build Settings
Figure 6-24
Player Settings
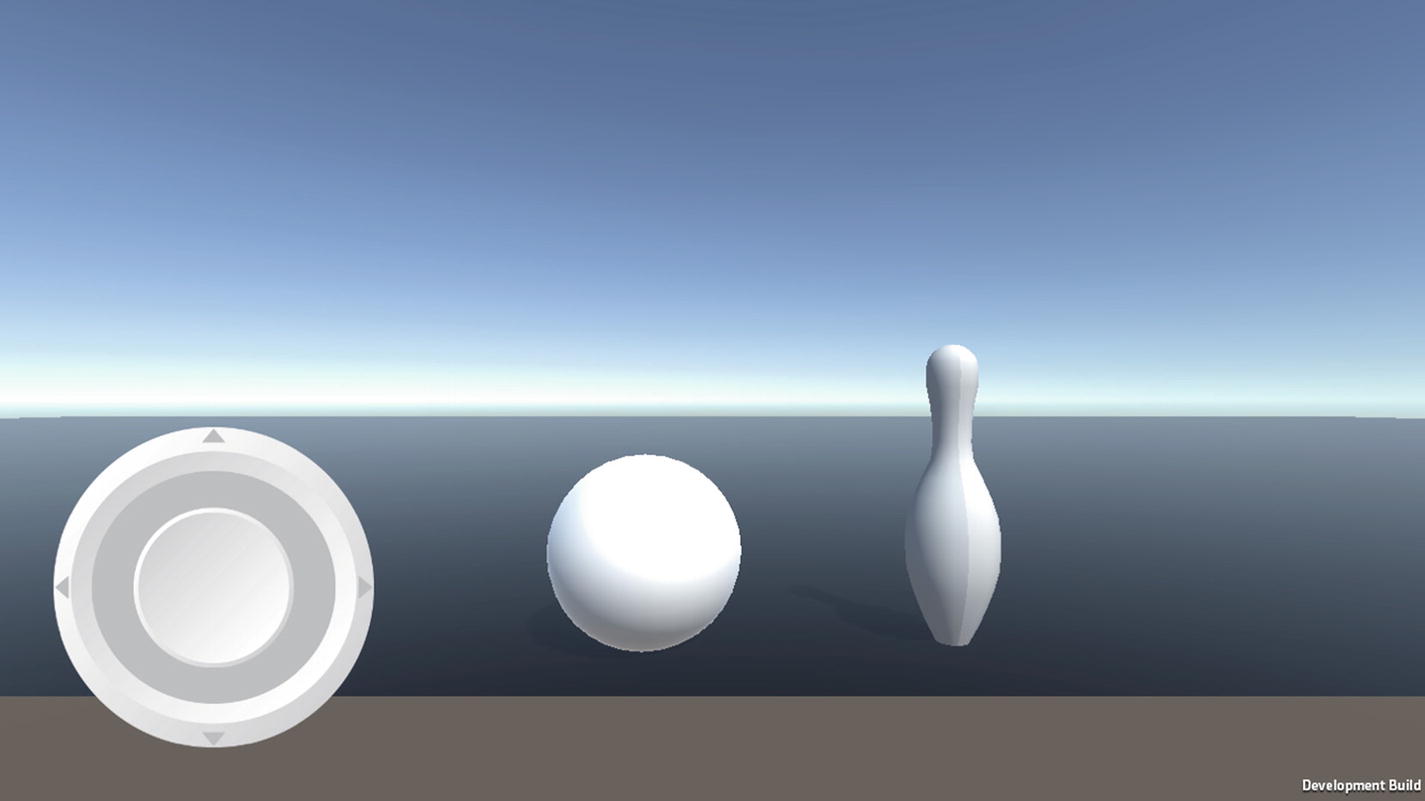
Success
After we select Build and Run from the Build menu, Unity will compile the code and open Xcode. After the code has compiled in Xcode, the game will be installed on your iOS device. In Figure 6-25, I have successfully created the App and the Virtual Joystick works. As noted, the BowlingBall speed is too fast, but for now, let’s leave it as it is.