A virtual environment, or virtualization, is not mandatory for the experienced ethical hacker. As an experienced ethical hacker, you can run Kali Linux as your main system and perform the hacking using mainly a terminal with the help of a programming language such as Python, or you can use selected tools like Metasploit. However, for beginners, virtualization is compulsory.
Let me explain very briefly why it is important. Hacking can change the system completely. If you don’t understand the state of the system well, you might change the state of your main system inadvertently. As a beginner, you cannot take that risk; therefore, always practice using a virtual machine. The easiest of them is VirtualBox, so I have chosen it to show you all types of bug hunting.
As an aspiring ethical hacker and penetration tester, you should become capable of building virtual and physical labs to use for practice, as this lets you install as many operating systems as necessary. Using virtual machines, you can safely break any system and change the state in your VirtualBox. It would not affect the main system.
Why We Need a Virtual Environment
Virtualization is important for any type of penetration testing. You are going to learn how to find security vulnerabilities in any web application, and that needs a lot of practice before you actually approach a client to do the same on their live system. So we need a simulated environment first, a network security lab where we can practice, to learn and understand every trick of hunting bugs so that we can implement them on the live applications later as security professionals.
There are also other important considerations, like, since virtualization provides you a simulated environment, your main system is not touched. If you break your operating system by mistake while experimenting with any hacking-related tools, it happens inside your virtual system. You can reinstall the damaged operating system again. Another important aspect is that we have to stay within the law—always. We must practice our hacking-related tools in a legal way on our own systems.
You can also safely browse any web sites in a virtual environment. If some malicious code enters into your simulated environment, let it stay; it won’t touch your main system. I simply encourage you to do every type of testing. It is a virtual machine. So, go ahead; test everything that comes to mind.
During my long information security research career, I have tested many hypervisors. However, keeping in mind that you may run your virtualization on any operating system in a simple way without facing any problem, I strongly recommend using VirtualBox. Irrespective of any operating system, VirtualBox is the best security lab solution for beginners. We will discuss the advantages in a minute.
Just to let you know, there are several other hypervisors. Security professionals use some of them; however, most of them are targeted for specific operating systems. KVM is good for Linux. For Windows, VMware player is a good solution; Windows Virtual PC is also good, but you cannot run Linux distributions inside it. For macOS, both VMware and Virtual PC are good options including “QEMU” and “Parallels.” VirtualBox can run on any operating system.
Installing VirtualBox is very simple. Whatever your operating system is, all it requires is a few clicks or typing a few commands. If you are using Windows, go to the Oracle VirtualBox page and download the latest version available. It’ll simply guide you to the virtualization.
Note
For VirtualBox, you need to have an ISO image to install any operating system.
There are other techniques to install VirtualBox on any Linux system. You can use your Ubuntu terminal and try the following commands separately.
If you don’t want to go through typing, there are simple methods to install VirtualBox. And the good news is that it’s graphical user interface based. That is the reason I’m encouraging absolute beginners to run an Ubuntu Linux distribution as their default OS. You can install VirtualBox from the software center directly without opening up the terminal or issuing any command. Ubuntu Software Center has many categories. One of them shows the installed software.
Introduction to Kali Linux—the Hacker’s Operating System
Once the VirtualBox has been installed on your machine, you need not worry about installing several operating systems on it.
First, we need to install Kali Linux on our VirtualBox. Go to the official Kali Linux web site and download the ISO image of the latest stable version. Kali Linux is a much bigger Linux distribution than other Linux distributions.
The latest ISO image is more than 3 GB now, as of the middle of 2019. After the installation is over, it takes around 8 GB in your allocated virtual hard disk. Kali is by default not for general users. It contains a lot of hacking tools meant for various purposes, and because of that, it is much heavier as far as size is concerned. For the same reason, it is also known as the hacker’s operating system. You get plenty of hacking tools with Kali Linux, and you need not install them separately. In addition, it is the most popular among ethical hackers.
BlackArch Linux is one of them. It has a huge range of pen testing and hacking tools and is very large. Probably it is the largest among the others. It is over 7 GB in size because it has more than 1,900 hacking-related tools. You can run BlackArch live from a USB stick or DVD, or it can be installed on a computer or virtual machine.
Qubes OS is another secure operating system but it is for advanced users only. In this operating system suspected applications are forced to be quarantined. It also uses sandboxes to protect the main system. Qubes OS actually runs a number of virtual machines inside, keeping the main system secure. It compartmentalizes the whole system into many categories such as “personal,” “work,” “Internet,” and so on; it has reasons to do that. If someone accidentally downloads malware, the main system won’t be affected.
ImprediaOS is another good example. It uses the anonymous I2P network so that you can keep your anonymity all the time. It is believed to be faster than Tor, but you cannot access regular web sites easily. It is based on Fedora Linux and can run either in live mode or be installed onto the hard drive. It routes all your network traffic through the I2P networking system. This is known as “garlic routing,” whereas Tor uses “onion routing.” Garlic routing is believed to be safer than onion routing. So you can visit only a special type of web sites called “eepsites” that end with “.i2p” extensions. It also has anonymous emails and BitTorrent client services. Visiting eepsites is always safer and it usually evades the surveillance radar that can track Tor.
“Tails” is another good example of a secure Linux distribution. It keeps your anonymity intact through the Tor network, although it is debatable whether Tor can keep you absolutely anonymous or not. The main feature of Tails is that you can run it from a DVD in live mode so that it loads entirely on your system and leaves no trace of its activities.
Another good example of a secure Linux distribution is “Whonix.” You can use the power of virtual machines to stay safe online, which is achievable as the route of the whole connection is via the anonymous Tor networking system. In Whonix, several privacy-related applications are installed by default. It is advisable to use it in your VirtualBox to get the best result.
You can download any of them and try to run it on your VirtualBox. However, at present our main goal is simple enough. We’ll install Kali first. Next, we will check whether the tools required for finding vulnerabilities in the web applications are updated or not. If not, then we will update them accordingly.
A new window pops up in the VirtualBox.
Look at the top left panel of the image; you see on the VirtualBox I have already installed Kali Linux, Metasploiltable 2, and MSEdge Windows 10. This Windows version can be downloaded for free for testing purposes and it remains available for 30 days.
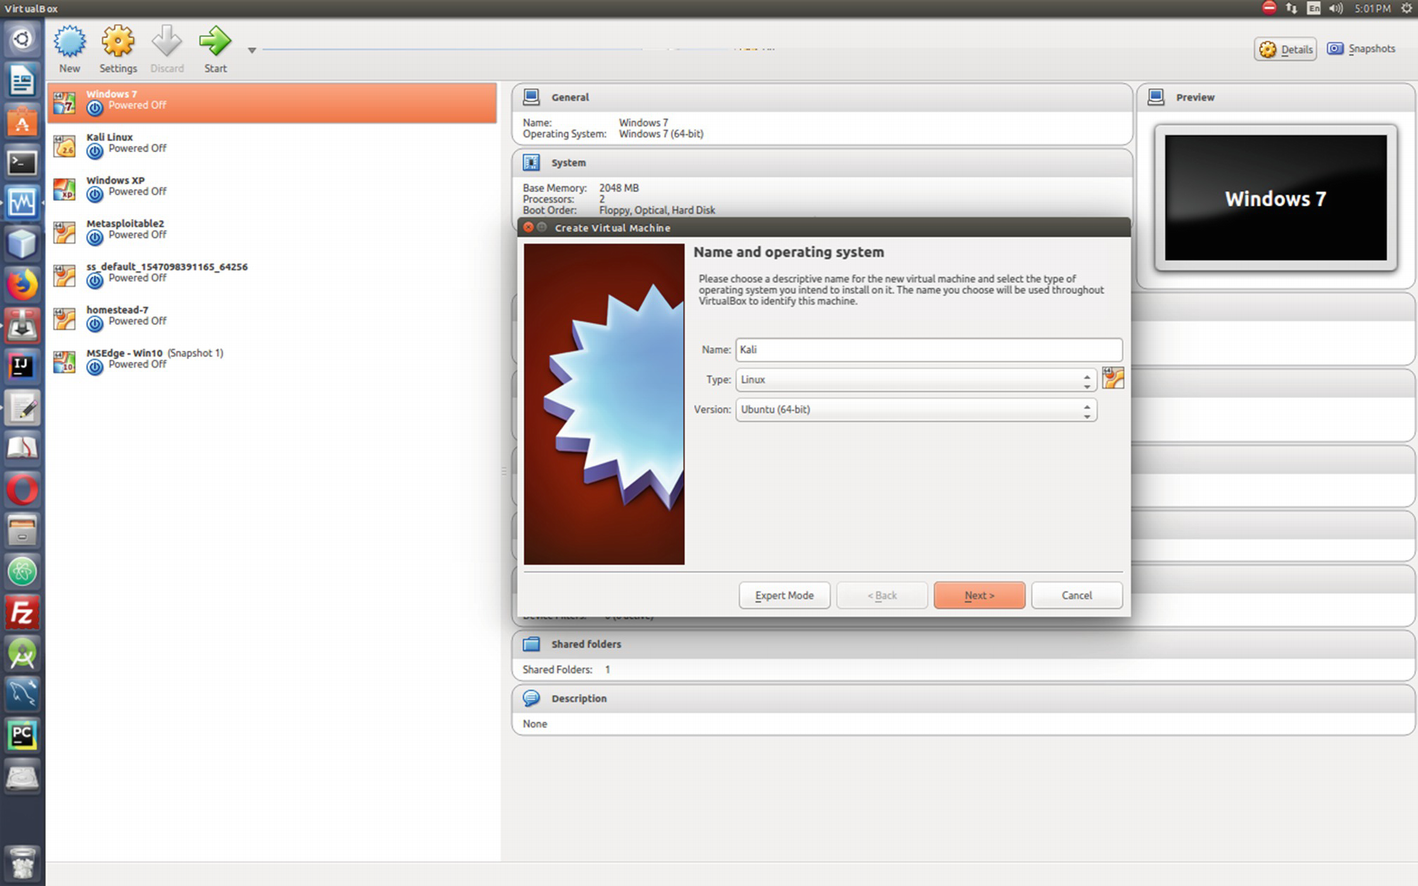
The whole procedure is very explicit in itself. It will guide you to what to do next. Now it is time to enter in the opened-up window or UI of VirtualBox the name of the operating system you are about to install. Next, select the type—whether it is Linux or Windows, etc.—and the version. In the long list of versions section, you won’t find the name of Kali, but basically it is Debian. So go ahead and select the 32 bit or 64 bit Debian or Ubuntu according to your system architecture. Click Next, and it will ask for the memory usage.
Allocating the memory size for Kali
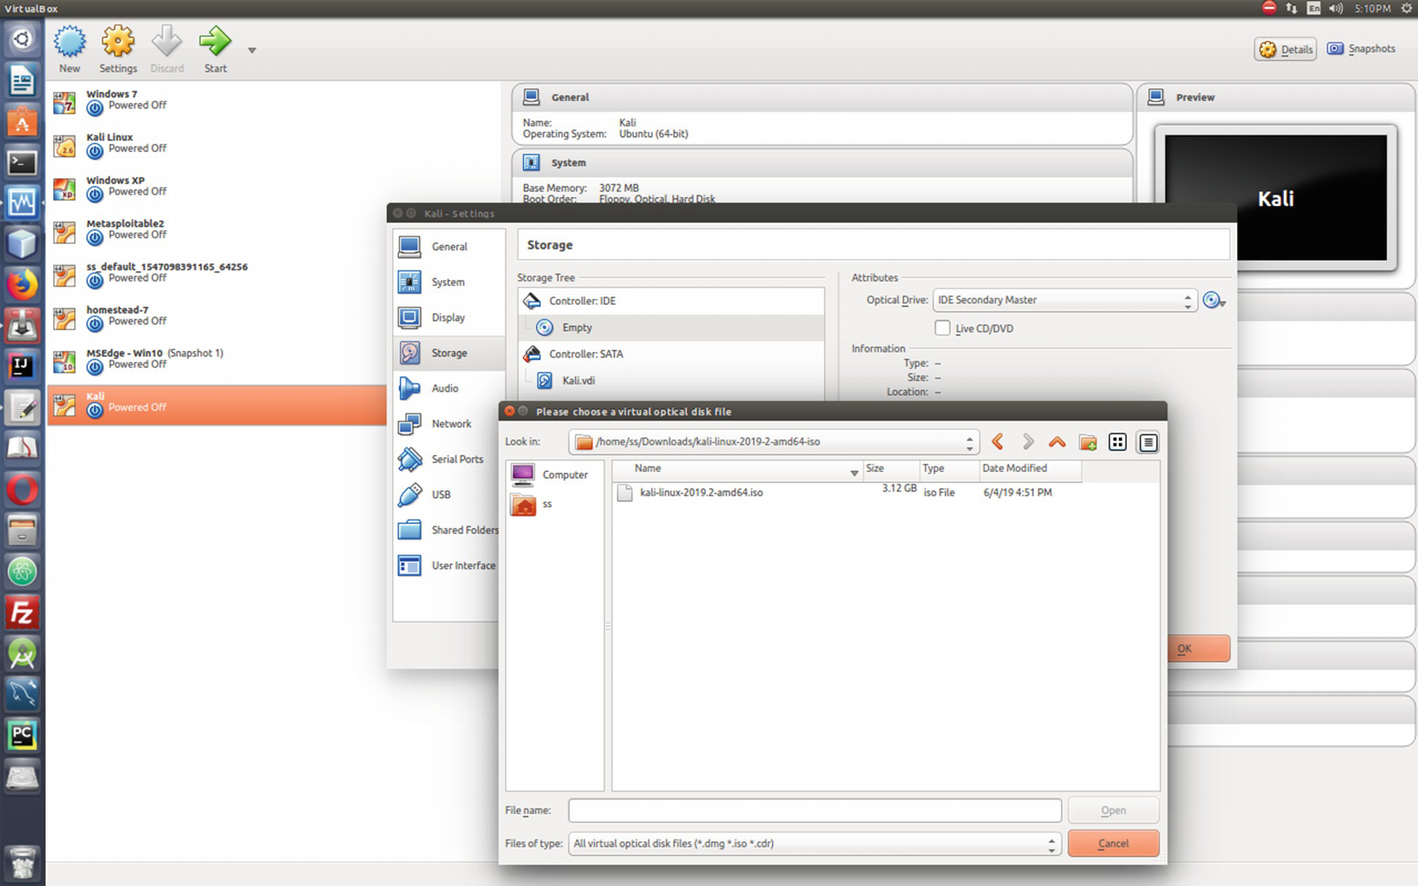
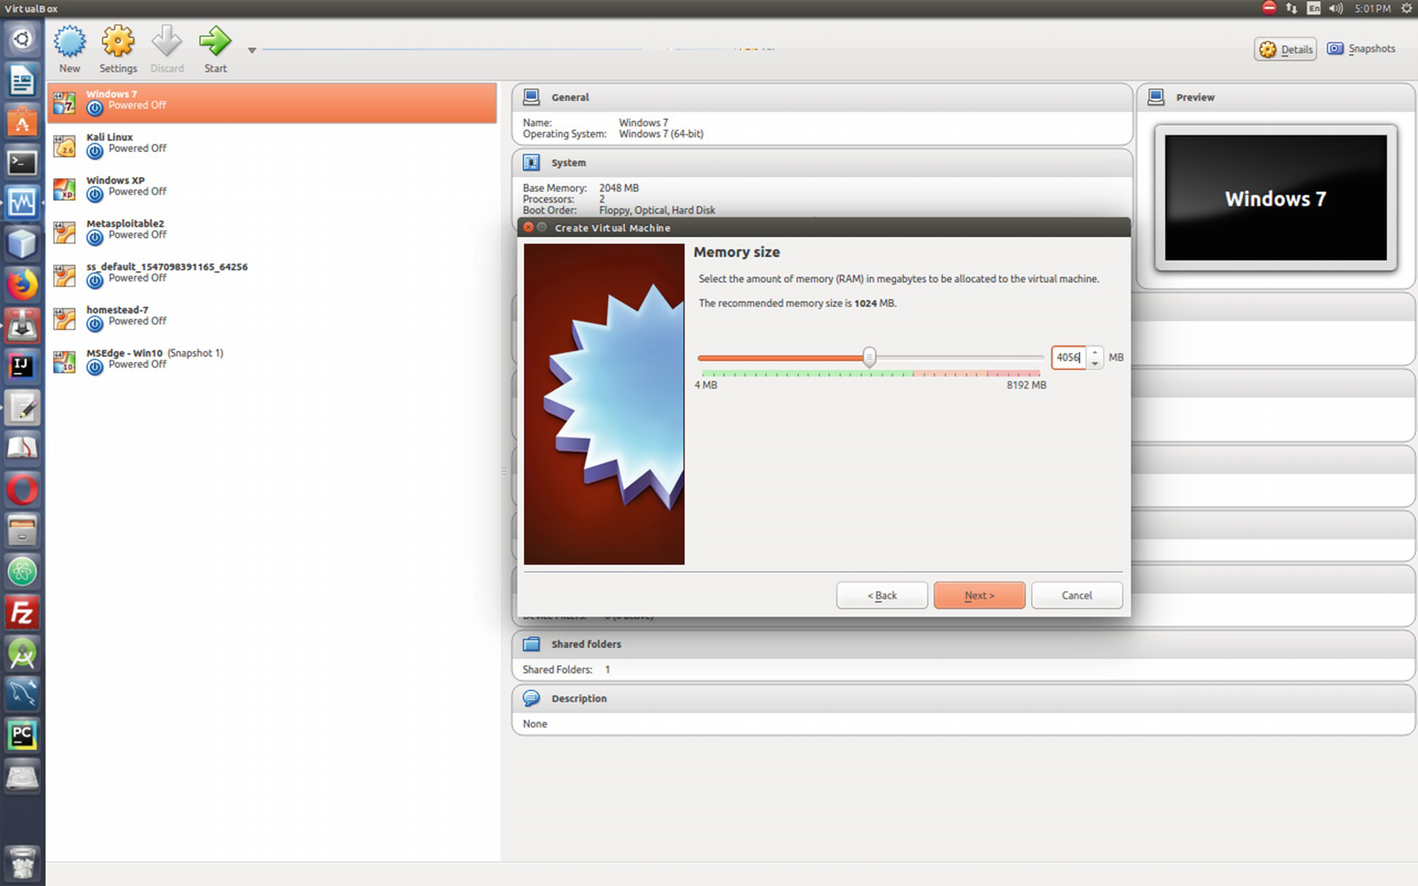
Selecting the ISO image of Kali Linux
The most important part of this installation process is you need to keep your Internet connection running so that Kali Linux will adjust its prerequisites accordingly.
Before the installation process begins, you’ll notice there are many choices given. The seasoned ethical hackers will opt for the top, nongraphical, one.

Installing Kali Linux followed by graphical user assistance
Usually, when an operating system is installed on a virtual machine, it is displayed in a small size window and it stays like that. This is because VirtualBox architecture is not hardware based like original operating systems. It is software-based virtualization. You cannot alter the window size later. For the new Kali version, you need not worry about that; it will be installed full screen.
Tools in Kali Linux
There are hundreds of hacking tools that are available in Kali Linux. For finding vulnerabilities and hunting bugs in web applications, we mainly need two tools: Burp Suite and OWASP ZAP. Besides them, we may need other tools such as nmap, wpscan, nikto, httrack, sqlmap, DirBuster, etc. As we need them, we will learn them. Therefore, here I am not going to give separate introductions for each tool.
We must get the latest Burp Suite Community edition in our VirtualBox Kali Linux, because the Burp edition, which comes with Kali, may not have the latest Java packages in it. It is always recommended that you go to the Burp Suite Community edition download page and download the burpsuite_community_linux_v1_7_36.sh file. Normally it is downloaded in the Download directory. You need to make the file executable, so open your terminal and type this command:

Installing Burp Suite Community edition in your VirtualBox Kali Linux
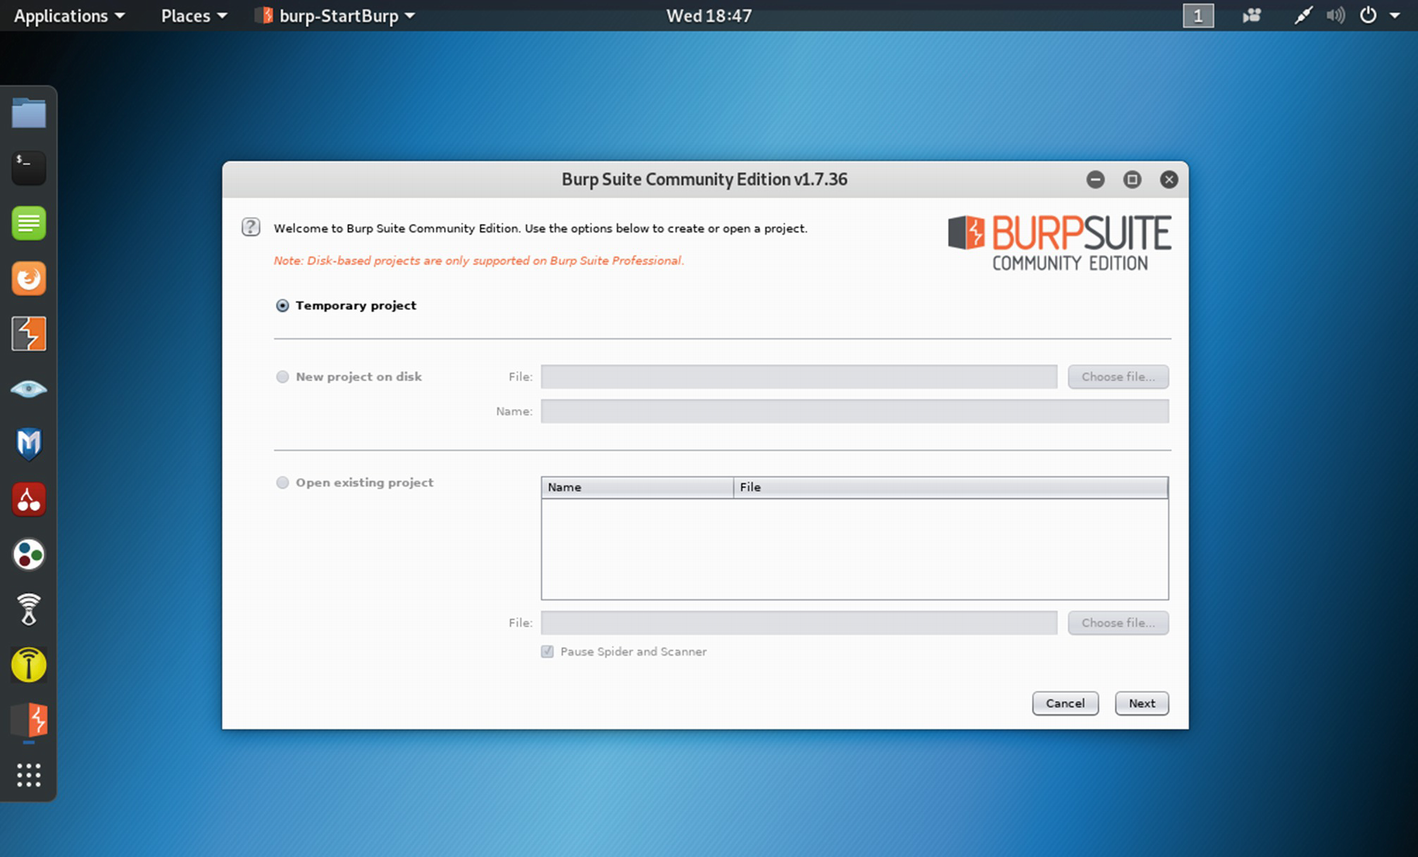
Next, we will just check whether our newly installed Burp Suite Community edition is properly working or not.
Burp Suite and OWASP ZAP
Many ethical hackers and security professionals opine that finding vulnerabilities in any web application has been made easy with the help of the Burp Suite tool. So their advice is to buy a Burp Suite professional license and that will do all your work.
This idea is absolutely wrong. Never fall into the trap of the vague idea: that one tool will solve your all problems. It never happens in the information security industry. You need to learn constantly. This process is evolving.
Besides Burp Suite, you may need plenty of other tools that we will talk about in the next section. As I have said, finding vulnerabilities in any web application is not a piece of cake; you need to learn many things, you need to sharpen your skill in your virtual lab with the help of Kali Linux first, and it takes some time. Do not expect that with the help of one single tool you will be able to find all the exploits and vulnerabilities in a web application and earn a lot of bounty.
You get the Burp Suite Community edition for free with Kali Linux. That is all you need in the beginning, but even after that when you become a security professional, you will find it works fine. I have been doing bug hunting and penetration testing for a long time and I still do not have to use any professional tool. Yes, the professionally licensed tools work faster than the community editions, but that can be compensated for with the help of other open source tools if you learn the tricks and understand your jobs properly.
The best alternative to the Burp Suite is OWASP ZAP. It is completely free and it has become an industry standard. Many security professionals, including me, use this tool besides Burp Suite. In some cases, OWASP ZAP works better than Burp. So, in the very beginning you need not worry about buying the professional Burp Suite. We will show and practice our skill with the community edition of Burp Suite when needed.
Now, what is Burp Suite and how will we start it? There are many web penetration testing frameworks that help us identify vulnerabilities in web applications. Burp Suite is one of them. It is Java based and has many features that can verify the attack vectors that are affecting web applications.
Opening Burp Suite in Kali Linux
To analyze web vulnerabilities properly using Burp Suite, we need to configure our web browser (we will show that in the “Adding a Proxy to a Browser” section); but why do we need to do that? Here lies the main concept of Burp Suite. The Burp Suite works as an interception proxy. We configure our Firefox web browser in a way so that while browsing the target application we can route traffic through the Burp Suite proxy server. In the coming chapters you will find plenty of examples.
Burp Suite captures all the traffic from the targeted web application so we can analyze them later. As a penetration tester, you can manipulate this process on your own and analyze the potential risks. The same thing can be done with the help of OWASP ZAP.
Since Burp Suite is Java based, it always wants the latest Java version from the operating system. The latest Kali Linux at the time of writing this book had Java 11, and Burp will ask for Java 12 that is currently running. However, it does not affect performance.
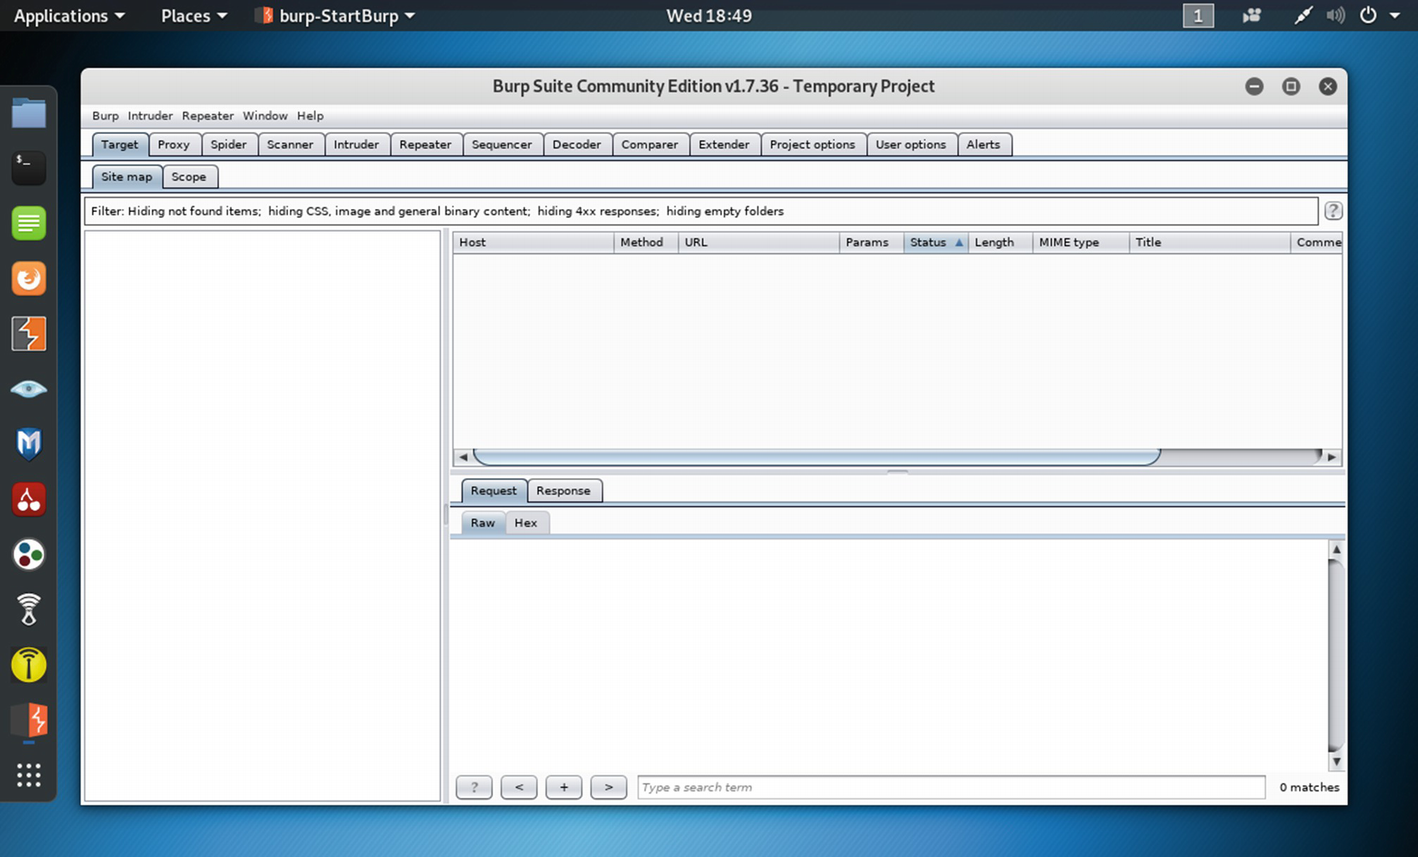
Burp Suite with all its features
How to Start OWASP ZAP
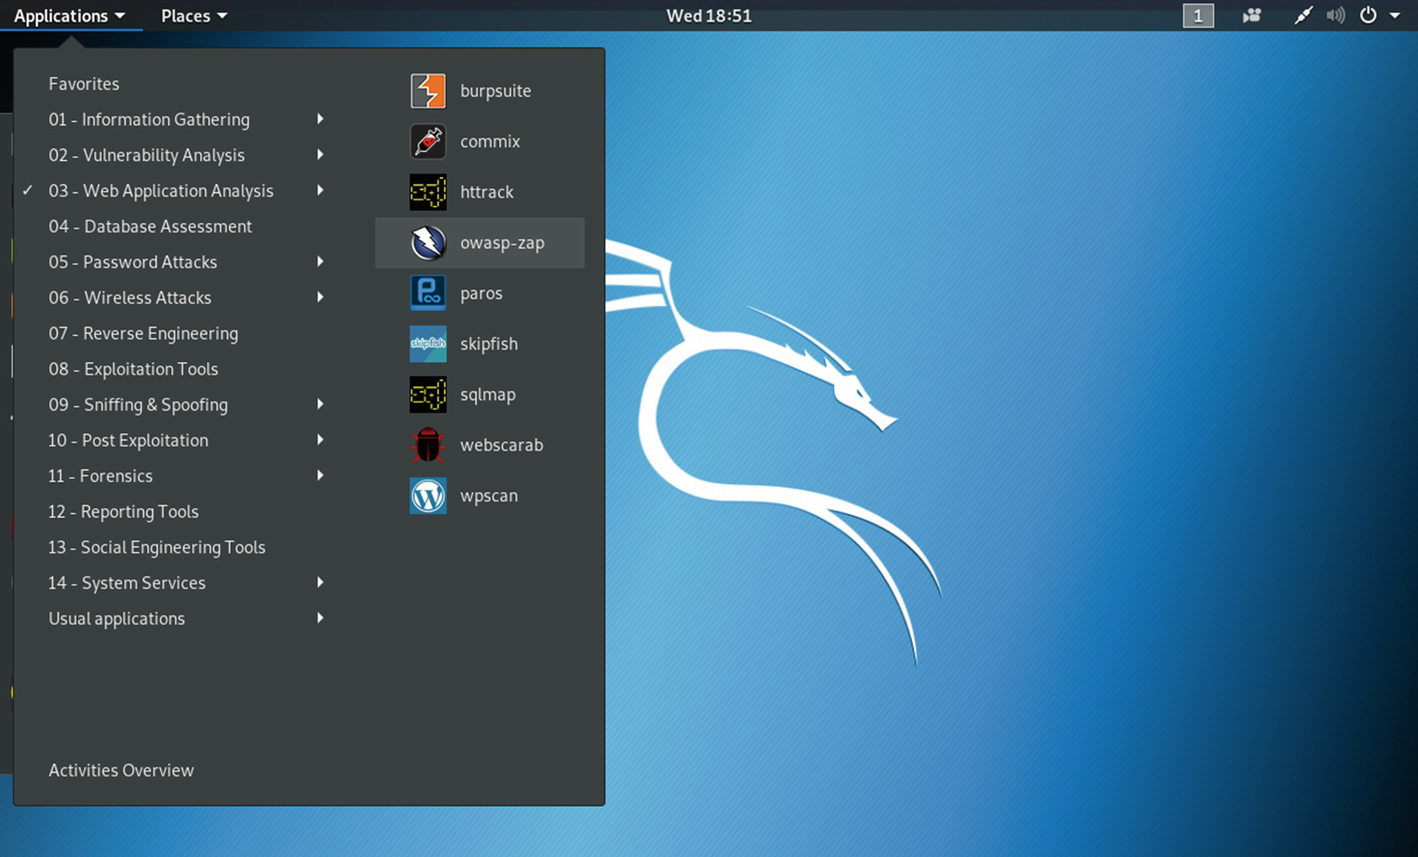
Finding the OWASP ZAP tool

The OWASP ZAP tool has opened up for attacking any web application.
So far we have seen how we can open and start two main Web Application Analysis tools. We have not started to operate yet.
Hack the WebGoat
WebGoat was created as a deliberately insecure application that allows you to hack it using Burp Suite or OWASP ZAP until you are satisfied with the results. As a student of information security analysis, you need something where you can test vulnerabilities that are commonly found in web applications. WebGoat is ideal for this testing purpose.
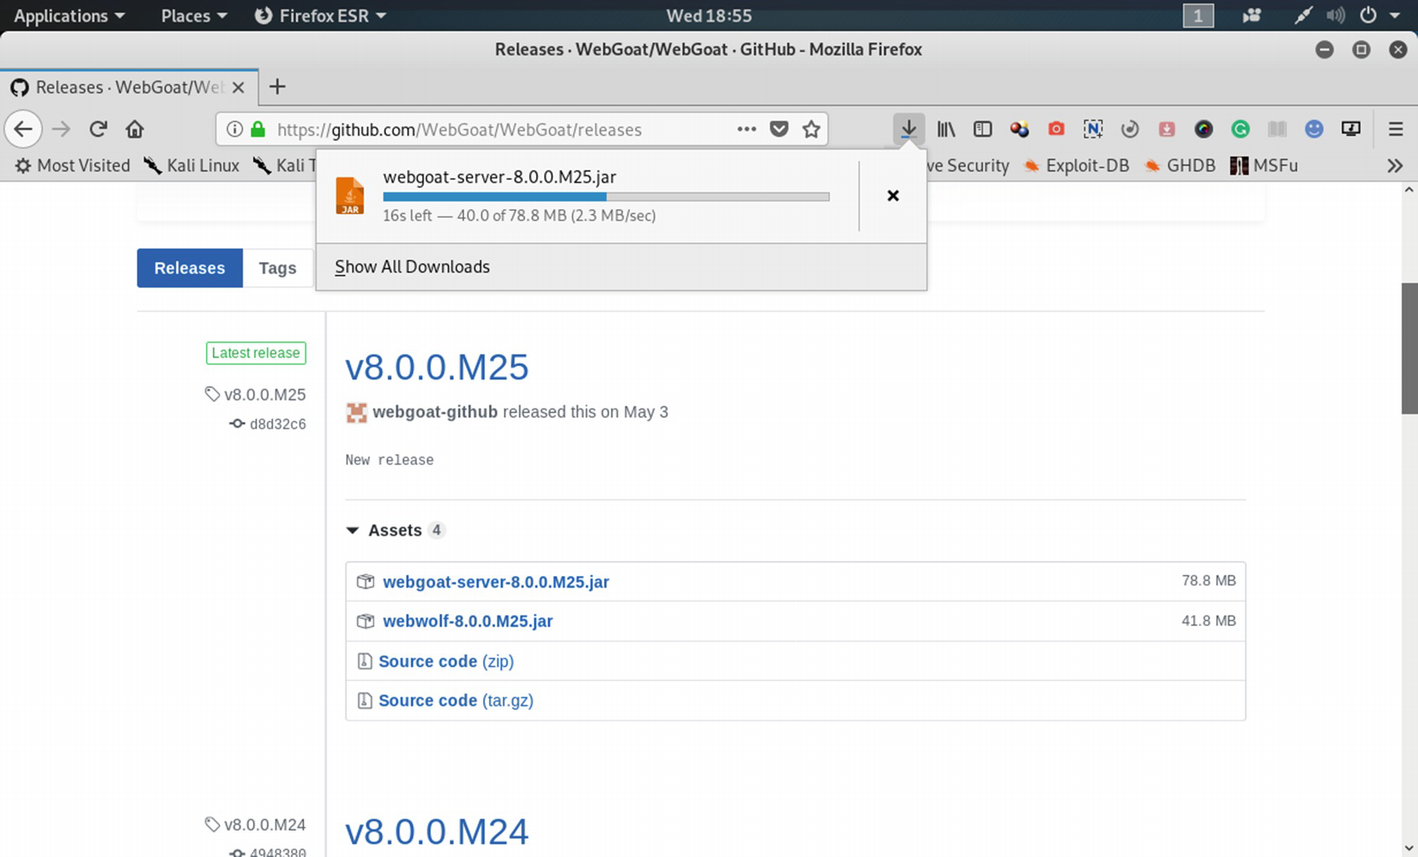
Downloading the “webgoat-server-8.0.0.M25.jar” file from Github
After downloading the file, open up your terminal in Kali Linux. Since it has been downloaded in the Download directory, you need to change the directory and issue this command:
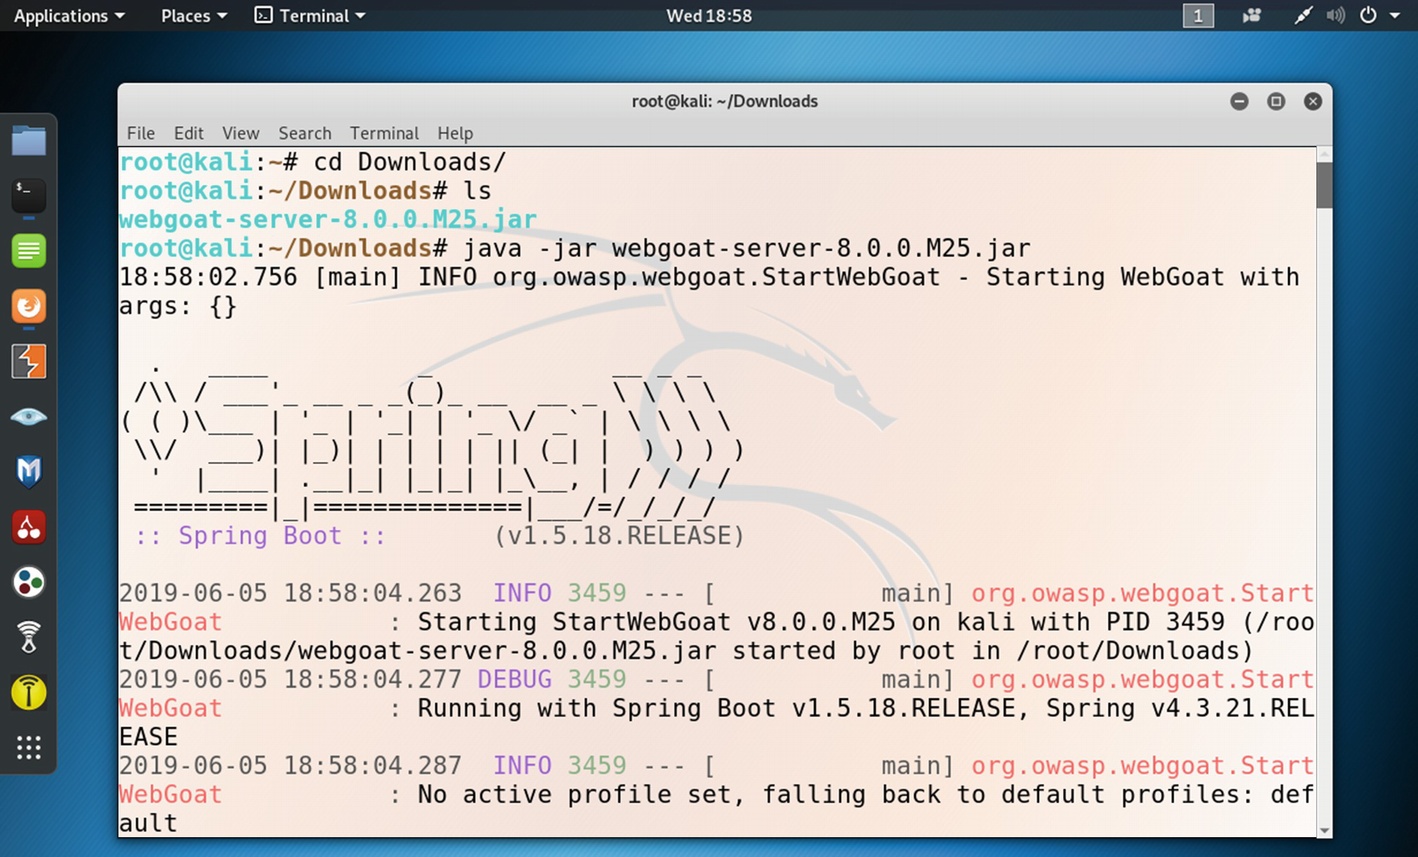
WebGoat server has been started by the command.
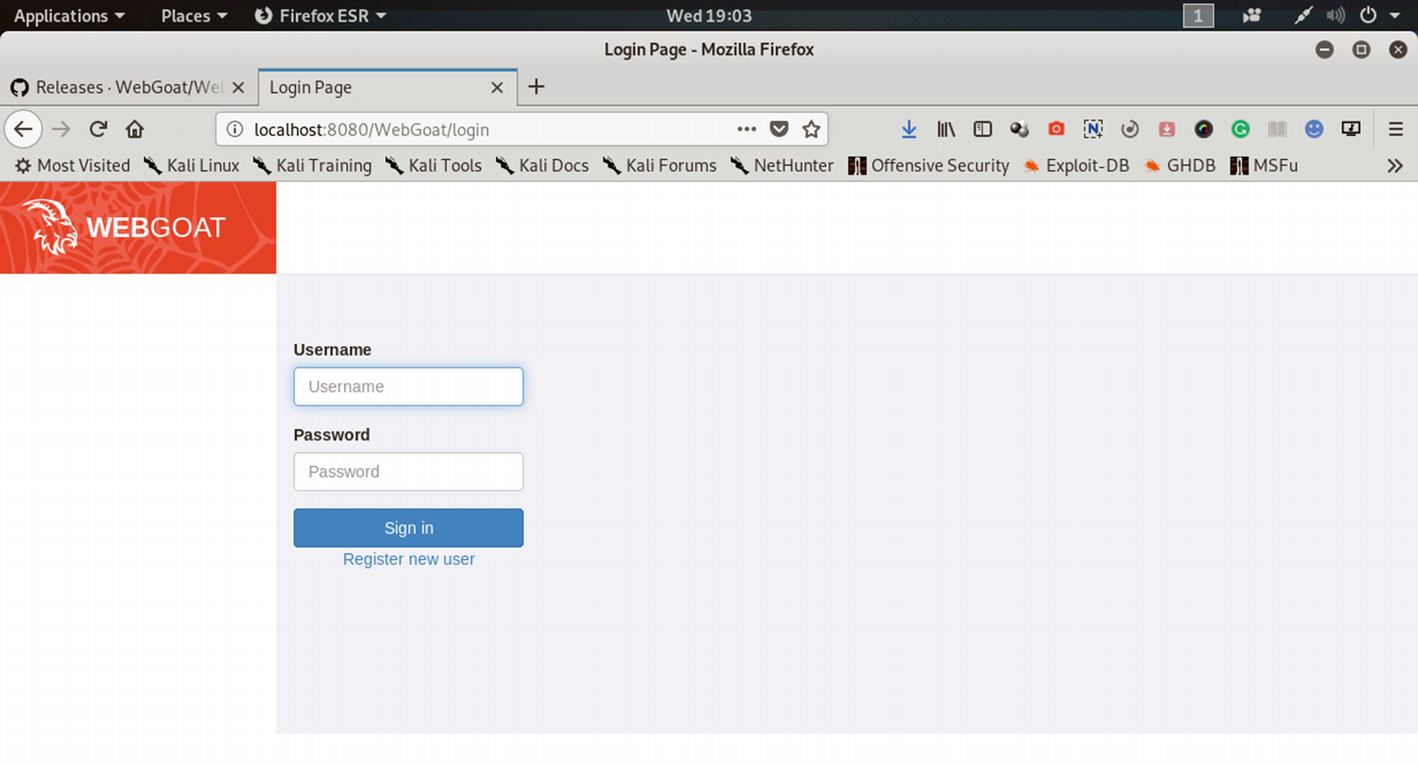
The WebGoat web application has been launched on the Firefox browser.
Adding a Proxy to a Browser
For the Burp Suite and OWASP ZAP, we need to add another port to our Firefox browser. While searching the Web in a normal circumstance, the browser does not use any proxy. But now we need a proxy so that all traffic should pass through either Burp Suite or OWASP ZAP. The great advantage of OWASP ZAP is that we do not have to adjust our proxy and port in the browser. It automatically adjusts the proxy port and captures the data going through it.
However, for Burp Suite we are going to change it from no proxy to manual proxy configuration.

From “No proxy” to “Manual proxy configuration” in the Firefox browser
Since WebGoat takes the 8080 port, we have chosen another port 9500. Henceforth, while using Burp or OWASP, our traffic will flow through that port.
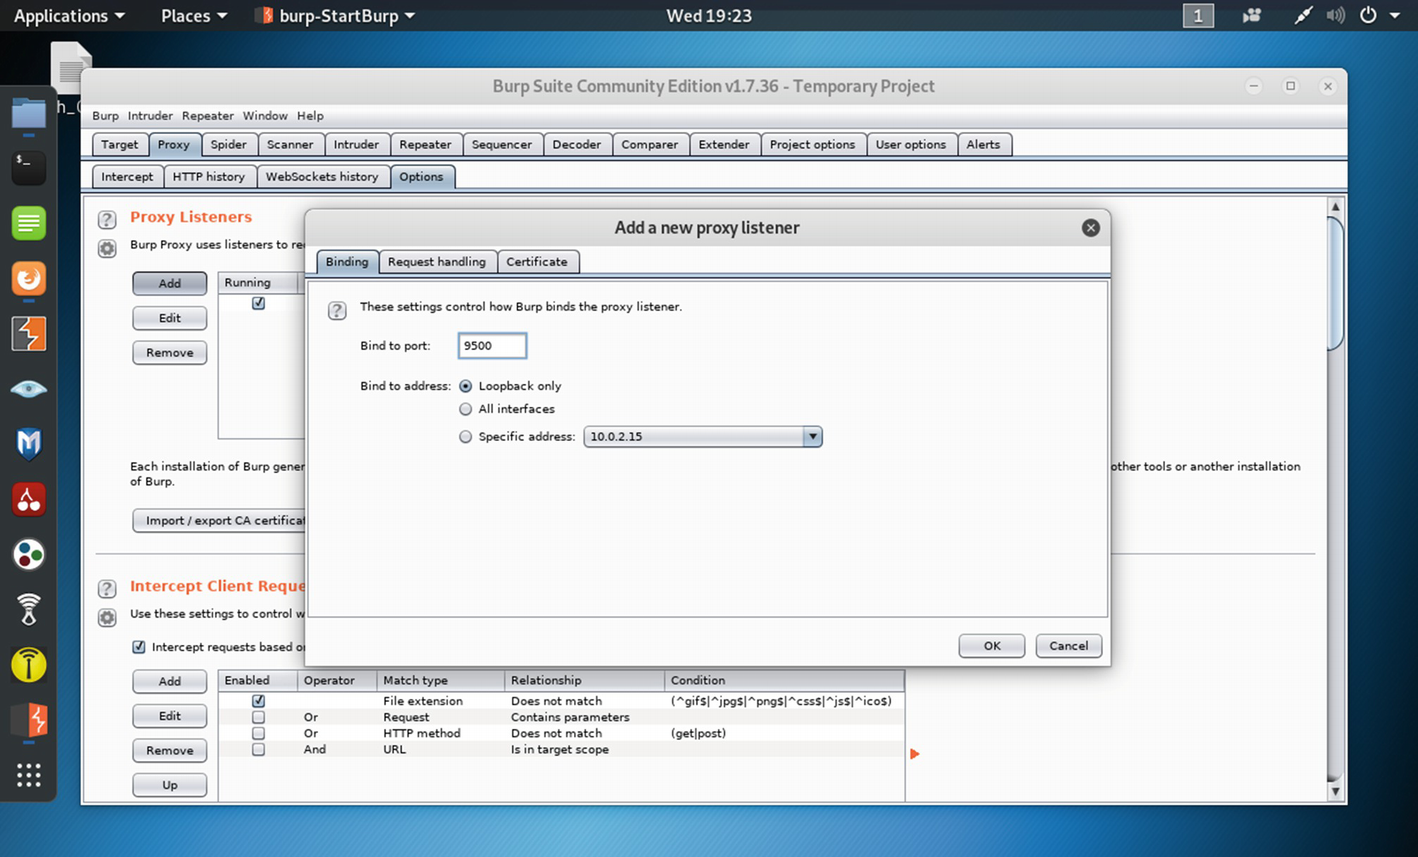
Binding the Port to 9500 in Burp Suite
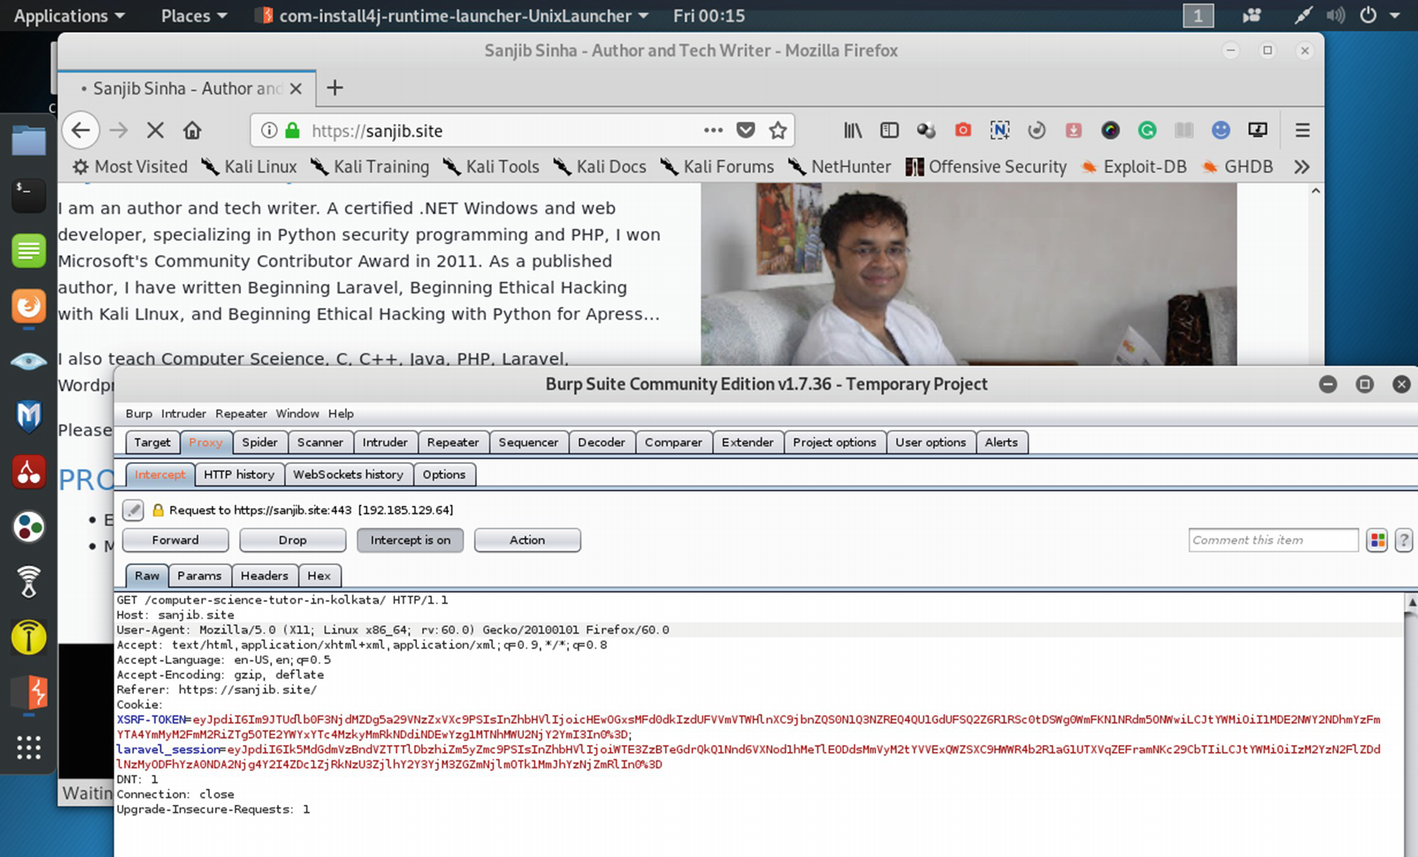
The traffic of https://sanjib.site is passing through the Burp proxy.
Now I am going to test my web application (https://sanjib.site) using Burp Suite and want to see that everything falls in the proper place. This web application has been running on Laravel; and in a separate directory, it uses Wordpress.
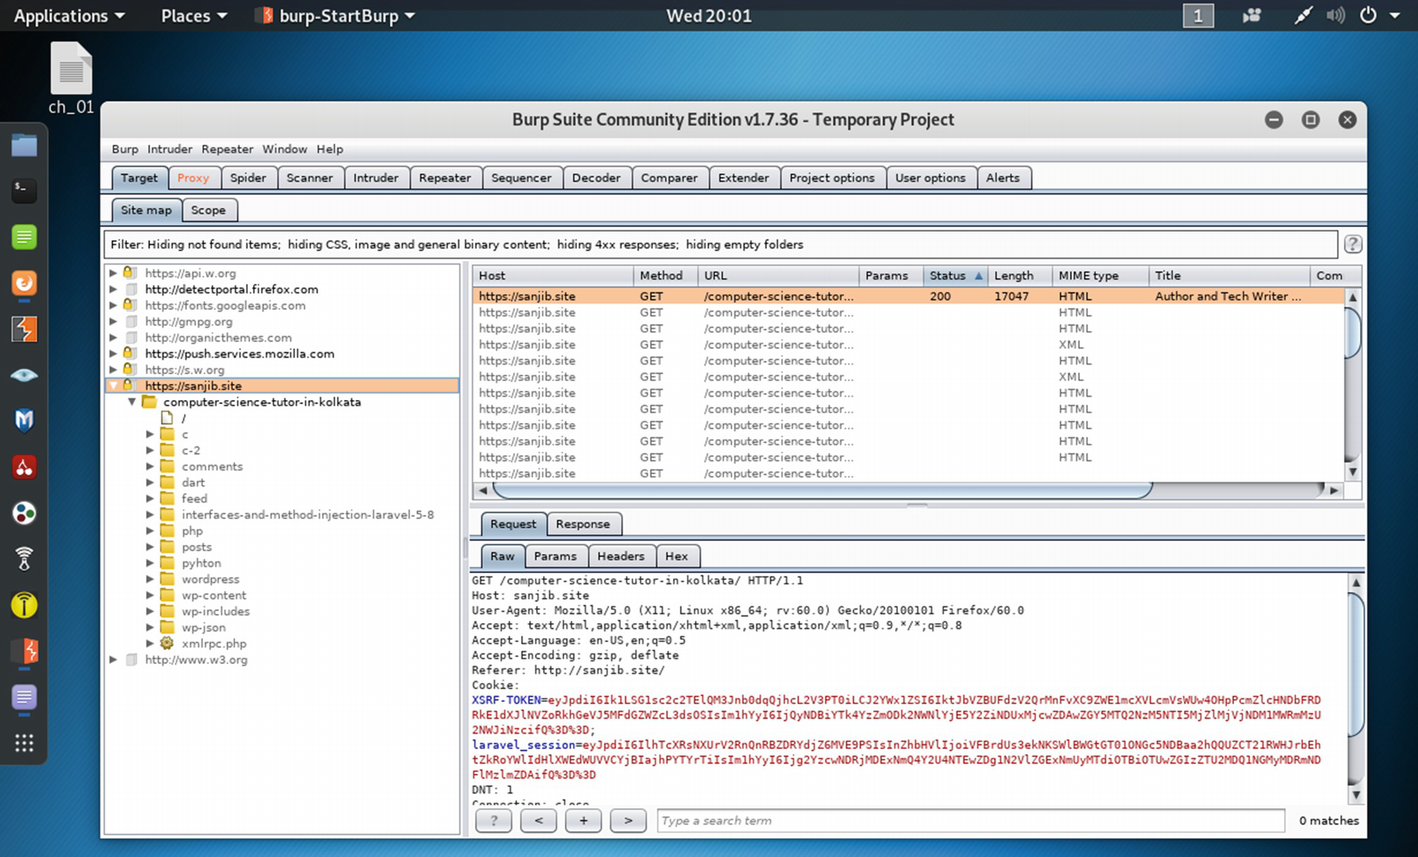
The Burp Suite captures the traffic of web application https://sanjib.site .
We get all the directory listings and many more that we can analyze later.
The output is like this:
We can do many more things using this data; moreover, we can analyze the subdomains and try to find if there are any vulnerabilities left in the application. We will cover those topics in the coming chapters. Before that, in the next section, we will have a quick look at the other tools that we will need in the coming chapters.
Introducing Other Tools
There are several tools available in Kali Linux. Before discussing a few essential tools, I think it is important for you to learn where to practice your hacking skills.
BWAPP
Rootme
OWASP Juicy Shop
Hacker101
Hacksplaining
Penetration Testing Practice Labs
Damn Vulnerable iOS App (DVIA)
Mutillidae
Trytohack
HackTheBox
SQL Injection Practice
For web application analysis, we already have tools like wpscan, httrack, and sqlmap in Kali Linux. However, we may need to scan the ports, so nmap will be extremely useful. That is also available in Kali Linux. Another good web application vulnerability scanner is nikto.
However, the range of nmap is quite big, and you can not only do the web application analysis but also use it for vulnerabilities analysis, information gathering, etc.
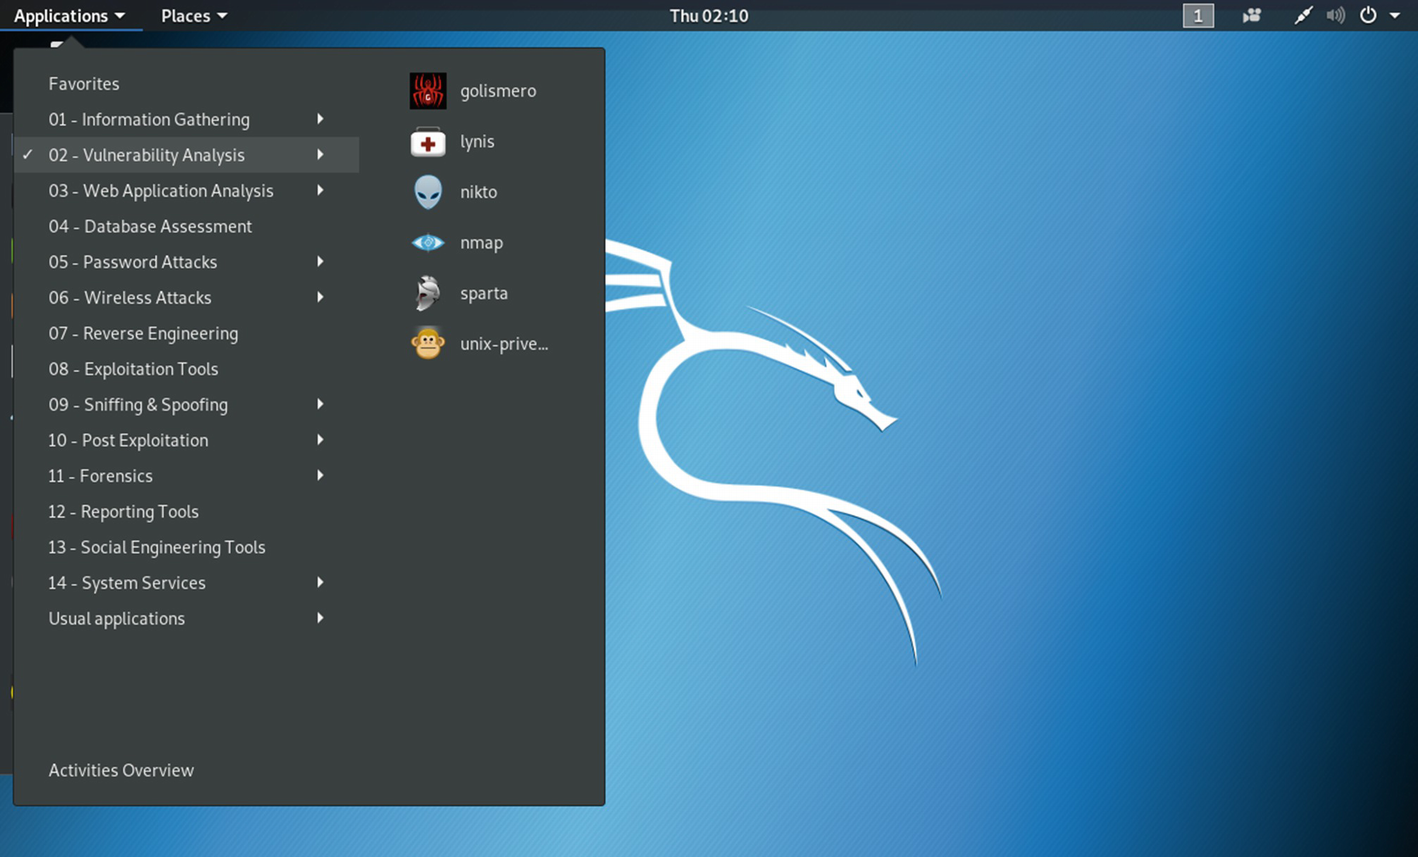
Finding “nmap” and “nikto” in Kali Linux
If we scan https://sanjib.site using nmap, we issue the following command and get this output:
We find that in my web application, several ports are left open. It is because I have used Wordpress in a separate directory. We could have used wpscan to specifically scan that directory and find more vulnerability. Usually, open ports are used by applications and services; therefore, they may have vulnerabilities and bugs inside them. The more applications and services use open ports to communicate internally, the more risks are involved.
These findings are very important for further scanning and capturing more traffic from the subdomains using Burp Suite or OWASP ZAP.
As a penetration tester or a bug bounty hunter, you need to know the usages of these tools also, so that you can use the result to analyze the traffic and make a detailed report based on your findings.
Besides nmap, nikto, or wpscan, you can use these tools, which are specifically meant for CMS scanning.
Zoom is a powerful Wordpress username enumerator with infinite scanning capability. Another good CMS scanner is cms-explorer; it reveals the specific modules, plugins, components, and themes. For Joomla vulnerabilities scanning, joomscan is good.
As we progress, we will see what type of tools we need. The usage of security tools to find vulnerabilities depends on many things. As per our requirements, we will use them.
Now our virtual lab is ready for hunting bugs and vulnerabilities in the web application. As we progress, we will check whether we can use any other tool that is not available in Kali Linux.