
Piping Bags
A good piping bag (also known as a pastry bag) should be sturdy enough to hold the buttercream but still have enough flexibility to make filling the bag a simple task. For piping botanicals, choose a bag between 12 and 16 inches (30 and 40 cm) in length. I recommend Weetiee and Webake brands.
To fill a piping bag with buttercream, insert the tip of the bag into a tall cup or glass and roll the open end of the piping bag over the sides. Insert the piping tip into the bag and add buttercream to fill, leaving 3 to 4 inches (7.5 to 10 cm) of the top of the bag unfilled. Snip the tip of the piping bag to reveal the piping tip and push the buttercream toward the tip of the bag to remove any air bubbles. Secure the end of the bag with a clamp or rubber band, or twist the bag closed.
Flower Nails

A flower nail is a handheld tool that provides a flat surface for building buttercream botanicals, and it’s available in a variety of sizes and shapes. To use a flower nail for piping, hold the nail portion of the tool in your nondominant hand, rotating it between your fingers as you pipe buttercream onto the head with your dominant hand.
Flower nails are available in plastic or metal (usually stainless steel). Although a plastic nail will work fine, a metal flower nail will last longer. The size of the nailhead you use should be determined by the size of the buttercream botanical you want to create. I recommend working with a nail that’s at least 2 inches (5 cm) in diameter; anything smaller will be limiting. The most versatile flower nails are standard nails with flat heads that are 2 or 3 inches (5 or 7.5 cm) in diameter. My favorites are the Ateco 913 (this has a 2-inch [5 cm] diameter head) and the Ateco 914 (this has a 3-inch [7.5 cm] diameter head).
Flower Nail Stand or Block
This accessory isn’t an absolute necessity, but it can be useful because it allows you to rest a flower nail in an upright position while piping. These blocks are made from plastic or wood and can be found in square, rectangle, or round shapes. Stands act as a third hand when you need to set the flower nail down. Alternatively, you can use a block of sturdy foam in place of a stand. However, after several uses and perforations from the flower nail, the material will wear down and become less stable and reliable.
Parchment Paper Squares
Parchment paper squares provide a clean surface for building buttercream botanicals on a flower nail. They also allow you to transfer a completed botanical to a tray for storage. Cut parchment squares to fit the head of the flower nail (2 inches [5 cm] for a 2-inch [5 cm] flower nail, for example), and secure each one to the head of the nail with a dab of buttercream.
Perfectly precise squares aren’t necessary, but parchment paper with a printed grid (such as Reynolds Kitchens Parchment Paper with Smart-Grid) is helpful for creating consistent sizes. Any brand of parchment paper will work, and wax paper can be substituted.
Trays
Metal sheet trays are necessary supplies for buttercream botanicals. After building botanicals on a flower nail covered with parchment paper, the pieces are carefully transferred to a tray. Trays are placed into the freezer for a minimum of 30 minutes, which allows the buttercream to solidify before being placed onto the cake canvas.
Trays should fit comfortably in the freezer. They come in a variety of sizes, but I prefer metal half sheet baking trays (18 x 13 inches [46 x 33 cm]), also known as jelly roll trays, that have fitted lids. Metal is a good conductor of temperature, so botanicals will chill thoroughly. Lids allow the trays to be stacked, doubling or tripling the amount of buttercream botanicals that can be stored. These trays also come in quarter sheets (9 x 13 inches [23 x 33 cm]) and full sheets (26 x 18 inches [66 x 46 cm]).
Plastic food storage containers will also work in place of trays. Look for ones that are suitable for freezer storage and are both wide and tall enough to hold botanicals safely.

Piping Tips
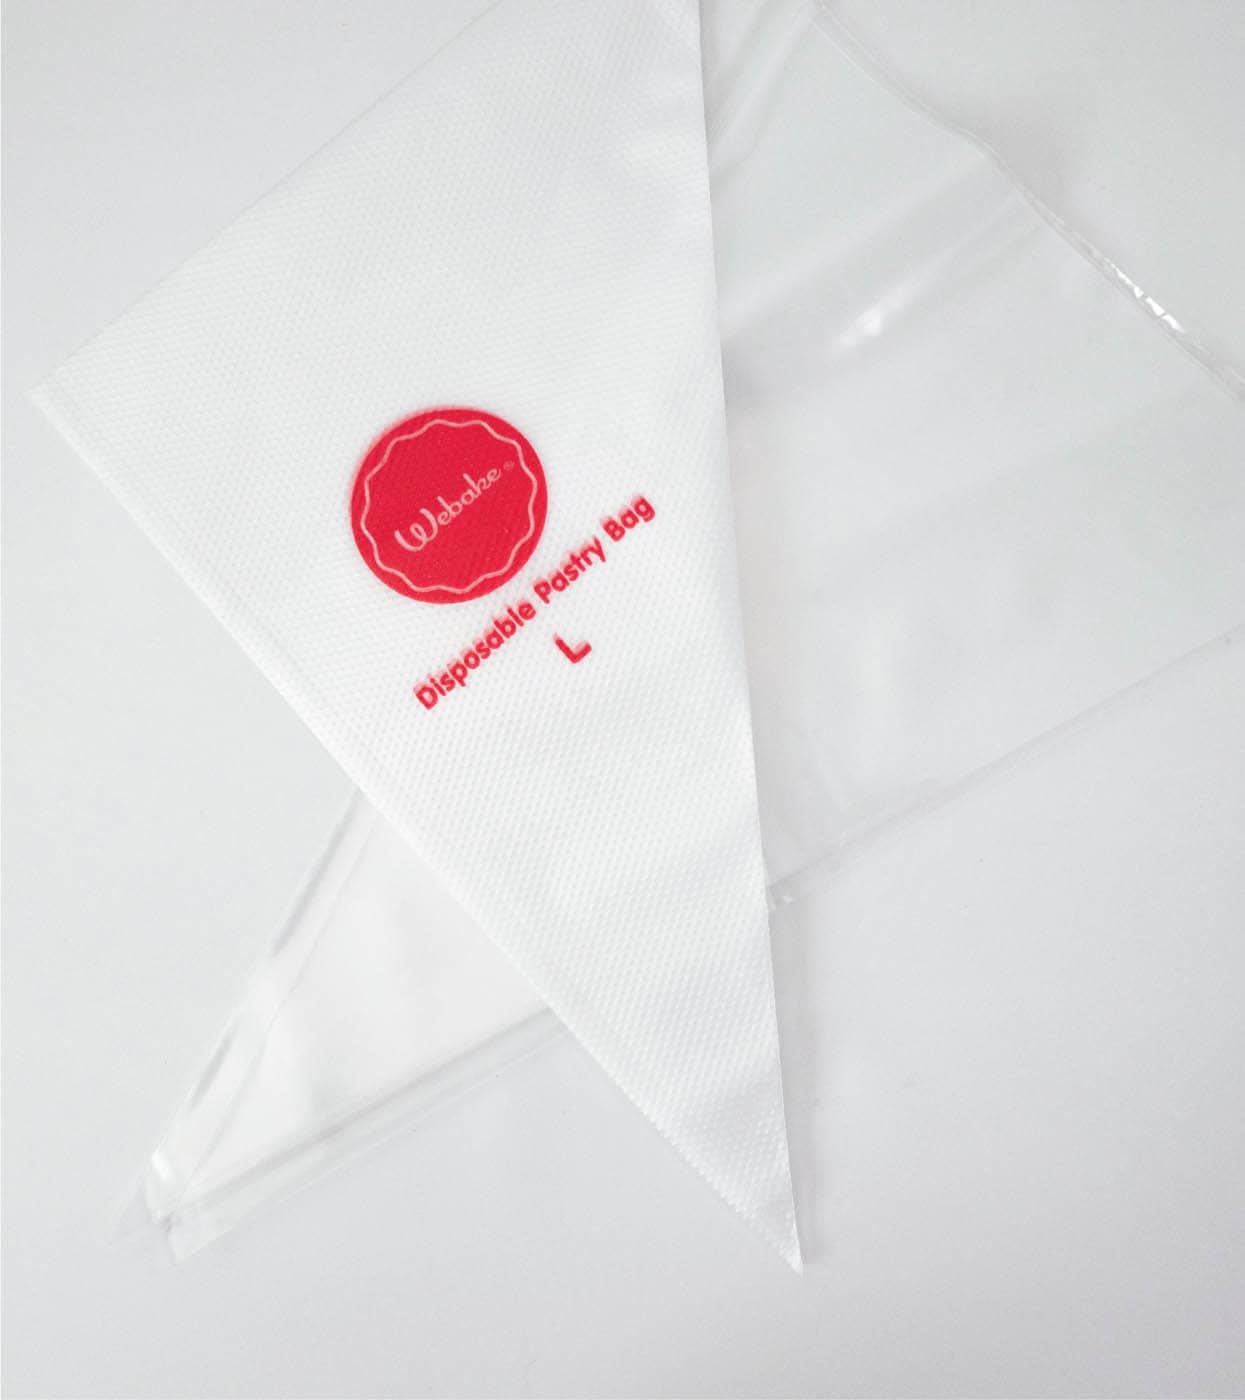
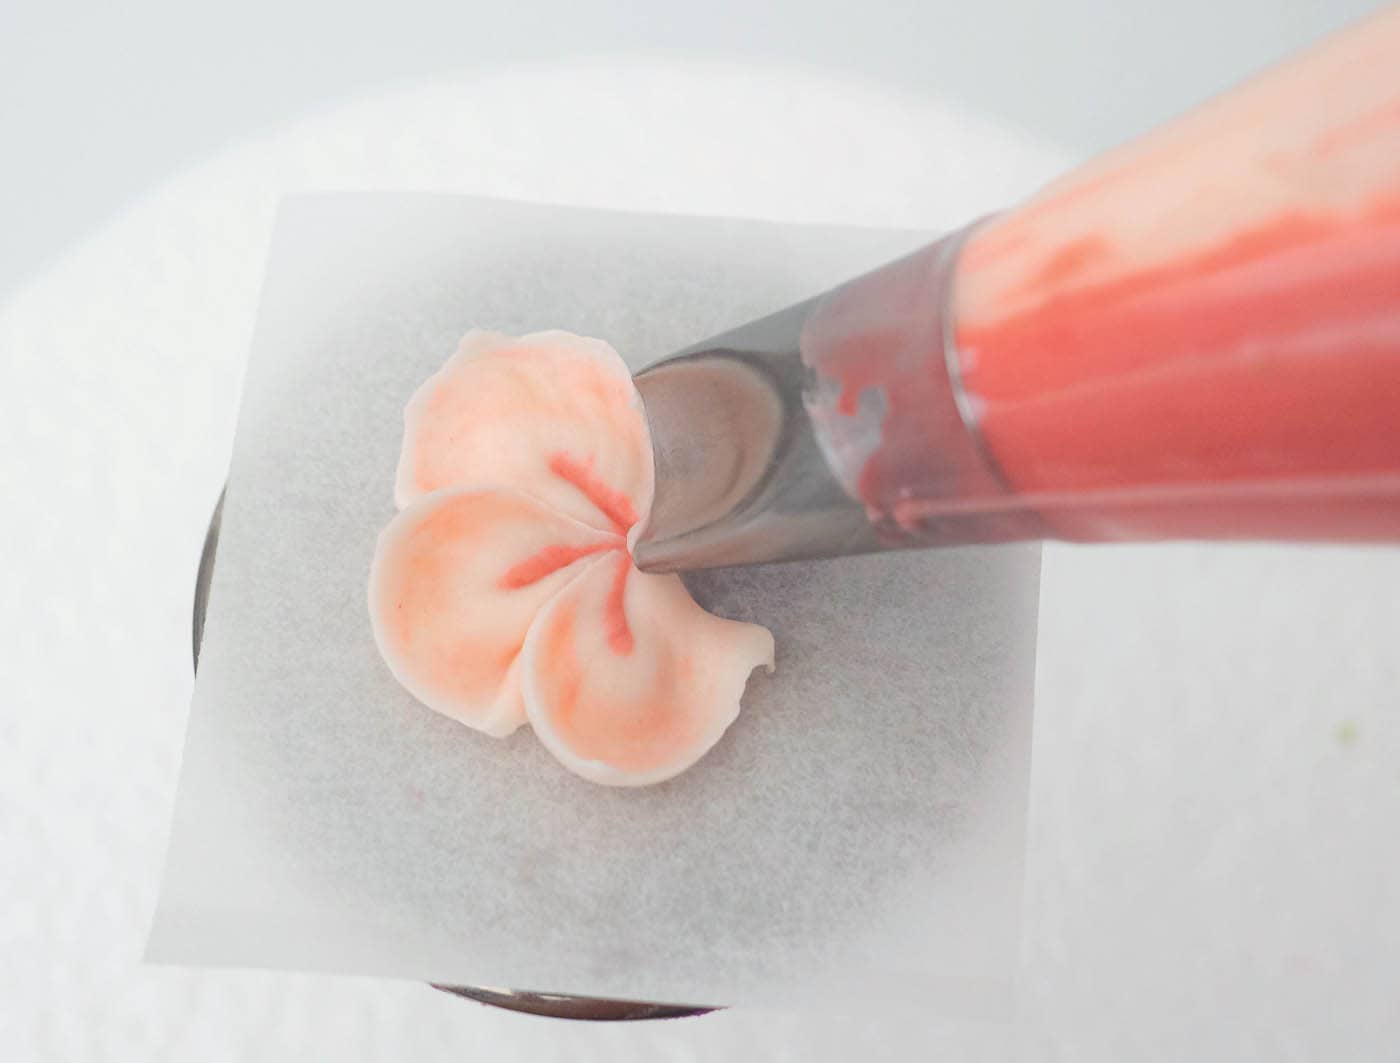
Piping tips are metal cone-shaped nozzles with an opening at the narrow end. To use the tip with a piping bag, insert the tip into the narrow end of the bag and fill the bag with buttercream. Cut the tip of the piping bag with scissors to reveal the piping tip.
The shape of the piping tip is where infinite possibilities begin; they can be used to create a wide variety of flower petals, flower centers, leaves, decorative motifs and borders, and much more. With hundreds of shaped tips available, the choices can be overwhelming. Piping tips use numbers to refer to their size and shape. For a detailed breakdown of piping tip categories and deciphering their number labels, see Getting Acquainted with Piping Tips (here).
Slip-Joint Pliers

On occasion, you may need to modify a piping tip. Altering tips changes the way the buttercream is extruded, allowing you to pipe unique shapes that produce more realistic-looking petals. The process involves narrowing the piping tip opening using slip-joint pliers, which can be found at any hardware store. The mouth of the pliers should be flat with dull ridges that can grip the piping tip. To modify a tip, open the pliers and pinch the end of the piping tip to make it more narrow. Do this gradually, applying pressure using pumping motions. Continue pumping with gradual pressure until the desired shape is achieved. (See Modifying Piping Tips, here, for more information.)
Gel Colorants

Gel-based colorants are a must for coloring buttercream. I don’t recommend liquid food color that comes in a squeeze pack and is available at the grocery store; that’s better suited for other projects. Gel colors are concentrated dyes in gel form that won’t dilute or water down buttercream, which keeps the buttercream’s structure intact.
To achieve vibrant or saturated colors, add gel color until the desired shade is almost achieved. For lighter colors such as ivory, yellow, or soft pinks, only two to three drops may be needed per cup (8 oz) of buttercream. Certain deep colors such as red, deep purple, or black require larger amounts of gel color. Add approximately ½ teaspoon of gel color per 1 cup (8 oz) of buttercream, but be aware that the buttercream will appear muted or hazy before the color is fully developed. Allow the buttercream to sit at cool room temperature (60°F to 77°F [16°C to 25°C]) for at least 2 hours and a maximum of 24 hours. This time allows the gel color to emulsify into the buttercream and the color to fully develop. Colors intensify with time, so be mindful of the amount of gel color that you add. Adding too much can potentially alter the buttercream’s flavor, making it bitter. This is especially true for shades such as red, pink, purple, and black.
If too much gel color has been added, remove some of the colored buttercream and replace it with uncolored buttercream to balance the color and flavor.
Mixing Tools

Colors can be mixed with buttercream in almost any foodsafe container. My go-to vessels for mixing colors are deli containers with lids, which come in various marked sizes that allow me to gauge an estimated quantity of buttercream. One-size-fits-all lids make storing buttercream a breeze. Deli containers can be purchased at any restaurant supply company.
I recommend using small spatulas for mixing buttercream (other utensils will also get the job done). These allow you to simultaneously scrape the sides of the container, blend the buttercream easily and evenly, and efficiently scoop enough buttercream to fill piping bags.
Food Scale

A food scale is recommended to achieve the most accurate ingredient measurements. Measuring cups are fine to use, but you may experience inconsistent results with the recipes in the book. Food scales measure ingredients by weight and come in various sizes and price ranges, but the most widely available and user-friendly versions are compact and digital.
For the best results, look for a food scale with these features:
- Options for different weight unit measurements such as pounds, ounces, and grams.
- A capacity for at least 11 pounds (5 kg) of ingredients. Some scales on the market have lower capacities, but a scale that can handle more weight is a better investment in the long run.
- A large and clear digital display of measurements.
- A tare or zero button. Use this feature to bring the reading back to zero. This way, you can weigh a bowl or container on the scale before measuring the weight of the ingredients. This is an especially important feature if you’re measuring multiple ingredients in the same bowl or container.
- Glass food scales can be fragile, so I suggest opting for plastic or metal.
- Rechargeable food scales are great because batteries don’t need to be replaced, but this isn’t vital to the functionality of the scale.