
GitHub and Team Services really come into their own when working in teams. The effect of collaborative effort is quite powerful. Sometimes though, it can be a bit challenging. Let us have a look at using GitHub to work in a team setup.
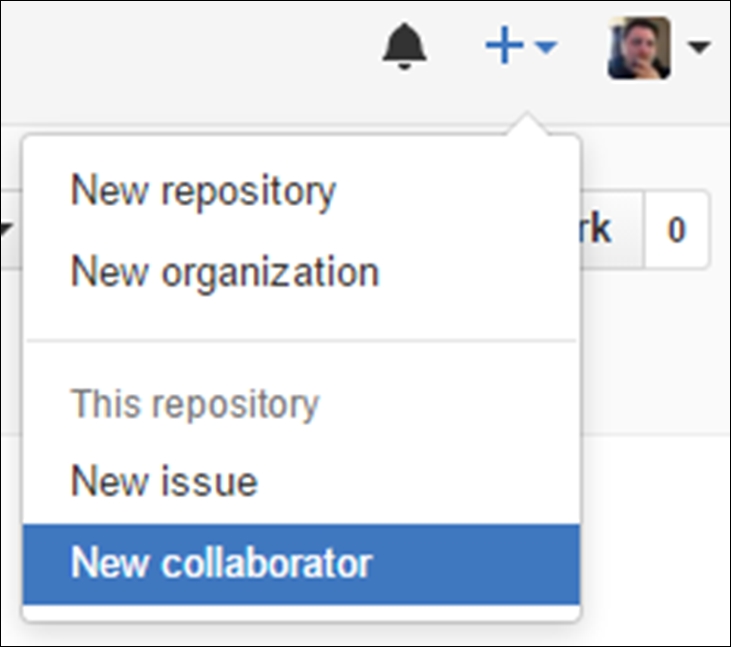
We will be using the existing CommandCentre app checked in to GitHub. Before you can let other developers push code to your branch, you need to add them as a collaborator. To do this, log in to GitHub and click on the down arrow next to the plus sign. Click on New collaborator in the menu:
You can then search for collaborators to add by entering their GitHub username, full name, or e-mail address:
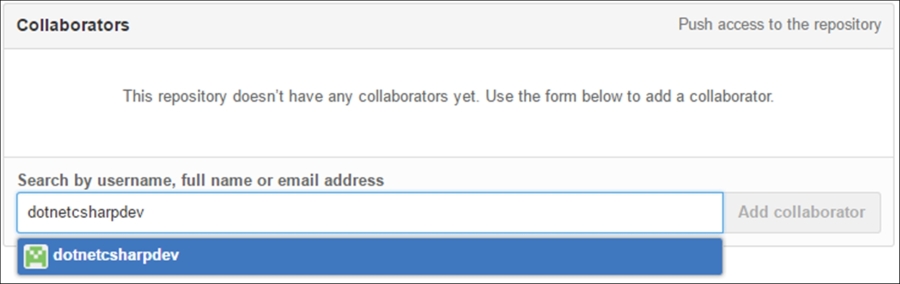
When you are done, click on the Add collaborator button to add that user as a collaborator to your project:

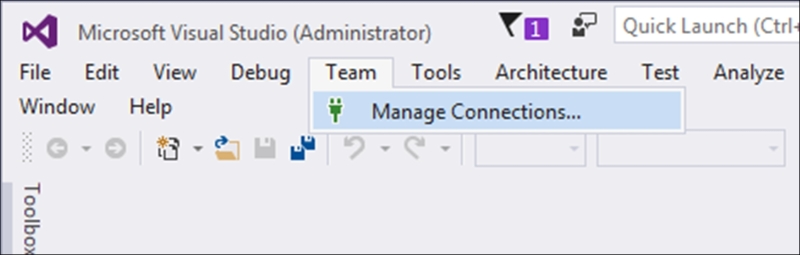
- Let us assume that a new developer (let's call him John) has joined the team. You have already added the developer as a collaborator to your project. John goes about setting up his Visual Studio environment, including getting connected to GitHub. Click on Team in the menu and click on Manage Connections…
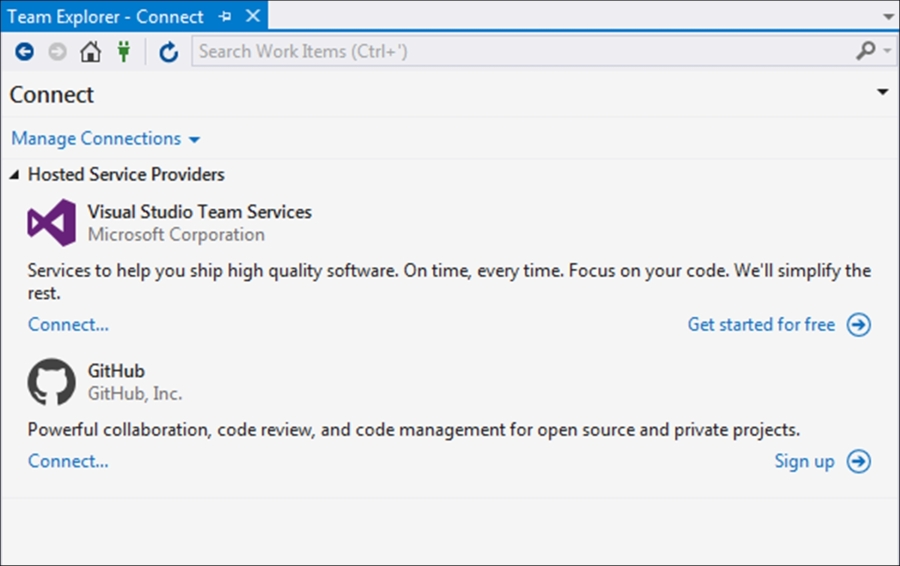
- Presented with the options for the Hosted Service Providers, select Connect… under the GitHub service:
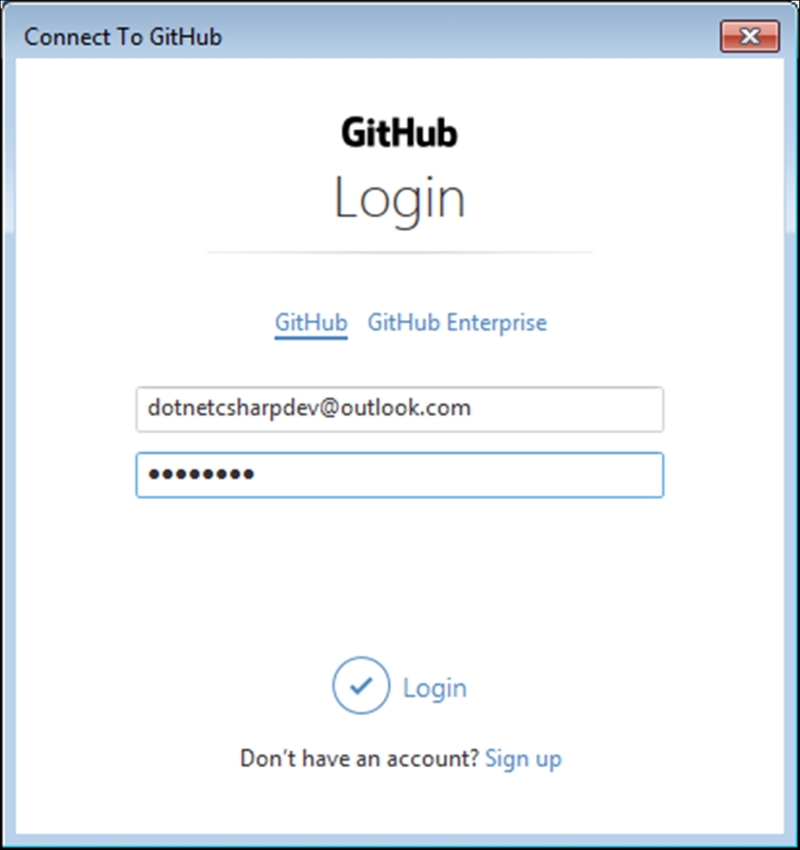
- Log in to GitHub with your e-mail address and password.
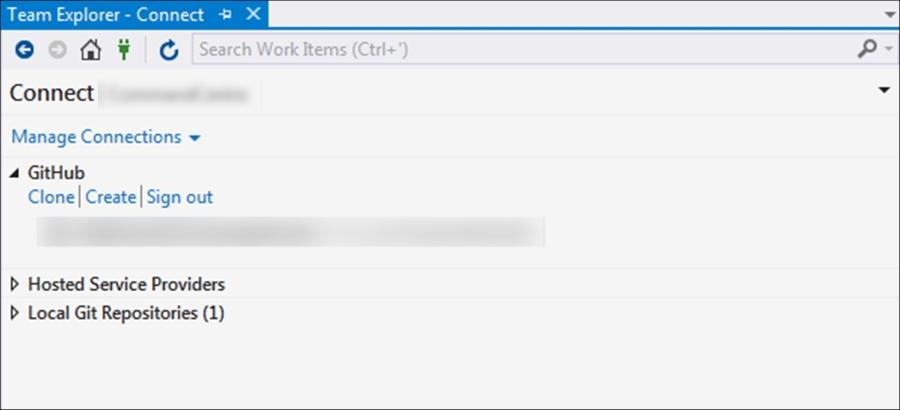
- When you have connected, you will see your GitHub details loaded:
- We now want to work on the
CommandCentreapplication. You can find it on GitHub by searching for it by name: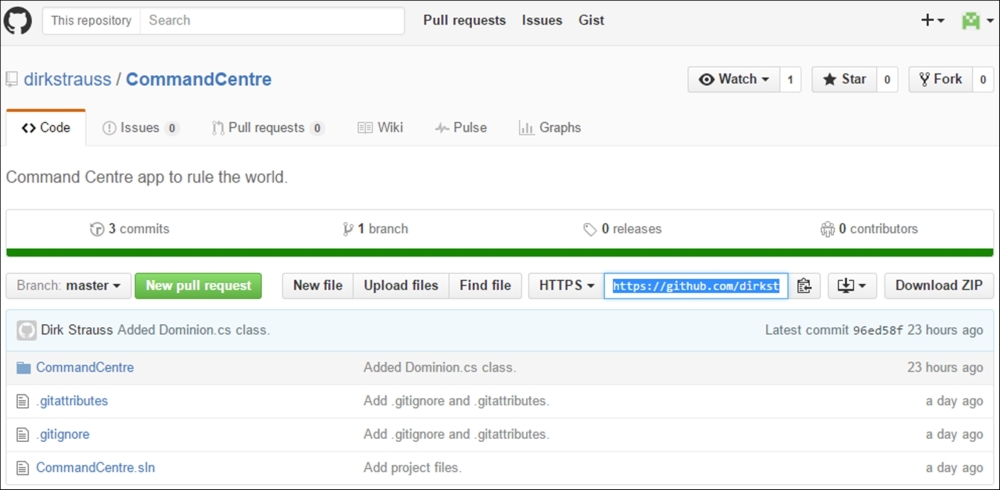
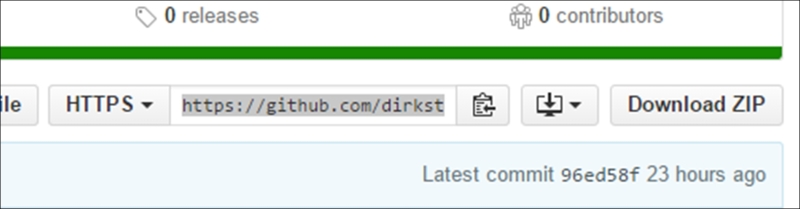
- When you have found the correct project, copy the URL from the HTTPS text box on the page:
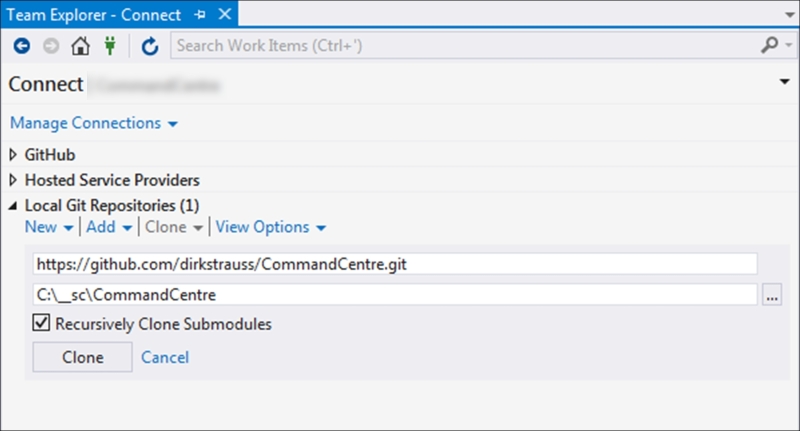
- Back in Visual Studio, expand the Local Git Repositories and click on Clone. Paste the copied URL to the Git Repository path and specify where the code should be cloned to on your hard drive. When you are ready, click on Clone:
- When the code is cloned, you will see it in the folder path you specified earlier:

- Time to make some changes to the code. Open the project in Visual Studio as normal. John decided to work on the
Dominion.csclass and added a new function that returns a countdown integer: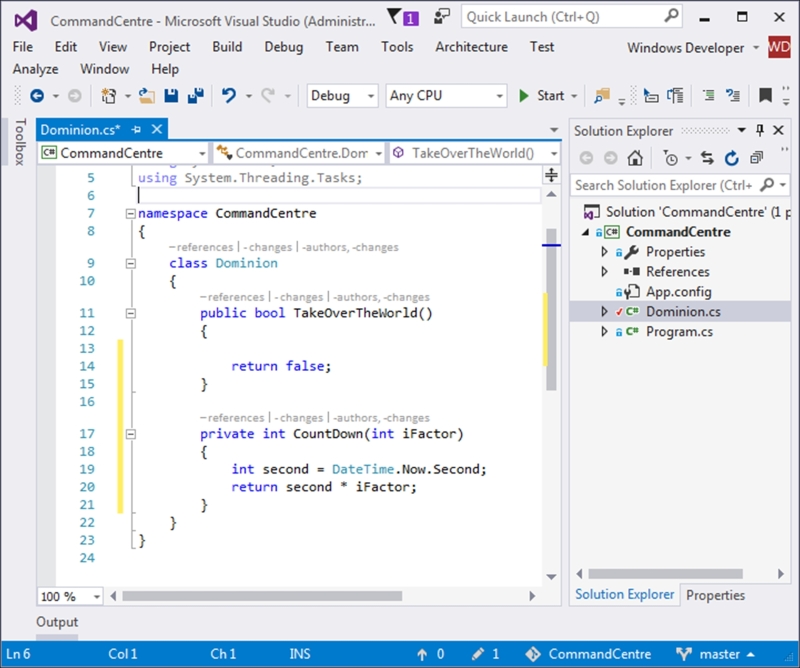
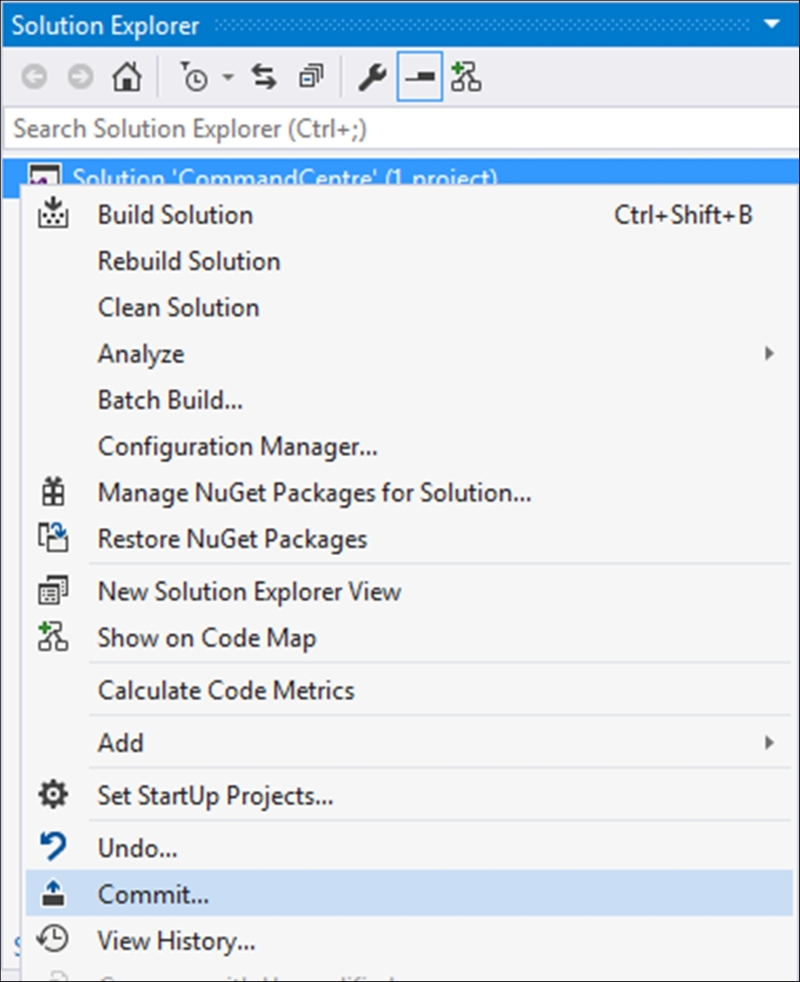
- After the code change is complete, John commits the code he just added to the GitHub repository:
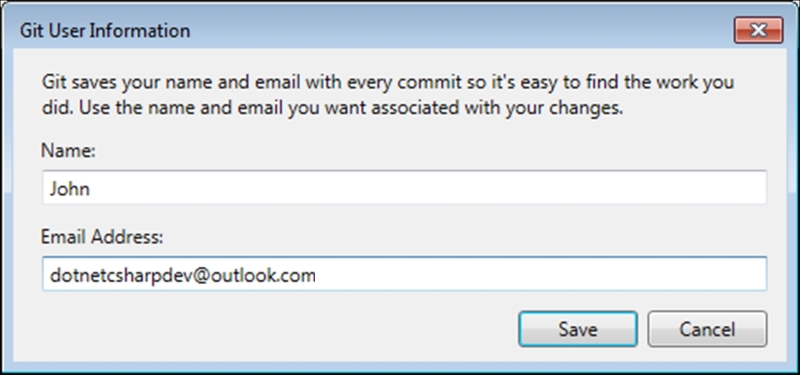
- GitHub then asks for John's name and e-mail address for this commit:
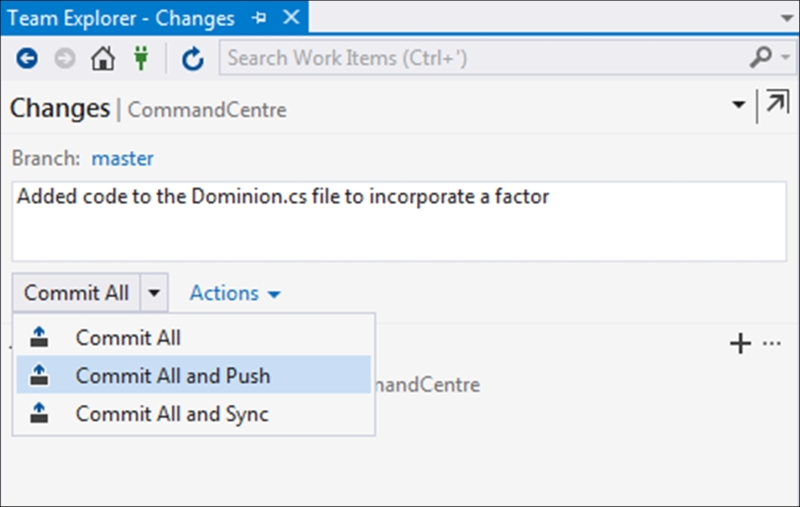
- John adds a meaningful commit message to describe the change he made:
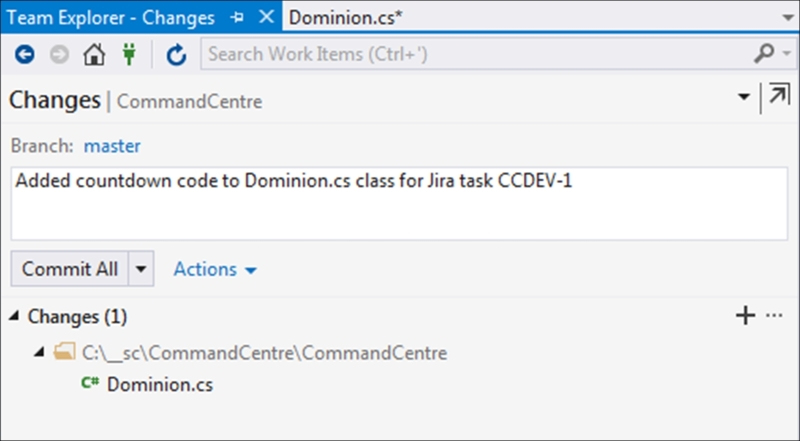
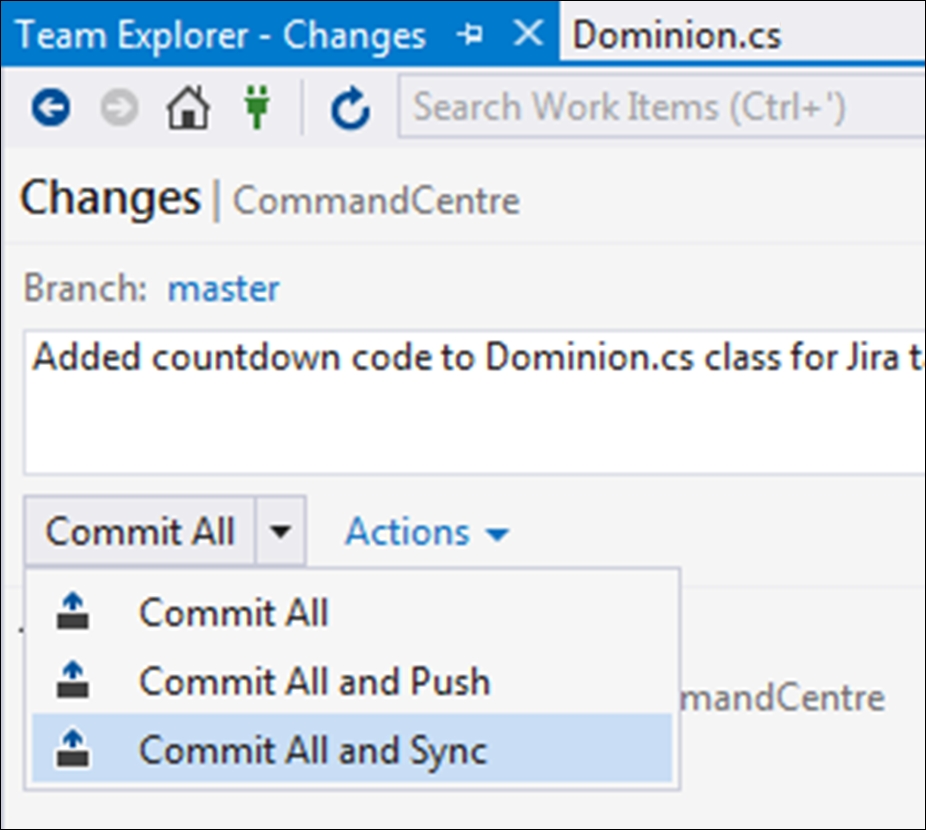
- He then clicks on Commit All and Sync.
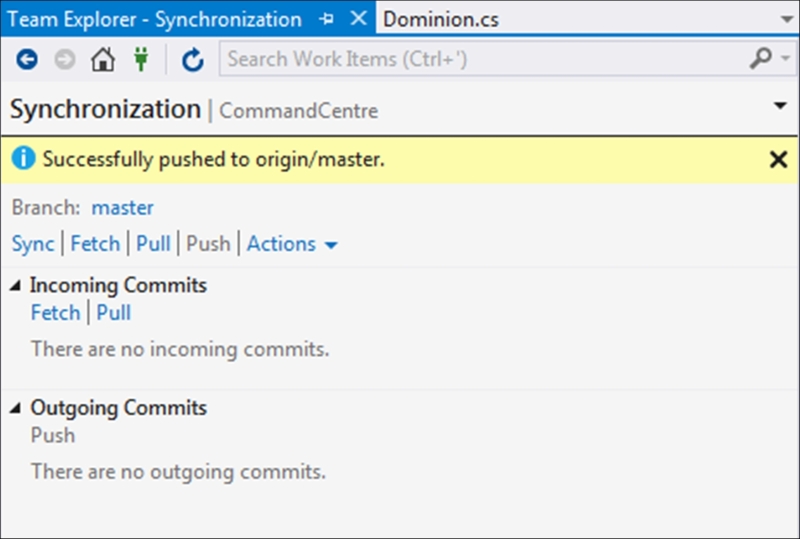
- John's changes are committed to the GitHub repository:
- On the other side of the office, I am working on the same bit of code. The only problem is that I have added the same method with my own implementation of the
CountDownlogic: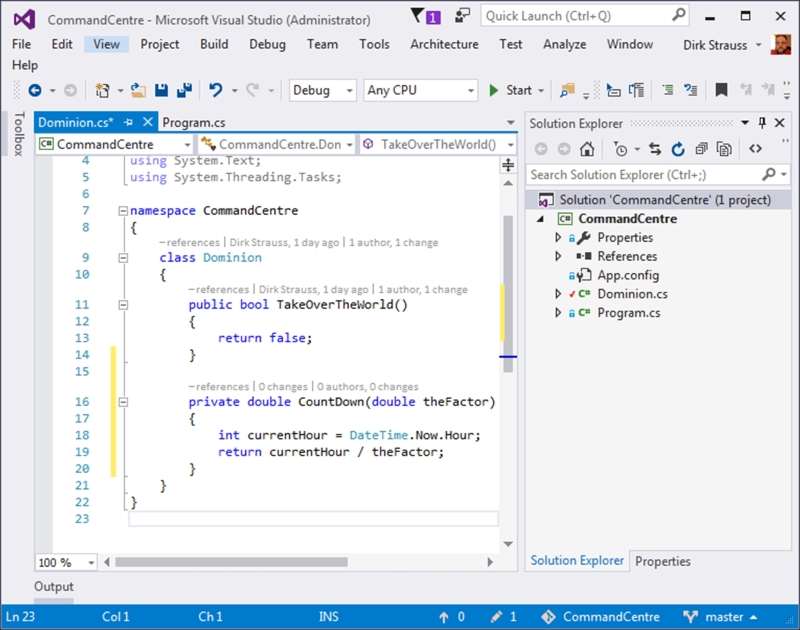
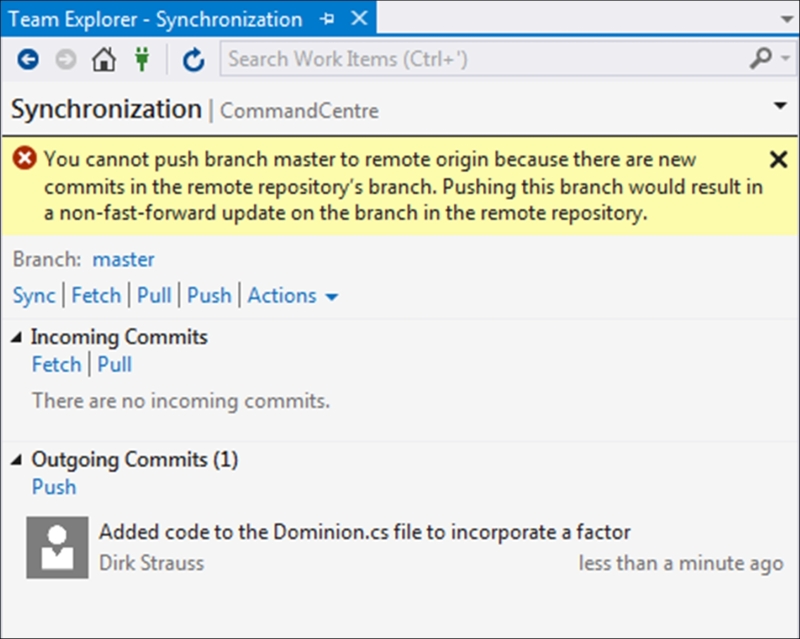
- I get ready and commit my changes to GitHub:
- GitHub immediately prevents me from doing this. This is because if my code is pushed, the earlier commit by John will be lost. GitHub has a great help file on the subject in GitHub Help here: https://help.github.com/articles/dealing-with-non-fast-forward-errors/.
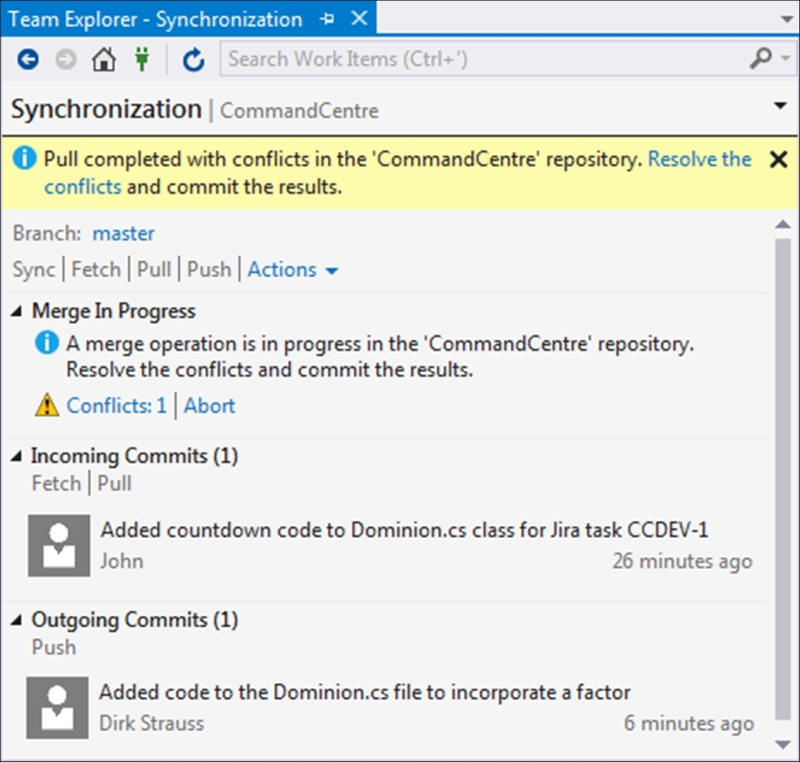
- To resolve this, click on Pull to get the latest commit that John did. Your code will then be in a conflicted state. This sounds bad, but it isn't. It is putting you in control of the decision on which code will be used. You can see that the pull shows that there are conflicted files and also the incoming commit message that John added:
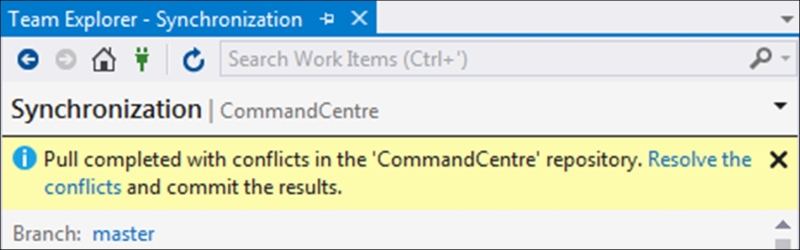
- To view the conflicts, click on the Resolve the conflicts link in the message pop-up:
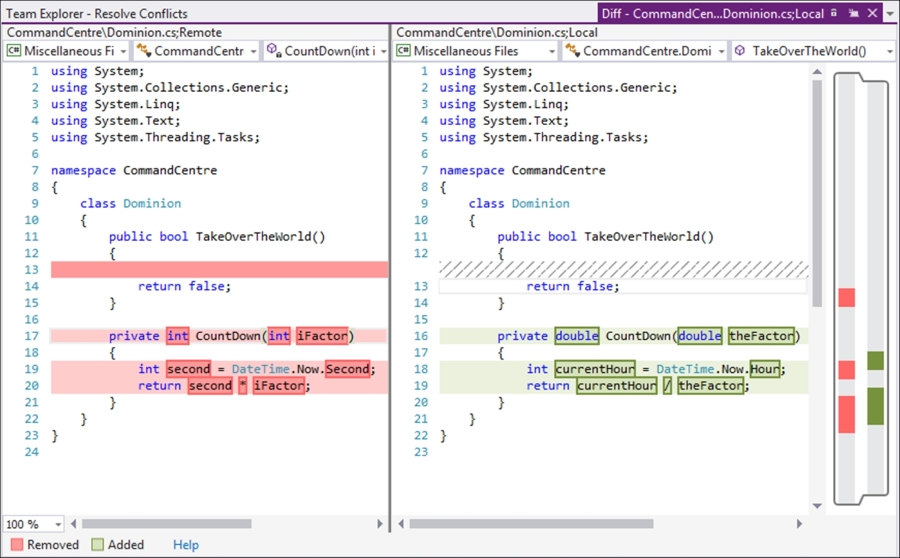
- You will then see the Resolve Conflicts screen listing the conflicted files. Clicking on a file will expand it into a short summary and action options screen. It is always prudent to click on the Compare Files link to see the difference between the files in conflict:

- The differences in code are immediately evident. The process you follow from here on is subject to how you work together as a team. Usually, the conflict can be quite complex, and it is always a good idea to speak to the developer concerned about the way forward:
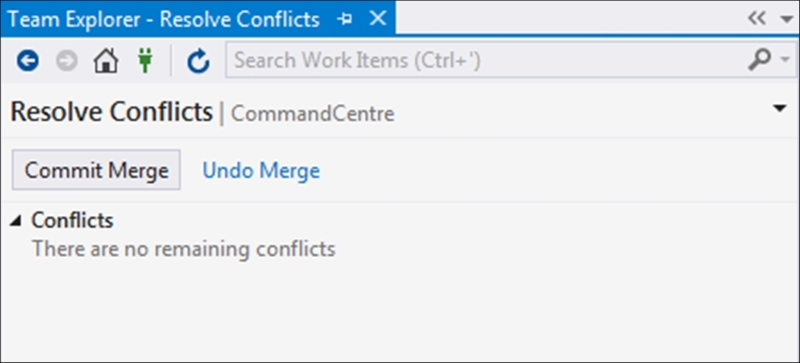
- In this case, John and I decided that his code was simply better and more concise. So the decision was made to simply click on Take Remote and use John's code. When you have clicked on the link, you need to click on Commit Merge:
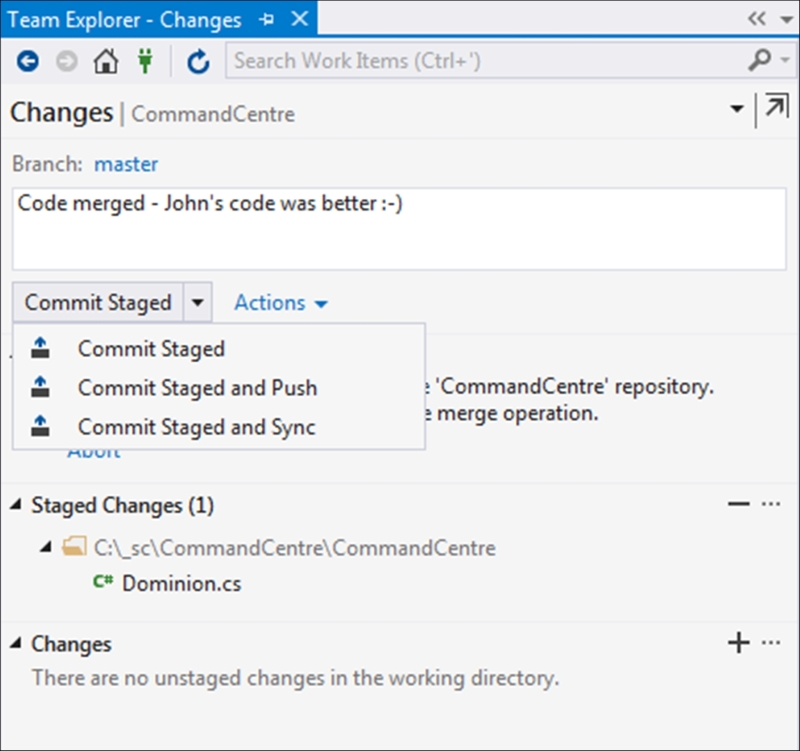
- After adding a commit message, you can then push your code to the repo. In this case, I simply replaced all my code with John's, but there might be situations when you will be using some of your code and some of another developer's code. GitHub allows us to easily handle these conflicts:
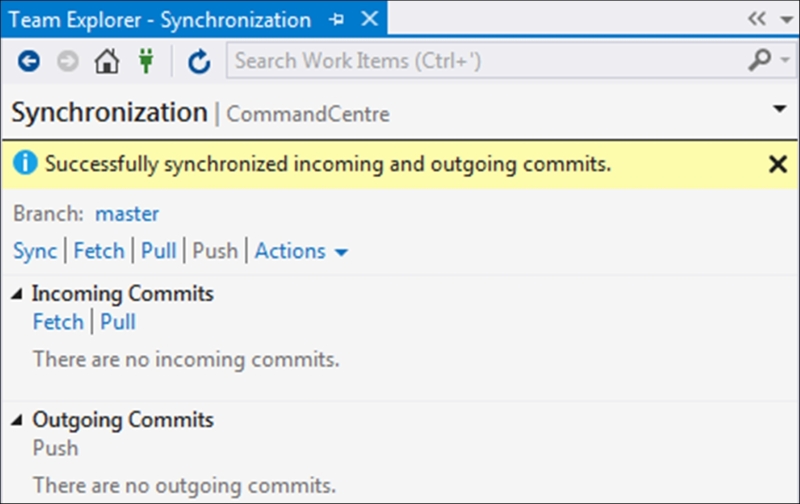
- After pushing the code to the remote, GitHub notifies you that the code has successfully been synchronised:
..................Content has been hidden....................
You can't read the all page of ebook, please click here login for view all page.