
Before you can use code contracts in your applications, you need to download and install them. The easiest way of doing this is via extensions and updates. After the installation is complete, you will need to define a few settings for the code contracts to start functioning against the code they are implemented in. Let's have a look at the following recipe.
First, we will create a new class and add it to our Visual Studio project. We will then get the Code Contracts installer and install it for our project.
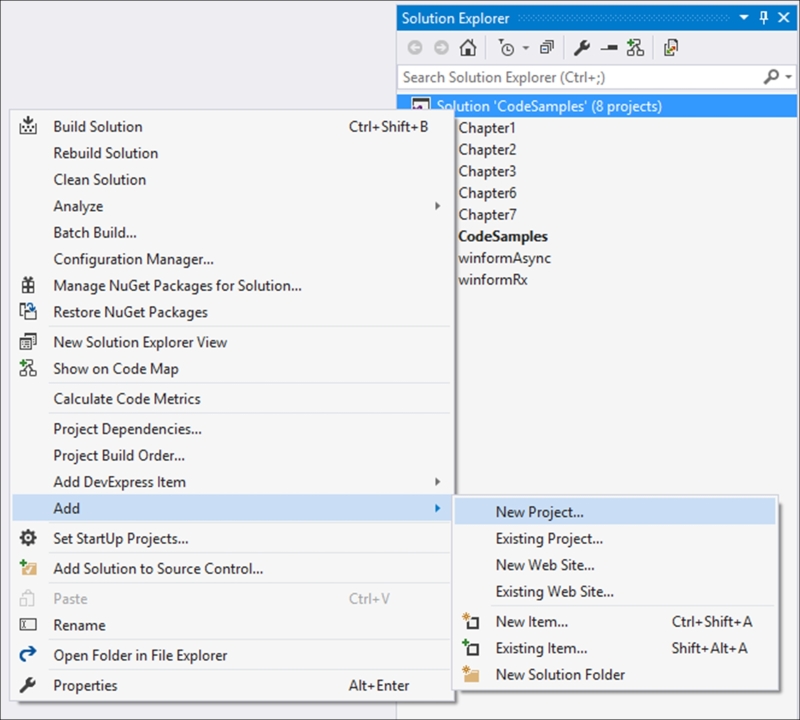
- Create a new class by right-clicking on your solution and selecting Add and then New Project from the context menu:
- From the Add New Project dialog screen, select Class Library from the installed templates and call your class
Chapter8: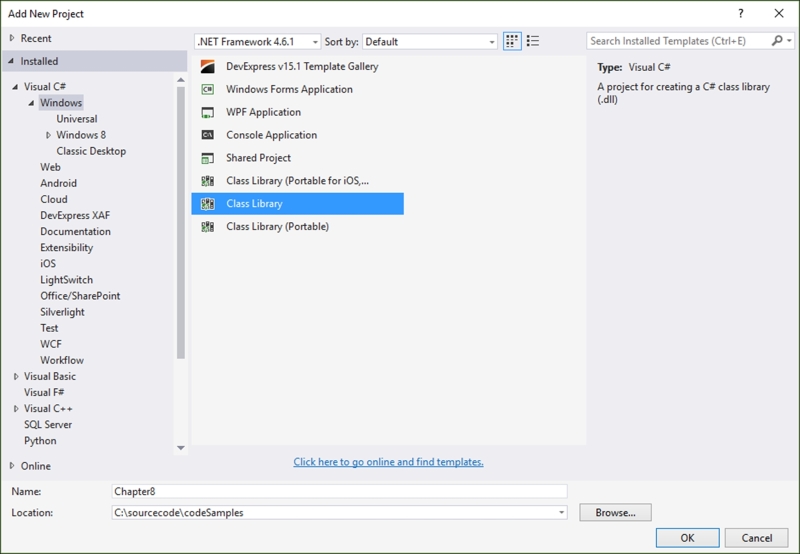
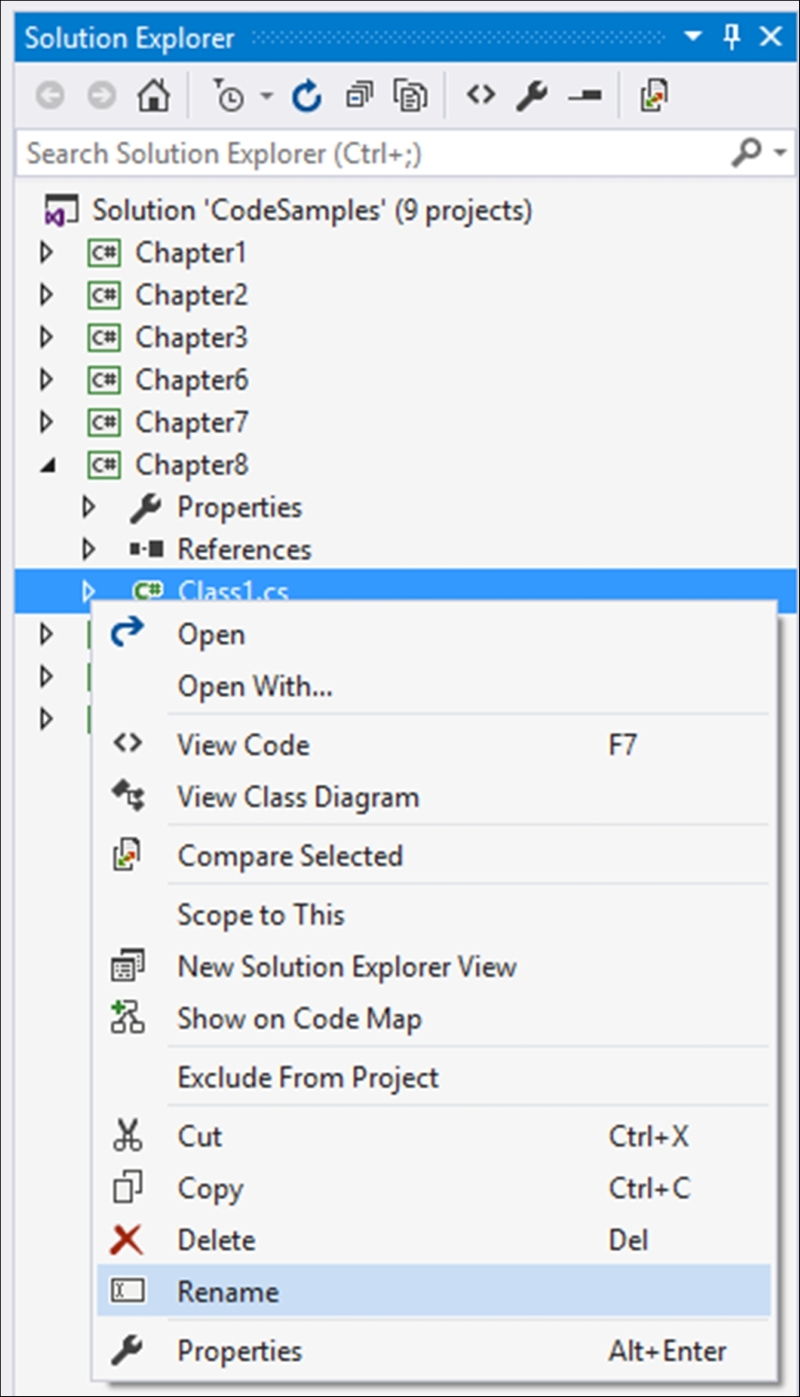
- Your new class library will be added to your solution with a default name of
Class1.cs, which we renamed toRecipes.csin order to distinguish the code properly. You can, however, rename your class to whatever you like. - To rename your class, simply click on the class name in Solution Explorer and select Rename from the context menu:
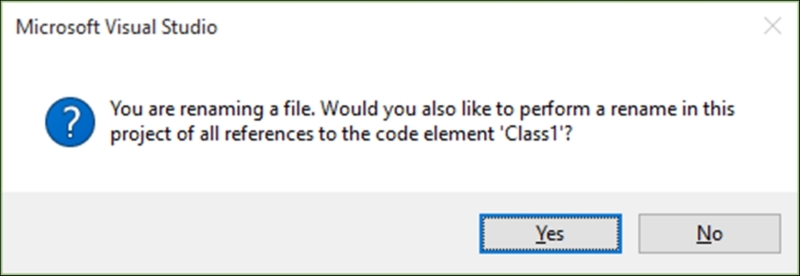
- Visual Studio will ask you to confirm a rename of all references to the code element Class1 in the project. Just click on Yes:
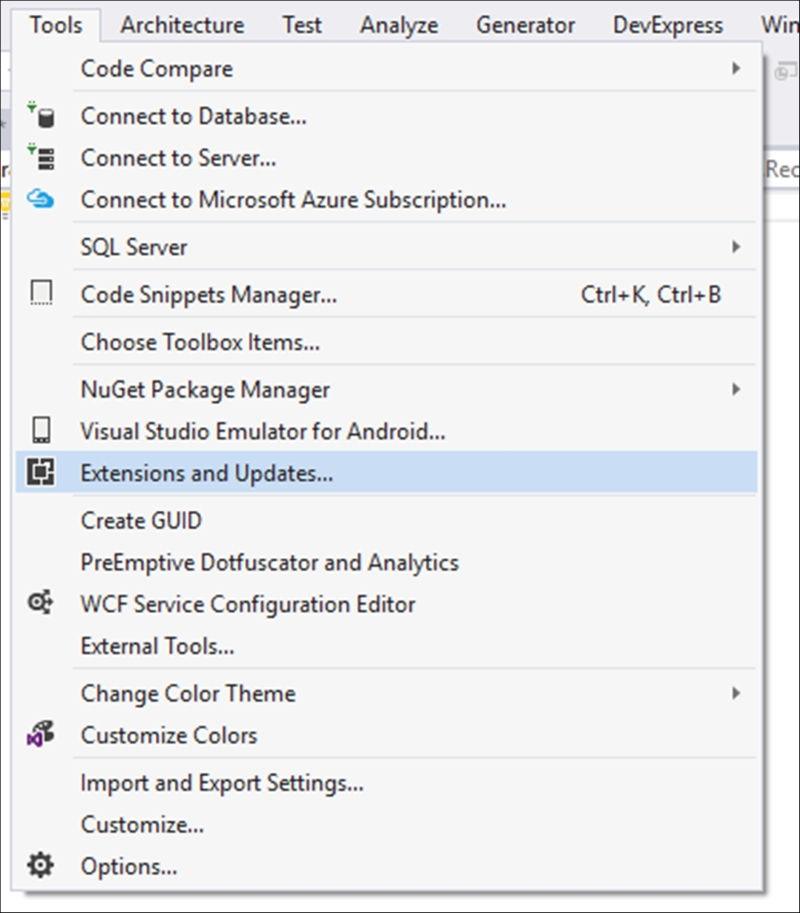
- Next, click on the Tools menu and select Extensions and Updates…:
- You will see the Extensions and Updates window appear. Be sure to click on the Visual Studio Gallery on the left-hand side and type
Code Contractsas the search term. If you have not got the Code Contracts installer, you will see a download button appear on the Code Contracts for .NET result. Click on it to download and install code contracts: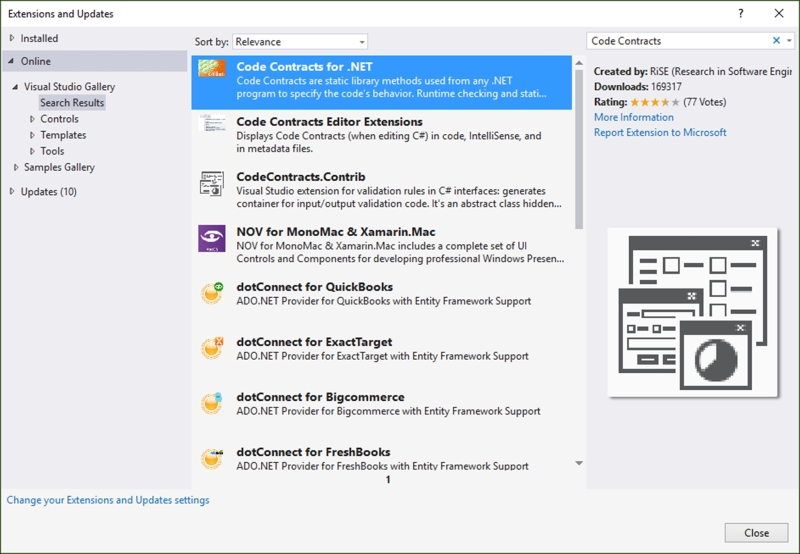
- After code contracts have been installed, you might need to restart Visual Studio. After doing this, right-click on the
Chapter8project and select Properties from the context menu: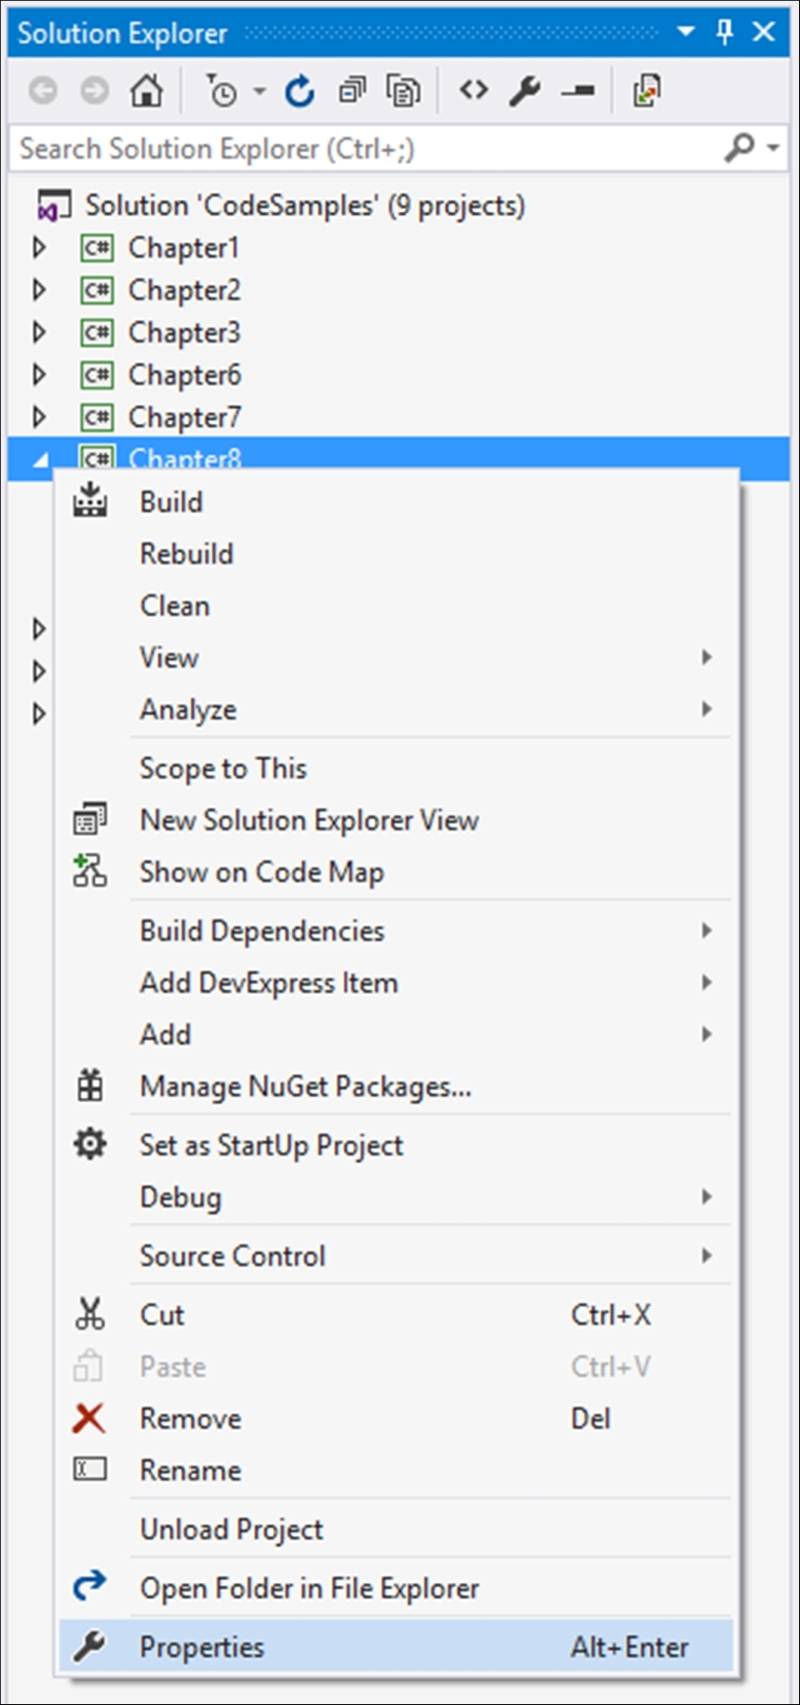
- You will notice that a new Code Contracts tab has been added to the properties page for your
Chapter8project. Click on this tab and make sure that Perform Runtime Contract Checking is checked. Then, save your changes and close the properties page: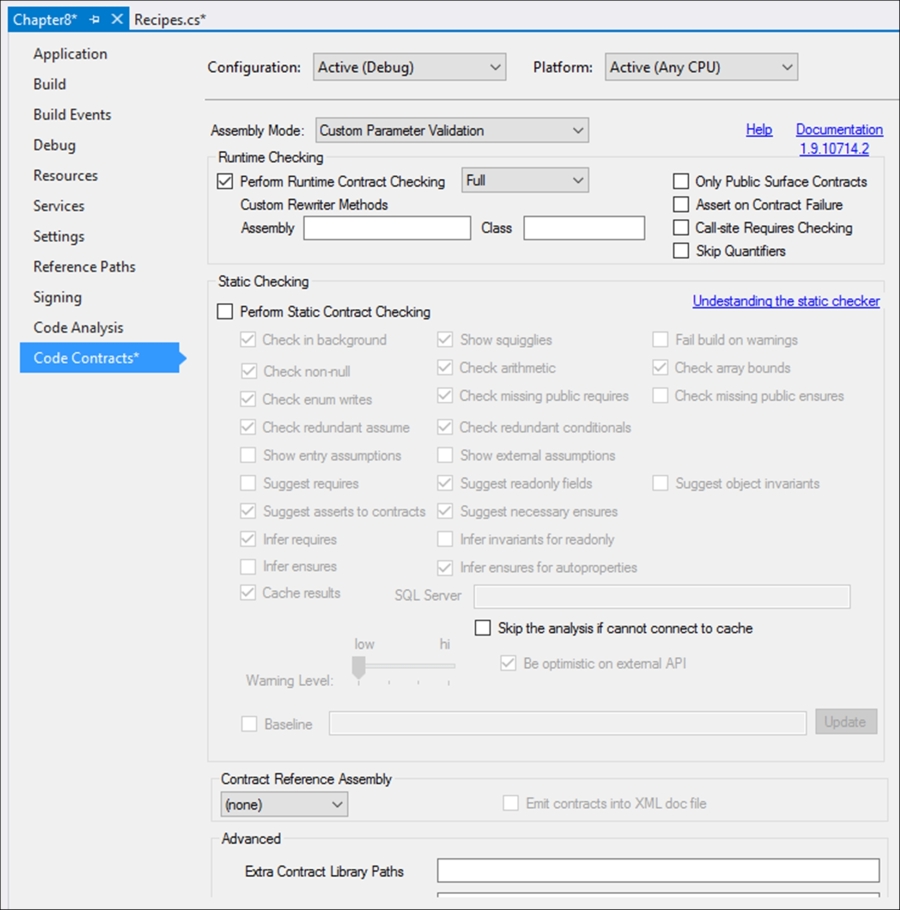
- Finally, add a reference to your
Chapter8project in the console application created earlier. Do this by expanding your console application project and right-clicking on the References item. Select Add Reference from the context menu: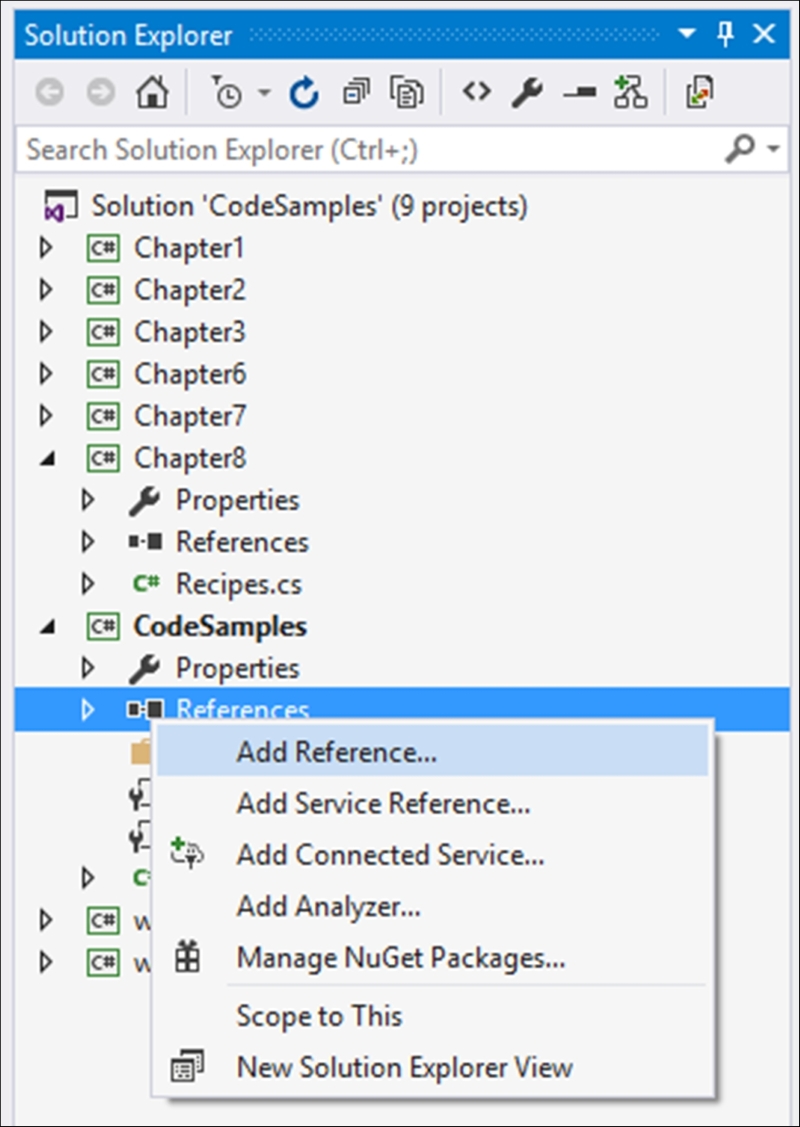
- Make sure that you have selected
Chapter8in the project references section and click on OK:
..................Content has been hidden....................
You can't read the all page of ebook, please click here login for view all page.