
CHAPTER 3

Introduction to ZBrush Modeling
So what exactly is ZBrush? ZBrush is Pixologic, Inc.’s 3D modeling and paint package. ZBrush uses brush-based sculpting to allow the artist to quickly add detail to models. Highly detailed models with millions of polygons can quickly be created. ZBrush uses technology known as Pixols. Pixols are pixels that retain the depth and orientation information after they are created. That means you can change the lighting and it will affect the shading of the Pixols.
Many artists coming over from other packages might find the single camera view a bit hard to get used to. But, after spending a bit of time navigating the interface, you’ll find that it really lends itself to modeling and texture creation.
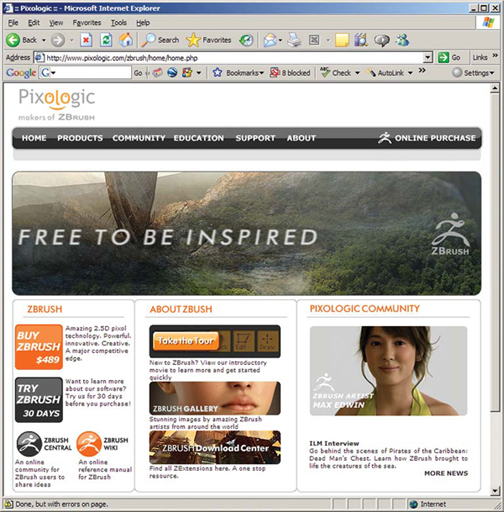
FIGURE 3-1 Pixologic website.
Pixologic also has one of the best online communities for artists called Pixolator. On this site, artists will post work for critique or even a how to.

FIGURE 3-2 Pixologic’s forum site, Pixolator.
Why is ZBrush in a character modeling book? Well, simply put, amazingly detailed characters can be created so easily in ZBrush that many artists and companies have incorporated the program into their modeling pipelines. Companies like Industrial Light & Magic, Luma Pictures, and Id Software have all started using ZBrush for movie and game projects like Pirate of the Caribbean 2: Dead Man’s Chest, Underworld 2, and Doom 3.
As an artist, you have a tool at your disposal in ZBrush that allows you to create levels of detail in your characters that, until the program came out, was virtually unattainable. And because models are created in an intuitive way using brushes, most artists can quickly create incredibly detailed characters.
The first thing you will notice upon opening ZBrush is that it has a single viewport. This can take bit of getting used to if you’re coming from a standard 3D package with four views like Maya.
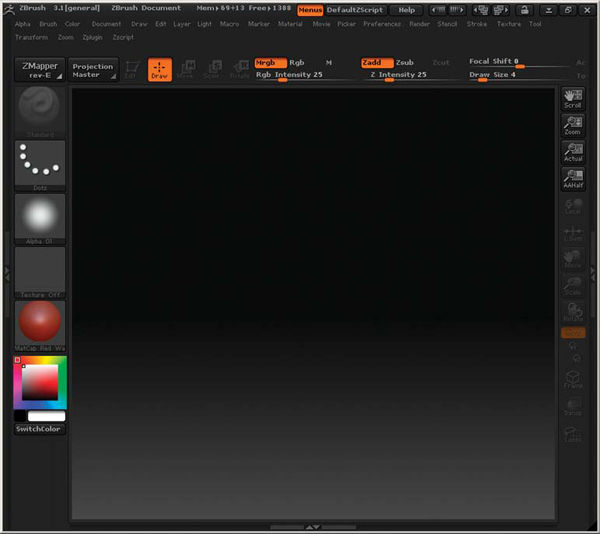
FIGURE 3-3 ZBrush interface.
Just like in Maya, hotkeys will also help speed up your work in ZBrush. The default hotkeys are:
• t = enter/exits edit mode.
• q = draw mode.
• w = move.
• e = rotate.
• r = scale.
• g = open the projection master.
• Ctrl+z = undo.
• Ctrl+shift+z = redo.
• LMB = click the left mouse button in a blank area of the viewport and drag to rotate model.
• Alt+LMB = click and drag model in the viewport.
• Ctrl+LMB = click in the viewport and drag onto a mesh to marquee select a mask on the object. Click and draw directly on the mesh to paint a custom mask. By clicking on a blank section of the viewport it will inverse the masks. By dragging on a blank section of the viewport it will clear the masks.
• Alt+LMB = inverse paints the transform settings of the current tool. For instance, if you are currently inflating your model, this hotkey combo will instead deflate.
• Shift+LMB = switches the transform settings of the current tool to smooth.
• Ctrl+shift+LMB = drag marquee on mesh to hide polygons outside of the selection. Drag on a blank section of the viewport to invert the polygons that are hidden. Press the hotkey and click (no dragging) in a blank section of the canvas to unhide everything.
Along the top, you’ll see the memory usage for your current scene. Keep close tabs on this as you work. If you begin dividing your model too much the memory usage can become too high for your computer.
![]()
FIGURE 3-4 Memory usage.
Below the memory usage are the menus. This is where you create new scenes, change the lighting, adjust tool settings, etc. I’ll go into more detail on the different menus that you will commonly use for modeling a bit later in this chapter after covering the main interface.
![]()
FIGURE 3-5 Menus.
Below the menus are the tool options. Here you can enter the Projection Master to add fine detail to your model. You can also enter edit mode for your models and change your brush preferences as you work.
![]()
FIGURE 3-6 Tool options.
Below the tool options is the viewport window. All of your painting and modeling takes place in this window. One of the things to keep in mind is that in the current version of ZBrush you can’t actually move the camera. You can spin and scale the mesh and zoom in on the canvas but the camera does not actually rotate. This can take a bit of getting used to.

FIGURE 3-7 Work window.
To the left of the viewport is the toolbox that allows you to change your brushes, alphas, stroke settings, materials, textures, and colors. By clicking on one of the icons, it will bring up the different settings available to choose from.

FIGURE 3-8 The toolbox.

FIGURE 3-9 Brush tools.
To the right of the viewport are the options to adjust the viewport. Zoom, scale, pan, etc. are all found here.
Now let’s go into some of the more commonly used menus. The Alpha menu is where you change your brush profile. By changing the brush alpha to a shape you’ve created, you can paint detail in any way needed. Skin pores, wrinkles, and scales are types of things that can be created with different types of alphas.
![]()
FIGURE 3-10 Viewport control options.
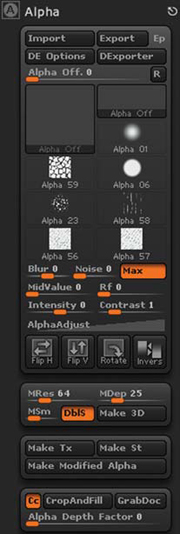
FIGURE 3-11 Alpha menu.
The Color menu allows you to change the color of the current paint brush. This uses a color picker similar to what you’d find in most other paint programs. Simply click a color on the picker box and begin drawing.
The Document menu is for creating new scenes and changing the resolution. Note that import from the Document menu is for loading background images. Importing 3D objects is done from a different menu.
Tutorial: Saving Custom Materials
Loading materials is very different with ZBrush then it is within Maya. There is, however, an easy way to reapply your textures and materials. Normally you work with 3D tools. After you spend time creating a custom material, save the document. This will store all of the material information. When you restart ZBrush, simply load the document before the ZTool and your custom materials will load as well.
The Draw menu is used to change the paint brush options. These options can also be changed using the tool options lines.
The Edit menu is for undo and redo. Each work area uses a different set of undos. For example, the work you do in edit mode has a different undo buffer than the work you do in the Projection Master.
The Layer menu allows you to work in layers similar to those with Adobe Photoshop. Because ZBrush stores Pixol information, different objects behave differently when using layers. 3D objects will interact with all layers, while brush strokes will only affect the current layer.
With the Light menu, you can change the direction of the lights or even add more lights to the scene. By default there are two lights active (designated by the orange boxes). To add more lights, click on a lightbulb to activate, then drag the orange box on the sphere to change the position of the light.
The Material menu is for creating new materials and editing existing ones.

FIGURE 3-12 Light menu.

FIGURE 3-13 Material menu.
Tutorial: Using ZSpheres
ZSpheres can be thought of as a preview tool. Using ZSpheres you can quickly pose a model then apply the mesh on top.
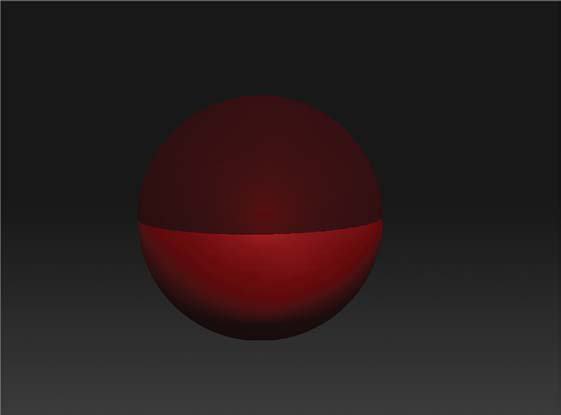
FIGURE 3-14 ZSphere.
1. To use ZSpheres switch to the ZSphere brush and place one in the canvas window.
2. Press "t" to make it active.
3. Click and drag on the existing ZSphere in the spot where you need to place the next one. The size of the new ZSphere is defined by how long you click and drag. If needed, you can turn on the symmetry in the Transform palette to create mirrored ZSpheres.
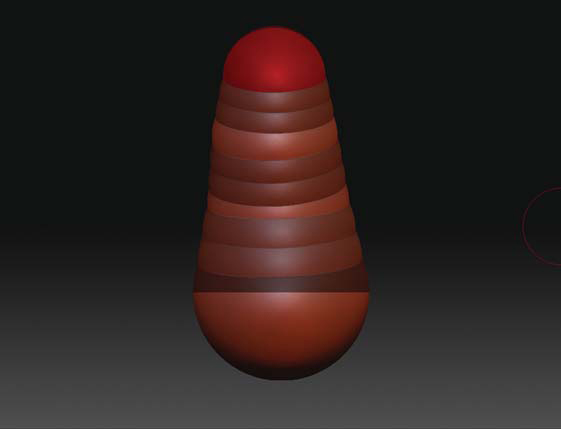
FIGURE 3-15 Placing more Zspheres.
4. After you’ve created the ZSphere framework, you can see what the skinned version will look like by clicking Preview under Transform>Adaptive Skin. The higher the density slider, the more polygons will be included in the model.
5. If the adaptive skin is on, press Preview again to go back to ZSphere mode.
6. Rotate, move, and scale the ZSpheres to finish shaping the object. Periodically, you should switch to adaptive mode to see what the ZSpheres will look like skinned.
7. Once the ZSPheres are set and you are pleased with the preview, press Tool>Adaptive Skin> Make Adaptive Skin. This will create a new ZTool called Skin_ ZSphere#.
8. Click on the new ZTool to switch over. You can now divide the mesh as needed and begin adding details.

FIGURE 3-16 ZSphere hand.

FIGURE 3-17 Completed ZSphere hand.
Tutorial: Exporting a Model from Maya
Exporting from Maya to ZBrush is a fairly simple matter. Any model created in Maya for use in ZBrush needs to be exported as an .obj file. The .obj file format is a model format that is actually used by every 3D program.
1. Open your model in Maya.
2. Select the mesh and click File>Export Selection. Don’t forget that ZBrush’s automatic UV creation method doesn’t work very well with Maya. That being said, you should create your UVs in Maya before exporting. UV creation is covered in Chapter 9. Also extra care should be given so that the UVs do not overlap.
3. Open ZBrush, click Tool>Import and navigate to the .obj model. This will import the file as the current tool.
4. Click drag in the work area to place the model in the scene.
5. Immediately press the "t"shortcut key to enter edit mode. This is important. If you try to do anything else, the model will be dropped to the canvas and will no longer be a 3D object.
Tutorial: Exporting a Model from ZBrush to Maya
If you need to bring a model from ZBrush back into Maya for further editing or rendering, it is done as an .obj.
1. In ZBrush select Tool>Export.
2. Open Maya and select File>Import![]() . Set Create Multiple objects to False. This is very important. If the vertex order of the object changes in any way, the models will not work correctly when moving between the two programs.
. Set Create Multiple objects to False. This is very important. If the vertex order of the object changes in any way, the models will not work correctly when moving between the two programs.
Tutorial: Rebuilding Bad Topology
ZBrush has some great retopology tools. If you are working with a mesh that doesn’t have well laid out edge loops, you can use the retopology tools in ZBrush to quickly rebuild the mesh.
1. Import your mesh and place it on the canvas. Remember to enter edit mode.

FIGURE 3-18 Model with bad topology.
2. Click Tools>Clone to make a copy of your mesh. I find having this extra copy to make working with topology a bit easier.
3. Click on the ZSphere button in the Tools menu. The mesh will switch to a ZSphere. Don’t worry; your mesh is still there, you just need to switch over to a ZSphere in order to work with the retopology tools.

FIGURE 3-19 Preparing for retopology.
4. Click Tools>Rigging>Select Mesh. Select your original mesh in the popup. The ZSphere will now be drawn on top of your mesh.
5. Next click on Tools>Topology>Select Topo and pick the cloned mesh in the popup.
6. Click on Tools>Topology>Edit Topology to switch into editing mode. A wire frame of your topology will wrap around the mesh. By erasing and recreating these lines you can rebuild the entire topology of your character.

FIGURE 3-20 Ready to rebuild the topology.
7. Press Transform>Activate Symmetry and turn on the X symmetry.
8. Press shift and LMB click while dragging across the faulty sections of the mesh to erase the current topology.
9. Press shift and LMB click and release on the mesh to designate where you want to begin creating the new topology. This can take a bit to get the hang of. Try not to drag when designating new build positions, as this will erase the topology.
10. Continue using the shift and LMB controls to rebuild the character with proper edge loop topology.
11. Press "a" to preview the new mesh.

FIGURE 3-21 Rebuilding the topology.
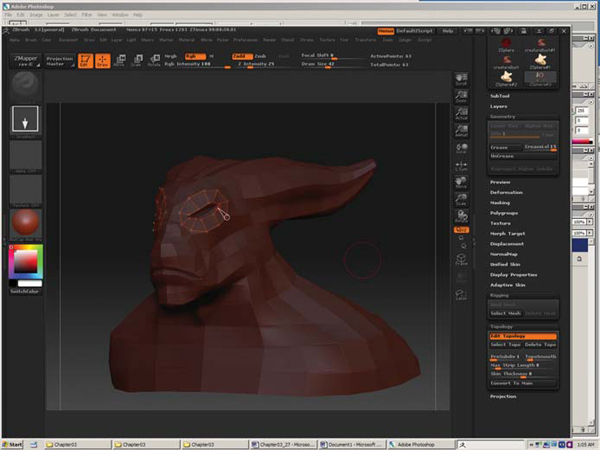
FIGURE 3-22 Mesh in progress.

FIGURE 3-23 Mesh in progress.

FIGURE 3-24 Final rebuilt mesh.
Tutorial: Using HD Geometry
HD geometry allows you to work on models with higher polygon counts than your computer can normally handle.
1. Load your model into ZBrush.
2. Divide the mesh as many times as your computer can work with.
3. Click Tool>Geometry HD>DivideHD. Divide a few times to begin subdivide into HD geometry.

FIGURE 3-25 Original mesh.

FIGURE 3-26 Diving the mesh into HD geometry. Note the higher polygon count.
4. Make sure Click Tool>Geometry>RadialRGN is checked. This will display the safe radial region that you can work within.
5. Click Tool>Geometry>SculptHD.
6. Hover the mouse cursor over a section of the model and press "a." This will enable the radial region that you can sculpt in HD.
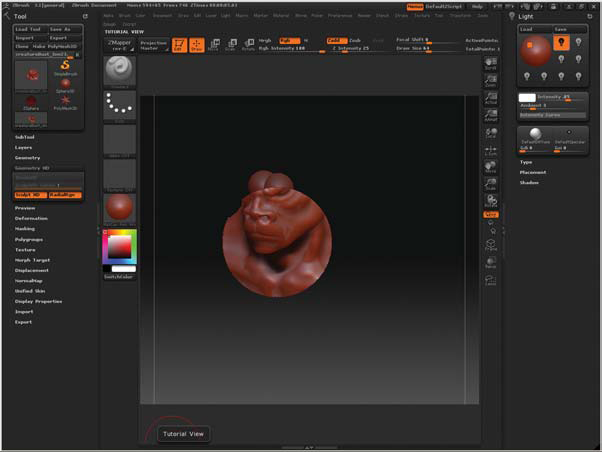
FIGURE 3-27 HD radial sculpting region.
7. Sculpt the model using all of the normal tools.
8. When you need to work on a different section, press "a" to exit HD, hover the mouse of the new section, and press "a" again.
9. Rendering HD geometry press the "a" hotkey when the mouse is not hovering over the model.

FIGURE 3-28 Rendered HD mesh.
Tutorial: Using Smart Resym
If you lose symmetry on your model you can use Smart Resym to automatically regain it. In the HD example, when modeling around one eye, the other half was hidden from view and thus did not get changed.
1. Ctrl+LMB drag around the updated half of the model.

FIGURE 3-29 Masking part of the mesh for Smart ReSym.
2. Click Tool>Deformation>Smart ReSym. Make sure it is set to resym across the X axis. Smart ReSym can take awhile depending on the complexity of the mesh.
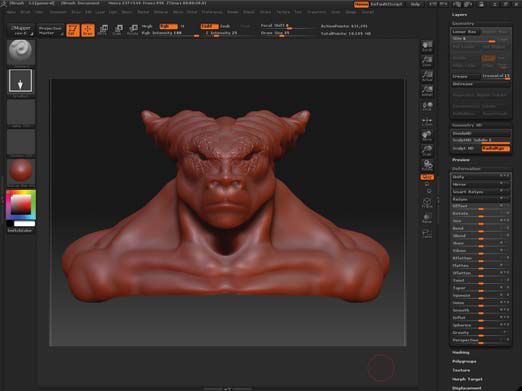
FIGURE 3-30 The updated symmetrical model.
As you can see ZBrush is an incredibly deep program. I recommend that as you are working with it, always check out the great forum site http://www.pixolator.com. Here you can find tons of tutorials and critiques.