
Hand Coloring

A successful photographic illusion will tantalize and tickle reality; I use chromatic manipulation as a feather.
I cannot physically photograph my dreams and fantasies: they reflect no light. I can discover and manipulate realities that are like my dreams, I can invent characters and give them roles to play, but I cannot make the dream itself impress the film with reflected light. However, through color manipulation, my images can approach an interpretation of my dreams.
Unlike many other visual media, photography causes reality to be distorted, interpreted, and perspectively manipulated through mechanical process rather than through an artist’s perception. Photographic artists are responsible for the subject, composition, and tonal interpretation of their images, but the image must be recorded while it reflects light, and that is its reality and magic, and, unfortunately, its limitation.
Color perception is a subjective sensitivity, and I prefer my own colors to those I find in reality. Hand coloring and dye manipulation allow me to create beyond the mechanical restrictions of the photographic process and equipment, and to make a selective and individual impact upon the image. In the past, photography has had difficulty achieving art status. The individual photographic artist rarely introduced the art com munity to anything beyond the verification of a subject’s existence and a technical proficiency in translating it to a two-dimensional surface. There are major exceptions, of course. The visual artist creates and offers a gift, something unique; and in photography, the artist causes a subject to become an illusion of itself.
Photography achieves a major portion of its energy through the oscillation between reality and nonreality, the translation of three dimensions to two, and the illusion returning to three dimensions. This effect is often only half achieved. I add color to reinstate the magic of the light and space that initially attracted me to make the image my own. My colors are muted, translucent tints, selectively applied so that the space and accepted reality are altered. A strategically placed value can create the illusion of complete color, and can sometimes imply colors that do not exist on the print’s surface. This technique invites the viewer to grow with the work, rather than demanding immediate attention. The divided toning of sepia and chromatic dyes creates a surface that embraces soft values and space. Black-and-white prints with applied color often look like black-and-white prints with color on them. My toned and dyed images, selectively masked and painted, permit the impression of a color photograph without its resolved reality. The translucent enamels, applied after the toning processes, permit the illusion of dimension. Because only selected areas of the print are colored, the nonreality is teased by the reality of what actually exists on the print’s surface. This effect involves the viewer, not simply in a subjective evaluation of the perceived image, but in the visual tension of illusion and reality. It is the artist’s control of illusion and its individual impact that separates art from photographs. Hand coloring and dyeing are the controls that make the illusion mine.
The Materials
It is pointless to attempt the salvage of an unsuccessful photograph through tonal and color manipulation. All you can achieve by that exercise is the creation of an unsuccessful colored image. Begin with a photograph having resolved tonal grace and harmony of visual elements. You must understand the process of producing a photograph before you begin to alter it.
There are unlimited materials and processes available for you to use in hand coloring. Virtually anything capable of staining can be employed: food and fabric dyes, oil paints, acrylics, enamels, watercolors, marking pens, and your breakfast coffee. The possibilities are limitless.
Begin any hand-coloring process with a completely processed and washed print. With coloring agents such as Marshall’s oils, acrylic paints, enamels, oil paints, or marking pens, you will need to dry and flatten your print. Rubber cement, although chemically undesirable, can be applied to the surface of a wet or dry print as a masking device for dyes and staining. Maskoid can be applied to mask a dry print. Dyes, toners, and stains are most consistently successful when applied to a wet print.
The Procedure
1. Begin with a completely processed and well-washed print.
2. Plan your coloring, and decide in advance on an order to follow when applying colors. Oil paints cannot be applied to a wet print, and unevenness results from applying dyes and toners to a dry print.
3. Work quickly and efficiently to avoid uneven drying.
4. Follow instructions from the manufacturers of the products, as with Marshall’s oils, when you begin to work. After you are familiar with the materials, you can alter and elaborate on the basic applications for a more individualized technique.
5. Learn from each effort and apply that knowledge to your next print. Do not be disappointed with results that fail to measure up to your previsualized image. Often you will remember the accidental failures in one piece and make the accident work for you in another.
6. Experiment with all aspects of the process. Different paper surfaces will affect your techniques, as will water temperatures, humidity, and the age of the toner or coloring agent.
7. Remain patient, open, and flexible.
Coloring Agents
Coloring agents that are readily available include:
- Marshall’s Photo-Oil Colors
- Colored marking pens
- Artist’s oil paints
- Artist’s acrylic paints
- Artist’s watercolors
- Photo retouching colors
- Colored pencils
- Testor’s enamels
- Edwal Fototint dyes
- Spray enamels
- Edwal toners
- Batik dyes
- Coffee, no sugar

These are only a few of the possible coloring agents usable on photographs.

Colors can be applied with a brush, a Q-tip, or a piece of lintless cloth, paper towel, or sponge.
Making an Enameled Print
The print to be colored has been processed, washed, dried, and flattened. What would ordinarily be considered a finished photograph becomes a blank canvas.

Begin with a finished black-and-white print.
Toning
Toning is the first step in this coloring sequence. A portion of the print is masked out by brushing on solvent-thinned rubber cement. This masked area will remain unaffected by the toning process and will, because its silver will be unchanged, be receptive to the dyes in the next step. This masked print is toned normally in a sodium sulfide sepia toner (see the chapter on toning) and washed. The rubber cement is gently removed prior to the final wash.
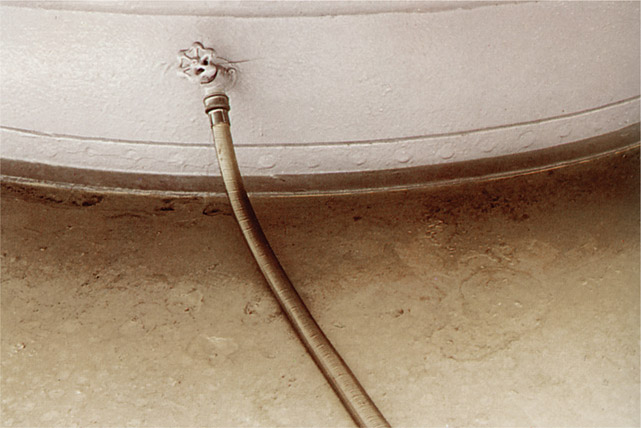
The print is masked, bleached, and toned.
Dyeing
Dye is added following the wash. The print is remasked with rubber cement in the areas where the dye is not desired. In this example, the blue is a manufactured dye from Edwal. It will require experimentation before you will be able to evaluate effectively the degree of dyeing required and the effects of the wash following the dyeing. Mineral content in your water and your drying method will also have an influence on the final colors. The area of the print that was masked during the toning process will now absorb the dye color and the black will turn to blue. If you wish to employ multiple dyes, it will be necessary to keep masked those areas reserved for additional colors. The dyes can also be applied locally with a brush.
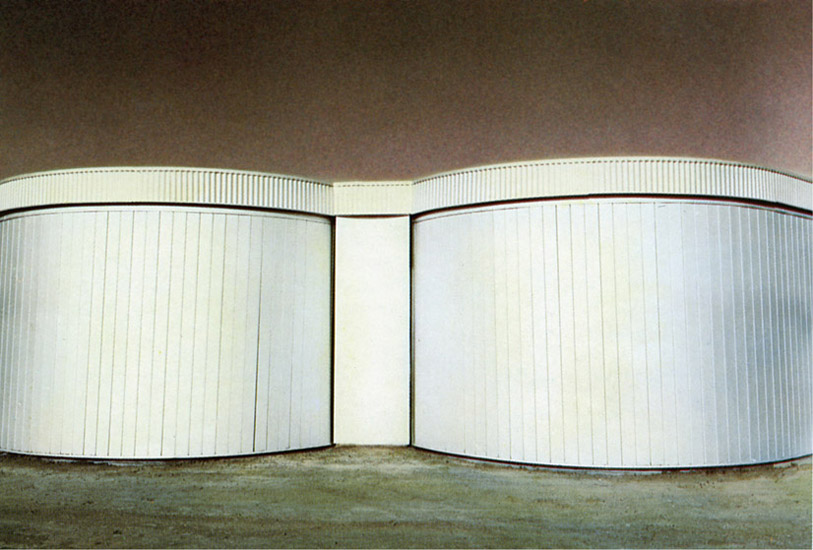
After washing, the print is air dried. When it is dry, the print is dry mounted so that it becomes an inflexible surface on which to apply the final color.

Blue dye is added after remasking.
Enameling
Enamel is the final step in the production of this image. I employ tinted enamels in my work because of their clarity. Testor’s enamels are ideal as pigmentation because of their color purity and quality and because they are easily thinned without losing their fidelity.
It is not simple to paint with enamels. A working knowledge of color, experience in painting, and a level of hand-eye coordination will be of assistance. You must use a 000 or 0000 brush to avoid air bubbles, and you should work in a quiet and dustless environment. Air bubbles and dust are obtrusive on the smooth surface of the enamels and can invalidate the illusion. The enamels dry very quickly. Any alteration of the surface should be avoided unless it is done for the sake of the image. If you are concerned with archival quality in your work, you should investigate the quality, composition, and life expectancy of any color process you use.

The finished print is completed with enamel.
Alternative Methods

Gwen Widmer hand colored this photograph with Marshall’s oils and pencils. “This method allows me maximum control to achieve an illusory quality which someone once described as ‘remembered color.’ My photographs are really small paintings and the overlap of the two media helps me explore the overlap of illusion and reality.”
Reed Estabrook applies high-quality oil paints directly on the surface of his photographs with cotton balls, Q-tips and fine sable brushes. He says that “the hand application of color provides the opportunity to have direct and tangible involvement with the making process and becomes a vehicle for the exploration of photographic references to reality.”