
Text classification is a natural language processing method that lets us categorize texts into predefined classes. This is a very popular technique that has a variety of use cases. One of the famous uses is classifying text into emotional categories (positive, negative, etc.) which is called sentiment analysis. This method can be used on any text data that has been categorized. Text classification allows us to find the author of a piece of writing, classify GitHub issues, find complaints in App Store reviews, or detect the language of a text. In this chapter, we will learn how to use Create ML and Turi Create to create text classification applications. We will learn by doing example apps. We will develop a spam SMS classifier app with Create ML first and then with Turi Create.
Spam Classification with the Create ML Framework
Apple uses natural language processing techniques in many ways on iOS. Thanks to NLP, iOS can auto-fix typos, and Siri can understand what we’re saying. At WWDC 2018, Apple brought these capabilities to developers via a tool called Create ML. This tool has enabled developers to easily create text classification models (among numerous other kinds of models). Create ML became available in Swift Playgrounds with macOS 10.14.
To create a classification model with Create ML, the only thing we need is the labeled text data. This opens many doors for developers. We can detect the author of an article, find a company’s best- and worst-reviewed products, and even detect various entities (person names, locations, organizations, etc.) in a given text. This is only limited by your imagination and data gathering techniques. In other words, the sky is the limit.

Text Classification with Create ML
We can use Create ML in two ways: as a separate app that can be opened in the Xcode menu bar by choosing “Open Developer Tool” and as a framework in macOS Playgrounds. In Playgrounds, we can import data from CSV/JSON files or folders into the Create ML app. Data should be categorized into folders. So in Playgrounds, we have more options.
In this project, we will use the SMS Spam Collection dataset on Kaggle. Kaggle is a great source to find datasets.

SMS Spam Collection Dataset
Train a Model in macOS Playgrounds
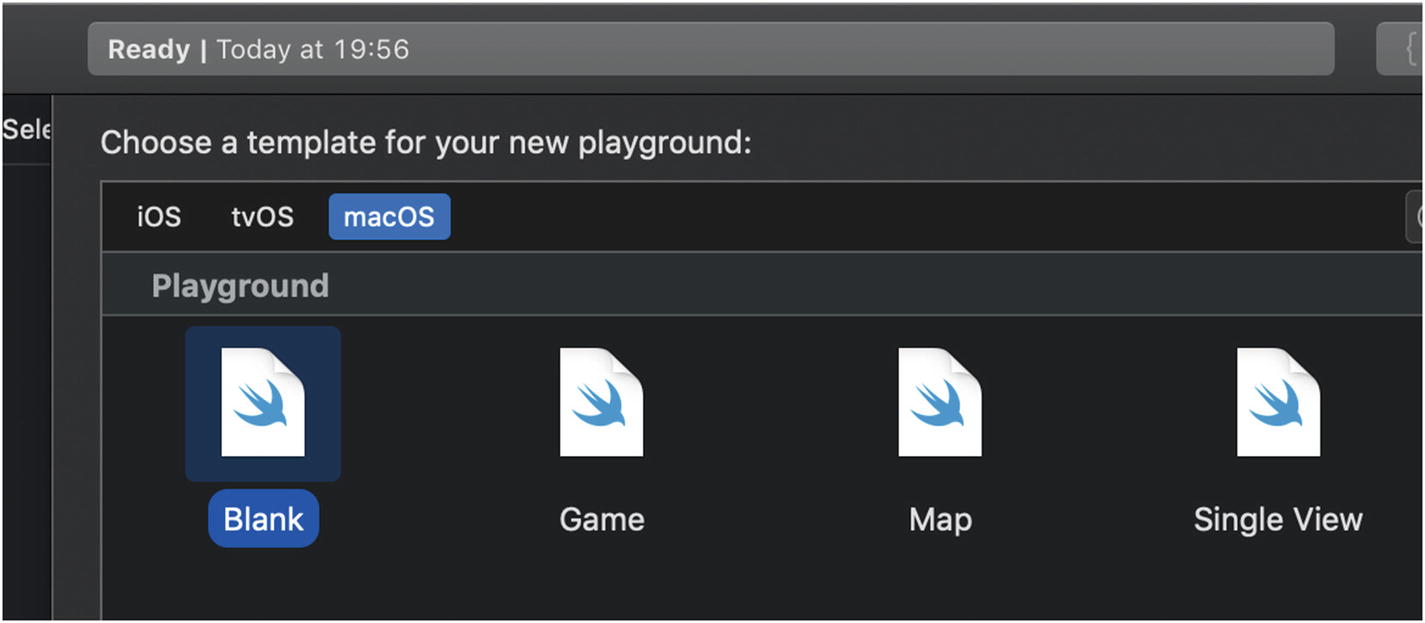
Templates in Playgrounds

Importing in Playgrounds
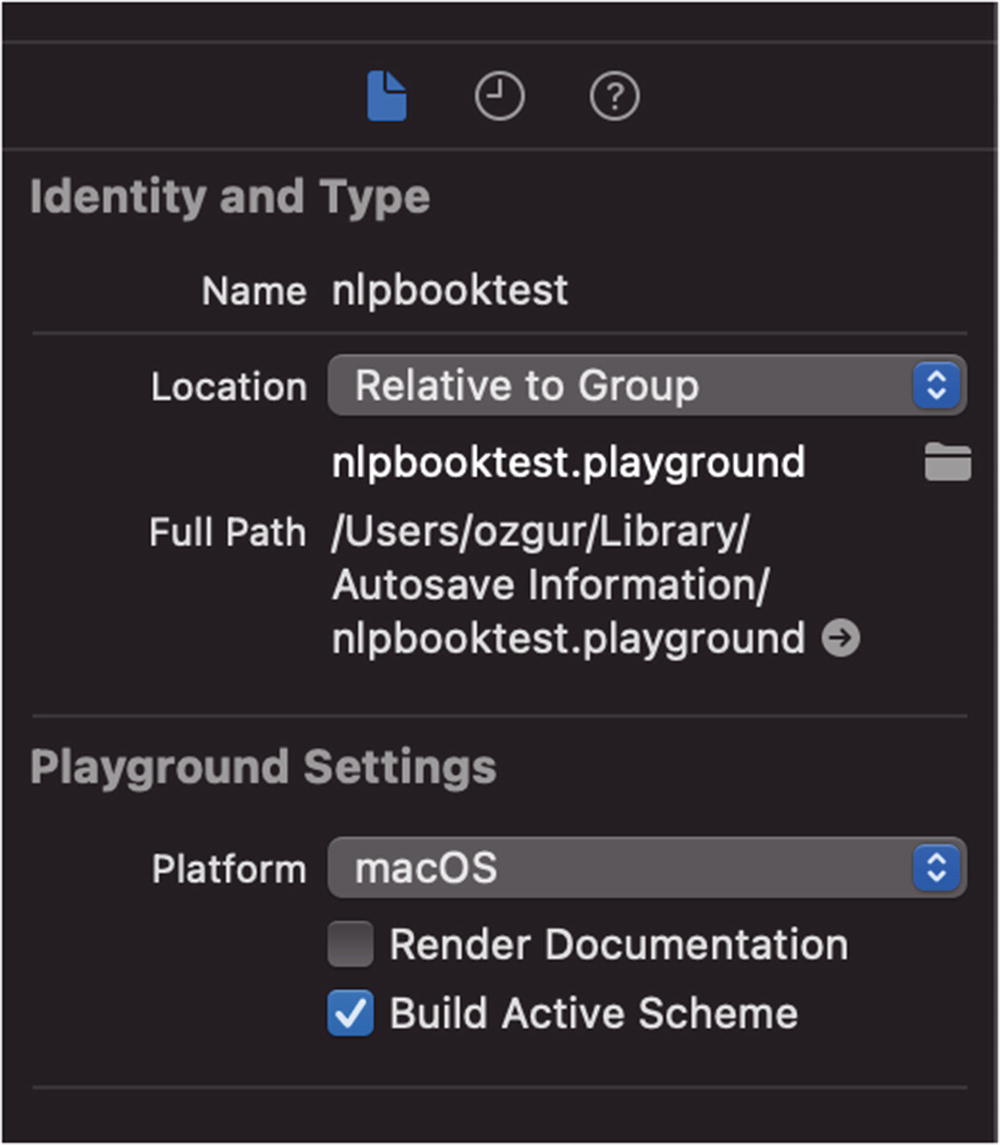
Playground Settings
After downloading the text file, pass the file path as a parameter to the URL object. Instead of writing this code, you can just drag and drop the file into Playgrounds to create the file path.
Create ML can read data in two ways: using folders as labels when files are separated in folders or reading from a single file (CSV, JSON).
Create URL Object
In the preceding code, we create a URL object to point to the CSV file and pass that as a parameter to the MLDataTable.
You can drag and drop the CSV file into Playgrounds if you don’t want to write it manually. It will create the file path.
Parsing Options
Training a Text Classifier
Since our column names are “v1” and “v2,” we specified them as shown in the preceding code. This model learns to associate labels with features of the input text, which can be sentences, paragraphs, or even entire documents.
Apple provides a model trainer called MLTextClassifier. It supports 57 languages. The model works in a supervised way, which means your training data needs to be labeled (in this case, the SMS text and the spam category of the text).

Training the Text Classifier with MLTextClassifier

Training Result with Error
The error is not descriptive, but the problem is some of the punctuation that exists in our training data.
To solve this problem, just open the CSV file in TextEdit or some other text application and clean these punctuation marks: , /, and ” (replace all with an empty string).
The file has five columns; we will only use the first two columns. Open the CSV file in Numbers and remove the last three columns.

Training Output in the Console
The duration can differ on different Macs, but on my MacBook Pro 2015, it just takes 0.09 second to train this model.
A better way to train the model is to split our data into train and test sets. This way we can evaluate the trained model and see how good it is on data it has not been trained on.
Training with Split Data

Training Accuracy
Check Training Metrics

Evaluate the Model
Evaluating the Model
Here we see that our model’s accuracy is %97 on the testing data. It shows that our model is working well and not just memorizes the training data but also generalizes knowledge because it is also successful on the testing data.
Prediction Using the Model
Here we run our spam classifier model with some sentences, and it correctly categorizes this text.
Export the Core ML Model

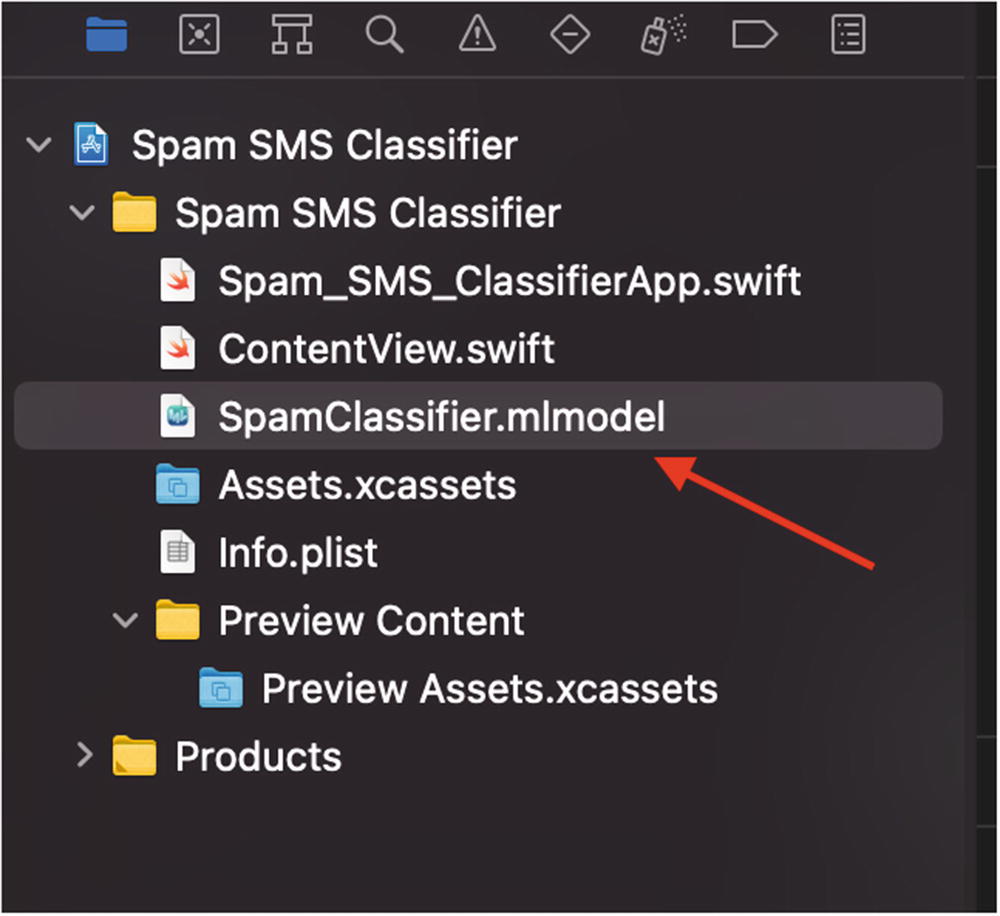
MLModel in the Project
Since we’ve exported our model, we’re now ready to use it in an iOS app. Open Xcode and create a new project with App template. Make sure the interface is SwiftUI and lifecycle is SwiftUI app. After you created the project, drag and drop your Core ML model into the project.
You can also use Storyboard as a user interface, but here I will use SwiftUI because it’s easier to show results there.
Model Details
In Xcode, we examine the model details and the metadata that we provided while exporting the model. It also shows the input and output types of the model.

SpamClassifier class generated by Xcode

Model’s Auto-generated Class Code
This class should not be edited.
Using the Classifier Model in the Project
As shown in the preceding code, I created the model’s instance and called a prediction on it. Prediction can throw an error; that’s why we need to call it with a try. Ideally, you may wrap it in a do-catch block and handle the error.
Calling Classifier in SwiftUI
In the preceding code, we created a text field and a button. When the user taps the button, we get the input from the text field and send it to our spam classifier model. The model’s classification result is shown in the second text field.
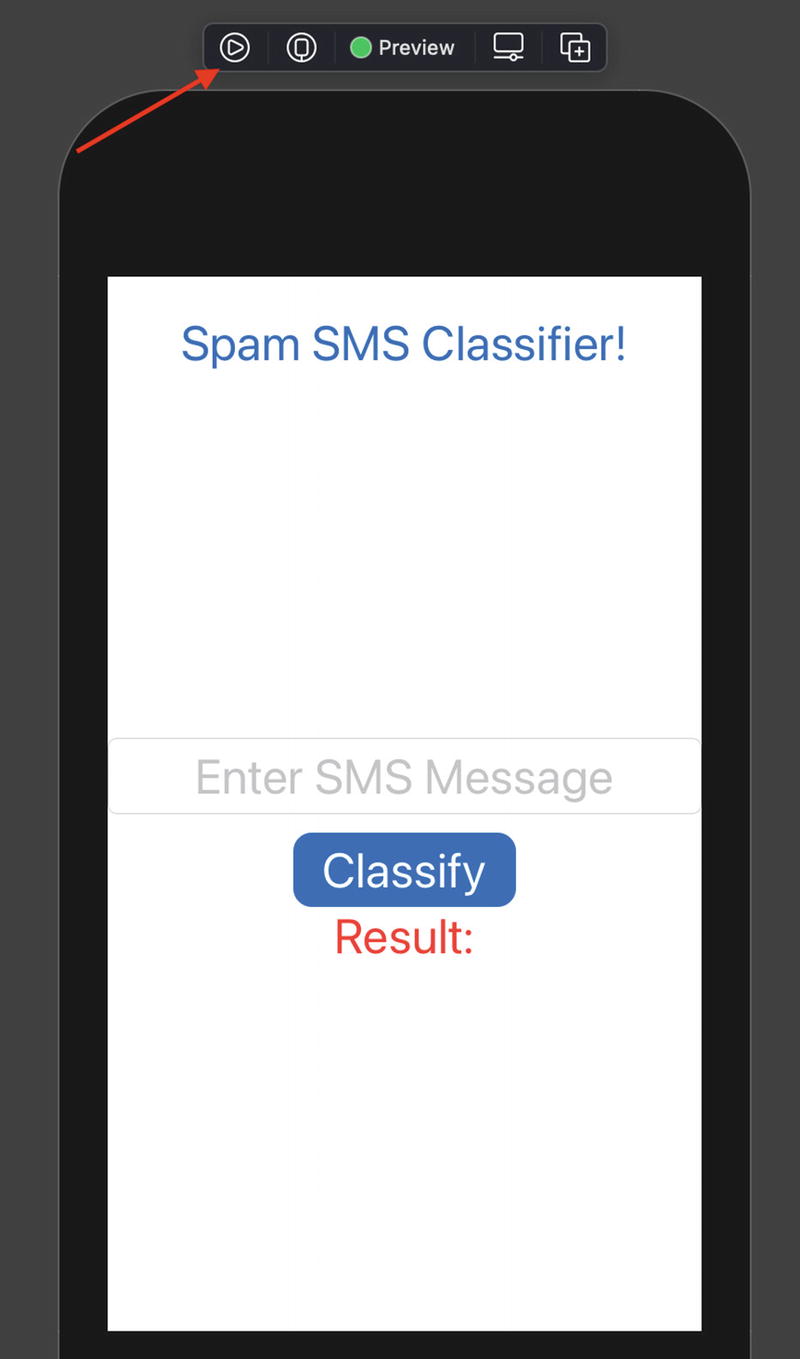
Running the Spam SMS Classifier App
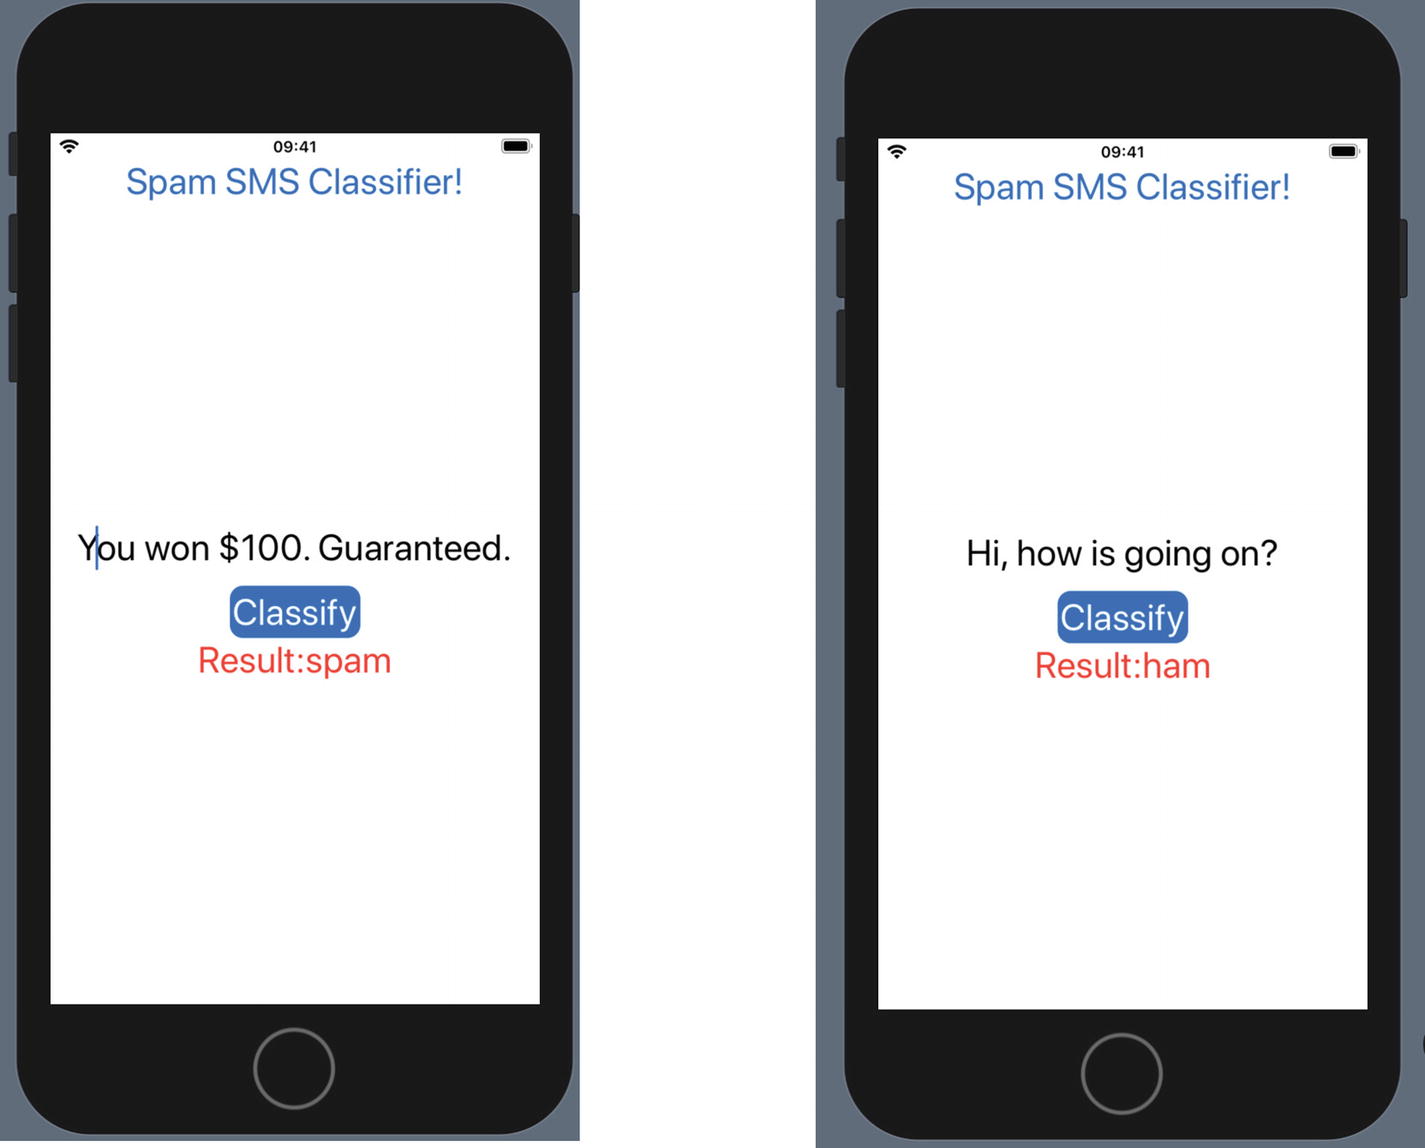
Spam SMS Classifier App
Congratulations! You just created a smart application that can detect spam SMS messages.
Spam Classification with the Create ML App
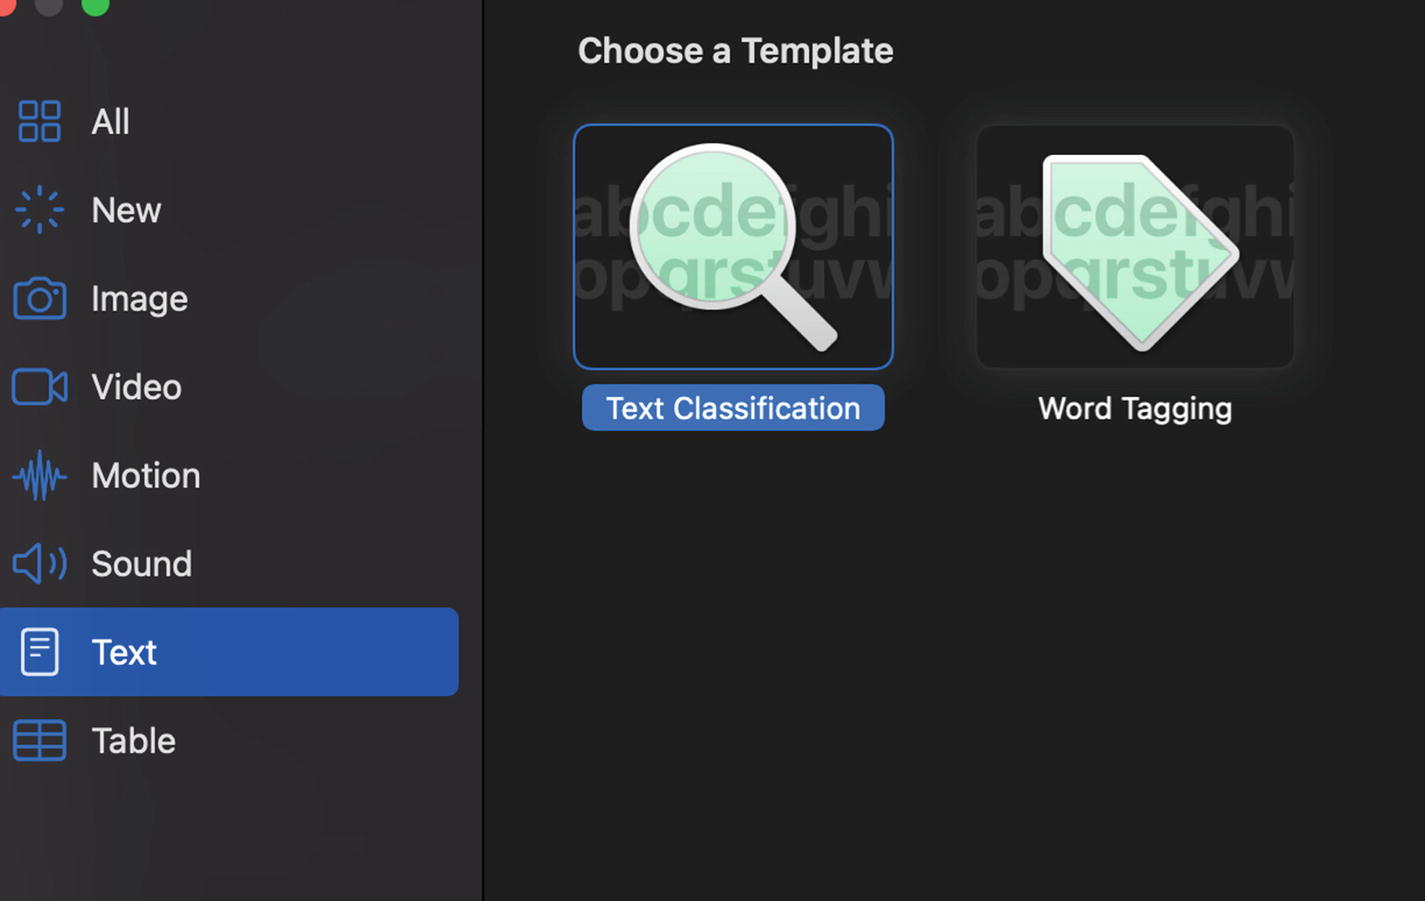
Text Classifier Template in the Create ML App
First, we need to provide training data. The text classifier in Create ML v1 only accepts text data in folders. Version 1.1 of Create ML is still in beta, and it will support reading from CSV and JSON files.
Read CSV and Create Text Files

Text Files for the Create ML App
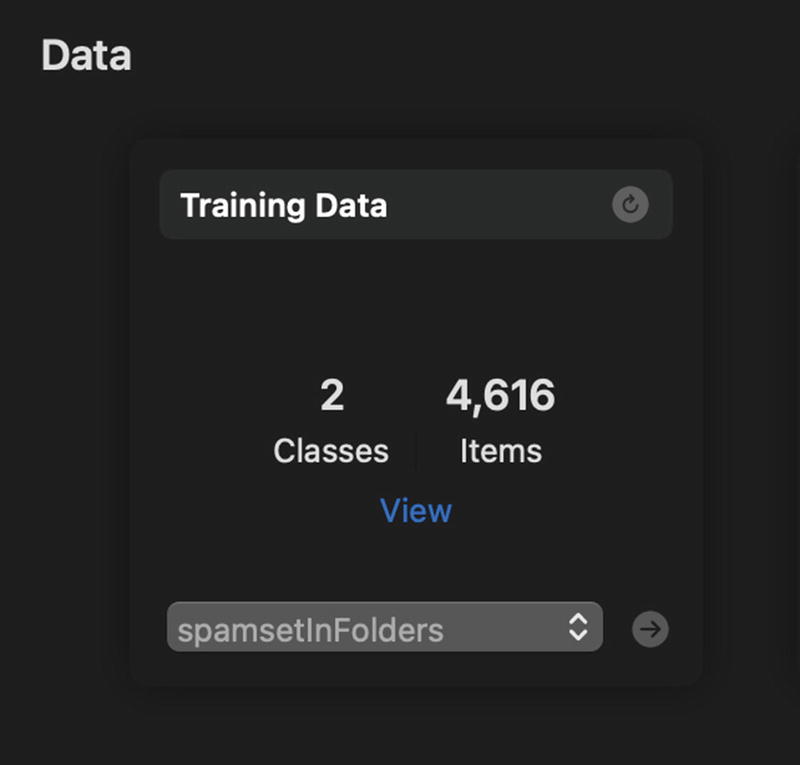
Create ML App Training Data Panel
The Create ML app will read the files and show the number of classes and file count. Create ML also offers some different algorithms to train your text classification model. Currently, the provided algorithms are maximum entropy, conditional random field, and transfer learning. In transfer learning, there are two options: static and dynamic embedding. Static embedding uses static vector representation for words and does not care about the context of the word. Dynamic embedding cares about the context of the word. So it creates separate vectors for the word “food” for these two samples: “food for thought” and “I need food.” Static embedding, on the other hand, would create the same vectors.
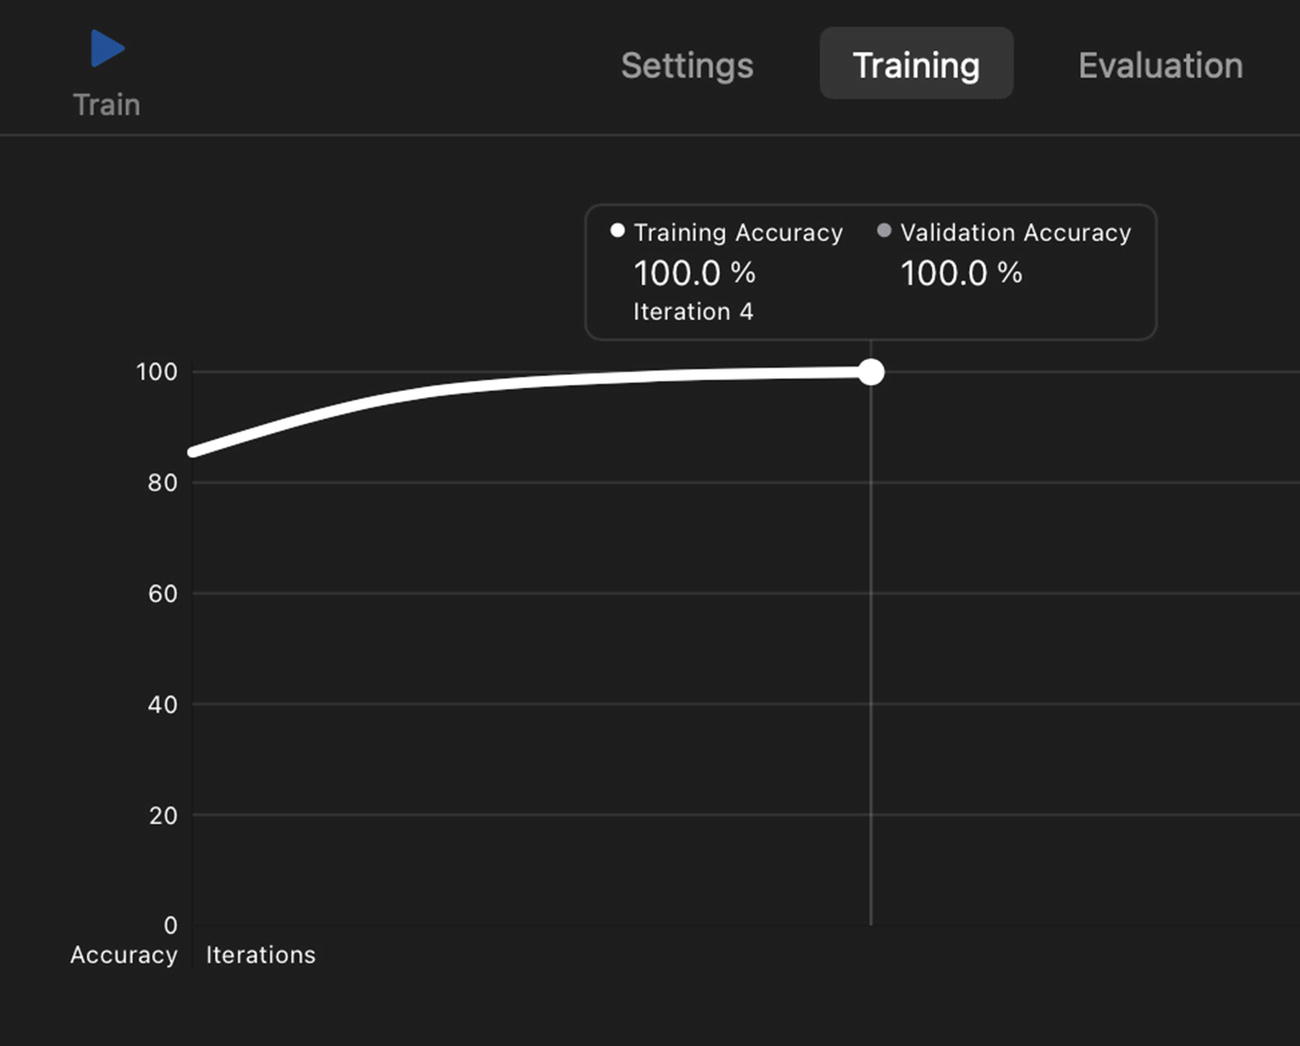
Training in the Create ML App
You can check the results of training and validation by clicking the tabs. For validation, Create ML puts a small percentage of training data aside to use for validating the model’s progress. This improves the model’s performance on examples the model hasn’t been trained on. Validation accuracy lets Create ML understand when to stop training. Validation data split is done randomly, so you may see different results in each training.
If you have test data, you can test your model in the Testing tab. It’s important to see how your model works on data it hasn’t seen before. You can also test your model with the arbitrary text you enter in the Output tab. If you are satisfied with your model’s accuracy, just drag and drop your model from the Output panel to a folder or Xcode project. You just trained your first model with the Create ML app. It’s ready to use in your project.
Spam Classification with Turi Create
In the previous sections, we learned how to use the Create ML framework and Create ML app by creating a spam classifier in each one of them. In this section, we will train the spam classifier using Turi Create. Turi Create is an open source Python library for creating Core ML models. It supports a variety of tasks such as image classification, object detection, style transfer, recommendation, text classification, and more. Turi Create offers more parameters to train ML models compared to Create ML.
As this is a Python library, we cannot directly start coding; we have to set up our Python environment to start working with Turi Create.
Turi Create Setup
Create a Virtual Environment
Install Turi Create and iPython
This code will open Jupyter on your browser. Click New and create a Python notebook. In the notebook, you can run the cells and see the results immediately. It is useful to make experiments and see the results in an interactive way.
Training a Text Classifier with Turi Create
Training the Spam Classifier with Turi Create
With this code, we read the CSV file and rename columns as label and text for clarification. We split data into training (80%) and testing (20%). We create a text classifier model with 100 iterations; the default iteration count is 10. This lets more passes through data and can result in a more accurately trained model. Here, we can also specify drop_stop_words to ignore very common words like “the,” “a,” and “is” word_count_threshold to ignore less frequent words or method to use bag-of-words or bow logistic (logistic classifier). After training the model, we evaluate it using the test data. This shows how accurate the model is on data it hasn’t seen. Finally, we export our Core ML model to use in the Xcode project.
Now, open the MLModel file you exported to see model details as shown in Figure 3-21. Its input is different than the models we trained with Create ML.
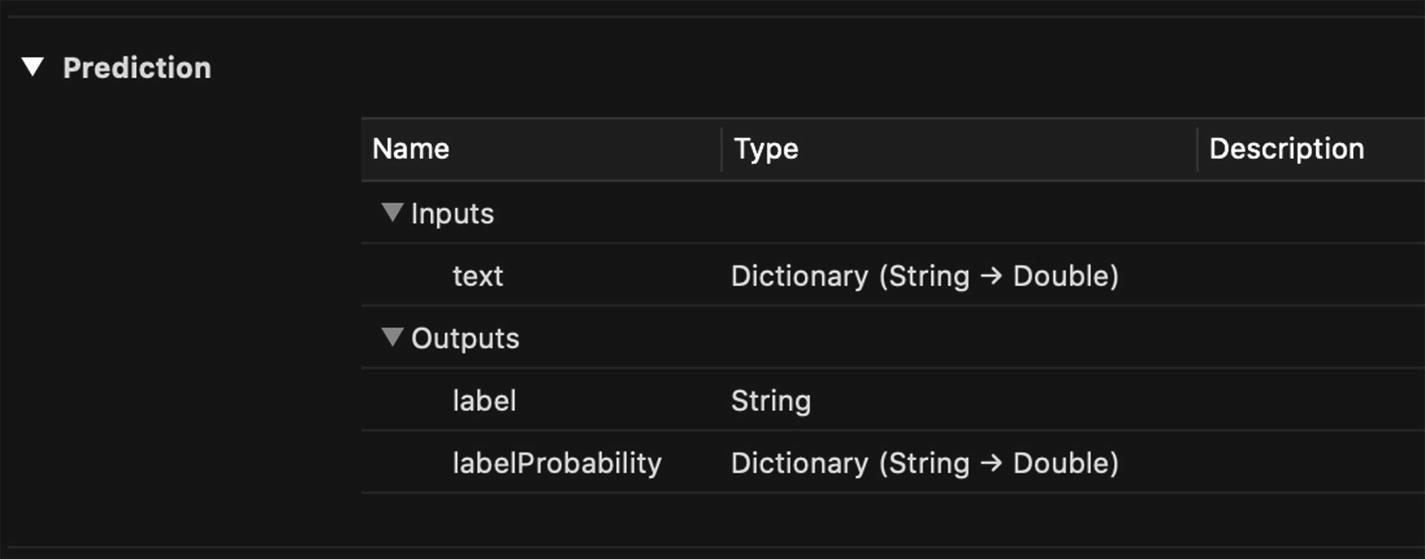
Spam Classifier Trained with Turi Create
Bag-of-Words Representation
In the preceding code, the “bow” function takes a string and returns a dictionary. The dictionary shows how many times each word occurs in the given text. Before using the model we exported from Turi Create, we create a bag-of-words representation of the text and give this to the model as an input.
Summary
In this chapter, we got our hands dirty by writing a spam SMS classifier app that can detect spam messages automatically. We learned how to use Apple’s ML tools. By training a text classifier model in the Create ML framework, the Create ML app, and Turi Create, we learned their advantages and disadvantages. This chapter is intended to make you comfortable with these tools. In the next chapters, more complicated models will be trained to build more smart applications.