
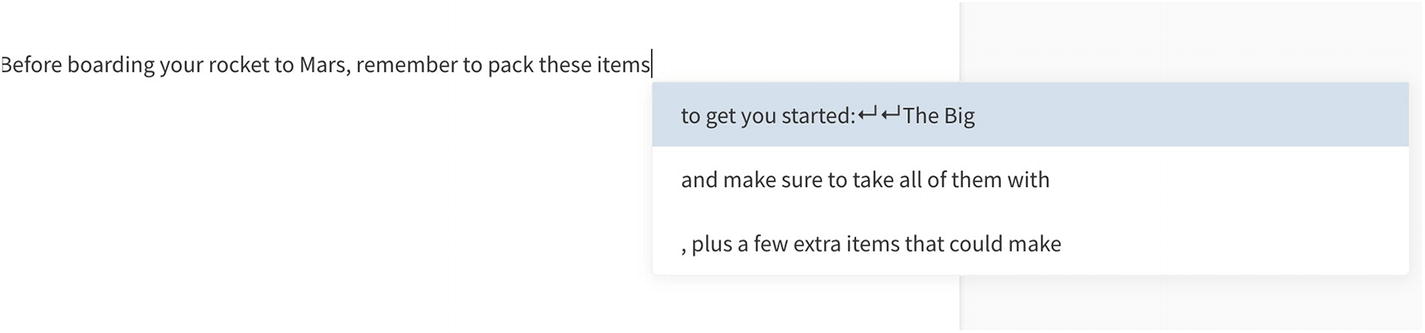
Text generation lets us auto-complete the sentences with appropriate words or phrases. In recent years, text generation with neural network models significantly improved. These models often benefited from recurrent neural networks or transformers. In this chapter, we will learn how to use one of the best text generation models (GPT-2) and build an iOS application using this model. Our application will use built-in OCR capabilities to capture text from camera and generate text based on scanned sentences.
GPT-2
GPT-2 is a successor model to GPT (Generative Pretrained Transformer) published by OpenAI (AI research and deployment company based in San Francisco). The transformer is the architecture behind this model and many other language models. A transformer mainly consists of encoders and decoders. It also has attention layers that let the model focus on the specific parts of the input sequence. We won’t go into much detail of the transformer as it’s out of this book’s context. Shallow knowledge is enough if you will just develop a mobile app using this model.
The original GPT-2 model is trained on 40 GB of Internet text (GPT-2 WebText). GPT-2 is a large transformer-based language model with 1.5 billion parameters, trained on a dataset. Language models train for predicting the next word given the previous words.
GPT-2 Text Prediction
To use this kind of model in iOS, you need to convert it to Core ML model format (models with a .mlmodel file extension). Conversion of this model is usually done with the coremltools library. This Python package is developed by Apple and supports conversion from TensorFlow and PyTorch.
Sometimes, the conversion of this model could be problematic, if there is a layer in the model which is not supported by coremltools. Luckily, Hugging Face open sourced their model implementation, conversion scripts, and even Core ML models. Hugging Face is a NLP-focused company, and they are famous with their open source framework transformers which have more than 30,000 stars on GitHub. They have a separate repo (swift-coreml-transformers) for transformer models converted to Core ML format to run on iOS devices. Currently, it contains GPT-2, DistilGPT-2, BERT (Bidirectional Encoder Representations from Transformers), and DistilBERT models. Models that start with “Distil” are models that are compressed. They are often faster and have fewer parameters. For example, DistilBERT has 40% fewer parameters than bert-base-uncased and runs 60% faster while preserving 97% of BERT’s performances according to the GLUE benchmark.
We will use the DistilGPT-2 model to have predictions faster on mobile. If you are curious about the code to convert DistilGPT-2 to Core ML format, check out the code at https://github.com/huggingface/swift-coreml-transformers/blob/master/model_generation/gpt2.py. We will use the converted model in our sample project. The converted model can be downloaded from here: https://github.com/huggingface/swift-coreml-transformers/blob/master/Resources/distilgpt2-64-6.mlmodel.
OCR App
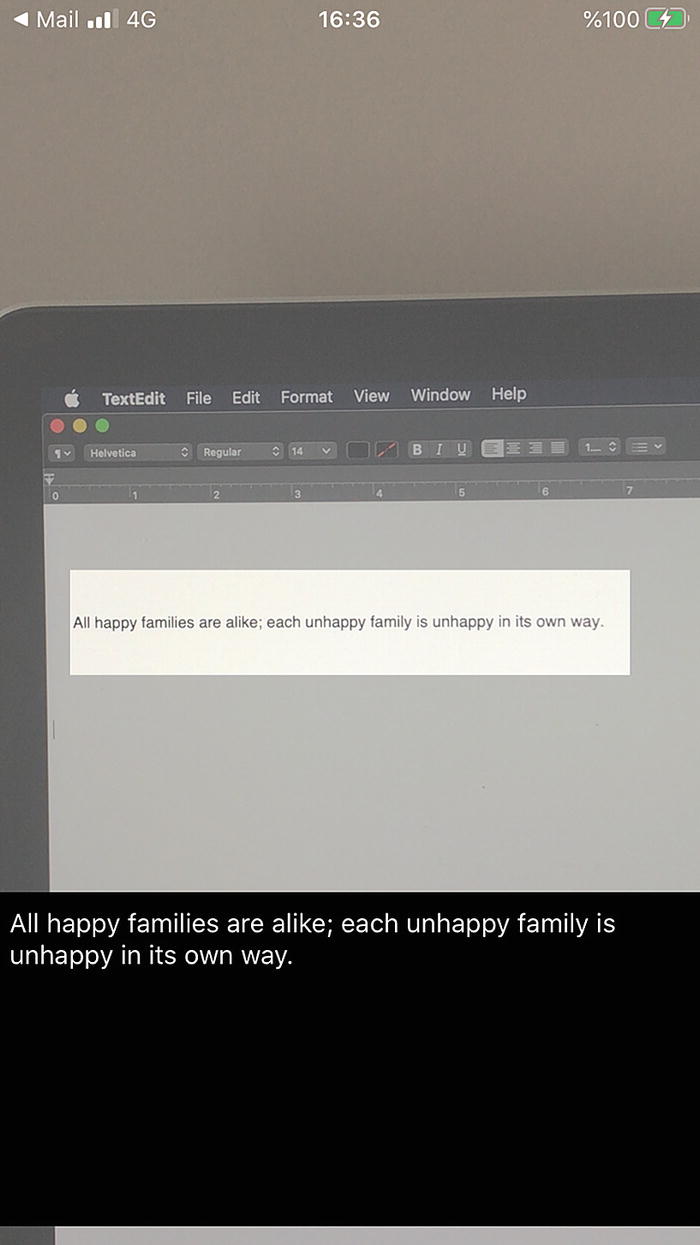
All happy families are alike; each unhappy family is unhappy in its own way.
—Leo Tolstoy
Let’s Build OCR and the Text Generator App
Firstly, we will build the OCR functionality of the app. It will scan the camera stream and focus on the region of interest as seen in Figure 4-2. Scanning a smaller area lets us use our computational resources economically.
For the scanning part, we will use Apple’s sample project “Reading Phone Numbers in Real Time” (https://developer.apple.com/documentation/vision/reading_phone_numbers_in_real_time) as a base project. It shows the best practices to process live capture and recognize the text in a focused area.
Download the starter project from here: https://github.com/ozgurshn/Chapter3-ScanAndGenerate/tree/master/starter. This is a template project that we set up for you to make things easier. You can also find the completed project here: https://github.com/ozgurshn/Chapter3-ScanAndGenerate/tree/master/final. I recommend starting with the starter project and following the exercises to understand implementation.

Starter OCR and Text Generation Project
Our sample project has Views and GPT folders as shown in Figure 4-3. Views contains ViewController-related files. GPT contains text generation–related classes. To focus you on specific tasks, many mundane tasks like camera setup and view positioning are done on your behalf. You only need to take care of OCR and text generation parts. We will develop it together using a starter project as a baseline.
Firstly, let’s download the Core ML model for GPT-2 from https://github.com/huggingface/swift-coreml-transformers/blob/master/Resources/distilgpt2-64-6.mlmodel and drag and drop it into the GPT folder in the Xcode project.
The starter project has one view controller, namely, ViewController.swift; and VisionViewController is an extension of this view controller focusing only on Vision framework–related tasks (e.g., text recognition). PreviewView manages the video preview layer to show the camera stream properly.

VisionViewController Functions
Using the Built-in OCR
Perform Text Recognition Request
With the preceding code, we create CVPixelBuffer from the sample buffer. Vision requests prefer the CVPixelBuffer type instead of CMPixelBuffer. VNRecognizeTextRequest is created in the viewDidLoad function; this prevents recreating it with every frame capture. VNRecognizeTextRequest has two options for recognition level: accurate or fast. We make this trade-off and choose fast to be more real time–friendly. Another property of this request is “usesLanguageCorrection”; this applies language recognition during the text recognition process. For maximum speed, we specify “regionOfInterest” to guide the recognition process on where to focus on the frame. Similar to all Vision requests, we create an image request handler with a pixel buffer and orientation and perform the Vision request.
We write the part that performs the text recognition request on captured frames. Next, we write the part that handles text recognition results.
Text Recognition Process Results
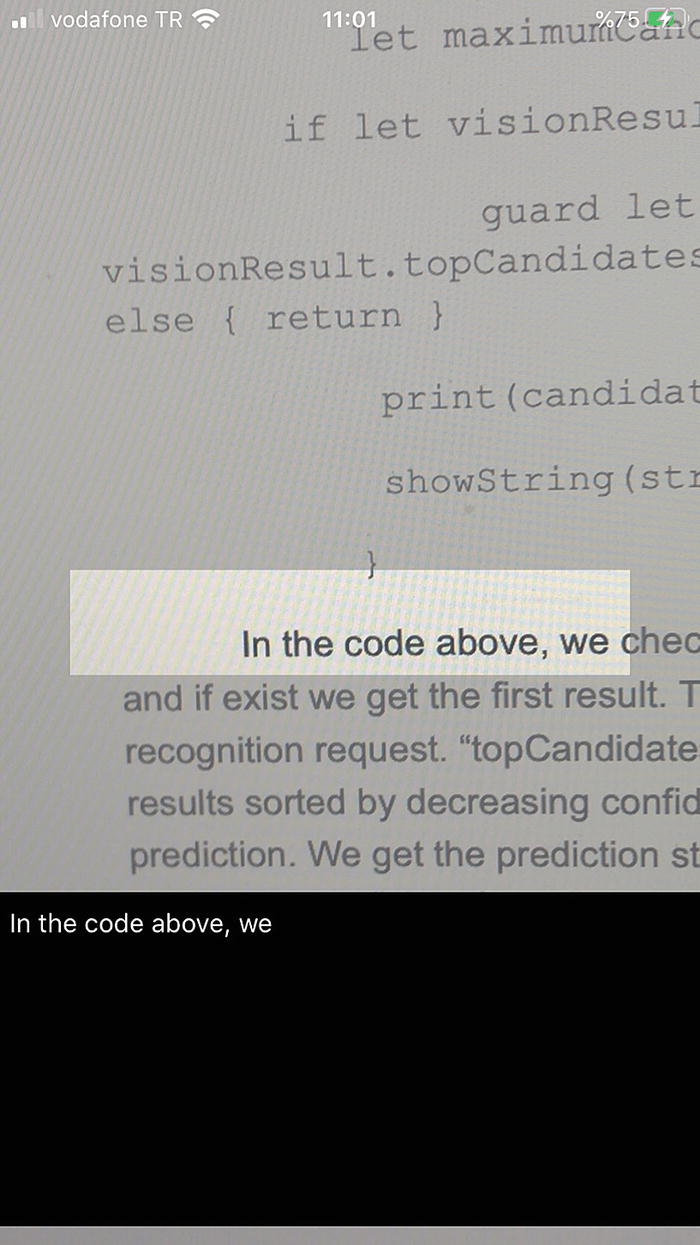
In the preceding code, we check whether results exist in the request, and if they exist, we get the first result. This is the prediction result of the text recognition request. The “topCandidates” function returns the prediction results sorted by decreasing confidence score, so the top one is the best prediction. We get the prediction string for the first candidate and show it on the screen. The “showString” method takes the string and shows it in the text view. It dispatches this call in the main thread by calling DispatchQueue.main.async to ensure UI updates performed properly.
Text Recognition App
Now that we took care of the text recognition part, we will continue to build our app to generate text using the AI model.
Text Generation Using AI Model

GPT Files in the Project

DistilGPT-2 Model in Xcode
The model name is distilgpt2_64_6. The 64 in the model name stands for the sequence length (number of tokens) the model takes as an input.
The middle section on this screen shows the auto-generated Swift file that Xcode generates. The lower section shows the input and output types of the model. We need to convert the input text to model input format. As seen in the preceding image, the model takes two MultiArray that have 64 double values.
Luckily, the code to convert from text to model input format has been written by Julien Chaumond of Hugging Face. The files under the GPT folder are taken from their repo. Open the GPT2.swift file to check this code.
It has three decoding strategies: greedy (at each time step, the most likely next token is selected), topK (sample only from the top k most probable tokens), and topP (top tokens with a cumulative probability above a threshold). These decoding strategies determine how the prediction result is selected.
Text Prediction Function
The other function in this class is the “generate” function which is shown in Listing 4-4. It takes the text and the number of tokens to generate as an input. It encodes the input text and calls the prediction function with the input text and returns the results of the prediction. It appends each prediction result to the input tokens to make a prediction on the latest version of the text.
Text Generation Function
Handling Tap Gesture
In the “handleTap” function, we stop capturing the camera session and call the generateText function with the recognized text.
In the “generateText” function, we call the “generate” function of gpt2Model with 50 tokens and present the generated text in the text view. We perform the UI updates in the main thread.

AI Model Completing the Quote from Anne Karenina
Summary
In this chapter, we learned how to use built-in text recognition capabilities of the Vision framework to build an OCR app that can read text from the phone’s camera. We also used one of the best text generation models (DistilGPT-2) to generate sentences based on the recognized text.