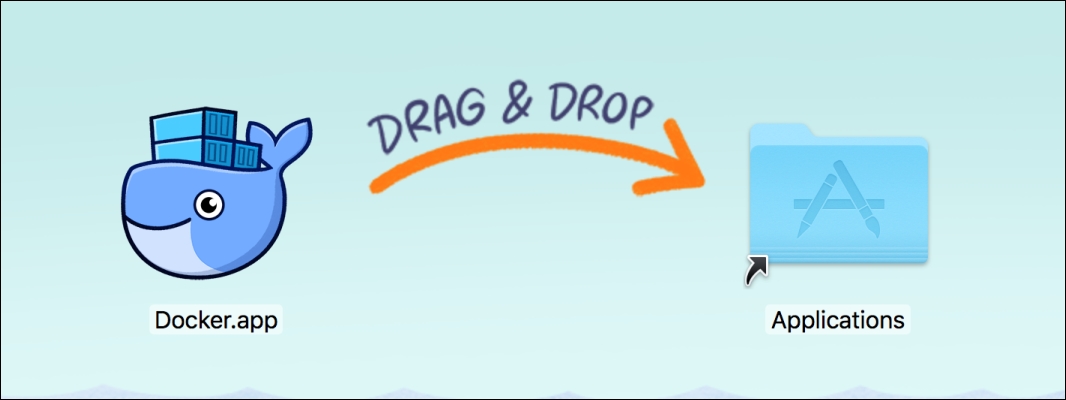
Docker installation on Mac OS is very similar to the installation on a Windows PC. Again, you have two options here. If your Mac is from 2010 or later and runs Yosemite or newer Mac OS, you can pick the Docker for Mac installation. Again, the same as with native Docker for Windows, you can select the stable or beta channel. Unless you want to experience the excitement of new features and bugs available in Beta, you should pick the Stable version. Docker for Mac is a native application, you just copy it to your /Applications folder, just like any other Mac application, as can be seen in the following screenshot:
If you run the installed Docker.app, you will see a whale icon in the menu toolbar of your Mac OS:

The same note as for native Docker for Windows applies also for Docker for Mac: Kitematic is no longer part of the installation package. However, it's still compatible with Docker for Mac—you just need to download it separately and put it into the /Applications folder.
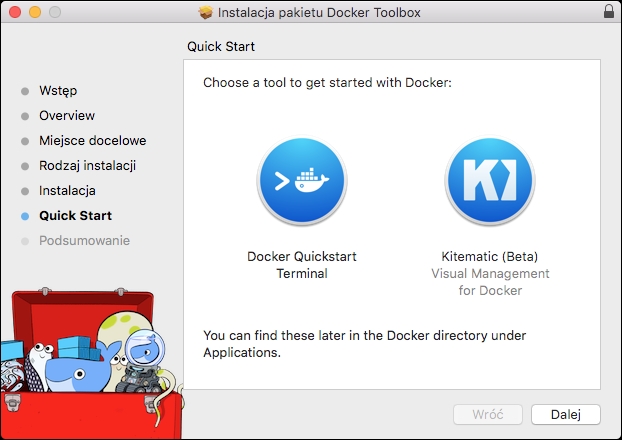
If you work on an older Mac or an older Mac OS, you will need the Docker Toolbox. However, you will need at least Mac OS 10.8 Mountain Lion to install the Docker Toolbox. The Docker Toolbox package, the same as in Windows, contains all the tools to get you started. It contains Docker Client, Machine, Compose, Kinematic, and VirtualBox. Head straight to the Docker Toolbox website at https://www.docker.com/products/docker-toolbox and download the Mac OS version. Docker Toolbox for Mac is wrapped into a pkg package, so you need to run it, instead of just moving it into the /Applications folder. Similar to the Windows version, you would like to give it permission to report usage statistics to improve the future releases. After the installation, the Quick Start page will give you the choice to quickly execute the Terminal or the Kitematic tool:
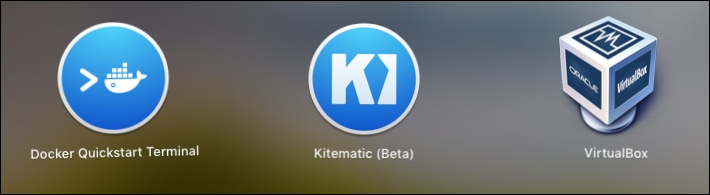
You will also be able to find Docker tools and VirtualBox in the Applications folder and Launchpad menu later:
To verify the setup, execute Kitematic, skip Docker Hub login and type hello-world in the search field:
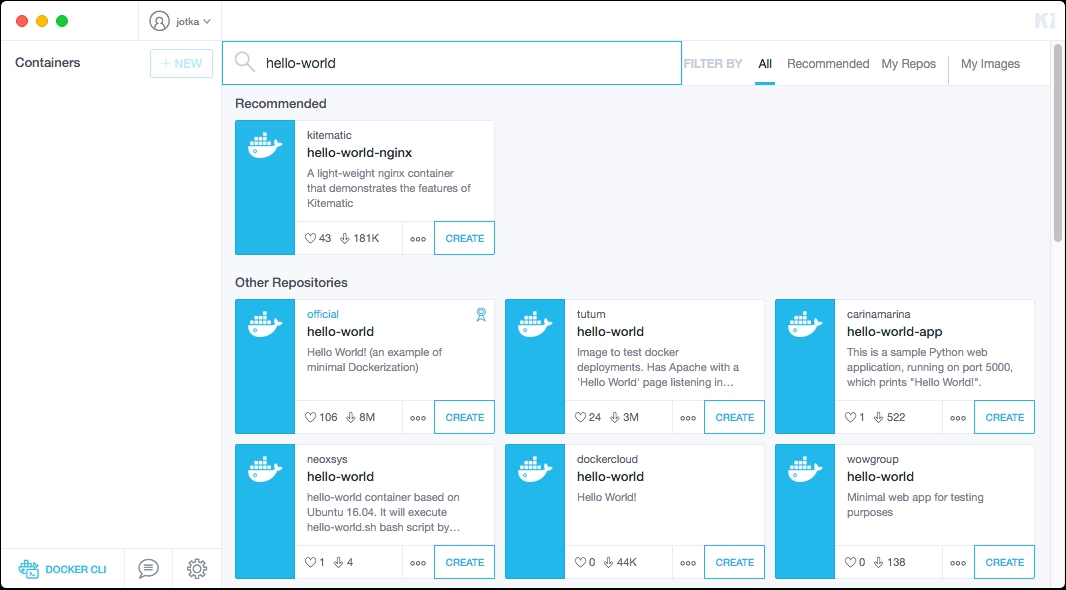
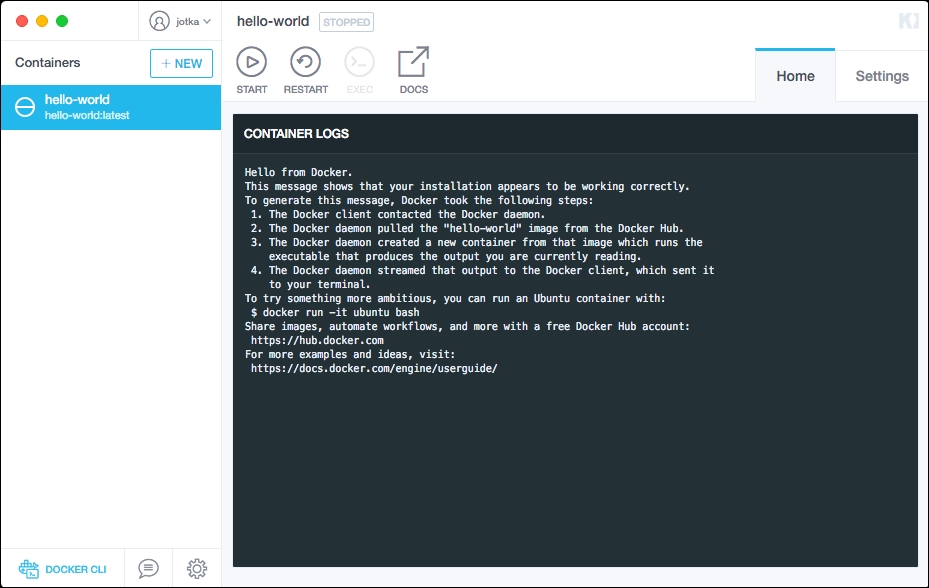
Next, click on the CREATE button next to the hello-world image. Kitematic (docker-machine to be precise) will download the image from the Docker Hub and present you with the output:
From now on, Docker's command-line tools are also at your disposal. Opening the Terminal from Kitematic will automatically set all the required environment variables and connect you to the default machine. But if you would like to be able to work from your own Terminal session, you may get a message saying that Docker client cannot connect to the Docker daemon. The reason is that the client doesn't know what machine it should control. To attach your client to the specific machine, type the following command in your Terminal session:
eval "$(docker-machine env default)"
The eval command sets environment variables to dictate that docker should run a command against a particular machine, which is the default machine in our example.
To see the list of Docker-related environment variables, use the env command:
env | grep DOCKER
The output will contain Docker variables, such as machine name, host, and certificate path:
DOCKER_TLS_VERIFY=1
DOCKER_HOST=tcp://192.168.99.100:2376
DOCKER_CERT_PATH=/Users/jarek/.docker/machine/machines/default
DOCKER_MACHINE_NAME=default
Another way of testing the setup is the docker info command. Execute the following from the command-line shell:
docker info
The output will contain a lot of useful information about the server's kernel version, memory available, the number of running containers, the name of the machine, and so on.
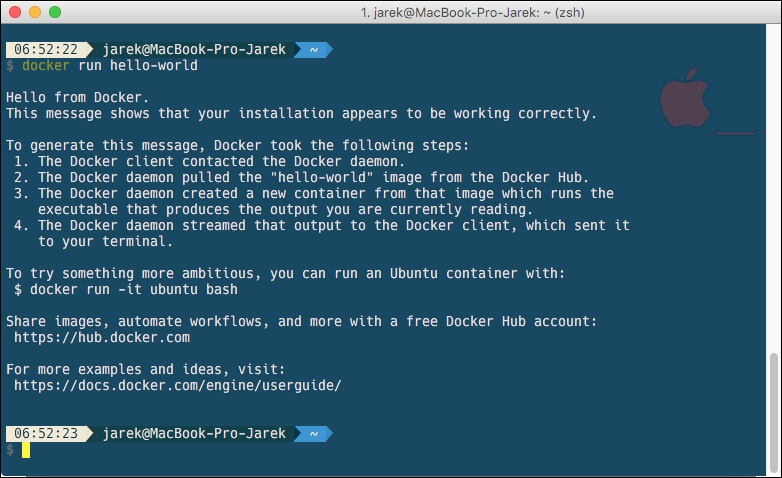
Let's now type the following command to run the hello-world image straight in the Terminal:
docker run hello-world
If you can see the output from the image, you are all set and have a working Docker set up on your Mac: