
In previous chapter, we learned how to install Docker on Windows, Mac OS, Linux, and Amazon EC2 cloud. So far, you should have Docker running on your machine and should be able to run the hello-world image in a container. In this chapter, we will dive deeper into the world of images and containers. Later, we will also cover image distribution-related terms, such as Docker repository, registry, and index. We are going to cover the following topics in this chapter:
- Images
- Layers
- Containers
- Saving changes to containers
- Docker registry, repository, and index
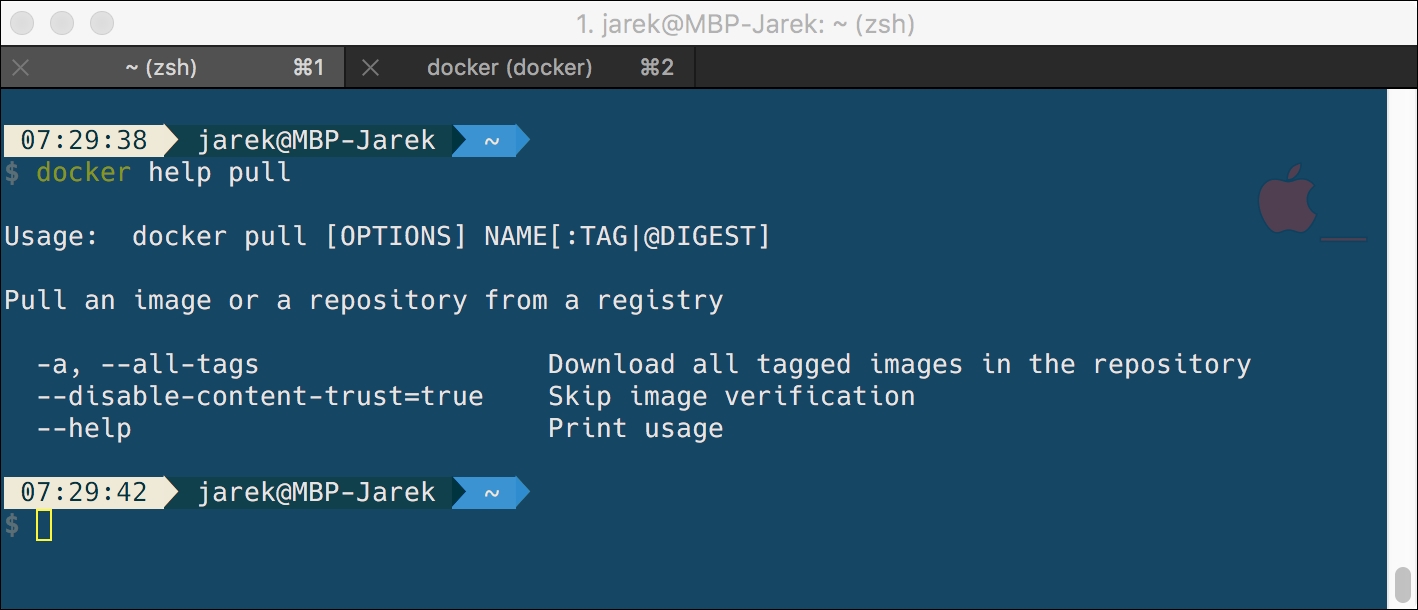
Note that we will mainly use the shell (or command prompt in Windows) to execute Docker commands. You can always execute docker help to get a description of the available commands. Executing docker help with the name of specific command docker help pull, for example, will display information about this command with a brief description of the available options:
Let's start by explaining in detail what images, layers, and containers are.
You can think of an image as a read-only template, which is the base foundation to run a container on. It's like a template that contains everything your application needs to operate. It can be Ubuntu Linux with a web server and your web application installed. Every image starts from a base image, for example, Ubuntu, a base Linux image. You can create images yourself - images are created using a series of commands (called instructions), described in the Dockerfile. It is an ordered collection of layers - root filesystem changes stacked on top of one another. These changes can be running a command, adding a file or directory, creating environmental variables, and so on. Docker uses a filesystem called AUFS, which stands for Augmented File System. Pretty much every line of a Docker file (with some exceptions, which we are going to explain later) will create a new image and when you stack or augment them all on top of each other, you'll get your final Docker image. This is essentially a way of caching. For example, if you change only one line of your Docker file, Docker will not rebuild the entire image set. The Docker file will be sequentially when you start the process of building of an image. Docker will execute the instructions one by one, and return a final image. Each instruction creates a new layer in the image. We will cover the process in Chapter 6, Creating Images.
Docker images are highly portable across hosts - an image can be run in a Docker container on any host that runs Docker. It's important to know that Docker uses an image to run your code, not the Dockerfile. The Dockerfile is used to create the image when you run the build command - we will also get back to it in Chapter 6, Creating Images. Also, if you publish your image to the Docker Hub, you publish a resulting image, not a source Dockerfile. We will describe the process later in this book, in Chapter 8, Publishing Images.
The local images you have on your machine can be listed by running the docker images command:
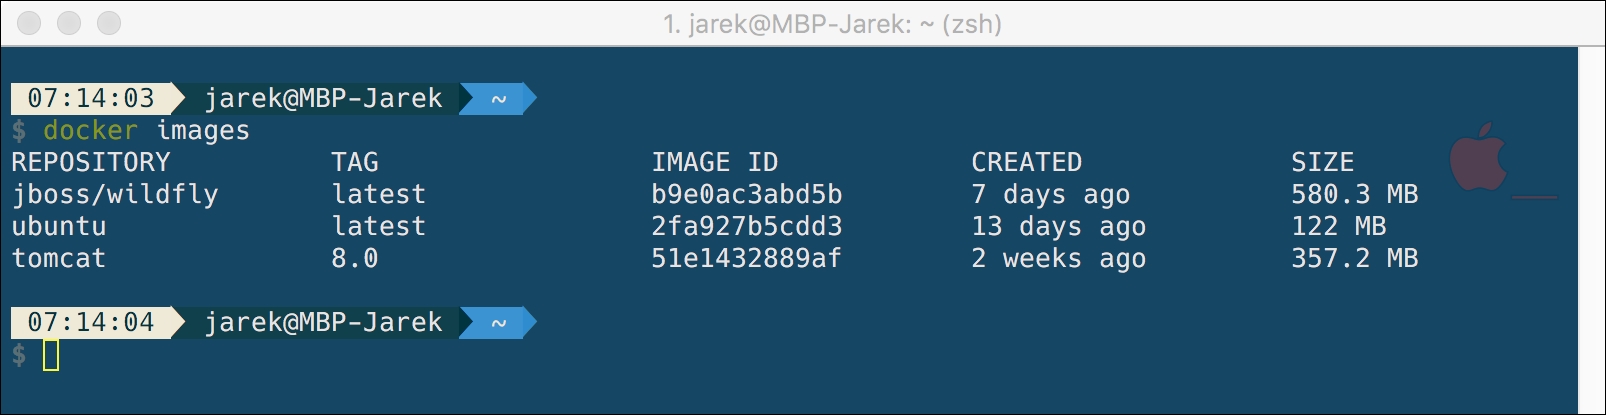
The images command will display a table with the following columns:
REPOSITORY: This is the name of the repository. We will explain it in detail at the end of this chapter.TAG: It's similar to Git or other version control systems tag. It represents a specific set point in the repositories' commit history. You can have multiple tags when building the image. There's even a special tag called latest, which represents the latest version. The full form of a tag is[REGISTRYHOST/][USERNAME/]NAME[:TAG], but the TAG column is just the[:TAG]part of the full tag. We will cover tagging in detail later in Chapter 6, Creating Images.IMAGE ID: This is the identifier for the image (actually it's the first 12 characters of the true identifier for an image). You may use it to refer to a specific image when executing image commands, but you can also use the image's name.CREATED: The date represents the time the repository was created. You can use it to verify how fresh the build of the image is.SIZE: This is the size of the image.
To remove all the images you have on your system, execute the following command:
docker rmi $(docker images -q)
Whenever you assign a tag that is already in use to a new image (for example, by building the image myImage, making a change in its Dockerfile, and then building myImage again), the old image will lose that tag but will still stay around, even if all of its tags are deleted. These older versions of your images are the untagged entries in the output of Docker images, and you can safely delete them with the following command:
$ docker rmi <IMAGE HASH>
To remove all un-tagged docker images, use the list of images and a filter:
$ docker rmi $(docker images -q -f
    dangling=true)
Alternatively to creating your image from scratch, you can pick already prepared images from a hundreds available on the Internet. Also, you can publish an image in your private hub, so other people in your organization can pull it and reuse. We will cover the process of looking for images in Chapter 5, Finding Images. The downloaded images can be updated and extended freely, so downloading base image is a great way to get a serious speed boost when developing one by yourself. It's very common practice to download ready-to-run images, such as a webserver or database, for example, and build on top of it. You can have, for example, a base Apache image. You could use this as the base of all your web application images. This is possible due to the internal nature of an image - layers, which Docker images are composed from. We said a while ago that every instruction in the Dockerfile creates a new layer. Let's explain now what they are.