Chapter 13. Taking the Droid X2 to Work
Your Droid X2 may not wear a pinstriped suit and a rep tie, but that doesn’t mean it can’t be a good corporate citizen. In fact, the Droid X2 can easily hook into enterprise-wide resources like your corporate email account and calendar.
A big reason is the Droid X2’s ability to work with Microsoft Exchange ActiveSync servers. These systems are the backbone of many corporations, and they can automatically and wirelessly keep smartphones updated with email, calendar information, and contacts. So when you’re hundreds or thousands of miles away from the office, you can still be in touch as if you were there in person.
Setting Up Your Droid X2 with Your Company Account
First, let the IT department know that you’d like to use your Droid X2 to work with the company’s network and computers. They’ll set up the network to let your phone connect. Then all you have to do is add the company account to your phone, which works much the same way as adding a new email account.
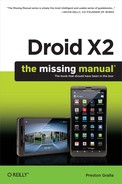
To get started, in the Apps Menu, tap My Accounts. At the bottom of the screen, tap “Add account,” and then select Corporate Sync.
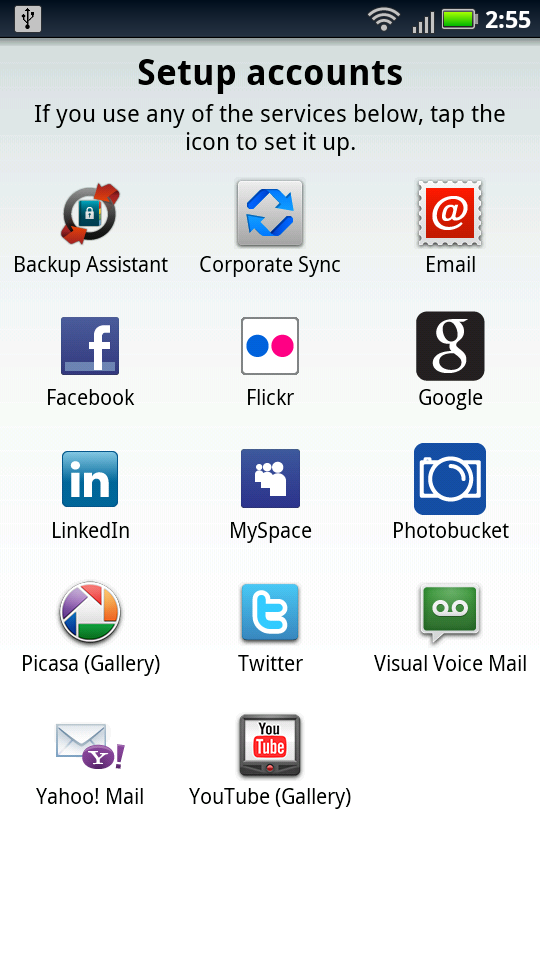
From the screen that appears, enter all the information that your IT folks supplied you—the domain name and user name, password, and email address.
Tip
Make sure to enter the information in exactly the same way as the IT staff give it to you, including whether letters are capitalized. If you make even a single mistake, you may not be able to connect.
Ask the IT department exactly what you should use as your user name. If no one’s around, here are some things you can try:
The first part of your work email address. If your email address is [email protected], your user name may be goodguy.
The first part of your work email address, plus the company’s Windows domain. For example, honkingservergoodguy. If this looks familiar, it may be what you use to log into the company network at work.
Tip
When you type your domain name and user name together, make sure you use the backslash key, not the regular slash. On the Droid X2, it’s not easy to get to. On the standard keyboard (Using the Multi-Touch Keyboard), tap the gray key on the lower left labeled 123 with a gear icon, and on the screen that appears, tap the Alt key. Tap the backslash in the third row from the top. If you’re using Swype (Using the Swype Keyboard), tap the Sym key at the lower left, and on the screen that appears, tap the Shift key in the second row from the bottom. The backslash key is then on the same row as the Shift key.
After you input all the information, there’s a chance that you won’t be able to connect, and you’ll get an error message that the Droid X2 was unable to find the right server. If that happens, another screen appears, asking you to input all the previous information, plus the server name. You should then be able to connect. If not, check with your IT folks.
When you’re done, tap Next, and you’re set up and ready to go. If you run into any problems, check with the IT staff.
As with your Gmail account, you can choose whether to have your Droid X2 sync your mail, calendar, and contacts. When your new corporate account shows up in My Accounts, tap it and you’ll be able to turn each of those on or off. You may now use your corporate account the same way you use your other accounts for email (Setting Up Email Accounts), contacts (Managing Contacts), and your calendar (Using the Calendar).
Virtual Private Networking (VPN)
If your company has a VPN, you may need to connect to it in order to do things like check your email. Check with the IT staff. If your company has a VPN, and if you’re permitted to use it, they’ll give you the information that lets your Droid X2 connect to the corporate network over the VPN. They’ll also set up an account for you.
Here’s what you’ll need to set up your Droid X2 to access the VPN:
The type of technology it uses. The Droid X2 can work with pretty much any kind of VPN technology out there. Ask whether yours uses PPTP (Point-to-Point Tunneling Protocol), L2TP (Layer 2 Tunneling Protocol), L2TP/IPSec PSK (pre-shared, key-based Layer 2 Tunneling Protocol over the IP Security Protocol), or L2TP/IPSec CRT (certificate-based Layer 2 Tunneling Protocol over the IP Security Protocol). (You don’t have to memorize these terms. There’s no quiz later.)
Address of the VPN server. The Internet address of the server to which you need to connect, such as vpn.bigsecurehoncho.com.
Name of the VPN server. The name isn’t always needed, but check, just in case.
Account name and password. The IT folks will supply you with this.
Secret. When it comes to VPNs, there are secrets within secrets. If you use a L2TP connection, you’ll need a password called a Shared Secret in addition to your own password in order to connect.
Other special keys. Depending on which VPN protocol you use, you may require additional keys, which are essentially passwords. Again, the IT folks will know this.
DNS search domains. These servers essentially do the magic of letting you browse the Internet and do searches.
Once you’ve got all that, you’re ready to set up the VPN. On the Home screen or a pane, press the Menu key and then choose “Wireless & networks”→VPN Settings→Add VPN. A screen appears asking you whether you want to set up a basic VPN or an Advanced IPSec VPN. (Your IT folks will know which of these you should choose. In most cases, it will be a basic VPN.)
If you’re setting up a basic VPN, tap “Basic VPN” and then tap “Add VPN.” After that, you’ll come to a screen that asks which of the VPN protocols you’ll use for the VPN. Choose the one your IT folks told you to use.
After that, you come to a screen that asks for all the information you’ve gotten from your IT folks. When you’ve done all that, press the Menu key, and then tap Save. Your VPN connection and its settings are saved.


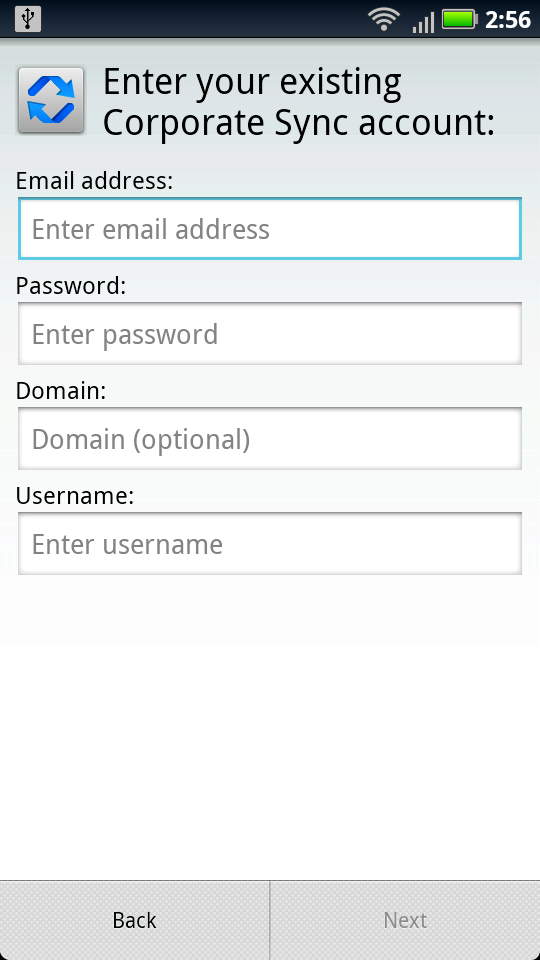
If you instead need to set up an Advanced IPSec VPN, tap that option. To add a VPN, press the Menu key, tap New, and fill in the appropriate information. There’s plenty here—you’ll need the IT staff to provide you lots of info.
From now on, when you want to connect to the VPN, go to the Home screen or a pane, press the Menu key, and then choose “Wireless & networks”→VPN Settings. Tap the VPN to which you want to connect. You may need to enter a user name and password or passwords (these are the ones you’ve been given by the IT folks). When you do that, tap Connect, and you make the connection. The status bar shows you that you’ve got a VPN connection and displays a notification if you’ve been disconnected, so that you can make the connection again. To disconnect at any point, open the Notification panel, touch the notification for the VPN, and touch it again to disconnect.
Using Google Docs
An increasing number of companies and government agencies use Google Docs for creating and sharing documents, including word processing files, spreadsheets, presentations, and more. Google Docs works much like Microsoft Office, but the software and all the documents live on the Web, where you can share them with others. The basic service is free for individuals, although companies of all sizes can pay for the useful corporate features.
With the Droid X2’s browser, you can view all the documents you have access to on Google Docs. You can’t create or even edit them in the browser, but it’s not likely that you’re going to want to create a full-blown presentation or spreadsheet on your smartphone. (If you want to do more than just stare at your Google Docs, you can get an app for that; see the next section.)
To use Google Docs on your Droid X2, launch your browser and visit Google Docs on the Web at http://docs.google.com. (If that doesn’t get you to the right location, check with your IT department.)
Note
If your Google Docs account is associated with a different account from your main one on your Droid X2, you may have to sign in. Otherwise, you’re probably automatically signed in when you visit Google Docs.
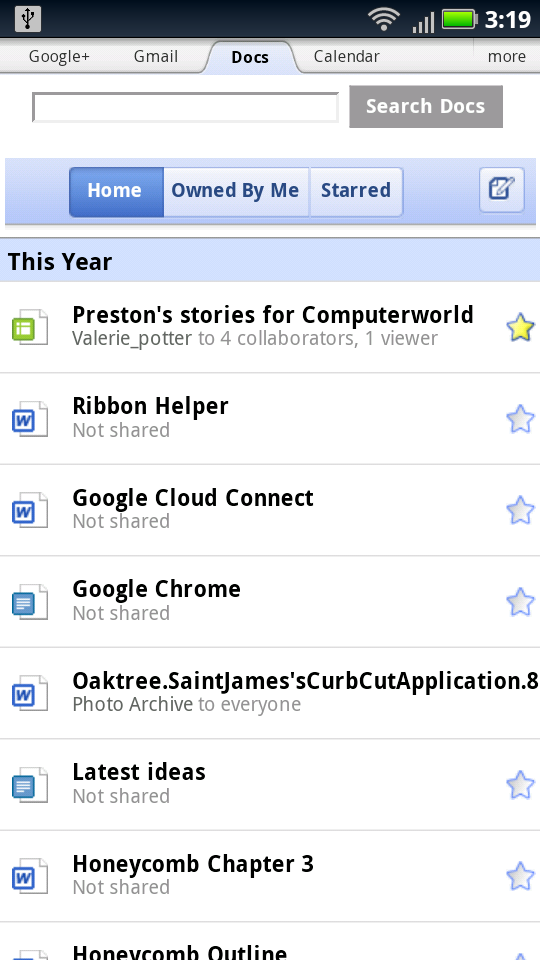
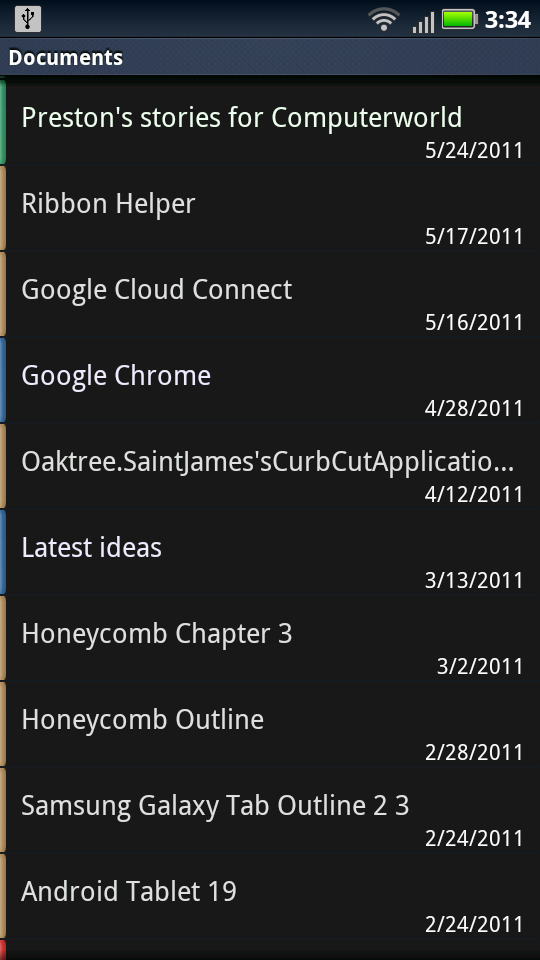
You come to a page that shows you all the documents you have access to in Google Docs. You can choose to see them all in a list, or only see the ones that you created (Owned by Me), or those that you have starred.
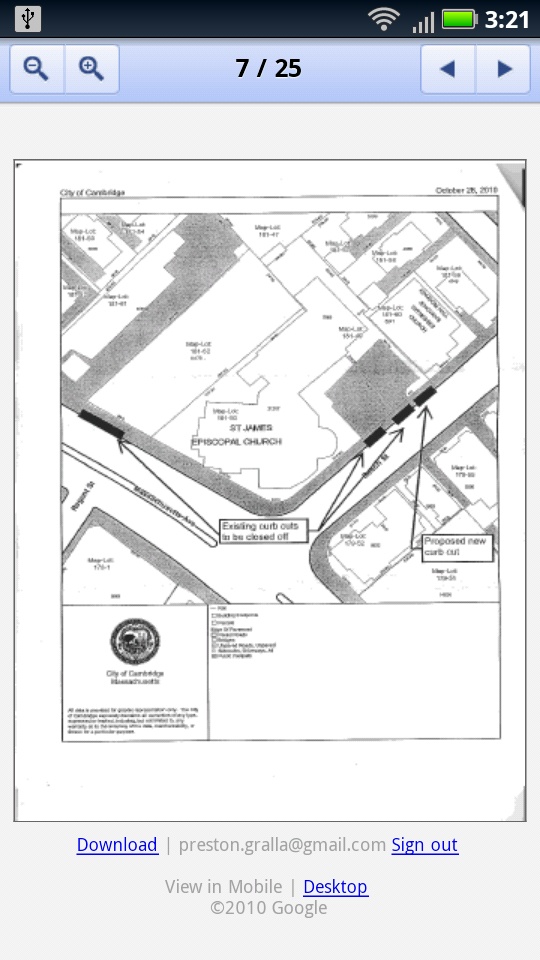
To view any document, tap it. The document opens in a built-in Google document viewer. You can scroll through the document and zoom in and out using the usual Droid X2 finger motions (Controlling the Droid X2 with Your Fingers).
Creating and Editing Google Docs Documents
There are two ways to create and edit documents in your Google Docs account—by using Google’s free Google Docs app, or another free app called Gdocs. You can search for both in the Android Market (for details about finding and installing apps, see Chapter 11).
Google Docs
When you install and run the app, it takes you to Google Docs on the Web. You’ll see all of your documents, categorized for easy access. From here you can browse, search, and then open and edit documents, or create new documents. To search through your documents, tap the search button on the upper right. To create a new document, tap the create new document button, to the left of the search button, then follow the simple directions.
Tap the Menu button at the bottom of the screen to change your Google Docs settings, switch to another Google Docs account, send feedback, and get help.
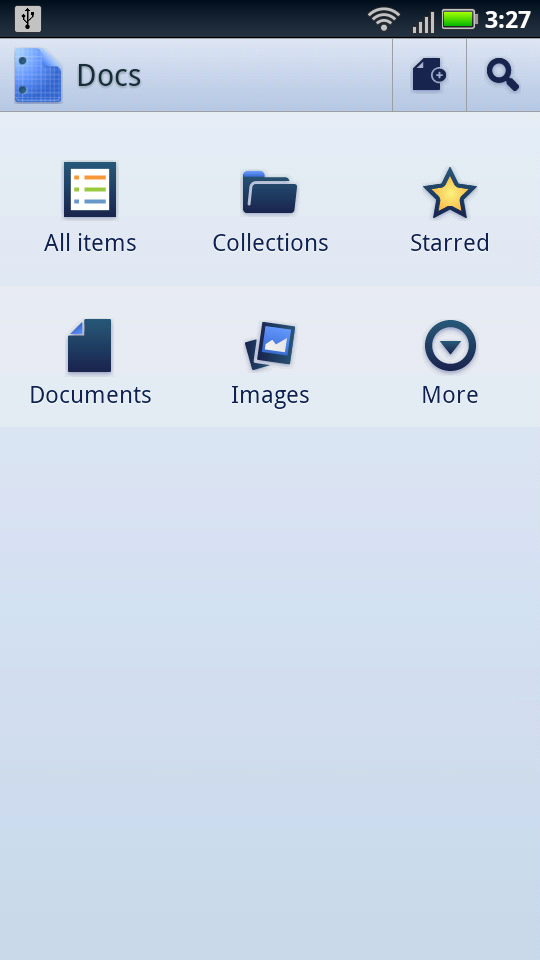
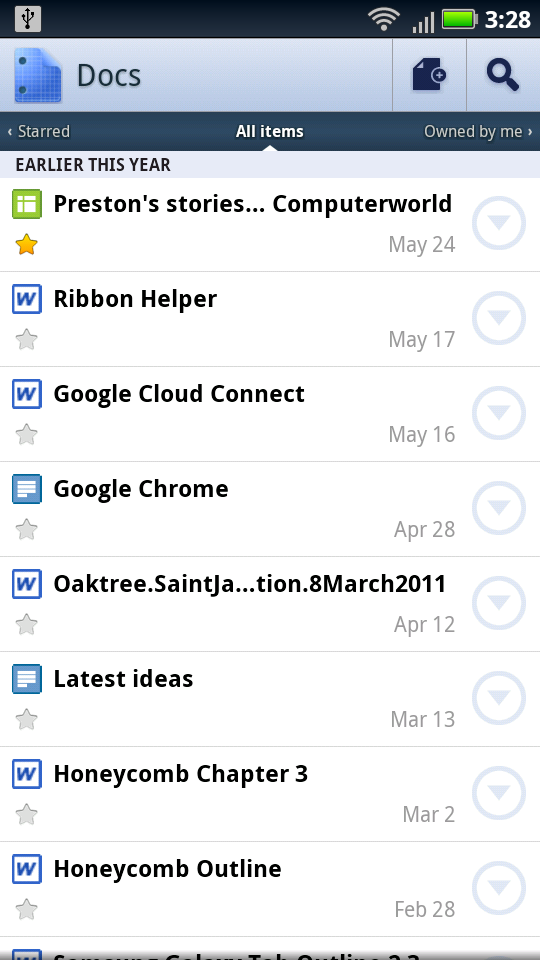
To browse your documents, tap any category, and you’ll see that the Google Docs app mirrors the way that Google Docs looks on the Web. To change the sort order of documents, tap the Menu button at the bottom of the screen and choose “Sort by….” As with Google Docs on the Web, tap any file to view it.
You can’t edit all of your Google Docs files from inside the app—you can only edit those you’ve created in Google Docs. To edit a document, tap the Edit button on the upper right of the screen. The file opens for editing. Double tap anywhere you want to edit text, add text and so on.
Gdocs
Gdocs isn’t a particularly pretty solution, but it does get the job done, especially if you’re in a pinch and need to do some quick-and-dirty editing. (And it’s free, so stop complaining.) Download it, enter your Google Docs account information, and you can then browse through the documents on Google Docs, although it’s tougher to do than via the browser, since you can’t see a clean, categorized list.

When you find a document you want to edit, tap it, and it gets downloaded to your Droid X2. After the document is downloaded, press the Menu key, tap Folders, and then tap “Local documents.” You see a list of all the documents you’ve downloaded. Edit it (keep in mind that the editing tools are fairly rudimentary). When you’re done, save the file. You can then sync it so that it uploads to your Google Docs account.
You can also create new documents, and upload them to your Google Docs account. Tap the Menu key and then choose Add Document. When you’ve created the document, tap the Menu button again, and then select Save.
Microsoft Office
The gold standard for creating and editing documents is Microsoft Office, and although your Droid X2 can’t rival a computer when it comes to editing, there is a way to create, edit, and view Microsoft office documents—the Quickoffice app that comes on the Droid X2. It’s basic and bare-bones, but it gets the job done.
Tip
If Quickoffice doesn’t show up as an app in the Application Tray, send yourself an email with an Office document as an attachment. Then open the document. That’ll launch Quickoffice, and from then on, the app should show up in the Application Tray.
If you’re willing to spend a little money, get Documents to Go from the Android Market. There are two versions: a free version, which lets you view word processing documents and spreadsheets; and a full version, which lets you edit word processing documents and spreadsheets, do basic editing to presentations, and view PDF files. The full version costs $14.99.
Again, though, don’t expect Documents to Go to do everything you can do on a computer. Still, it’s nice to be able to edit documents when you absolutely need to.