
Chapter 13
Managing Slides

Chapter 12, “Creating Presentations,” contained information about how to modify slide masters and a high‐level overview of how to set up a slideshow. In this chapter, I will take a deeper dive into the various ways of inserting slides into a slideshow.
I will then show you how to modify slides by hiding and unhiding slides, modifying backgrounds in individual slides, as well as inserting headers and footers into slides, including page numbers.
Finally, I will show you how you can change the order of your slides and add sections so that you can group related slides. You will also learn how to rename sections to match what the slides in the section are about.
At the end of each section in this chapter, I will provide an exercise so that you can test yourself and see if you can apply what you've learned.
Inserting Slides
Microsoft PowerPoint allows you to insert slides in a variety of ways. You can import an outline that you created in Word into PowerPoint and build your presentation from there. If you want to use slides from another presentation in your current one, you can reuse slides. You can also add a blank slide yourself and apply a layout to it before you start editing the slide.
Once you insert your slides and order them in the way you want, you can use the Summary Zoom feature to go to different slides quickly as you give your presentation. And when you need to duplicate one or more existing slides within your presentation to speed up the creation process, PowerPoint has a built‐in tool to do that, too.
Importing Word Document Outlines
If you create an outline in Word that you want to use in a presentation, such as an outline for a report that needs to be presented to the board of directors, PowerPoint allows you to import an outline directly from Word. Here's how to do that:
- Open a new or existing presentation in PowerPoint.
- Click the slide where you want to insert a new slide. That new slide will appear after your selected slide.
- Click the Home menu option (if necessary).
- In the Slides section in the Home ribbon, click New Slide. (If the PowerPoint window has a small width, click Slides in the ribbon and then select New Slide from the drop‐down menu.)
- Select Slides From Outline from the drop‐down menu, as shown in Figure 13.1.
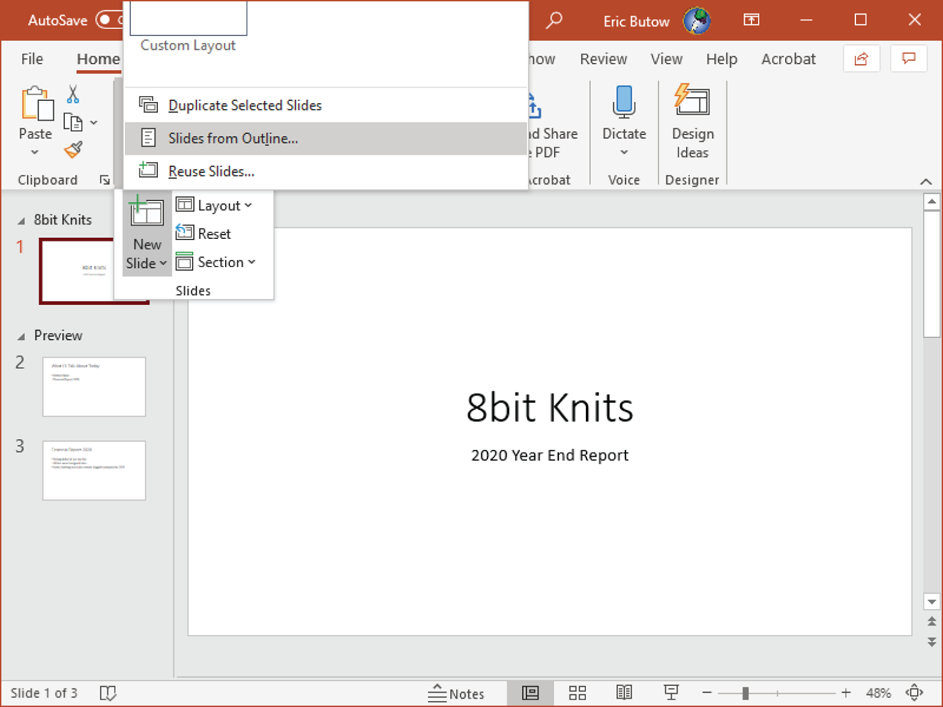
FIGURE 13.1 Slides From Outline option at the bottom of the drop‐down menu
- In the Insert Outline dialog box, shown in Figure 13.2, navigate to the folder that contains the outline.
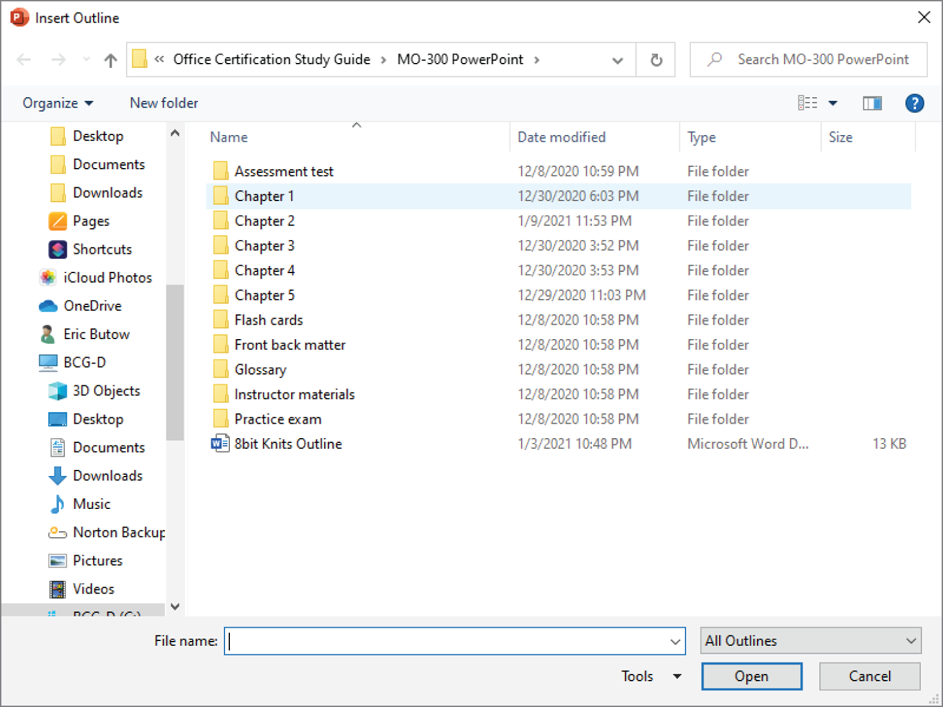
FIGURE 13.2 Insert Outline dialog box
- Click the filename in the list.
- Click Insert.
The outline appears within the slide shown in Figure 13.3. If there is more information in the outline than can fit on one slide, PowerPoint creates additional slides to accommodate the text automatically.
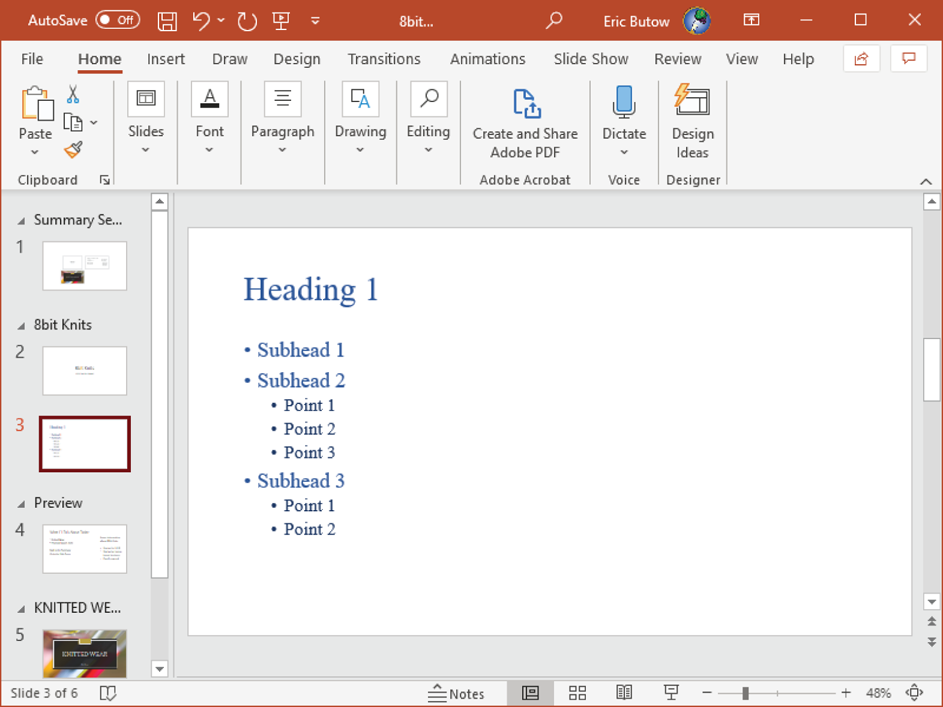
FIGURE 13.3 The outline appears within the slide.
Inserting Slides from Another Presentation
When you have slides in another presentation that you want to use, such as notes about the confidentiality of the information, you can reuse slides from another presentation. Follow these steps:
- Open a new or existing presentation in PowerPoint.
- Click the slide below which you want to insert the slide from the other presentation.
- Click the Home menu option (if necessary).
- In the Slides section in the Home ribbon, click New Slide. (If the PowerPoint window has a small width, click Slides in the ribbon and then select New Slide from the drop‐down menu.)
- Select Reuse Slides from the drop‐down menu, as shown in Figure 13.4.
- In the Reuse Slides pane at the right side of the PowerPoint window (see Figure 13.5), click the Browse button.
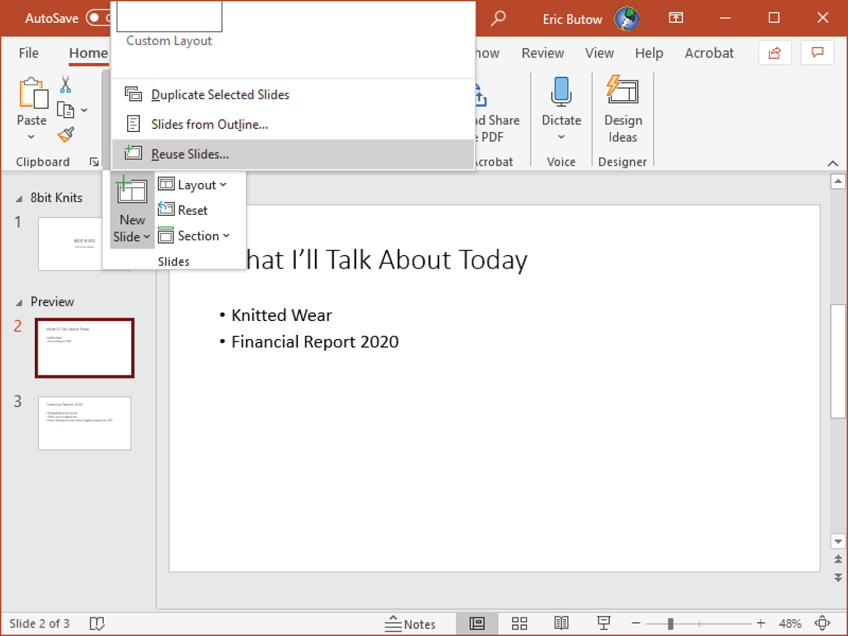
FIGURE 13.4 Reuse Slides option at the bottom of the drop‐down menu
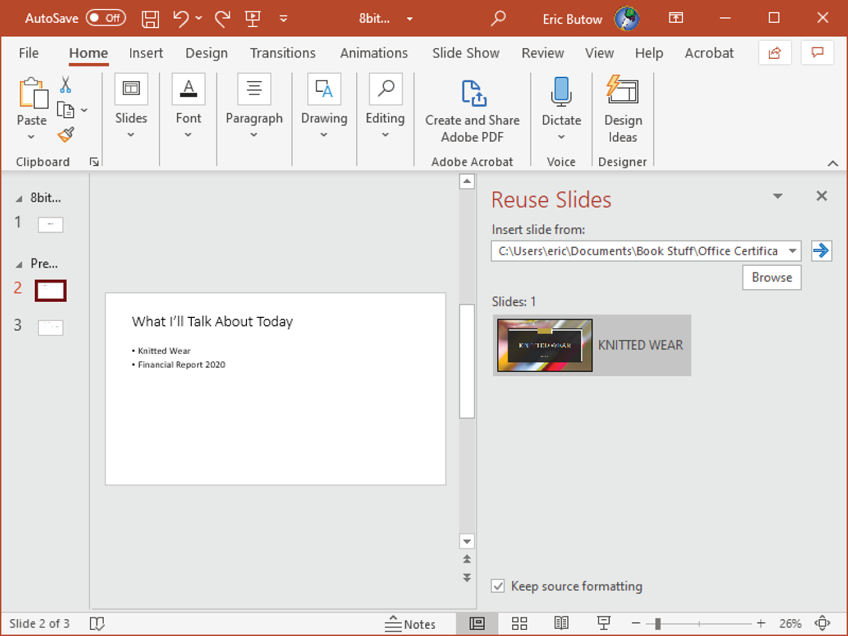
FIGURE 13.5 The Browse button in the Reuse Slides pane
- In the Browse dialog box, navigate to the folder that contains the PowerPoint file, click the filename, and then click Open.
- Select the Keep Source Formatting check box to keep the format of the slide.
- Click the slide in the Reuse Slides pane.
The inserted slide with its source formatting appears after the selected slide, as shown in Figure 13.6.
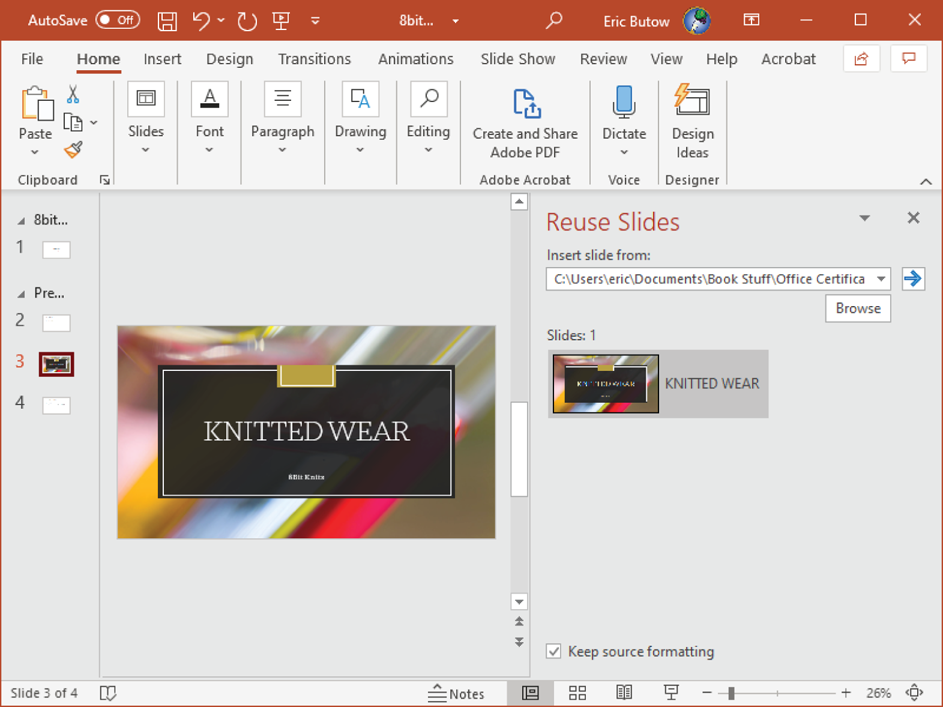
FIGURE 13.6 The inserted slide
Now you can close the Reuse Slides pane by clicking the Close (
X
) icon in the upper‐right corner of the pane.
Inserting Slides and Selecting Slide Layouts
When you just want to insert a blank slide and then apply an existing slide layout to it, follow these steps:
- Click the slide below which you want to insert the new slide.
- Click the Home menu option, if necessary.
- In the Slides section in the Home ribbon, click New Slide. (If the PowerPoint window has a small width, click Slides in the ribbon and then select New Slide from the drop‐down menu.)
- In the drop‐down list (see Figure 13.7), click the slide layout icon.
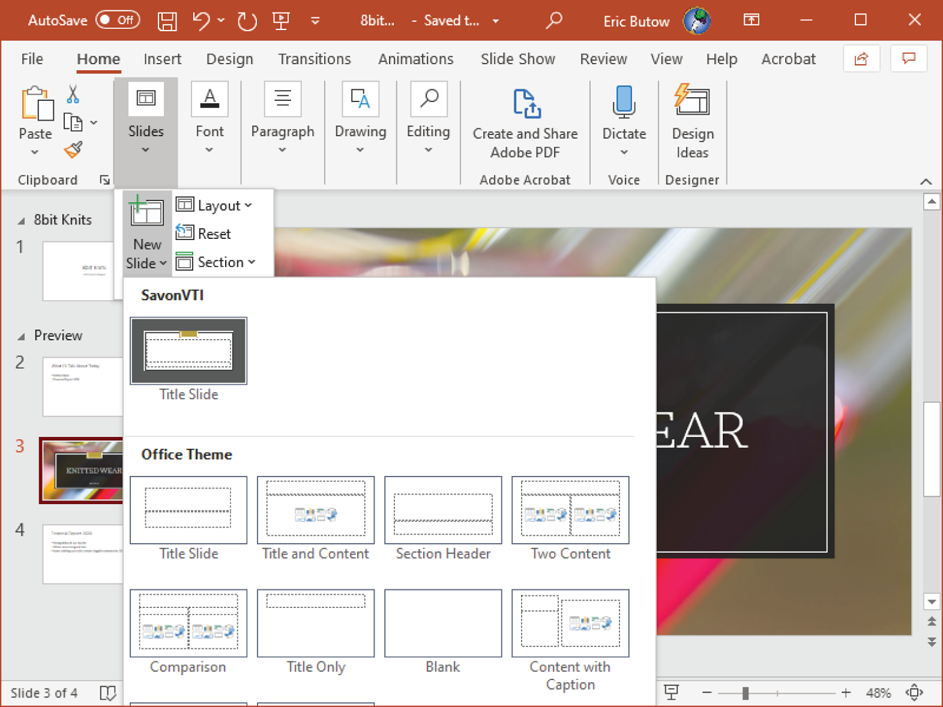
FIGURE 13.7 Slide layout icons in the list
The new slide with its layout formatting appears after the selected slide. Now you can click the new slide and make changes to it.
Inserting Summary Zoom Slides
When you need to see all of your slides at once and display a specific slide during your presentation, such as a slide that will reinforce a point you're trying to make when answering a question, you can create a Summary Zoom slide. Here's how:
- Click the Insert menu option.
- In the Links section in the Insert ribbon, click Zoom. (If the PowerPoint window has a small width, click Links in the ribbon and then select Zoom from the drop‐down menu.)
- Select Summary Zoom from the drop‐down menu, as shown in Figure 13.8.
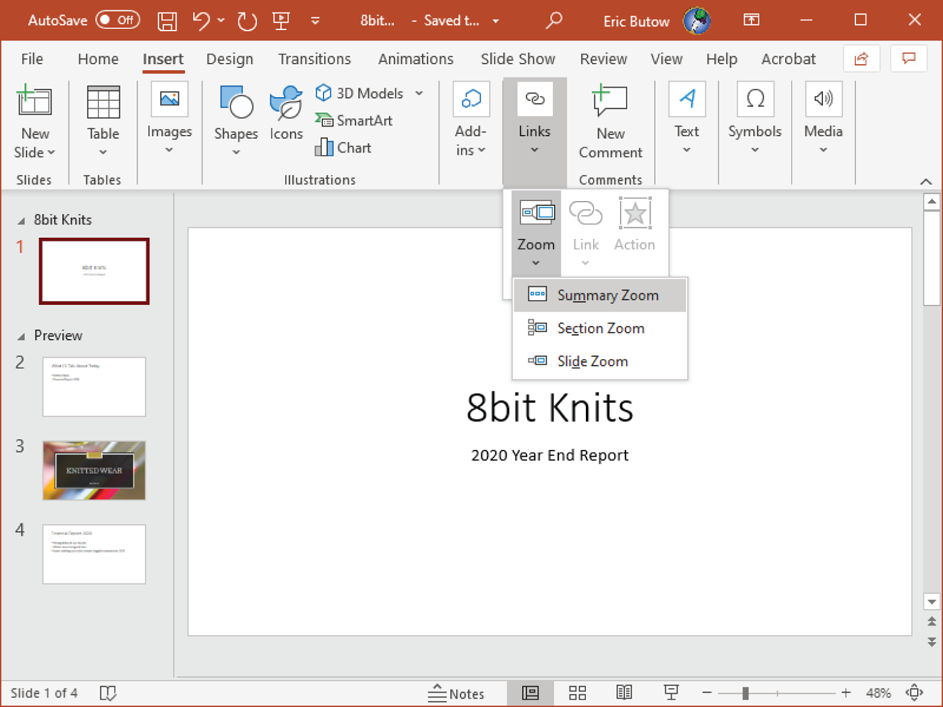
FIGURE 13.8 The Summary Zoom option
- In the Insert Summary Zoom dialog box (see Figure 13.9), click all the slides that you want to add to your Summary Zoom slide. As you click each slide, the check box underneath the thumbnail‐sized slide is selected.
- Click Insert.
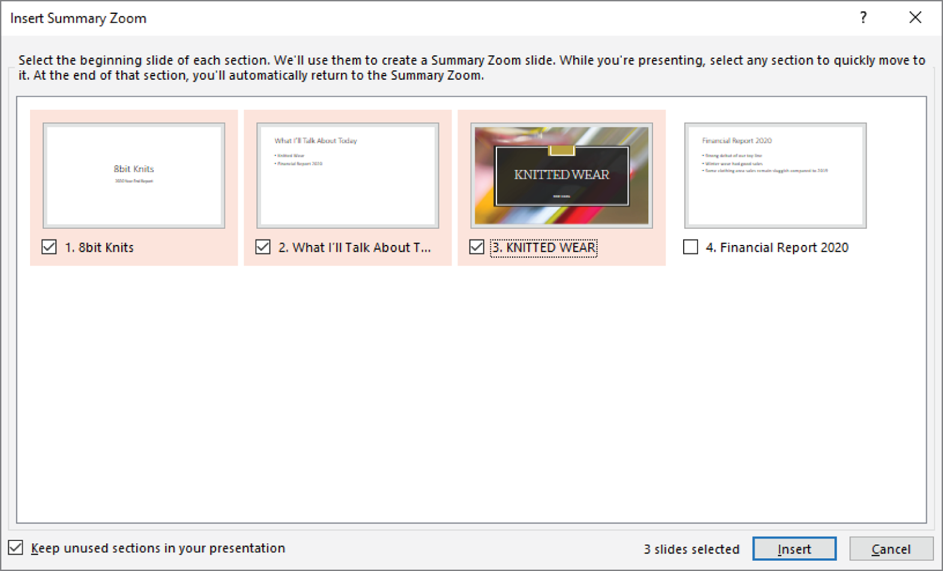
FIGURE 13.9 Insert Summary Zoom dialog box
PowerPoint creates the Summary Zoom slide at the top of the list of slides in the left pane, and it appears in the right pane (see Figure 13.10).
Within the list of slides in the left pane, each slide in the Summary Zoom is placed inside its own section with a section title above the slide. PowerPoint displays one slide per section within a Summary Zoom slide.
When you present a slide in Presenter View (which you learned about in Chapter 12), as you move to different slides in your presentation, PowerPoint displays an animation from the Summary Zoom slide in the slide in full‐screen mode.
The downside to this approach is that once you move to the next slide, you go back to the Summary Zoom slide, so click the Next icon in the icon row in the lower left of the screen, press Page Down, or press the down arrow on your keyboard to move to the next slide.

FIGURE 13.10 The Summary Zoom slide in the right pane
Duplicating Slides
You may find that you want to duplicate a slide to other slides, especially if you have the same background and/or text that you want to apply to other slides.
When you need to duplicate a slide, follow these steps:
- Click the thumbnail‐sized slide in the left pane.
- Click the Home menu option, if necessary.
- In the Slides section in the Home ribbon, click New Slide. (If the PowerPoint window has a small width, click Slides in the ribbon and then select New Slide from the drop‐down menu.)
- Select Duplicate Selected Slides from the drop‐down menu, as shown in Figure 13.11.
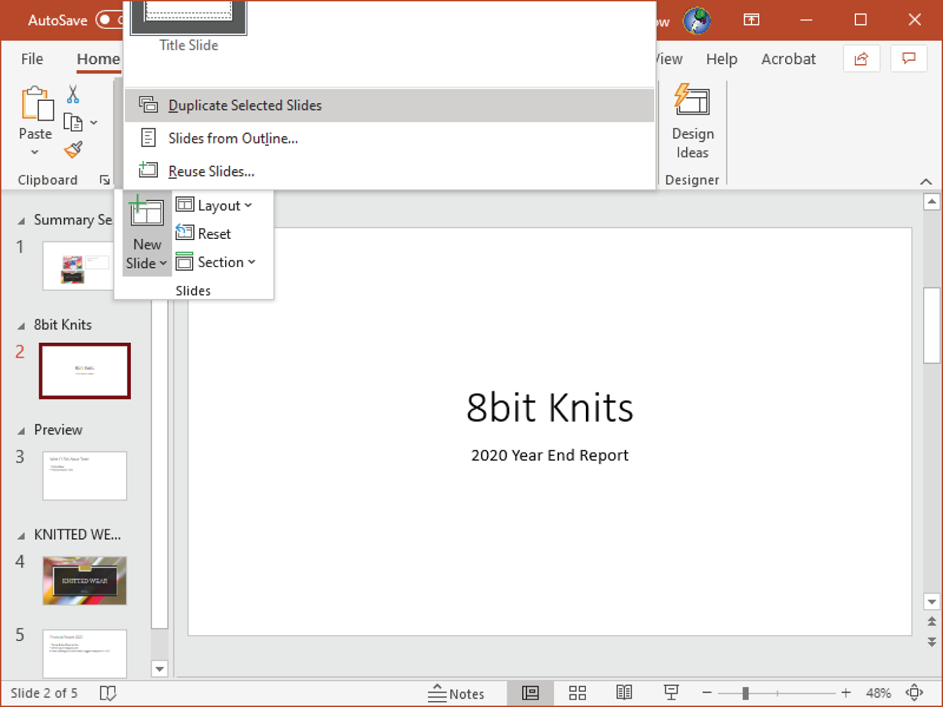
FIGURE 13.11 The Duplicate Selected Slides option
The duplicated slide is selected underneath the original slide in the list, and the duplicated slide appears in the right pane so that you can edit it.
Modifying Slides
As you work on your slideshow, you may find that you need to modify your slides to make them look the way you want, as well as hide slides that don't apply to one or more of your audiences.
PowerPoint gives you the power to hide slides and show them again. You can also modify your slides by changing the background graphic and text, including the header, footer, and slide number, which PowerPoint calls a page number.
Hiding and Unhiding Slides
When you find that you need to hide slides during a presentation, such as those that discuss detailed financial information that are not of interest to the marketing department, you can hide slides. You can also tell PowerPoint to show those slides again when you want.
Here's how to hide a slide:
- In the left pane, click the thumbnail‐sized slide that you want to hide.
- Click the Slide Show menu ribbon.
- In the Set Up section in the Slide Show ribbon, click the Hide Slide icon.
In the left pane, the hidden slide appears with faded text and graphics and the slide number has a line through it (see Figure 13.12).
In the Slide Show ribbon, the Hide Slide icon is also in gray to show the slide is hidden. When you give your presentation and you show each slide, PowerPoint skips the hidden slide and moves to the next one.
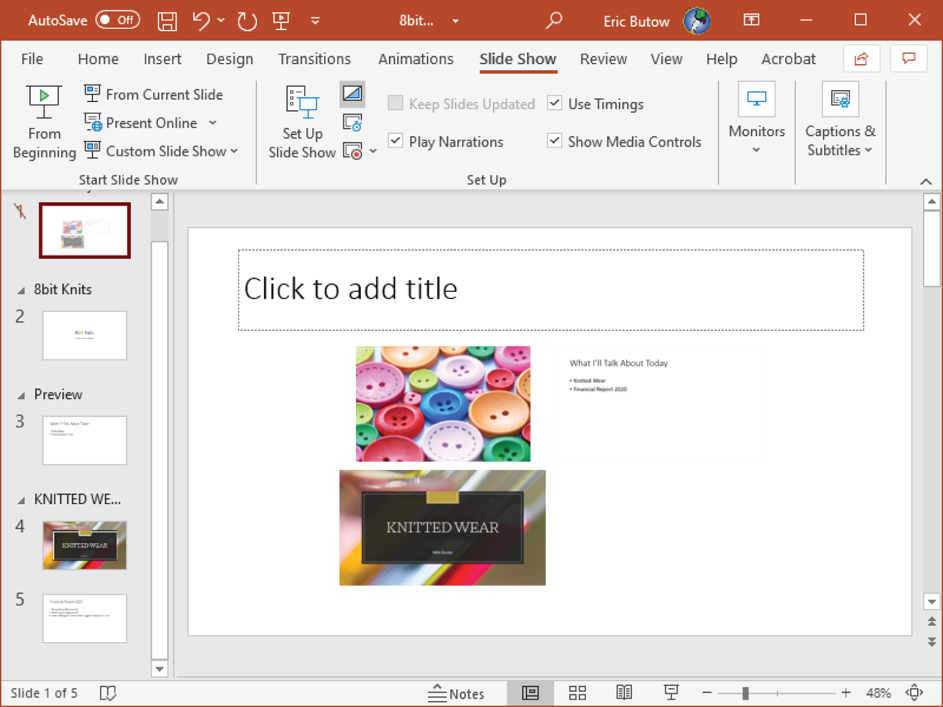
FIGURE 13.12 The hidden slide in the left pane
When you want to show the slide again, click the hidden slide in the left pane and then repeat steps 2 and 3. The gray shading in the slide disappears, and PowerPoint will show your slide during your presentation.
Modifying Individual Slide Backgrounds
Though you can set backgrounds for your entire slideshow as you learned about in Chapter 12, you can also change a background for an individual slide. Here's how to do that:
- Click the View menu option.
- In the Presentation Views section in the View ribbon, click Normal (if necessary).
- In the left pane, click the thumbnail‐sized slide that you want to edit.
- Click the Design menu option.
- In the Customize section in the Design ribbon, click Format Background, as shown in Figure 13.13. (If the PowerPoint window has a small width, click Customize in the ribbon and then select Format Background from the drop‐down menu.)
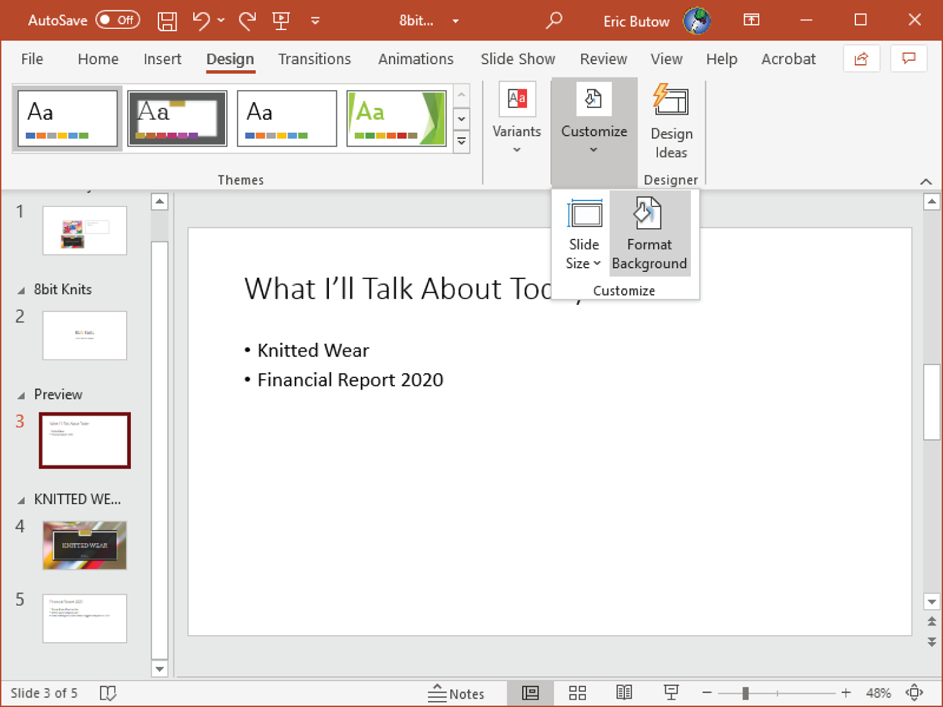
FIGURE 13.13 The Format Background option
The Format Background pane appears on the right side of the PowerPoint window, as shown in Figure 13.14.
By default, the Solid Fill button is selected so that you can change the background fill color as well as the level of transparency from 0 percent (the default) to 100 percent, which means the color is invisible.
You can also click one of the three other buttons in the pane:
- Gradient Fill: Set the color of the fill, the gradient type and direction, the gradient position, as well as the gradient transparency and brightness.
- Picture or Texture Fill: Insert a picture or a textured background, change the transparency, and set the position of the picture or texture.
- Pattern Fill: Select a pattern background from one of the 48 pattern swatches as well as the pattern foreground and background colors.
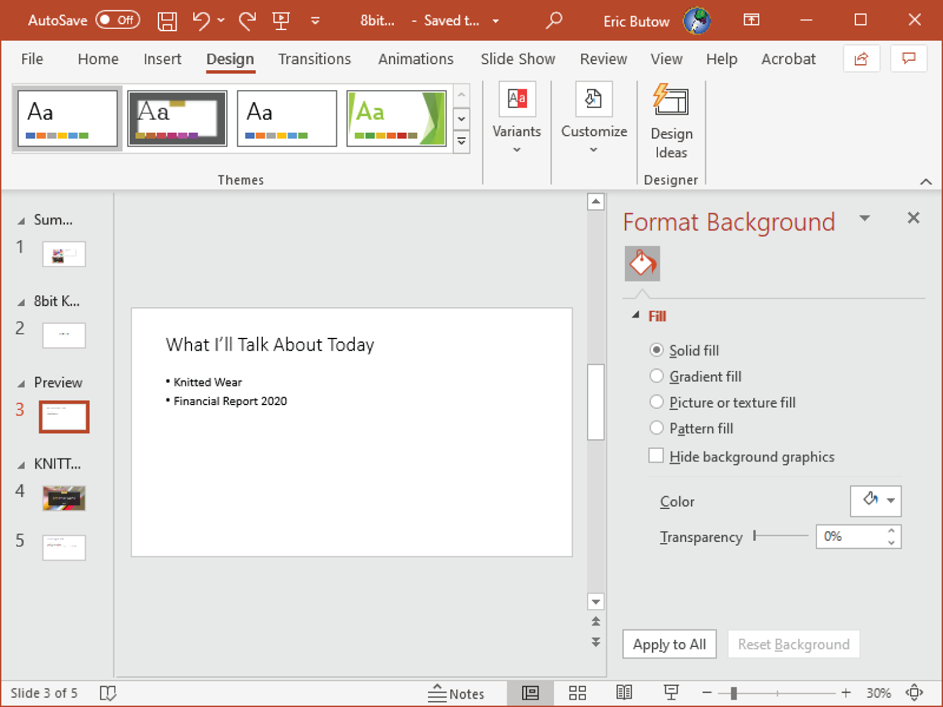
FIGURE 13.14 The Format Background pane
If you don't want to display graphics in the background, select the Hide Background Graphics check box.
As you make background changes, the slide changes so that you can see what each change looks like. If a change doesn't look good to you, press Ctrl+Z or click the Undo icon in the Quick Access Toolbar at the left side of the PowerPoint window title bar.
When you finish making changes, click the Close (
X
) icon in the upper‐right corner of the Format Background pane.
Inserting Slide Headers, Footers, and Page Numbers
Slide footers and page numbers are good features to add when you want to let your audience know what the slideshow is about and where they are in the slideshow. This is especially important when you have printed handouts that people use to follow along. You can also add headers to notes and handouts, though not to a slide itself.
You can add footers and page numbers in a master slide, as you learned about in Chapter 12, and you can also add these elements in one or more individual slides.
Inserting a Handouts and Notes Header
When you want to insert a header into your notes and handouts pages, such as to identify the title of the presentation, follow these steps:
- Click the Insert menu option.
- In the Text section in the Insert ribbon, click Header & Footer, as shown in Figure 13.15. (If the PowerPoint window has a small width, click Text in the ribbon and then select Header & Footer from the drop‐down menu.)
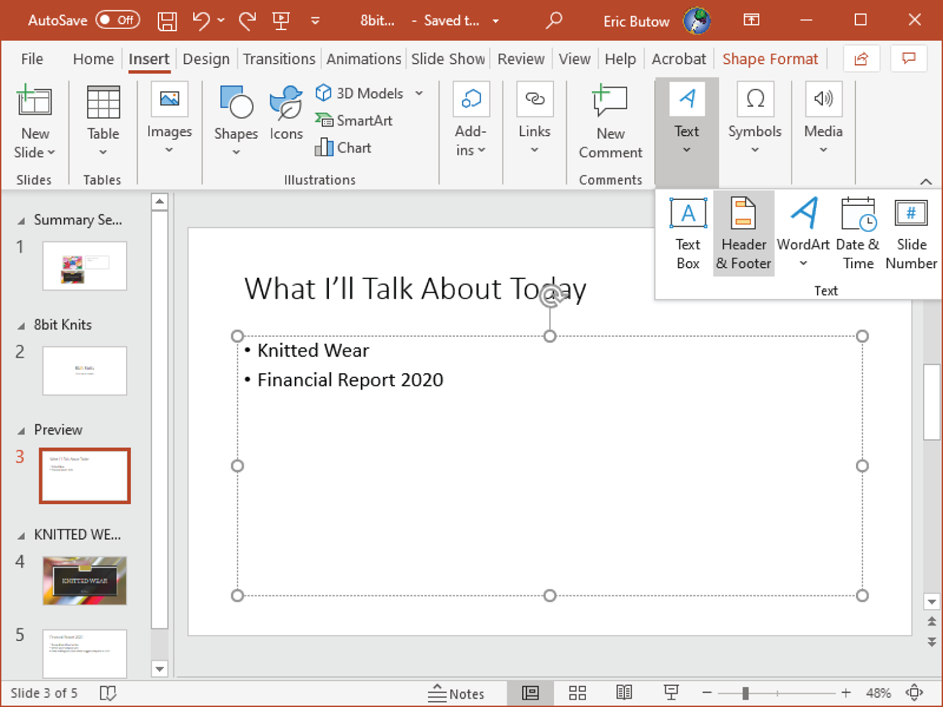
FIGURE 13.15 The Header & Footer icon
- In the Header And Footer dialog box (see Figure 13.16), click the Notes And Handouts tab.
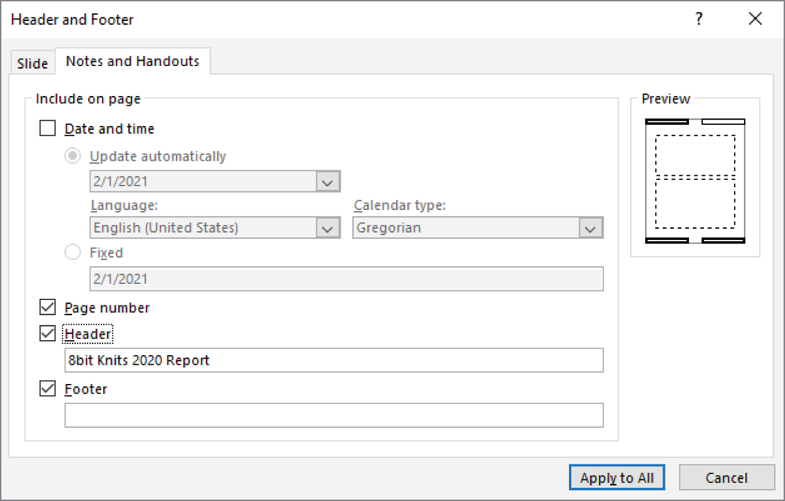
FIGURE 13.16 The Notes And Handouts tab
- Select the Header check box. In the Preview area on the right side of the dialog box, PowerPoint highlights the header in the upper‐left corner of the page.
- Type the header in the text box below the Header check box.
- Click Apply To All.
The dialog box closes, but you see no changes in any slide. You must print notes or handouts to display the header on the page.
Inserting a Slide Footer
Follow these steps to insert a footer into one or more slides:
- Click the Insert menu option.
- In the Text section in the Insert ribbon, click Header & Footer. (If the PowerPoint window has a small width, click Text in the ribbon and then select Header & Footer from the drop‐down menu.)
- In the Header And Footer dialog box, shown in Figure 13.17, select the Footer check box.
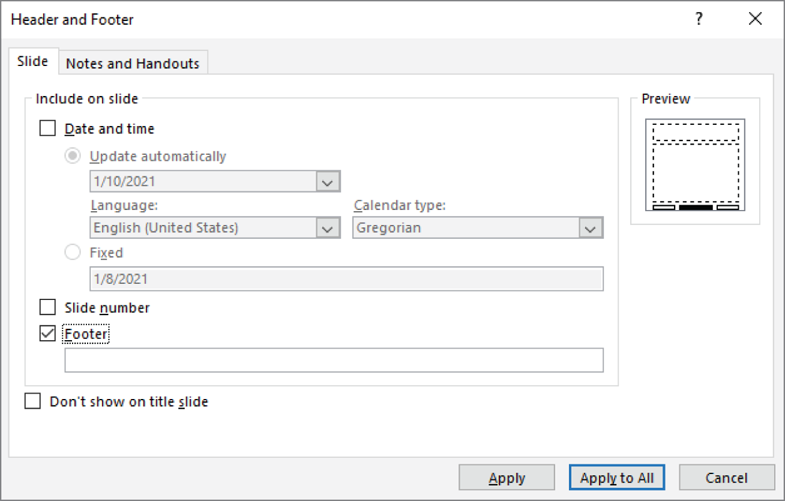
FIGURE 13.17 The Footer check box
- Type the footer in the text box below the Footer check box. In the Preview area on the right side of the dialog box, PowerPoint highlights the footer at the bottom center of the slide.
- Click Apply to All to apply the footer to all slides.
There is more that you can do with a slide footer by selecting one or more of the following check boxes:
- Date And Time
Add the current date and/or time. You can either have PowerPoint update this information every time you save the slideshow, or you can have a fixed date. In the Preview area, the footer on the left side of the slide appears so that you see where the date and time will be placed.
- Slide Number
Add the page number to the slide, which you will learn how to do in the next section.
- Don't Show On Title Slide
Don't show any footer information on the title slide.
Inserting a Page Number
PowerPoint includes all slides, including hidden slides, in the slide count. You can add the page number at the bottom of each slide as follows:
- Click the Insert menu option.
- In the Text section in the Insert ribbon, click Header & Footer. (If the PowerPoint window has a small width, click Text in the ribbon and then select Header & Footer from the drop‐down menu.)
- In the Header And Footer dialog box, shown in Figure 13.18, select the Slide Number check box.
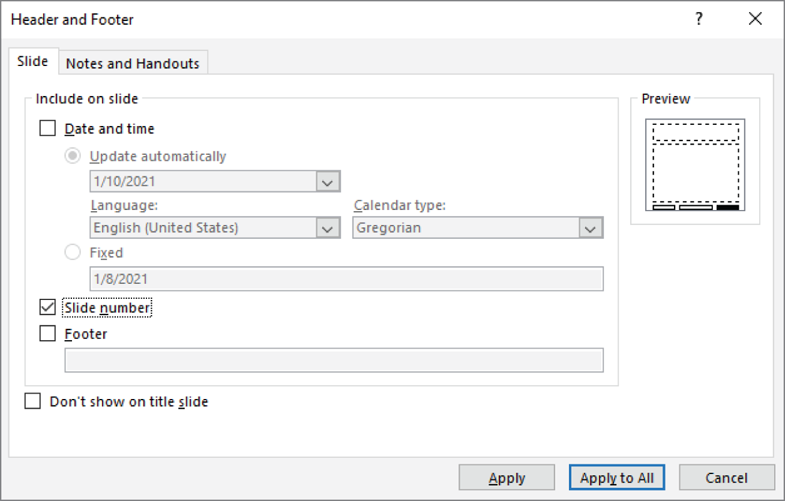
FIGURE 13.18 The Slide Number check box
In the Preview area on the right side of the dialog box, PowerPoint highlights the header in the lower‐right corner of the page.
Click Apply to apply the slide number to the current slide. Click Apply To All to apply the slide numbers to all slides.
Ordering and Grouping Slides
As you create more slides, you may find that it becomes unwieldy to manage all of those slides. PowerPoint makes the process easier by providing tools to order and group your slides.
You can place your slides into sections, modify the order of slides, and rename your sections easily.
Creating Sections
Earlier in this chapter, you learned how PowerPoint automatically creates sections when you create a Summary Zoom slide. You can also create a section yourself to group slides in different categories.
Create a section by following these steps:
- Click the slide where you want to insert a section.
- Click the Home menu option, if necessary.
- In the Slides section in the Home ribbon, click Section. (If the PowerPoint window has a small width, click Slides in the ribbon and then click Section in the drop‐down menu.)
- From the drop‐down menu shown in Figure 13.19, select Add Section.
- In the Rename Section dialog box, as shown in Figure 13.20, press Backspace to delete the default section name in the Section Name box and then type the new name.
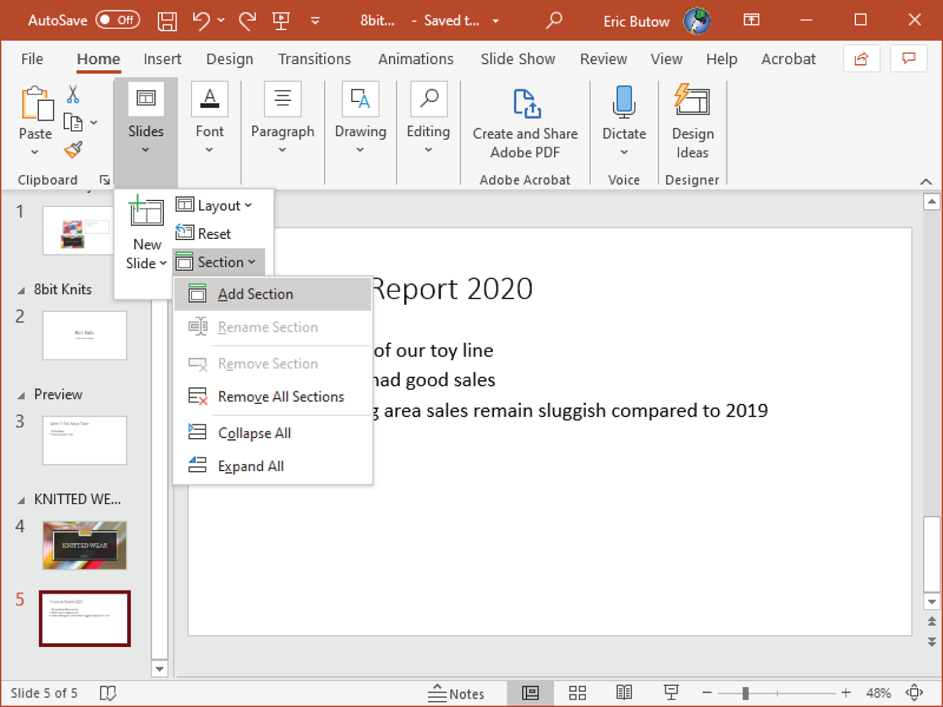
FIGURE 13.19 The Add Section option
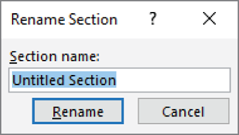
FIGURE 13.20 Rename Section dialog box
- Click Rename. In the left pane, the slide is now contained within the section that has the new name (see Figure 13.21).

FIGURE 13.21 The section title above the slide
Modifying the Slide Order
As you create your slideshow, you may find the need to modify the order of slides so that your slideshow flows more smoothly (and makes more sense to your audience). You can also move a section that contains one or more slides.
Modify an Individual Slide
Modify the order of individual slides by following these steps:
- Click the View menu option.
- In the Presentation Views section in the View ribbon, click Normal (if necessary).
- In the left pane, click and hold on the thumbnail‐sized slide you want to edit.
- Drag the slide up and down until the slide is where you want it.
- When the slide is in your desired location, release the mouse button.
As you drag the selected slide in between other slides, the other slides move aside to make room for the slide you're moving.
Move a Section
When you want to move an entire section to another location, follow these steps:
- Click the View menu option.
- In the Presentation Views section in the View ribbon, click Normal (if necessary).
- In the left pane, click and hold on the section title.
- Drag the section title and move the sections up and down. All the slides disappear, and you only see the slide titles (see Figure 13.22).
- When the section is where you want it, release the mouse button.
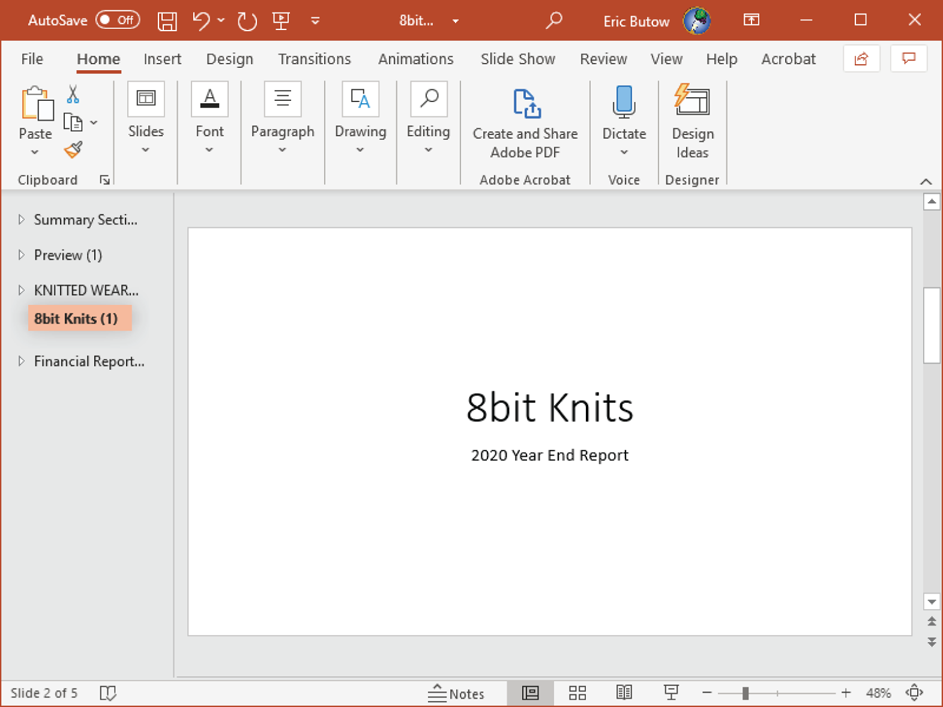
FIGURE 13.22 The selected slide in the left pane
After you release the mouse button, the slides reappear. PowerPoint highlights the section title and the first slide within the section.
Renaming Sections
As you move slides and sections around, you may decide that a different section name better describes the slides within that section. You can rename a section by following these steps:
- Click the Home menu option, if necessary.
- In the left pane, click the section name you want to rename.
- In the Slides section in the Home menu ribbon, click Section. (If the PowerPoint window has a small width, click Slides in the ribbon and then select Section from the drop‐down menu.)
- Select Rename Section from the drop‐down menu, as shown in Figure 13.23.
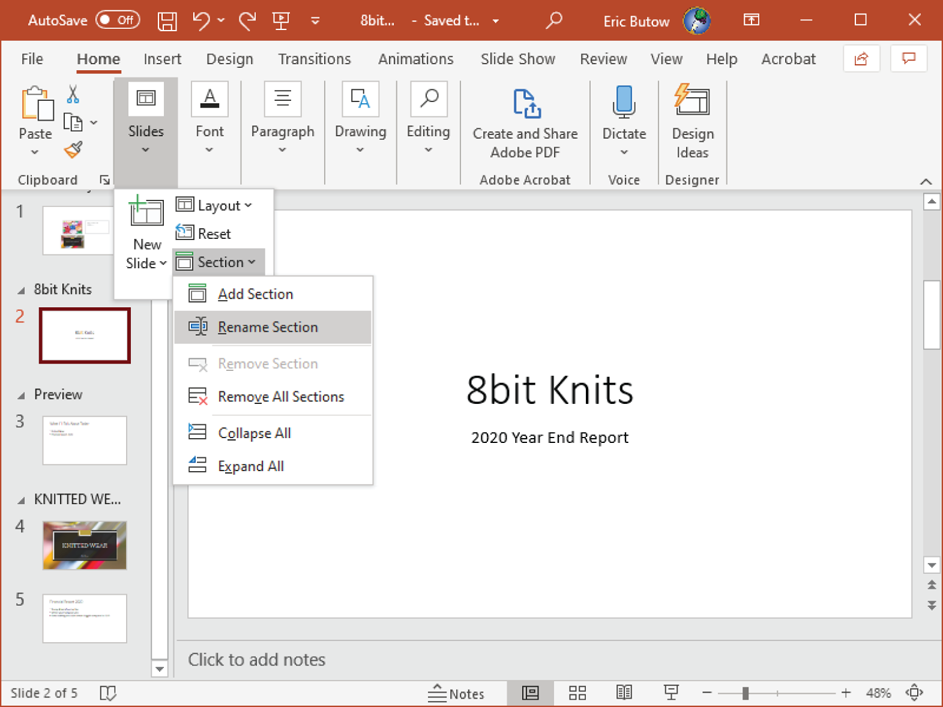
FIGURE 13.23 Rename Section option
- In the Rename Section dialog box (see Figure 13.24), press Backspace to delete the old section name in the Section Name text box.
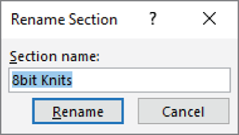
FIGURE 13.24 Rename Section dialog box
- Type the new name in the text box.
- Click Rename.
The selected section name shows your new name.
Summary
I started this chapter by showing you how to add slides from other files, including Word document outlines and slides from another PowerPoint slideshow. Then you learned how to insert slides from within your slideshow in PowerPoint and select a slide layout. Next you learned how to insert Summary Zoom slides. You also learned how to duplicate one or more slides.
Next, you saw how to hide and unhide slides within a slideshow. Then you learned about modifying individual slide backgrounds and inserting master slide backgrounds, which I discussed in Chapter 12. You also learned how to insert slide headers, footers, and page numbers.
You further learned about applying styles that Word provides automatically in new documents, which builds on what I discussed in Chapter 12. I finished that section by telling you how to clear all your formatting and start fresh without losing your text (and your time).
Finally, you learned how to order and group slides. I talked a bit about these tasks in Chapter 12. In this chapter, however, you learned much more, including how to create sections, modify the slide order in a slideshow, and rename sections.
Key Terms
| headers | sections |
| footers | Summary Zoom |
Exam Essentials
- Understand how to import outlines.
Know how to import outlines created in Microsoft Word for use in creating a PowerPoint slideshow.
- Understand how to import slides from another slideshow.
Know how to import slides from an existing PowerPoint slideshow into the open slideshow.
- Understand how to insert slides and backgrounds.
Understand how to insert individual slides and set backgrounds for one or all slides in your slideshow.
- Know how to insert Summary Zoom slides.
Understand what a Summary Zoom slide is, how to insert a Summary Zoom slide into your slideshow, and how to add one or more slides to the Summary Zoom slide.
- Be able to duplicate slides.
Know how to duplicate one or more slides and place the slide(s) at another point within the slideshow.
- Know how to modify slides.
Understand how to hide and unhide slides, set and change individual slide backgrounds, insert slide headers and footers, and place page numbers into one or all slides.
- Understand how to order and group slides.
Know how to modify the order of slides in a slideshow as well as create and rename sections.
Review Questions
- When you add more pages of an outline than will fit on a slide, what happens?
- A dialog box appears telling you that the outline was too long.
- You only see the outline text that fits in the slide.
- PowerPoint creates additional slides to accommodate the text.
- A dialog box appears that says PowerPoint cannot add the outline because it's too long.
- How do you know a slide is hidden in the list of slides in the left pane?
- The slide no longer exists in the list.
- The hidden slide appears with a gray background, and the slide number has a line through it.
- The hidden slide number has a line through it, but the slide no longer exists in the list.
- Click Slide Sorter in the View ribbon.
- When you create a section, what option do you click in the Slides drop‐down menu?
- Section and then click Remove Sections
- Layout and then click Blank Slide
- New Slide and then click Section Header
- Section and then click Add Section
- How do you keep the formatting contained in an imported slide when you import it into your slideshow?
- After you import the slide, a dialog box asks you if you want to keep the formatting when you import it.
- Right‐click the imported slide in the Reuse Slides pane and then click Keep Source Formatting in the menu.
- Select the Keep Source Formatting check box in the Reuse Slides pane.
- Click Browse in the Reuse Slides pane and then select the correct file type in the Browse dialog box.
- What other types of fills can you add to a slide background? (Choose all that apply.)
- Gradient fill
- Solid fill
- Pattern fill
- Hide background graphics
- What key do you press and hold to select more than one slide to move?
- Ins
- Alt
- Shift
- Ctrl
- When you click a slide in the list of slides in Normal view, where does a new slide appear?
- Above the selected slide
- Below the selected slide
- As the first slide in the slideshow
- As the last slide in the slideshow
- Where does a page number appear in a slide?
- Bottom‐right corner
- Bottom‐left corner
- Bottom and centered
- Top‐right corner
- What menu option do you click to rename a section?
- Design
- Insert
- Home
- Review
- How many slides does PowerPoint add to a Summary Zoom slide?
- All the slides
- The first three
- You can choose the slides you want to add in a dialog box that appears after you create the Summary Zoom slide.
- One slide per section