In this chapter, you’ll learn how to manage activities within the web-based Microsoft Dynamics CRM application. Most users use Outlook to manage their calendars on a day-to-day basis, so be sure to read Chapter 5, which covers basic activity functions within Outlook.
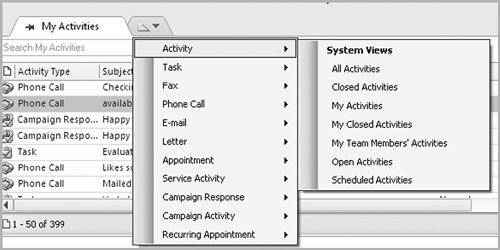
The Activities list view shows a listing of activities (appointments, tasks, service activities, e-mails, etc.) in a spreadsheet-like format. You can filter this list to show just specific activities, and you can use the View drop-down to configure pre-defined sets of activities based on a query. Both activities created in the web client and Outlook (if tracked in CRM) will appear in this list.
To view activities in Microsoft Dynamics CRM:
In the Navigation Pane, click Workplace and then Activities.
Your CRM activities list will appear.
Double-click any activity to open it for editing.
Use the drop-downs at the top of the Activity list to filter the activities that appear in the list.
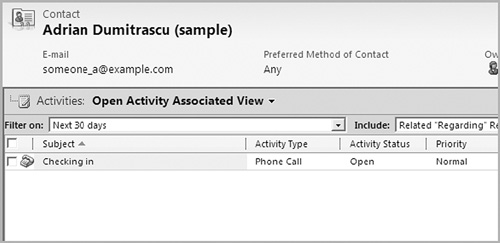
Activities in Microsoft Dynamics CRM are usually linked with records. You might schedule an appointment with a contact, send an e-mail to an account, or set a task for an opportunity. When you are looking at any record, you’ll see an activities option in the left panel. In this area, you’ll see all activities linked to the record.
To view activities linked with a record:
In the Navigation Pane, click Sales and then Contacts.
Double-click a contact to open it for editing.
On the left, click the Activities option.
A list of activities that have been associated with the record will appear.
Use the filter at the top of the screen to set the date range for activities in the list.
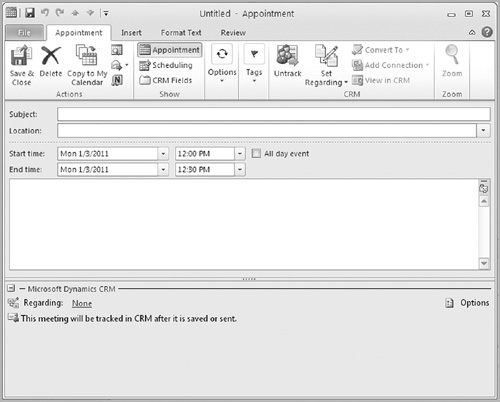
You can create an appointment in Outlook, and that appointment will sync to Microsoft Dynamics CRM if you click the Track in CRM or Set Regarding buttons in the ribbon or toolbar. Alternatively, you can follow this process to create an appointment in the web client for Microsoft Dynamics CRM.
To create a new appointment:
In the Navigation Pane, click Workplace and then Activities.
On the Activities tab in the New group of the ribbon, click the New button.
Select the type of activity you’d like to create. For this example, you will create an appointment.
Click OK.
Enter the details for your appointment.
Click the Save and Close button.
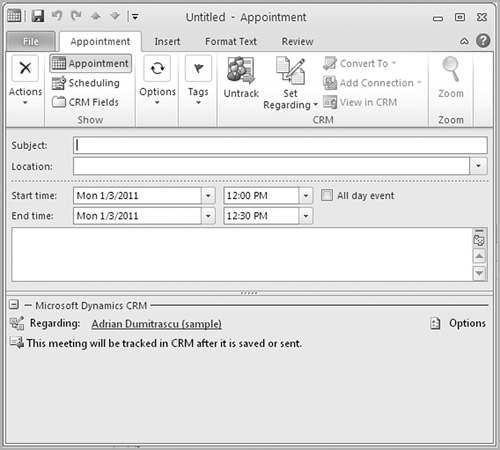
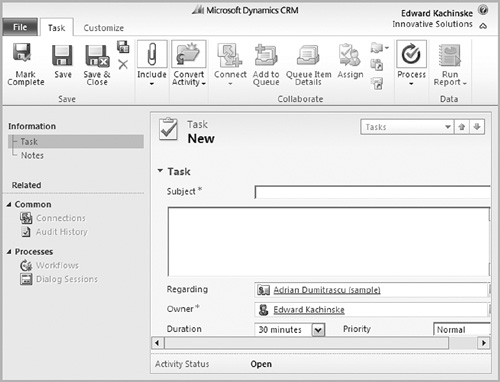
Any new tasks created in Outlook will automatically sync to Microsoft Dynamics CRM if you click the Track in CRM or Set Regarding buttons on the toolbar or ribbon in Outlook. If you are in the web client for Microsoft Dynamics CRM, you can use this process to create a new task.
To create a new task:
From the New Activity drop-down on the File tab, choose the Task option.
Give your task a subject, and type any details.
In the Regarding field, select the record for association with this task.
Click the Save & Close button.
If you have an appointment that recurs on a specific date and time, then you can create a recurring appointment. Once you create a recurring appointment, pending appointments will be subsequently created. If you delete a recurring appointment, you will be prompted to delete either the occurrence or series of appointments.
Outlook 2010/Internet Explorer:
In the Navigation Pane, click Workplace and then Activities.
On the Activities tab, in the New group, click the Appointment drop-down, and then select the Recurring Appointment option.
Configure your recurring appointment.
Click the Save & Close button when you are done.
Outlook 2003/2007:
In the Navigation Pane, click Workplace and then Activities.
On the Activities menu, highlight Appointment, and then select the Recurring Appointment option.
Configure your recurring appointment.
Click the Save & Close button when you are done.
Converting an activity in CRM is similar to converting other kinds of records in your system. Activities can be closed or converted into another CRM record type, such as an opportunity. This will allow you to track sales processes with activities in CRM.
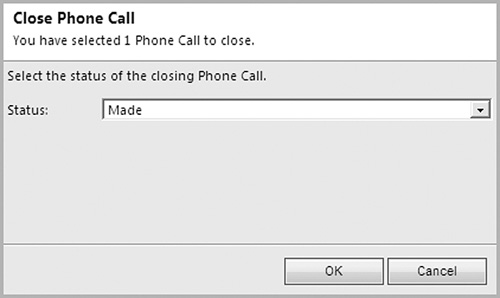
Once an activity has been completed, you can clear it to show that the activity is done. Doing so takes the activity off your list of active activities. Completed activities will appear in the Closed Activities area for a record, while active activities show in the Activities area.
To close an activity:
In the Navigation Pane, click Workspace and then Activities.
Double-click an activity (like an appointment) to open it for editing.
In the Actions group of the ribbon, click the Close Appointment button.
Select a status for the appointment. For example, you could choose Completed or Cancelled.
Click OK.
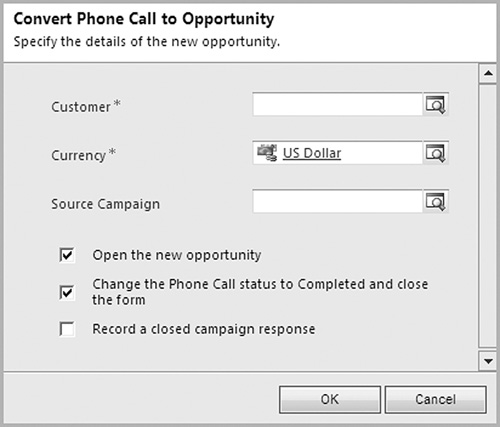
You complete a cold call, and the potential customer is excited about the opportunity to work with your company. Converting an appointment to an opportunity will automatically create a new opportunity, and it will change the appointment status to complete. Most types of activities (e-mails, phone calls, faxes, letters, appointments, and campaign responses) can be converted. Service activities and tasks cannot be converted.
To convert an appointment to an opportunity:
In the Navigation Pane, click Workspace and then Activities.
Double-click an activity to open it for editing.
In the Convert Activity group of the ribbon, click the To Opportunity button.
Click the To Opportunity option.
Select a customer and source campaign.
