Gatsby is extremely flexible and customizable. As mentioned in Chapter 2, one of the features of Gatsby is that it can dynamically create pages from data. In this chapter, we’ll install some plugins and write some JavaScript code in our Gatsby site to load the blog post data and create a list of entries on the main page.
Gatsby plugin configuration
Gatsby plugins are configured in the main configuration file, gatsby-config.js. This file contains a plugins array. Each element of the plugins array can be either a simple string specifying the name of a plugin (in which case it will use the default settings for that plugin) or an object containing two properties:
resolve: The name of the plugin
options: Any options to be passed to the plugin
Making Gatsby aware of the Markdown files
The first step is to make Gatsby aware of the Markdown files that are generated by Netlify CMS. For this, we’ll need to install the gatsby-source-filesystem plugin. The first step, as always, is to install the package. Open a terminal and run the following command:
Next, let’s configure the plugin. Open the file gatsby-config.js, and add a new entry to the plugins array, as shown in Listing 6-1.
module.exports = {
siteMetadata: {
title: 'The Coffee Blog'
},
plugins: [
'gatsby-plugin-netlify-cms',
{
resolve: 'gatsby-source-filesystem',
options: {
name: 'blog',
path: 'src/blog'
}
}
]
};
Listing 6-1
The updated Gatsby configuration file
This plugin will add some new nodes to the GraphQL schema for our site. Specifically, an allFile node will be added that will let you query files found in the src/blog directory. With this plugin, you can run queries like the one shown in Listing 6-2.
{
allFile {
edges {
node {
extension
dir
modifiedTime
}
}
}
}
Listing 6-2
Example filesystem query
Or you can query for specific files, like in Listing 6-3.
Once we are loading the files with gatsby-source-filesystem, we want to parse the Markdown data and front matter and add this information to the GraphQL schema. For that, we use the gatsby-transformer-remark plugin.
Remark is a Markdown processor for JavaScript. It takes Markdown source and renders it as HTML markup. We will use this HTML markup in our Gatsby site to present blog entries. It can also parse a Markdown file’s front matter.
First, let’s install the package. Run the following command:
Then, as before, we need to configure Gatsby to use this plugin. The plugin itself doesn’t need any configuration - the defaults are sufficient for our use case. We just need to add another entry to our plugins array in gatsby-config.js. Open the file, and add the code indicated in Listing 6-4.
module.exports = {
siteMetadata: {
title: 'The Coffee Blog'
},
plugins: [
'gatsby-plugin-netlify-cms',
{
resolve: 'gatsby-source-filesystem',
options: {
name: 'blog',
path: 'src/blog'
}
},
'gatsby-transformer-remark'
]
};
Listing 6-4
Adding the gatsby-transformer-remark plugin
With gatsby-transformer-remark, we can (among other things) convert the Markdown syntax to its equivalent HTML markup with a query like the one shown in Listing 6-5.
{
allMarkdownRemark {
edges {
node {
html
}
}
}
}
Listing 6-5
An example query
This query will give us the Markdown data rendered as HTML, ready to insert into a React component for display to the user.
Querying and displaying the data
Now that we’ve installed the necessary plugins, let’s continue on and try to display our blog post in the example project.
Creating a blog post component
First, we’ll create a React component that will display an excerpt of a single blog post. This component will later be used in the index page, which will list all of the blog posts. Create a new file in src/components called BlogPost.js. Add the code from Listing 6-6.
import React from 'react';
import styles from './BlogPost.module.css';
export default function BlogPost({ title, date, excerpt }) {
return (
<article className={styles.blog}>
<h2>{title}</h2>
<h3>{date}</h3>
<p>{excerpt}</p>
</article>
);
}
Listing 6-6
The BlogPost component
This is a simple presentational component that receives all of its data as props passed from a parent component. It then simply renders the data that was passed to it. In this file, we are also importing a CSS module. Let’s create that next. Create the file src/components/BlogPost.module.css, as shown in Listing 6-7.
.blog {
padding: 1rem;
}
.blog h2 {
margin: 0;
}
.blog h3 {
margin: 0;
font-style: italic;
}
Listing 6-7
The CSS module for the BlogPost component
Creating a blog list component and querying for data
Next, we’ll create a BlogList component that will contain a GraphQL query for the blog data. Create a new file src/components/BlogList.js, as shown in Listing 6-8.
import React from 'react';
import { graphql, useStaticQuery } from 'gatsby';
import BlogPost from './BlogPost;
export default function BlogList() {
const data = useStaticQuery(graphql`
{
allMarkdownRemark {
edges {
node {
id
frontmatter {
title
date(formatString: "MMMM D, YYYY")
}
excerpt
}
}
}
}
`);
return (
<div>
{data.allMarkdownRemark.edges.map(edge => (
<BlogPost
key={edge.node.id}
title={edge.node.frontmatter.title}
date={edge.node.frontmatter.date}
excerpt={edge.node.excerpt} />
))}
</div>
);
}
Listing 6-8
The BlogList component
In this component, we are using the useStaticQuery hook that comes with Gatsby. We are querying for the Markdown data. The frontmatter field contains all front matter data, and the excerpt field contains an excerpt containing, by default, the first 140 characters of the blog post’s body. By default, this excerpt is returned as plain text, but it can also be returned as HTML if desired.
Using the BlogList component
Finally, we need to use the BlogList component from the index page. Change the file src/pages/index.js to match Listing 6-9.
import React from 'react';
import { graphql, useStaticQuery } from 'gatsby';
import BlogList from '../components/BlogList';
import Layout from '../components/Layout';
import styles from './index.module.css';
export default function IndexPage() {
const data = useStaticQuery(graphql`
{
site {
siteMetadata {
title
}
}
}
`);
return (
<Layout>
<div id={styles.hero}>
<h1>{data.site.siteMetadata.title}</h1>
</div>
<BlogList />
</Layout>
);
}
Listing 6-9
Adding the BlogList component
Let’s try the BlogList and BlogPost components in the site and see how they are working. From the project directory, run the command:
gatsby develop
This will start the Gatsby development server, which we will use heavily throughout this book to test our changes. Once you see the message “You can now view gatsby-starter-hello-world in the browser,” open your browser and go to http://localhost:8000. You should see the index page, including the blog post that we added earlier, as shown in Figure 6-1.
Figure 6-1
The blog post is now on the index page
Now that we have verified that the new code is working, let’s create a new commit and push to GitHub. Run the following commands:
git add .
git commit -m "Add initial blog post listing"
git push origin master
Once you push the code, Netlify will notice the new commit and start a new build of the site. After a few minutes, the new version of the site containing the blog list will be live.
Adding a second blog post
So far, we only have a single blog post. Let’s add a second post so that we can see a listing of multiple posts. Once Netlify has deployed the new version of the site, go to https://<your-site-name>.netlify.app/admin. Log in if prompted and use the CMS application to add a second blog post.
After publishing the new post, we will need to pull down the new commit containing the second post. From the terminal, run this command:
git pull origin master
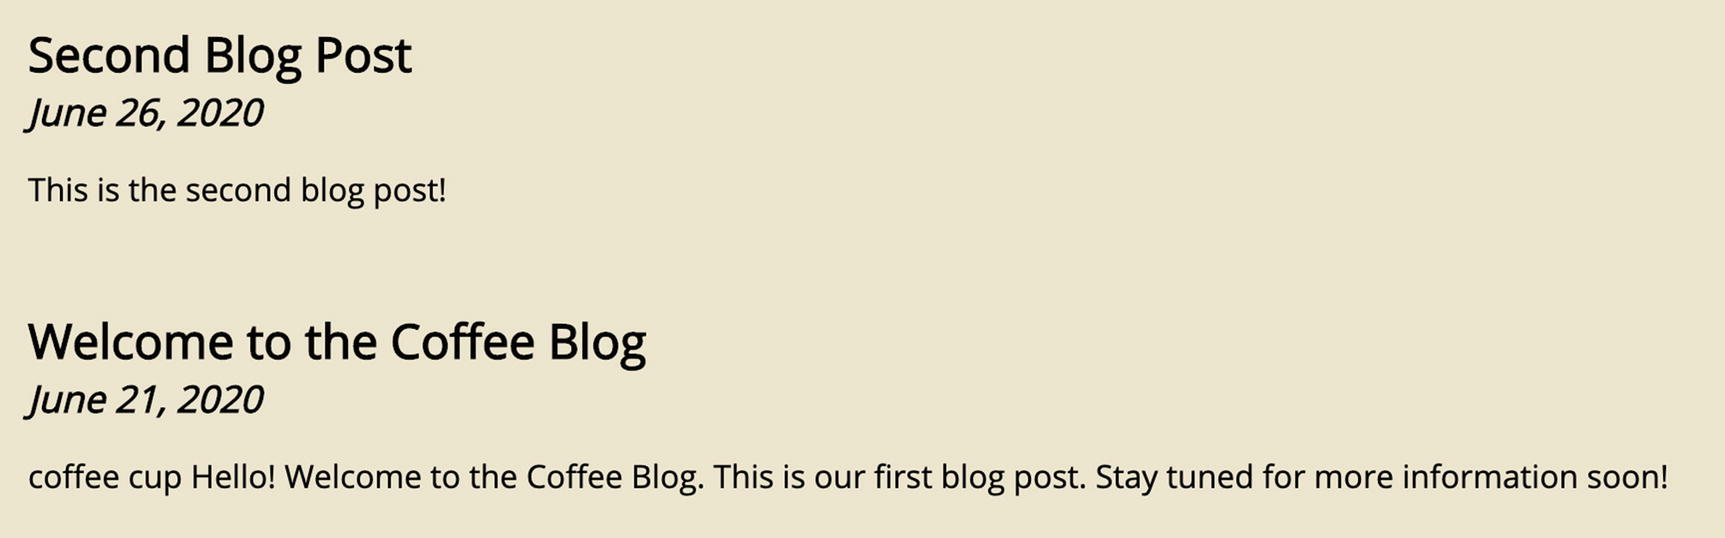
You should get one new commit containing the new blog post’s Markdown file. Rerun gatsby develop, and go to http://localhost:8000 again. There should be two blog posts listed now, as shown in Figure 6-2.
Figure 6-2
The second blog post appears in the blog list
Fixing the sort order
You might have noticed that the blog posts are out of order. Typically, in a blog, the newest posts are shown at the top. Currently, that is not the case. We can fix this by specifying a sort order in the GraphQL query.
Open the file src/components/BlogList.js, and change the GraphQL query as shown in Listing 6-10.
We are telling GraphQL to sort the returned Markdown files in descending order of the date property in their front matter. If we reload the index page, we can see that the blog posts are now sorted correctly.
Let’s commit and push this fix.
git add .
git commit -m "Sort blog posts by date"
git push origin master
Figure 6-3
The blog posts in the correct order
Summary
In this chapter, we
Used a source plugin to load the Netlify CMS Markdown files
Used a transformer plugin to parse the Markdown and front matter
Added a list of blog posts to the index page of the example project