
Authoring content in Netlify CMS is fairly straightforward. When you publish your changes, they are immediately committed to the repository’s master branch and deployed to the live site. This is fine for small, individually owned sites, but for larger sites, this may not be ideal. There is no approval process for new content; it goes live immediately.
For such sites wanting better editorial control, Netlify CMS supports what is called the editorial workflow . With the editorial workflow, content is saved as a draft. Another user can review the content and approve the changes, at which point it will go live.
At the time of writing, the editorial workflow is only officially supported for GitHub repositories. Support for GitLab and Bitbucket repositories is currently in a beta testing phase.
Enabling the editorial workflow
Enabling the editorial workflow
Adding some new content
To start the editorial workflow, let’s first add some new content. Start the development server by running gatsby develop, then open the CMS at http://localhost:8000/admin.
We’ll add a new category and product to the menu. Go to “Pages,” then click “Menu” to open the coffee shop menu. From the menu page, click “Add category.”
Name: Blueberry Muffin
Description: Made with farm fresh blueberries
Price: $3.99

The editor showing the “Save” button

The new buttons in the CMS
Let’s take a look at what happened behind the scenes.
Viewing the pull request
When this draft change was saved, a new branch was created in the Git repository, the changes were saved to that branch, then a pull request was opened for that branch against the master branch.
A pull request is a request to merge, or pull, a set of changes from one branch into another. The changes can be viewed in the GitHub web interface, and code review comments can be left. Open your browser, and go to your coffee-shop repository on GitHub – https://github.com/<your-username>/coffee-shop.

The pull requests tab, showing our open pull request
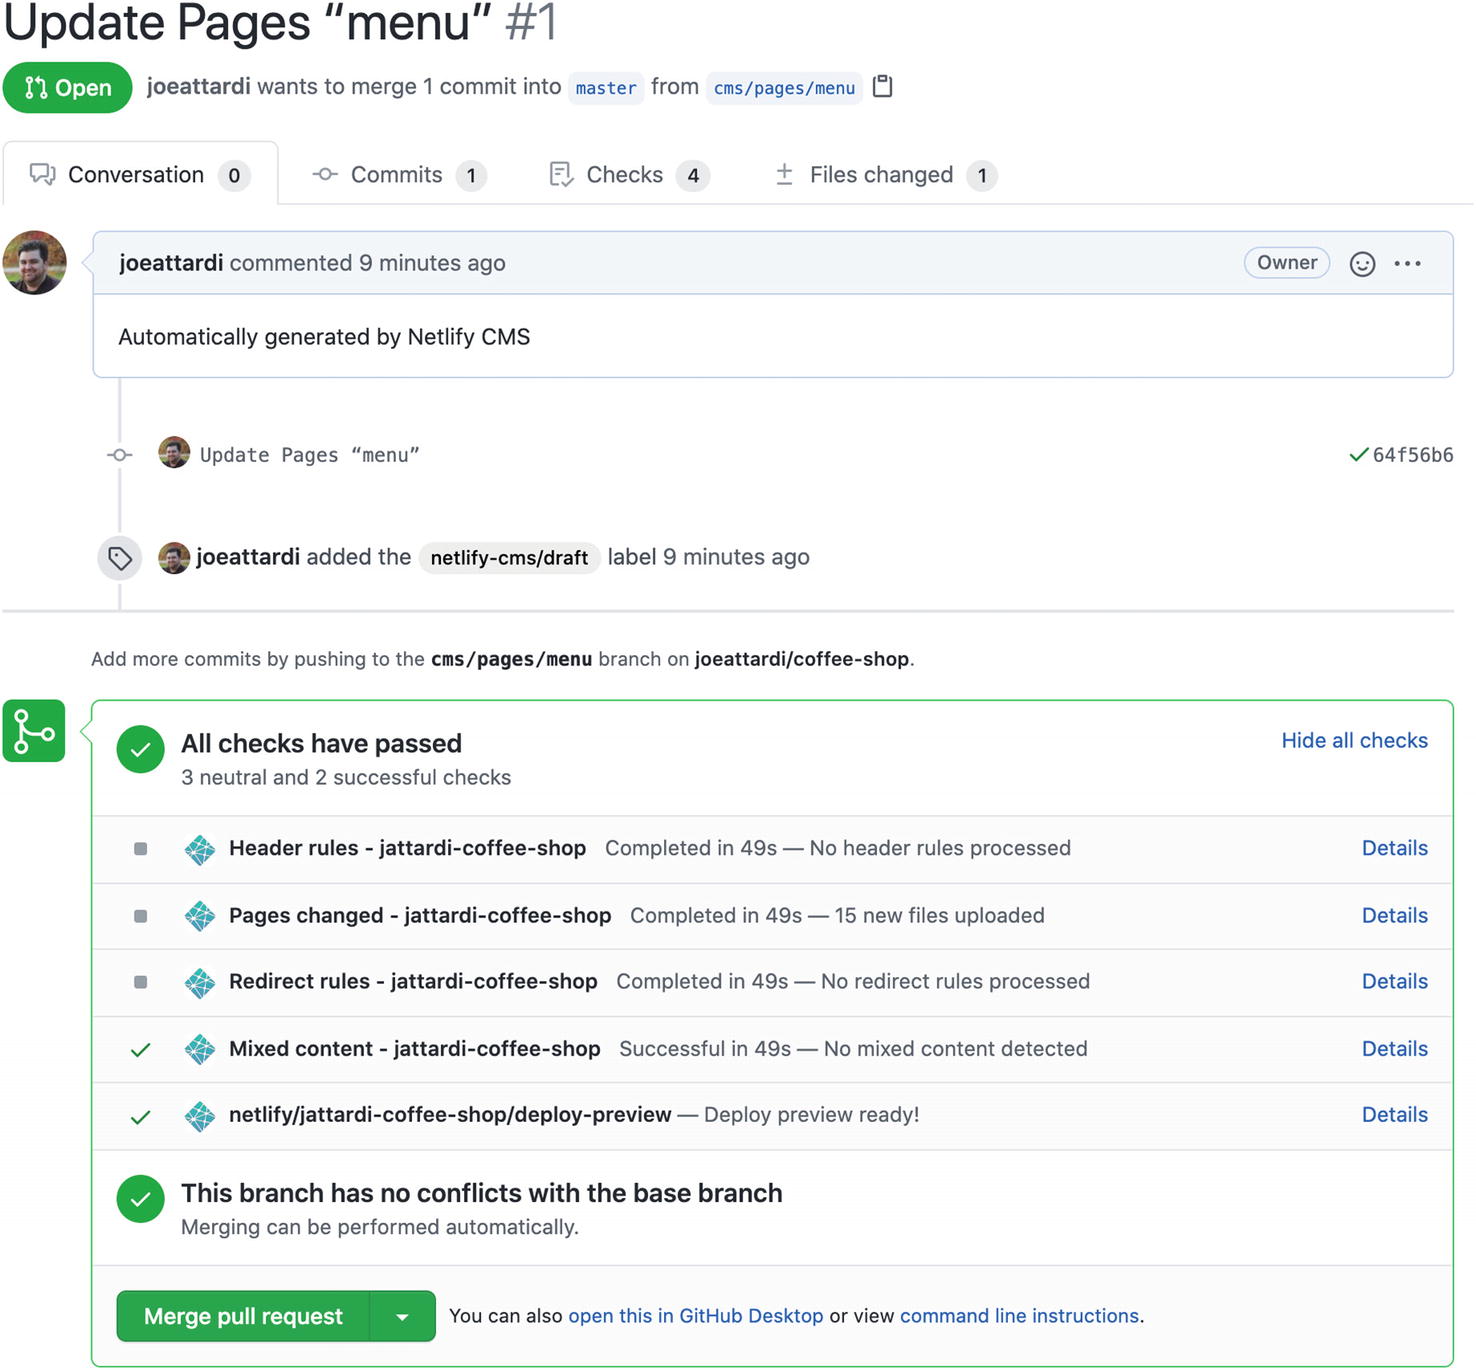
The pull request details
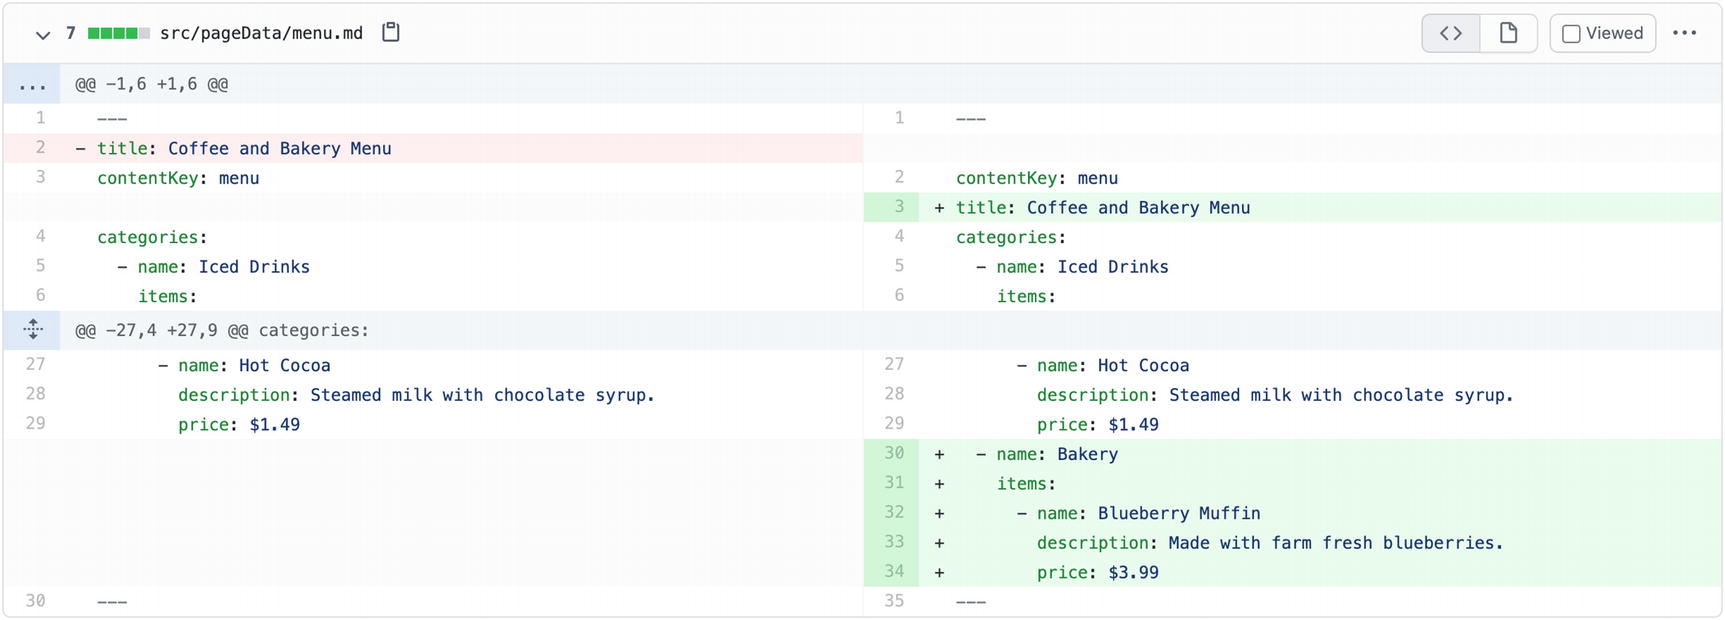
The “Files changed” tab of the pull request
In this view, we can see the new menu category that we added and the single item we added as well.
Back on the “Conversation” tab, you will see that the pull request currently has a netlify-cms/draft label applied to it. This means the changes are still in draft status. You can make further changes in the CMS user interface, and when they are saved, they will be added to this pull request .
Viewing the preview
One of the nice things about the editorial workflow is that it publishes a preview version of the site containing your changes so that you can see them in a live version of the site before the site is published. In your browser, return to the CMS application and go to the menu page. At the top of the screen, you will see a link that says, “Check for Preview.”
Click that link, and after a moment, it will be replaced with another link that says, “View Preview.” Click the “View Preview” link. A new browser tab will open showing the coffee shop site. If you look at the URL, though, it will be different. Instead of https://<your-site-name>.netlify.app, it will be something like https://deploy-preview-1--<your-site-name>.netlify.app. The preview is deployed to a separate URL so that it can be viewed without updating the main live site.

The menu page in the preview site
Updating the status
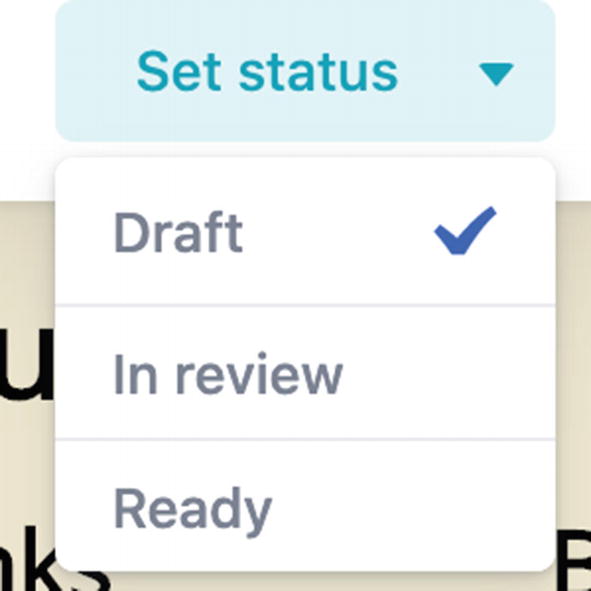
The status options
Next, click “In review” to update the status. If you return to the pull request on GitHub, you’ll see that the label now reads netlify-cms/pending_review. We can view the changes and add review comments. Click the “Files changed” tab again, where you will see the difference view.

The blue plus button

Adding a comment
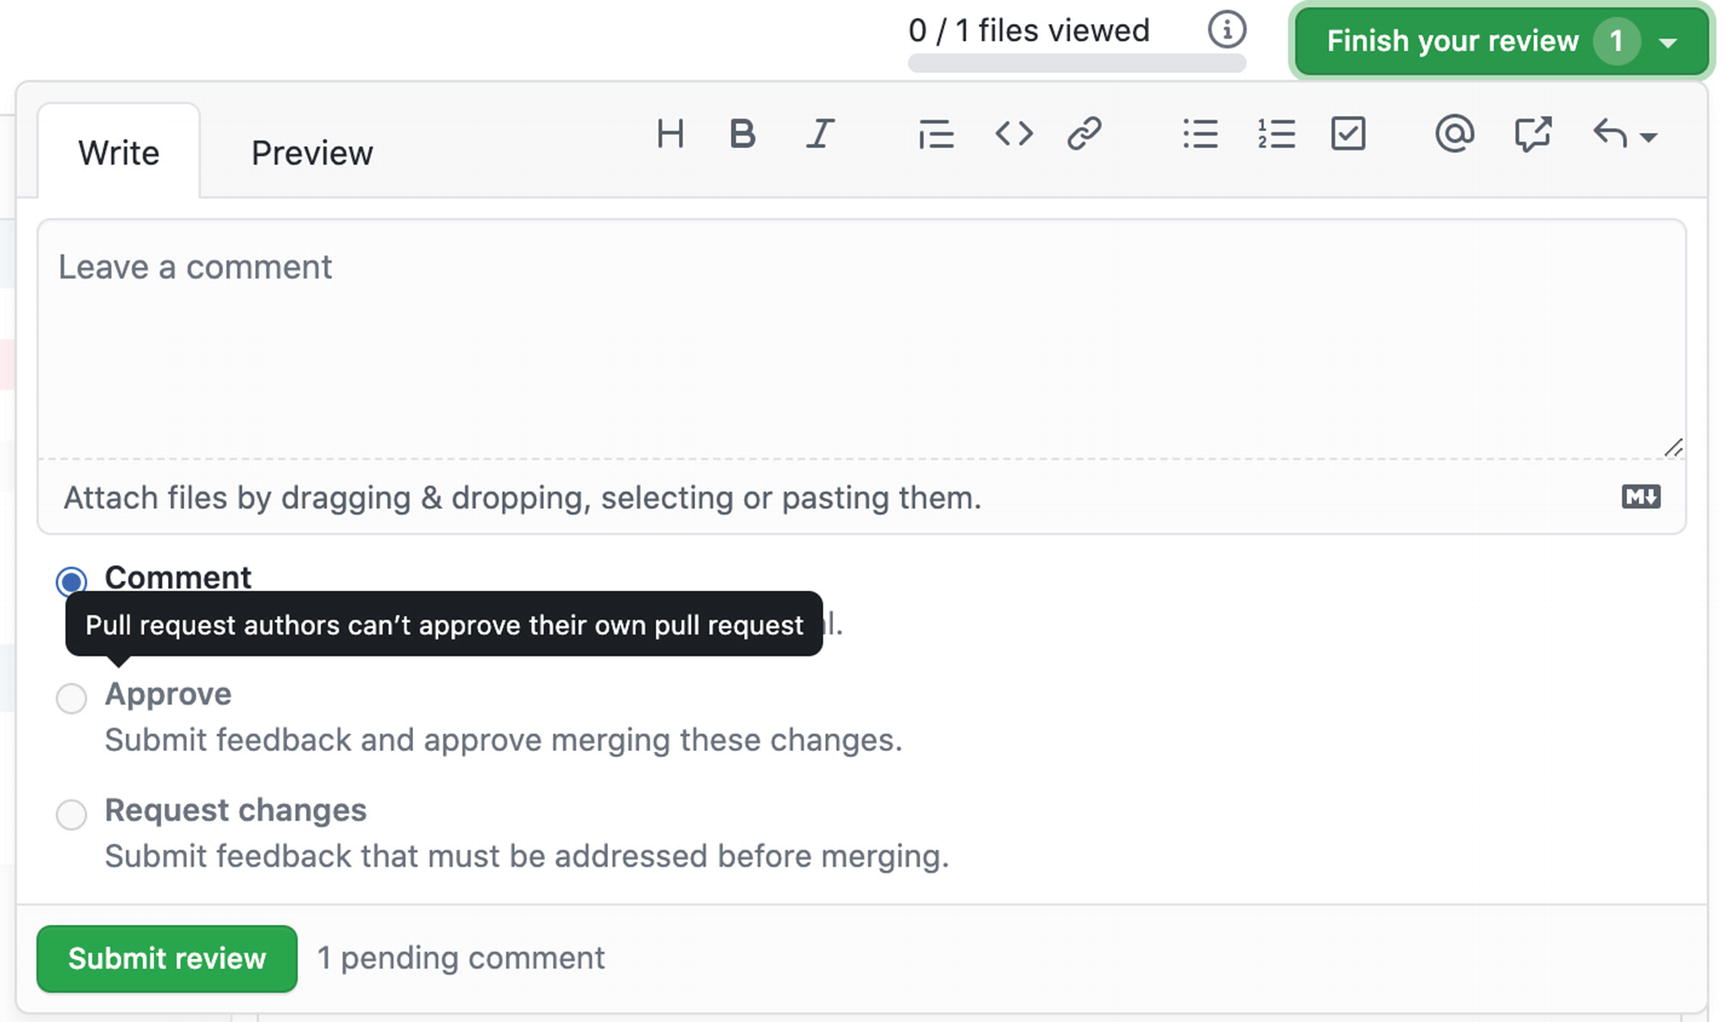
Finishing a review. We cannot approve our own pull request
Finishing up
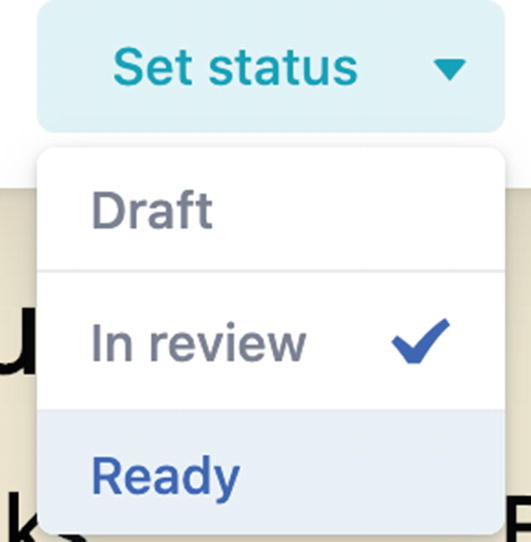
Setting the status to “Ready”
If you go back to the pull request, you will see again that it has a new label: netlify-cms/pending_publish. This means that all changes have been approved and it is ready to be published. We can do that now by going back to the CMS and clicking “Publish,” then “Publish now,” as we normally would.
You may be asked to confirm that you want to publish this entry. Click “OK” to continue with publishing. The status in the top right of the page will change to “Published” after a short delay.
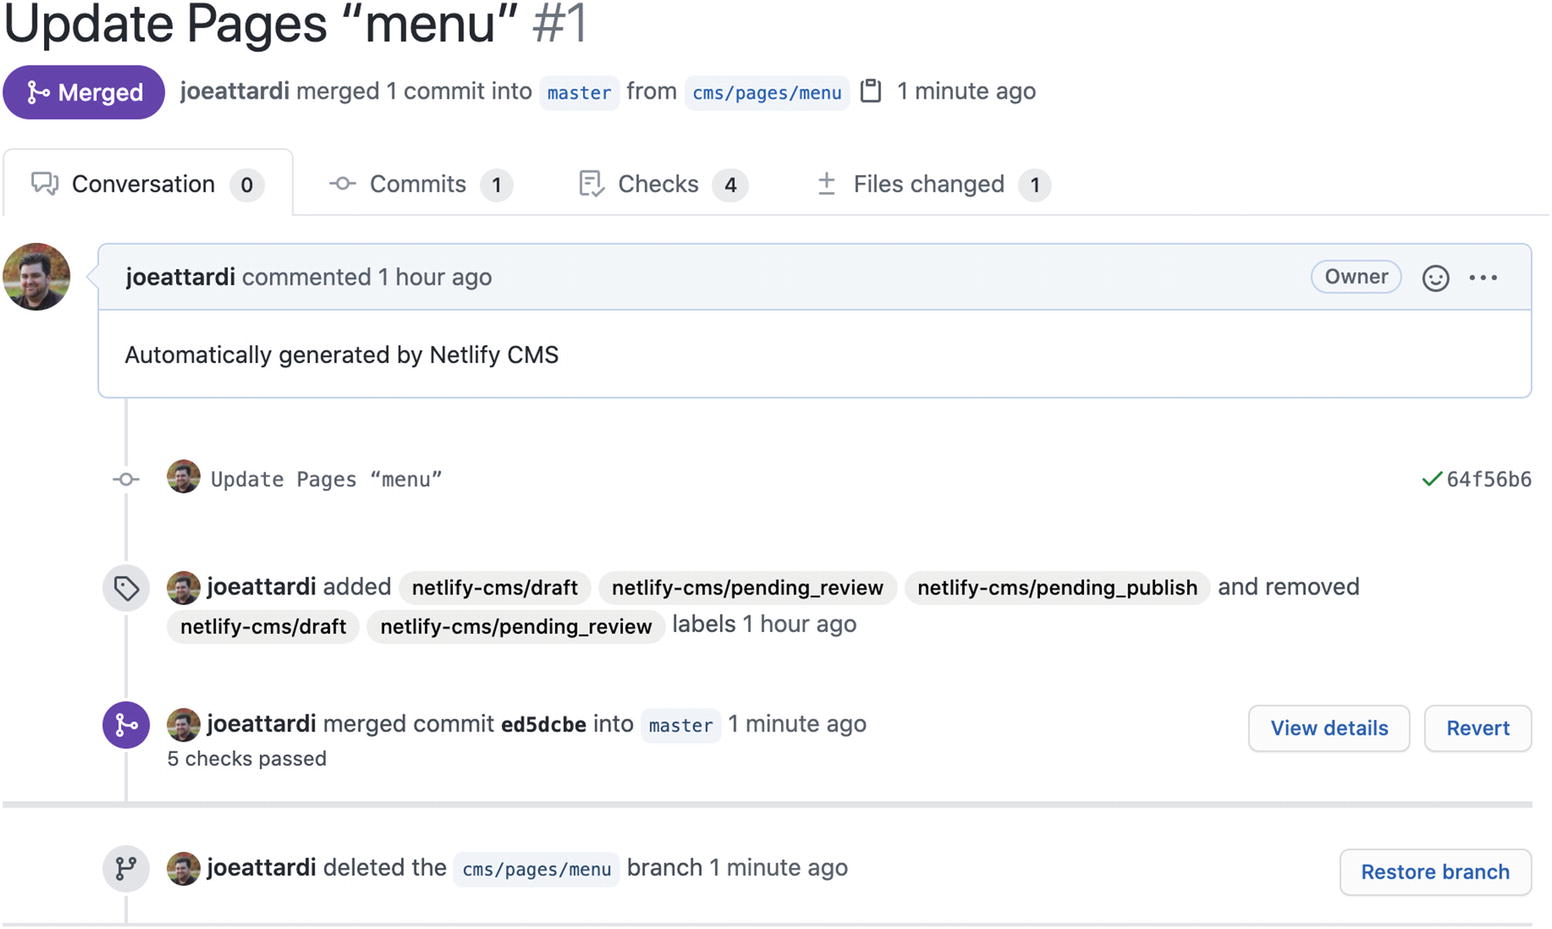
The now-closed pull request
Summary
The author makes the desired changes and saves them.
The changes are saved to a temporary branch in the Git repository.
A pull request is opened, and the changes are in the “Draft” status.
A live preview of the changes is deployed on a subdomain of the site on Netlify.
Once all changes have been made, the changes are set to “In review” status.
Other team members can go to the pull request on GitHub and add their comments, request changes, or approve the changes as is.
The changes are set to “Ready” status.
The changes are published.
The pull request is merged, and the temporary branch is deleted.