
The first item we will need to address is replacing the static content in our Header Top region. Referring back to the Mockup, we have a menu of social icons that display within this region. Also, if we look closely, each social icon is using the Font Awesome library. Tackling the next section will require the following techniques:
- First, we will create a custom block to display our Social Icons menu and then assign it to the Header Top region so that it is available to render.
- Next, we will add the Font Awesome library for our social icon to use.
- Finally, we will modify our static content to display our Header Top region.
Creating blocks of content is fairly simple, and we will be doing this often as we recreate each section of our theme. We will start by navigating to the Block layout page at /admin/structure/block and following these nine steps:
- Click on the Place block button in the Header Top region.
- Click on the Add custom block button.
- Enter a Block description of
Social Icons. - Select HTML No Editor from the Text format dropdown.
- Add the markup located in the
Chatper06/start/content/SocialIcons.txtfile to the Body field, as shown in the following image: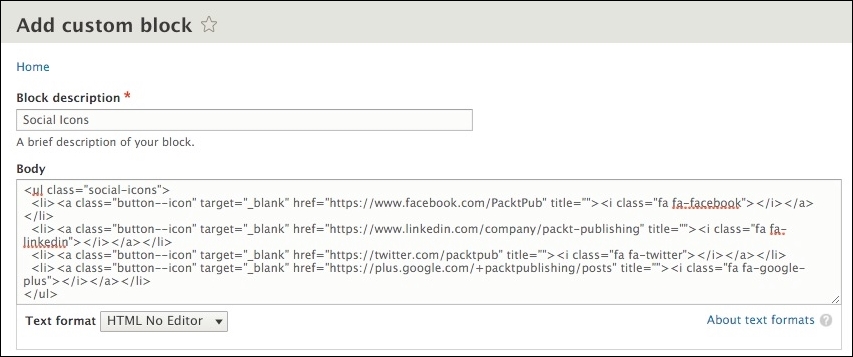
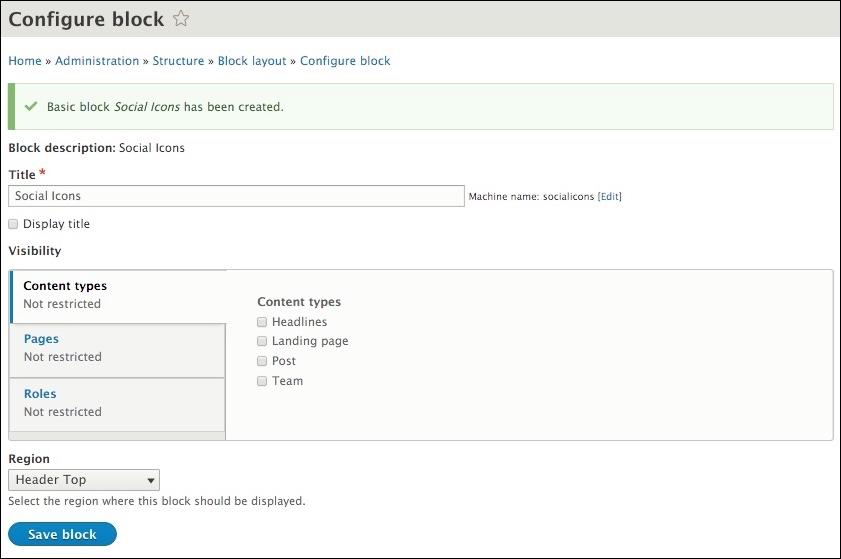
- Click on the Save button to proceed to the Configure block screen.
- Uncheck the Display title checkbox.
- Choose Header Top from the Region field.
- Click on the Save block button, as shown in the following image:
We now have our Social Icons block created and assigned to our Header Top region. Next, we need to add the Font Awesome icon library.
Font Awesome is an icon font implementation that allows scalable vector icons to be referenced the same way you would a font family. Our social icons as well as other sections of our theme will take advantage of Font Awesome to display various icons. We can find detailed information regarding Font Awesome at https://fortawesome.github.io/Font-Awesome. To ensure that we all use the same version of Font Awesome, we will need to navigate to the Chapter06/start/themes/octo/vendor folder and copy the font-awesome folder to our themes/octo/vendor folder.
Once the files are accessible by Drupal, we can follow these remaining steps to add Font Awesome to our theme:
- Open
octo.libraries.yml. - Add the following entry:
font-awesome: version: 4.3.0 css: theme: vendor/font-awesome/css/font-awesome.min.css: {} - Save
octo.libraries.yml: - Open
octo.info.yml: - Add the following library reference pointing to our new web fonts entry:
libraries: - octo/bootstrap - octo/webfonts - octo/font-awesome - octo/base - Save
octo.info.yml:
Make sure to save our changes and clear Drupal's cache for our changes to take effect. Finally, we will need to add the Header Top region to our homepage before being able to see our Social Icons menu.
Currently, our page--front.html.twig template is not outputting our Header Top region. We will need to refactor our markup to replace the static content with the output of the {{ page.header_top }} region.
Current markup
<div class="header-top">
  <div class="container">
    <div id="block-socialicons" class="block">
      <ul class="social-icons">
        <li><a class="button--icon" target="_blank" href="https://www.facebook.com/PacktPub" title=""><i class="fa fa-facebook"></i></a></li>
        <li><a class="button--icon" target="_blank" href="https://www.linkedin.com/company/packt-publishing" title=""><i class="fa fa-linkedin"></i></a></li>
        <li><a class="button--icon" target="_blank" href="https://twitter.com/packtpub" title=""><i class="fa fa-twitter"></i></a></li>
        <li><a class="button--icon" target="_blank" href="https://plus.google.com/+packtpublishing/posts" title=""><i class="fa fa-google-plus"></i></a></li>
      </ul>
    </div>
  </div>
</div>
New markup
<div class="header-top">
  <div class="container">
    {{ page.header_top }}
  </div>
</div>
Make sure to save our changes, clear Drupal's cache and then refresh the browser. If all was successful, our Header Top region should now be identical to the mockup:
