
If you followed the instructions in Chapter 3, Adding Graded Activities, open the assignment titled Assignment 4.
The assignment grading table will be the same as the one we have seen previously with the simple grading method, Click on View/grade all submissions and click on the grade icon next to a student that you want to grade.
The biggest difference between the grading pages we have seen previously and using the marking guide is the way in which we grade the assignment. When grading assignments with a scale, we were provided with a drop-down list in order to add the grade, and for a numerical grade, we had a textbox to which we could type the grade. For a marking guide assignment, there is no single grade entry point. Instead, we are provided with the grading criteria for which we can add a grade. Moodle will then add each grade together in order to provide the final grade for the assignment.
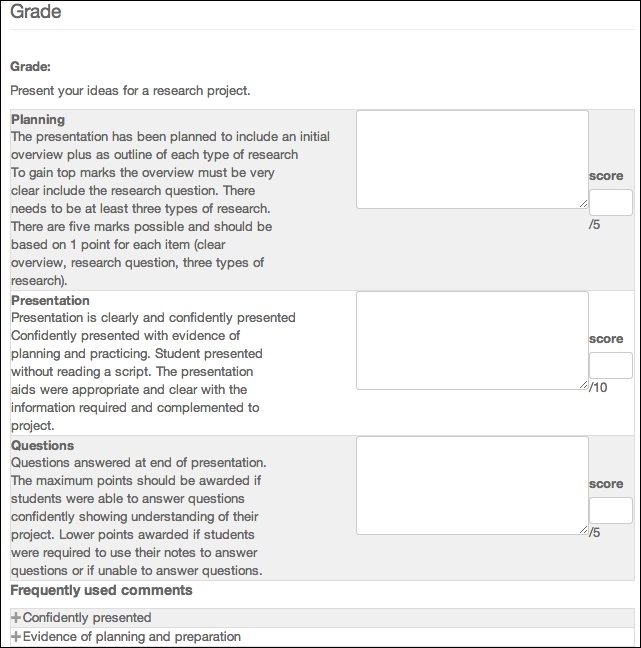
Next to each piece of criteria, there is a text entry box and a score box. Take a look at the previous screenshot and find the criteria titled Planning. The Grade section is explained as follows:
- We can see the full details of the criteria that aids us by providing us with the correct grade.
- To the right of this criteria, we have a textbox where we can add feedback in relation to this criteria. When creating this assignment, we also added some comments in the Frequently used comments option, and we can see these at the bottom of the marking guide. If we would like to add any of these comments to the feedback, we need to click on the box where we want to add the comment and then click on the + symbol next to the frequently used comment that we want to use.
- The final column on the right-hand side provides a grade entry box. Underneath this box, we can see the maximum number of points that are available for this criteria. To provide a grade, we add a number grade up to the given maximum grade.
Like the simple grading methods, we also have the option to add general feedback, and we can also have options to change the marking workflow and reopen submissions depending on how the assignment was set up.
After adding the feedback and individual criteria grades, we need to click on the Save changes button.
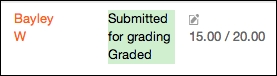
Following the grading, each score assigned to each piece of criteria is added together in order to provide the final grade for the student, and this can be seen in the Grade column in the assignment grading table.
The student will see the final grade and each individual criteria grade and feedback when reviewing the feedback for their assignment.
The final type of grading that we set up in Chapter 3, Adding Graded Activities, was through the use of a rubric. Grading with a rubric is similar to using a marking guide. Let's take a look at this together.