
The reason we want to have a look at a background thread specifically is because by default, all threads created by the main app thread or Thread class constructor are foreground threads. So, what exactly separates a foreground thread from a background thread? Well, background threads are identical to foreground threads with the exception that if all foreground threads are terminated, the background threads are stopped too. This is useful if you have a process in your application that must not stop the application from terminating. In other words, while your application is running, the background thread must continue to run.
We will create a simple application that defines the thread created as a background thread. It will then suspend, resume, and abort the thread.
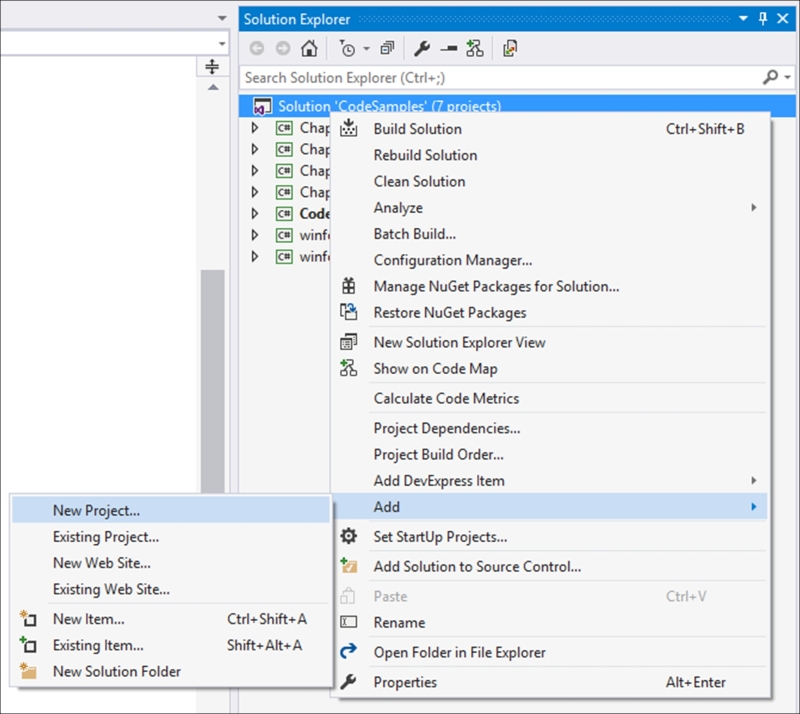
- Create a new class library by right-clicking on your solution and selecting Add and then New Project from the context menu:
- From the Add New Project dialog screen, select Class Library from the installed templates and call your class
Chapter7: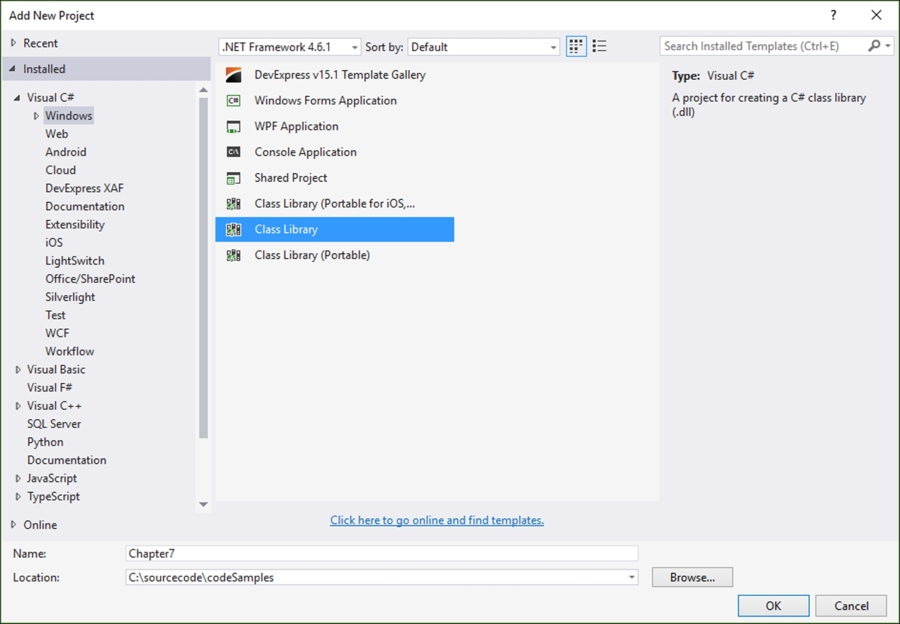
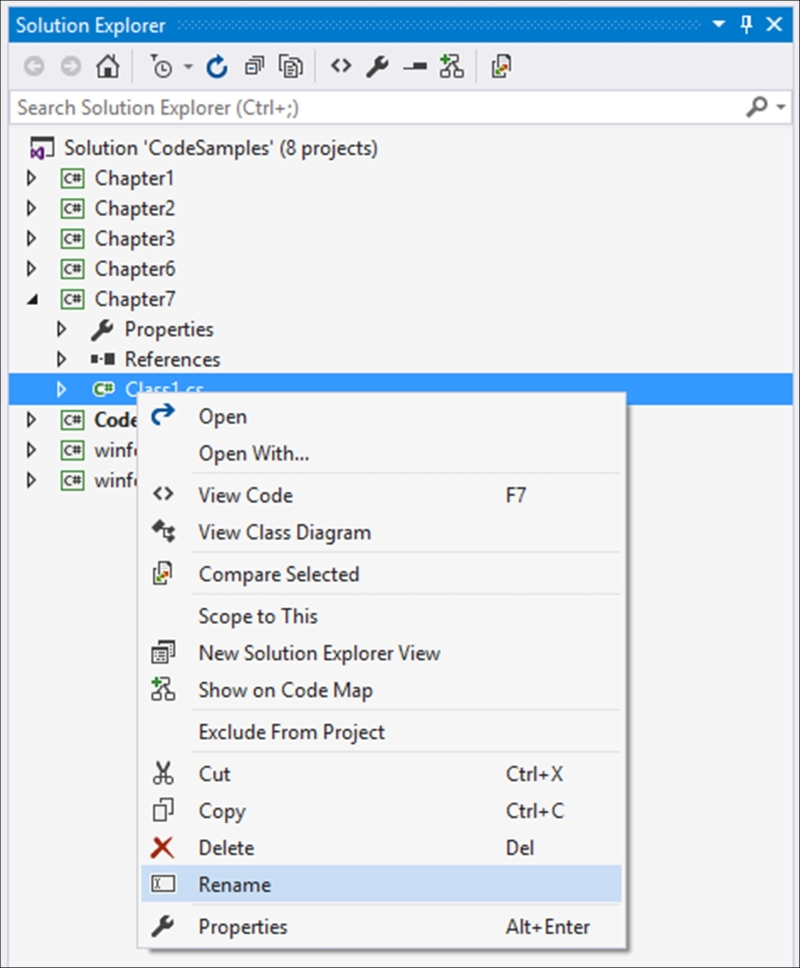
- Your new class library will be added to your solution with a default name
Class1.cs,which we renamed toRecipes.csin order to distinguish the code properly. You can, however, rename your class to whatever you like if that makes more sense to you. - To rename your class, simply click on the class name in Solution Explorer and select Rename from the context menu:
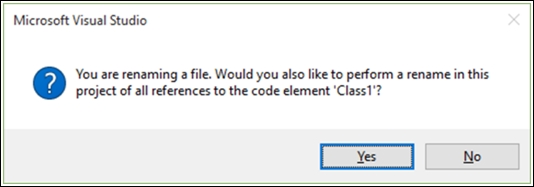
- Visual Studio will ask you to confirm a rename of all references to the code element Class1 in the project. Just click on Yes:
- The following class is added to your
Chapter7library project:namespace Chapter7 { public class Recipes { } } - Inside the
Recipesclass, add a method calledDoBackgroundTask()with thepublic voidmodifiers, and add the following console output to it:public void DoBackgroundTask() { WriteLine($"Thread {Thread.CurrentThread.ManagedThreadId} has a threadstate of {Thread.CurrentThread.ThreadState} with {Thread.CurrentThread.Priority} priority"); WriteLine($"Start thread sleep at {DateTime.Now.Second} seconds"); Thread.Sleep(3000); WriteLine($"End thread sleep at {DateTime.Now.Second} seconds"); } - Inside the console application called
CodeSamples, added previously, add a reference to theChapter7class library by right-clicking on References under theCodeSamplesproject and selecting Add Reference from the context menu: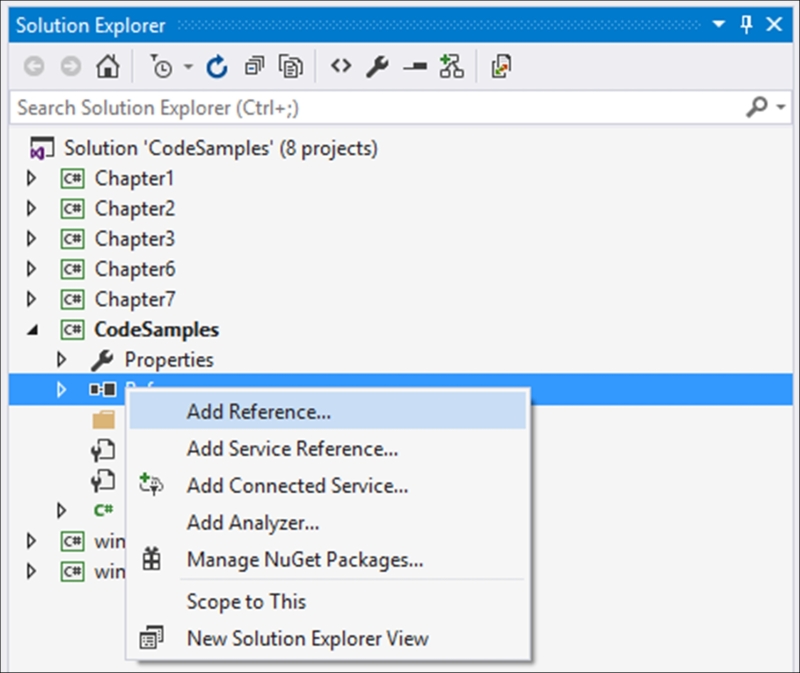
- In the Reference Manager window, select the
Chapter7solution by going to Projects | Solutions. This will allow you to use the classes we just created in your console application: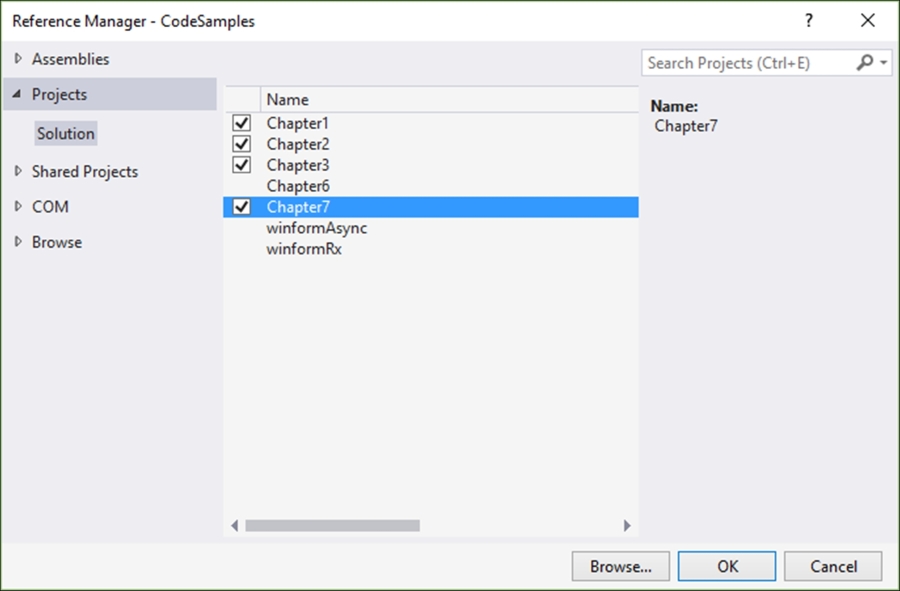
- In the
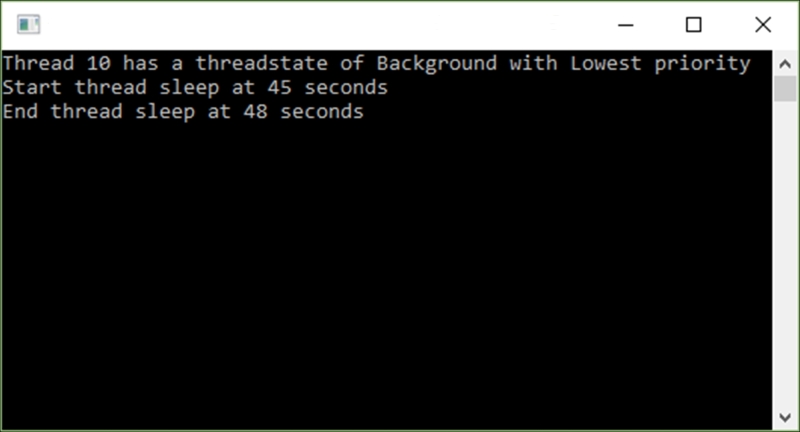
void Mainmethod, create a new instance of yourRecipesclass and add it to a new thread calledbackgroundThread. Define this newly created thread to be a background thread and then start it. Finally, set the thread to sleep for five seconds. We need to do this because we have created a background thread that is set to sleep for three seconds. Background threads do not prohibit foreground threads from terminating. Therefore, if the main application thread (which is by default a foreground thread) terminates before the background thread completes, the application will terminate and also terminate the background thread:static void Main(string[] args) { Chapter7.Recipes oRecipe = new Chapter7.Recipes(); var backgroundThread = new Thread(oRecipe.DoBackgroundTask); backgroundThread.IsBackground = true; backgroundThread.Start(); Thread.Sleep(5000); } - Run your console application by pressing F5. You will see that we have created a background thread with a normal priority:

- Let's modify our thread and set its priority down to low. Add this line of code to your console application:
backgroundThread.Priority = ThreadPriority.Lowest;. This line will downgrade the thread priority:Chapter7.Recipes oRecipe = new Chapter7.Recipes(); var backgroundThread = new Thread(oRecipe.DoBackgroundTask); backgroundThread.IsBackground = true; backgroundThread.Priority = ThreadPriority.Lowest; backgroundThread.Start(); Thread.Sleep(5000);
- Run your console application again. This time, you will see that the thread priority has been set to the lowest priority:
- Go back to your
DoBackgroundTask()method and addThread.CurrentThread.Abort();right beforeThread.Sleep(3000);is called. This line will prematurely kill the background thread. Your code should look like this:public void DoBackgroundTask() { WriteLine($"Thread {Thread.CurrentThread.ManagedThreadId} has a threadstate of {Thread.CurrentThread.ThreadState} with {Thread.CurrentThread.Priority} priority"); WriteLine($"Start thread sleep at {DateTime.Now.Second} seconds"); Thread.CurrentThread.Abort(); Thread.Sleep(3000); WriteLine($"End thread sleep at {DateTime.Now.Second} seconds"); } - When you run your console application, you will see that the thread is aborted before the
Thread.Sleepmethod is called. Aborting a thread in this way, however, is generally not recommended: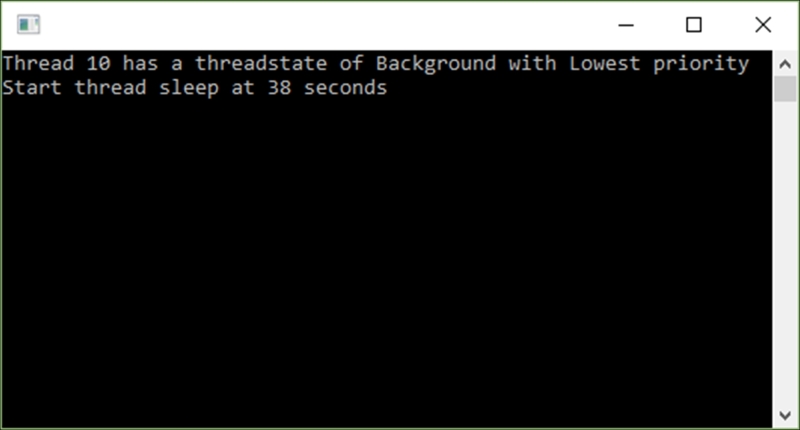
Being able to create a background thread is a great way to work on a different thread from the main thread while not interfering with the process of the main application thread. Another added benefit is that the background thread is terminated as soon as the main application thread is completed. This process ensures that your application will terminate gracefully.