
Many developers want to try their hand at writing an iOS application. The big drawback has always been learning a new programming language and a new IDE. For some, it is probably not an issue as they want to learn something new. But for many .NET developers, being able to stick to an IDE and programming language they know is immensely empowering. Well, this is exactly what Xamarin Forms and Visual Studio achieve. It gives .NET developers the ability to use Visual Studio to write applications that can be run cross-platform easily, without having a separate code base for each.
You will need to have a Mac running OS X. You will only need this for debugging iOS applications.
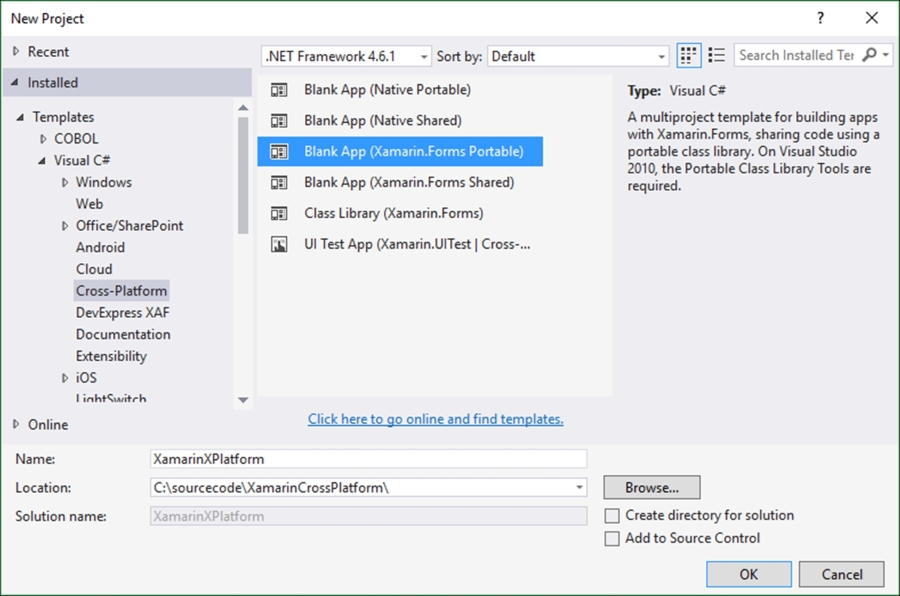
- In Visual Studio 2015, create a new project. From the installed templates, choose Cross-Platform and select Blank App (Xamarin.Forms.Portable). This will allow us to create an application that will be cross-platform and not specific to a single platform (Android or iOS, for example):
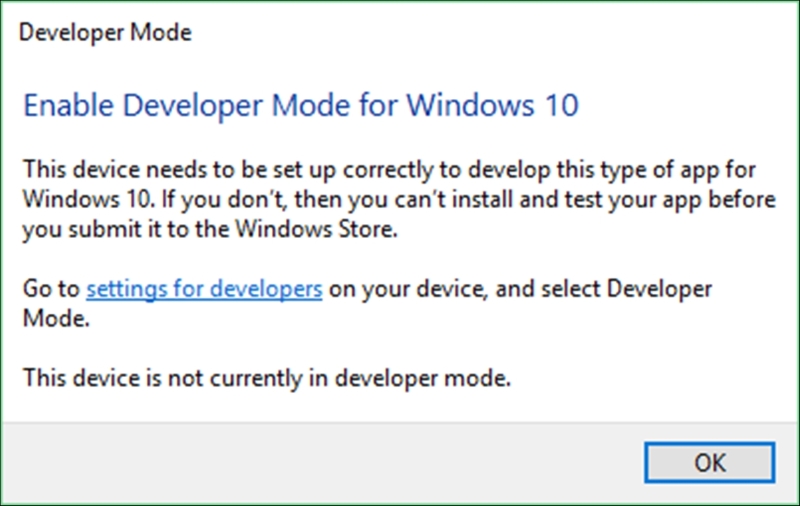
- Project creation can take a few minutes to complete. Along the way, you might see a message telling you that Developer Mode is not enabled for Windows 10 (assuming you are running Windows 10):
- Enabling this is easy enough. You can click on the settings for developers link in the message that popped up, or you can type in
Developer modein the Find a setting search box in Windows 10 Settings: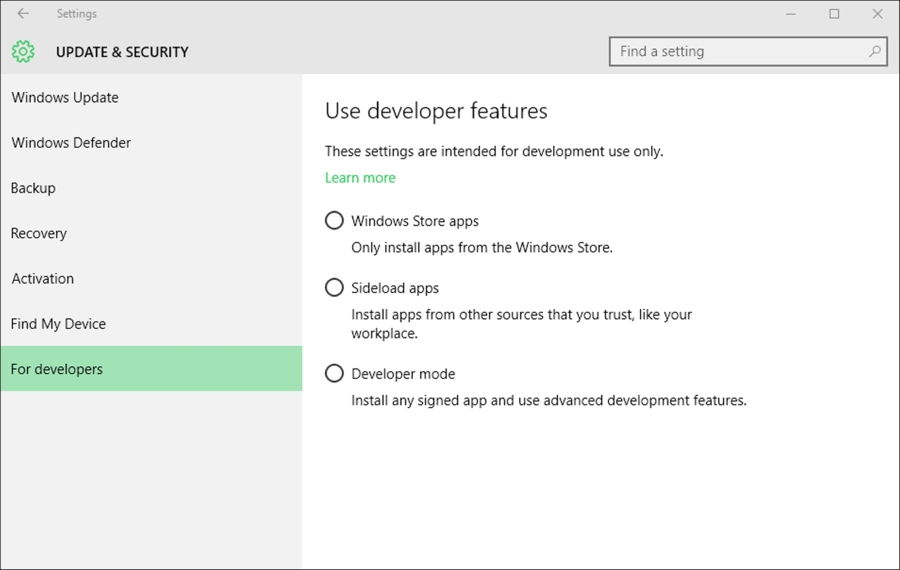
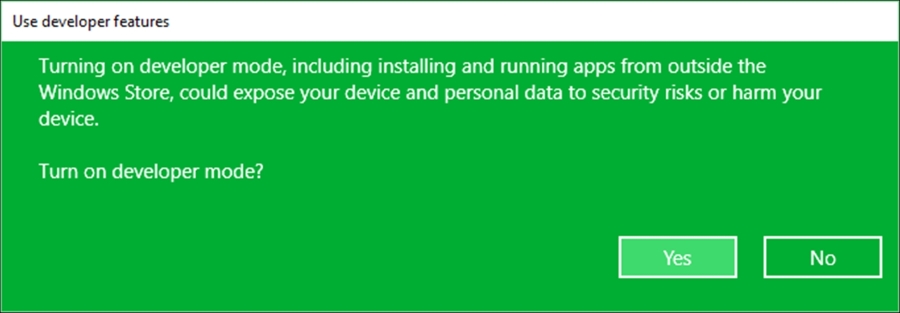
- Clicking on the Developer mode option will display the Use developer features confirmation dialog. Just click on Yes to continue:
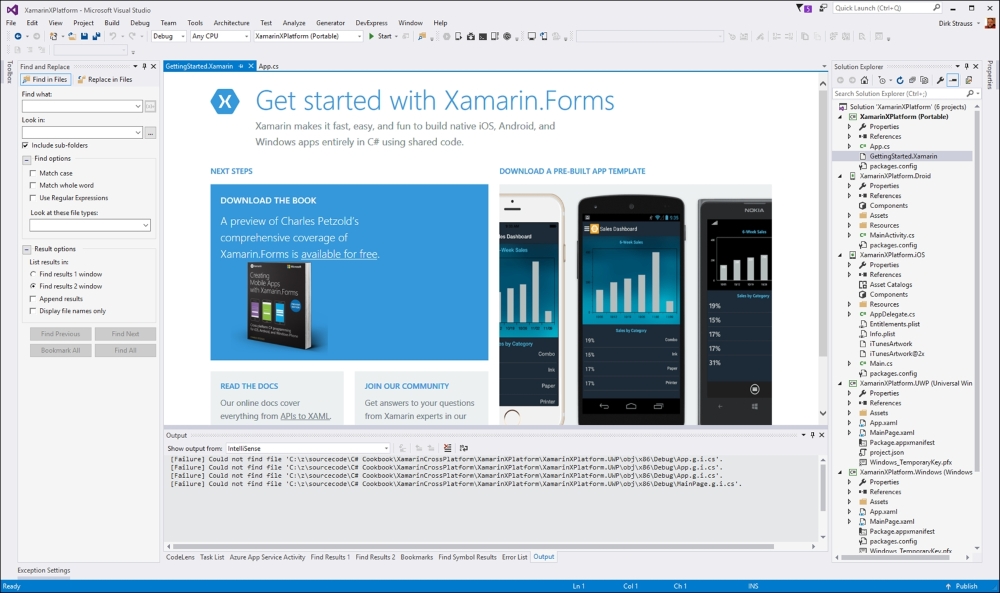
- After the project is created, you will be presented with a Get started with Xamarin.Forms screen:
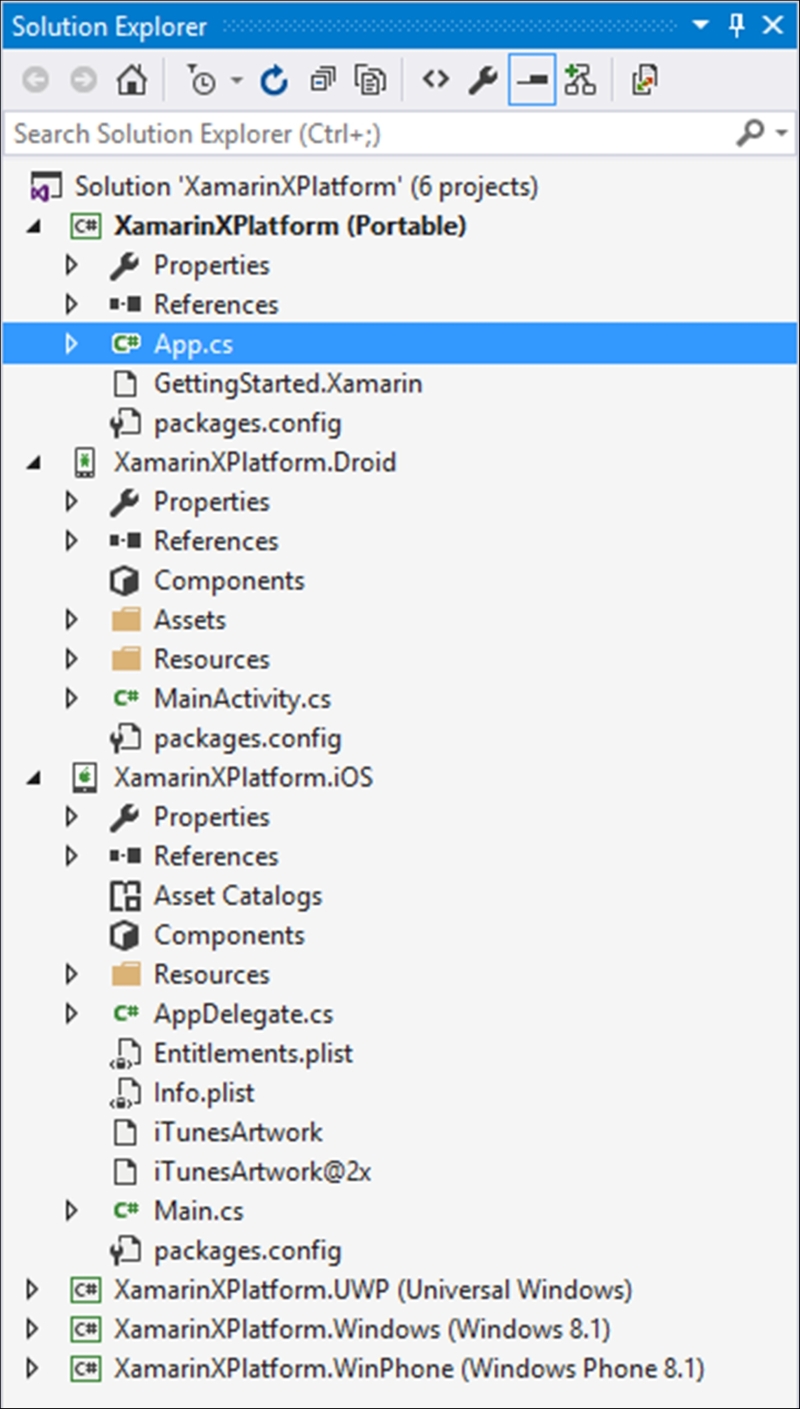
- Looking at your Solution Explorer you will notice that several projects have been created. We will only focus on the iOS project:
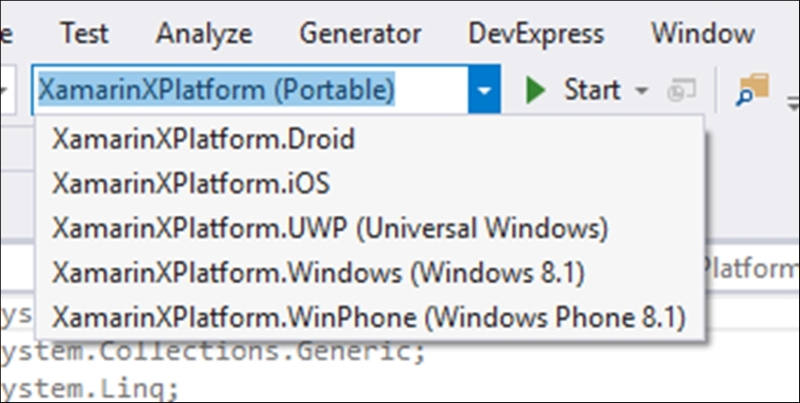
- Taking a look at the debug targets, you will notice that as you change your target to Droid, for example, the Android project is set as the start-up project. The same happens if you set it to iOS:
- As it stands now, before you can go ahead and debug your iOS application, you need to connect Visual Studio to the Xamarin Mac Agent on your Mac. In Visual Studio, hover over the Xamarin Mac Agent button on the iOS toolbar. It will show as disconnected:

- To connect to the Xamarin Mac Agent, click on this button. The Xamarin Mac Agent Instructions window will be displayed. You can follow the instructions on this screen, which are as follows:
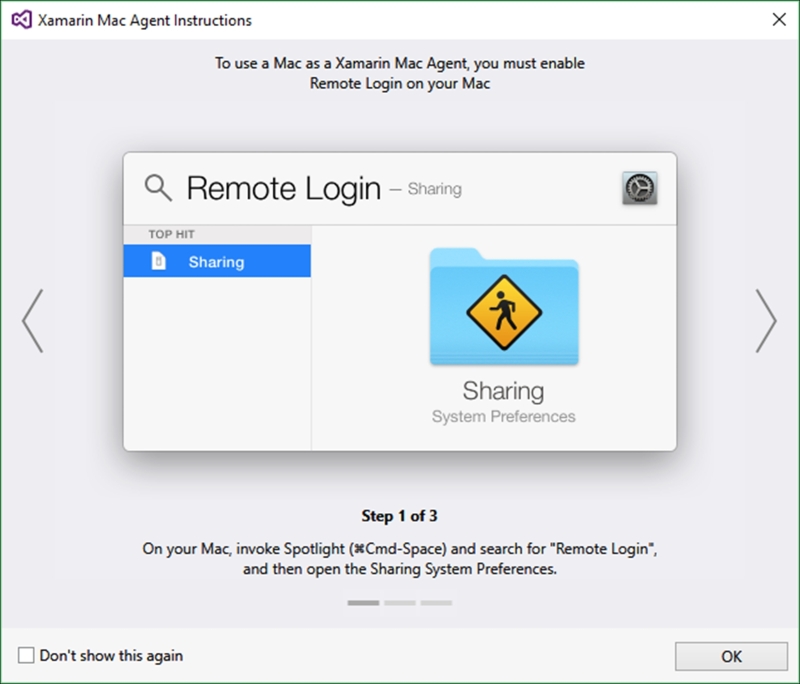
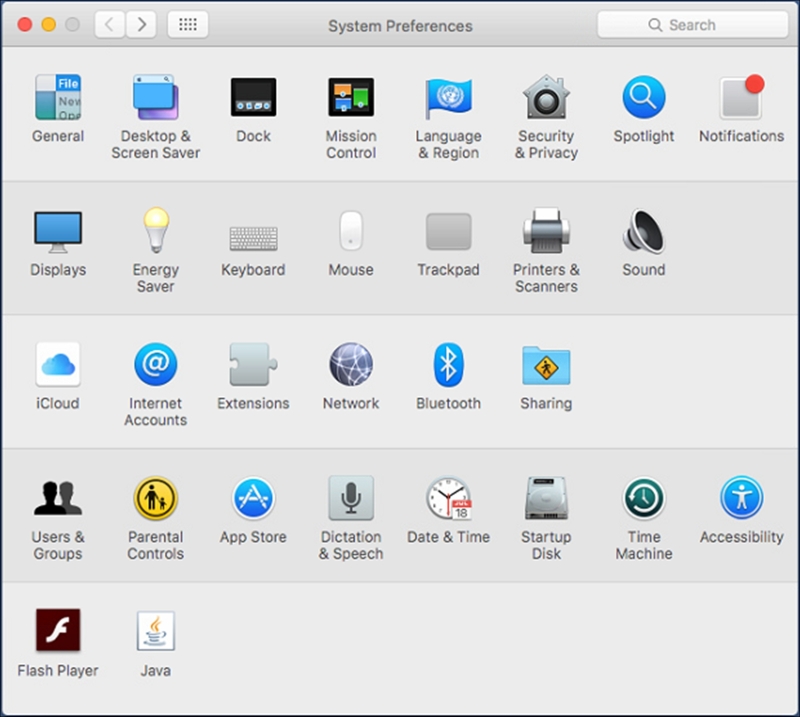
- On your Mac, open up System Preferences. Look for and click on the Sharing icon:
- This will display the Sharing window. Select Remote Login from the menu on the left and, under Only these users, select or add your current Mac user to this list:
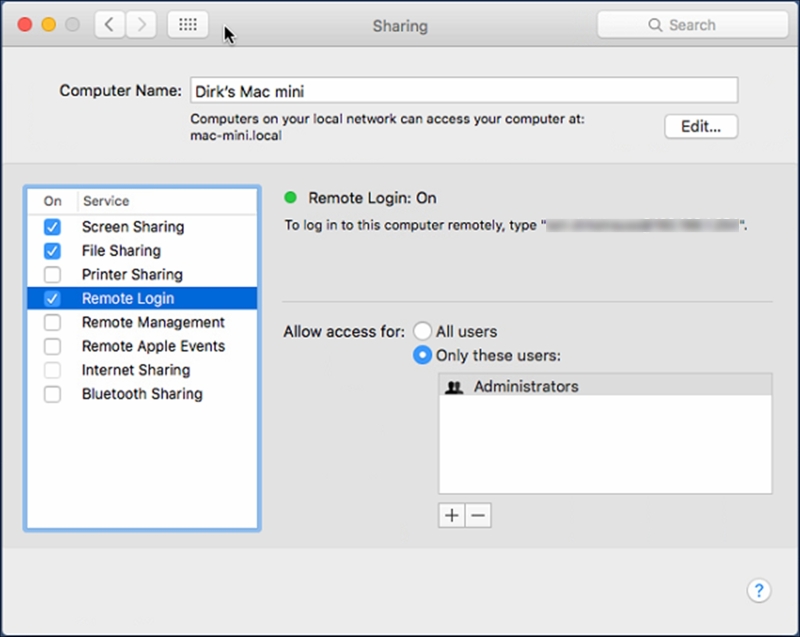
- When you have added your current Mac user to the Remote Login list, click the back button to return to the previous screen. Then look for and click on Network:
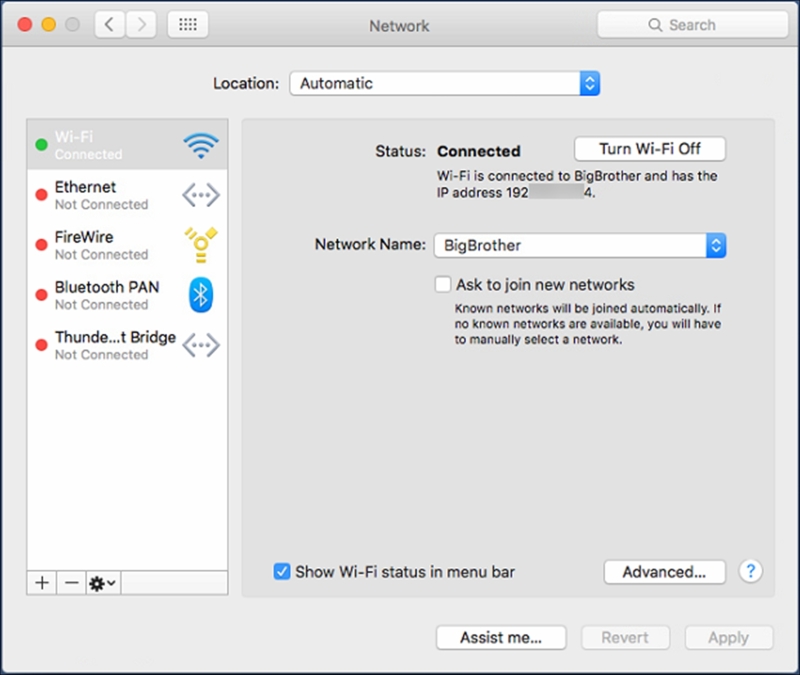
- This will open up the Network screen. Look where it shows the current status as Connected. Underneath that, you will see an IP address. Make a note of the IP address displayed, because you will need to use it to connect Visual Studio to the Xamarin Mac Agent:
- Back in Windows, in Visual Studio click OK to dismiss the Xamarin Mac Agent Instructions screen. The Xamarin Mac Agent screen will now be visible. At the bottom of this screen, click on the Add Mac… button:
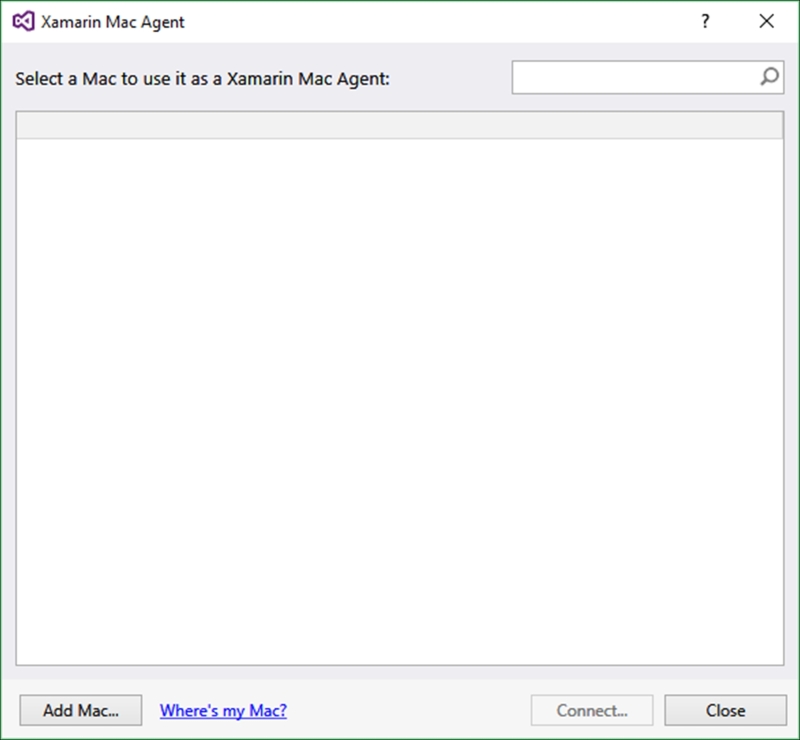
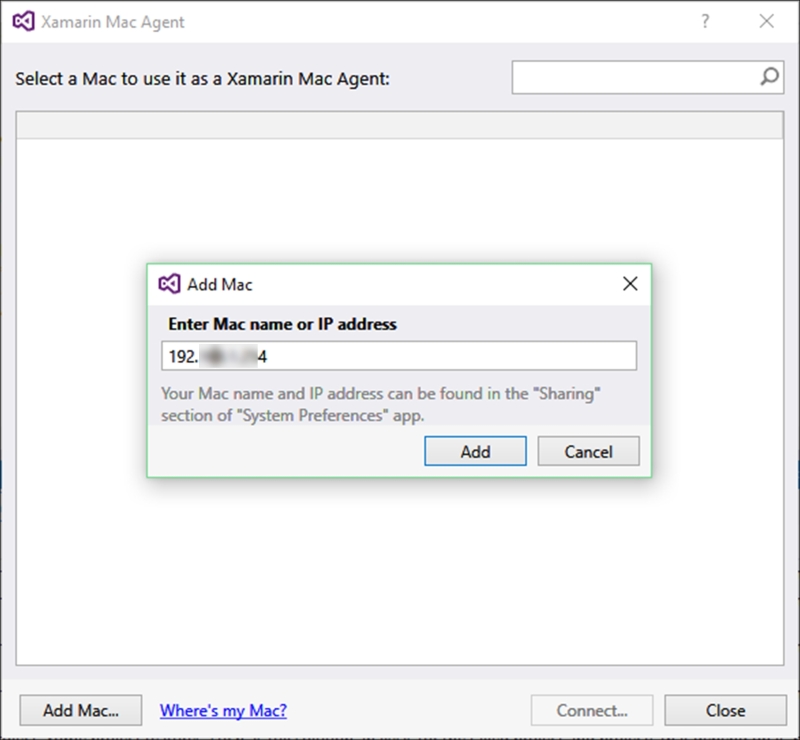
- This will display the Add Mac screen, where you need to enter the IP address you noted from the Network screen in your Mac's System Preferences. Click on the Add button:
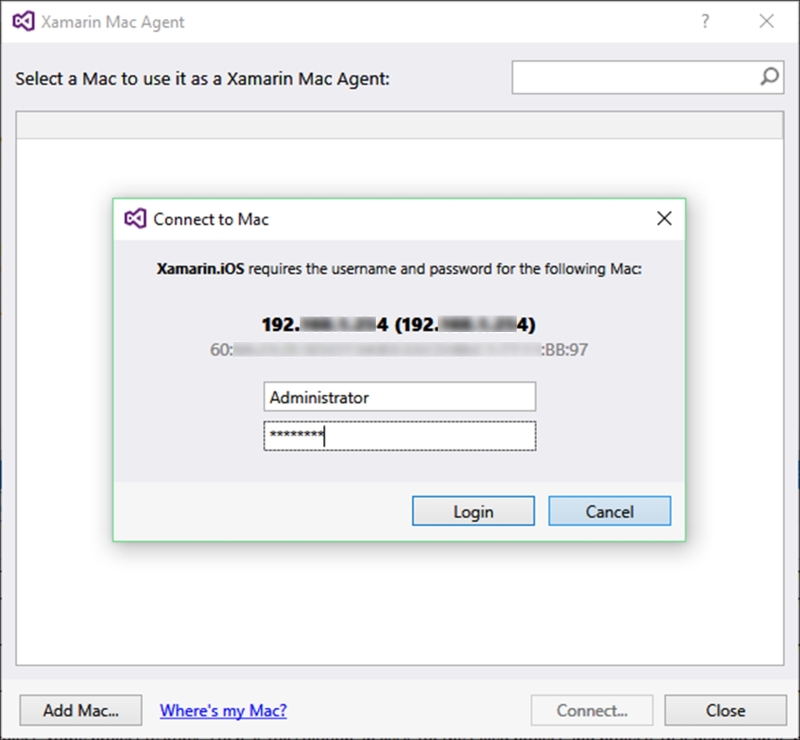
- You will now be asked to provide the username and password for the Mac user you added on the Remote Login screen earlier. Click on the Login button:
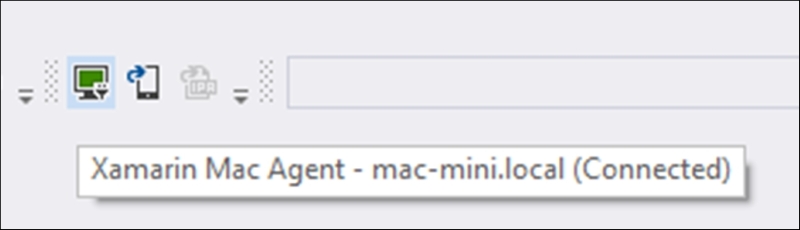
- After clicking Login, you should automatically be connected to your Xamarin Mac Agent from Visual Studio:
- You can now select the iOS device you want to debug on. As you can see, there are a wide variety of iOS devices to choose from:
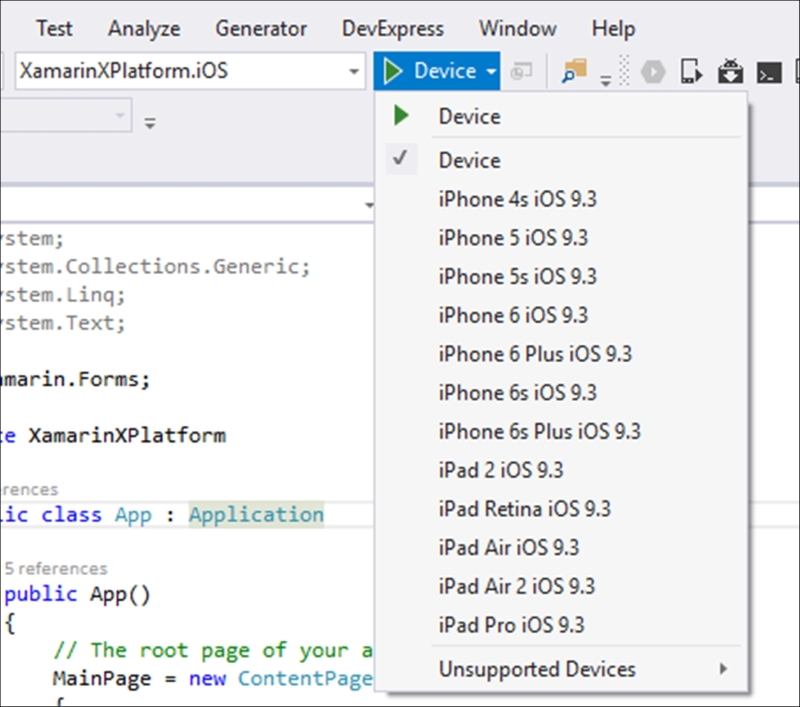
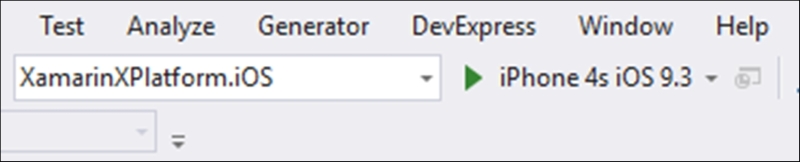
- For the purposes of this recipe, we have just chosen an iPhone 4S iOS 9.3. Click on the Debug button to start the app:
- This will now build your application and send that information over the network connection to the Xamarin Mac Agent. This will then fire up the simulator on your Mac. The first time you do this, it might take a few minutes to spin up the simulator, but once it is done, successive debug sessions will go much quicker:

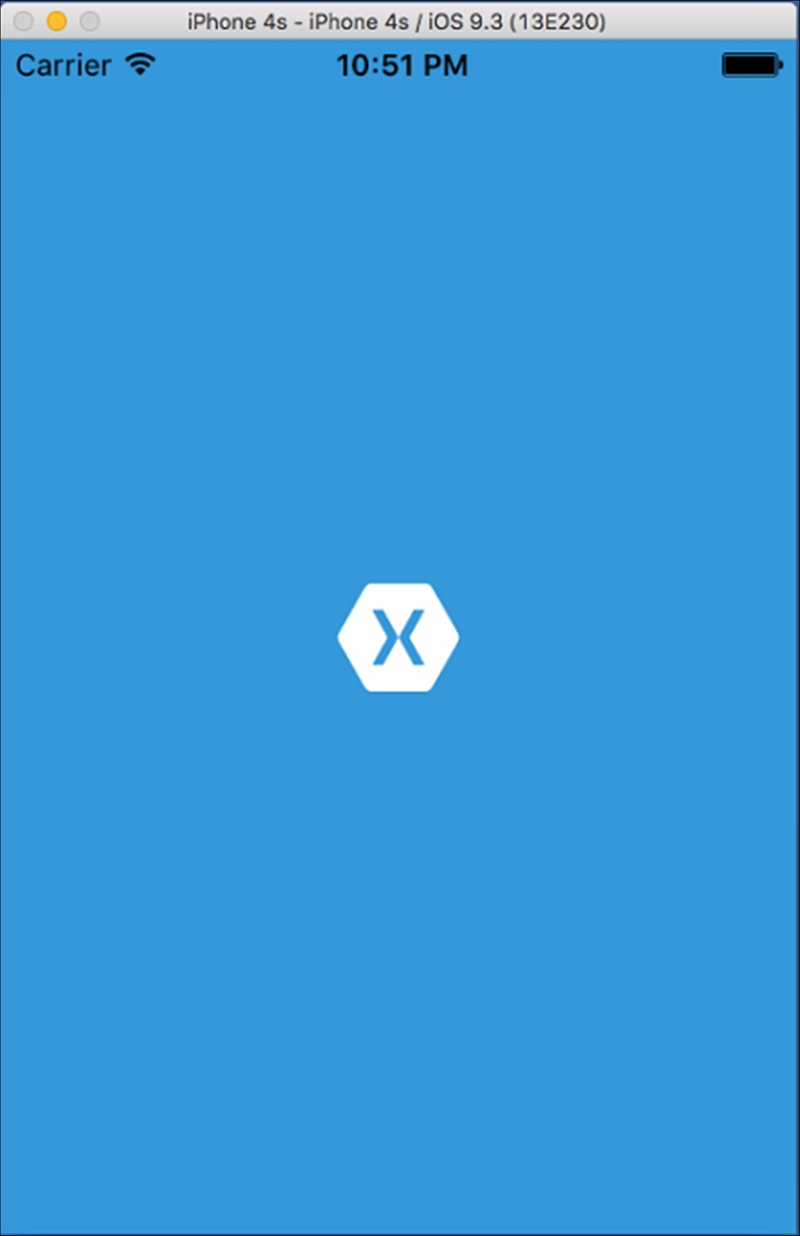
- After the simulator is started on the Mac, the Xamarin application will be launched:
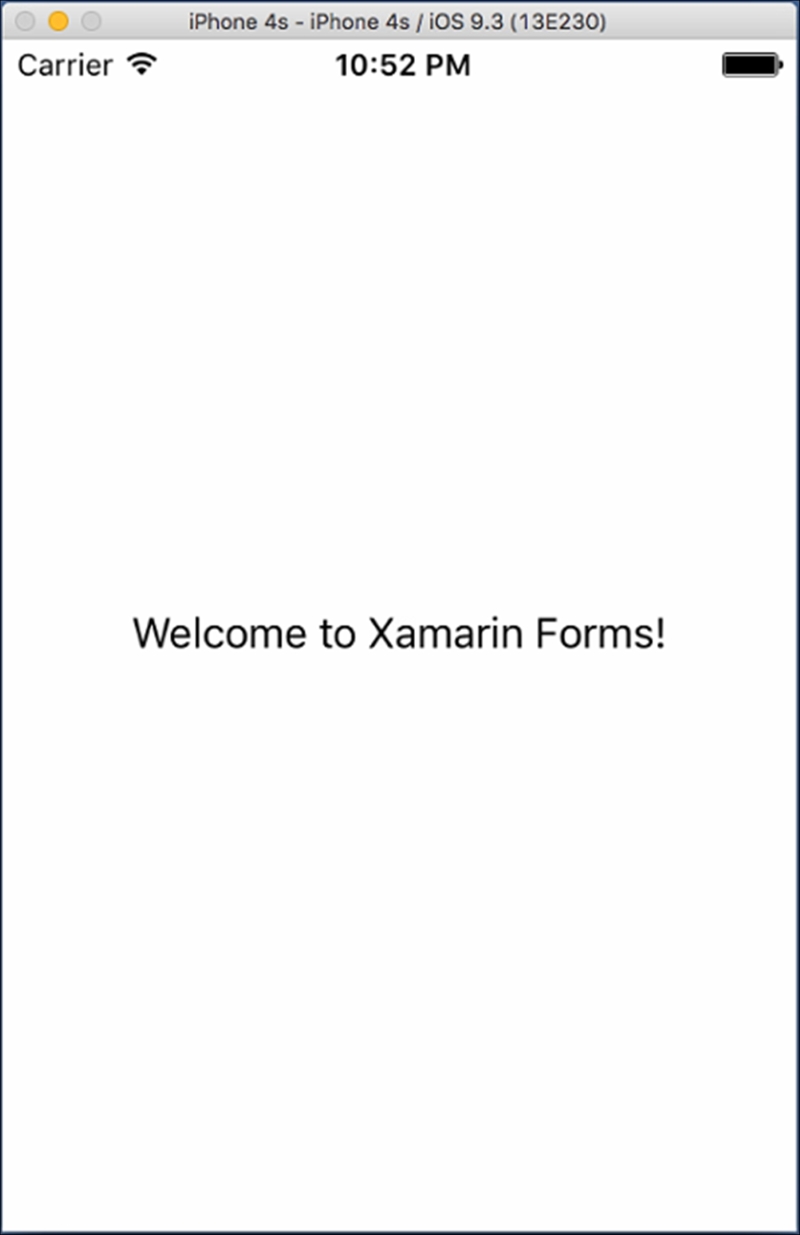
- When the Xamarin splash screen closes, you will see the Welcome to Xamarin Forms! text:
- Back in Visual Studio, stop debugging. You will notice that the app closes in the simulator app on the Mac, and that debugging stops in Visual Studio. The simulator, however, remains open on your Mac.
Now let's change some text. Look at the portable project in your Visual Studio solution. This is the shared project that all the other projects in the solution will use. In the portable project, click on the
App.csfile: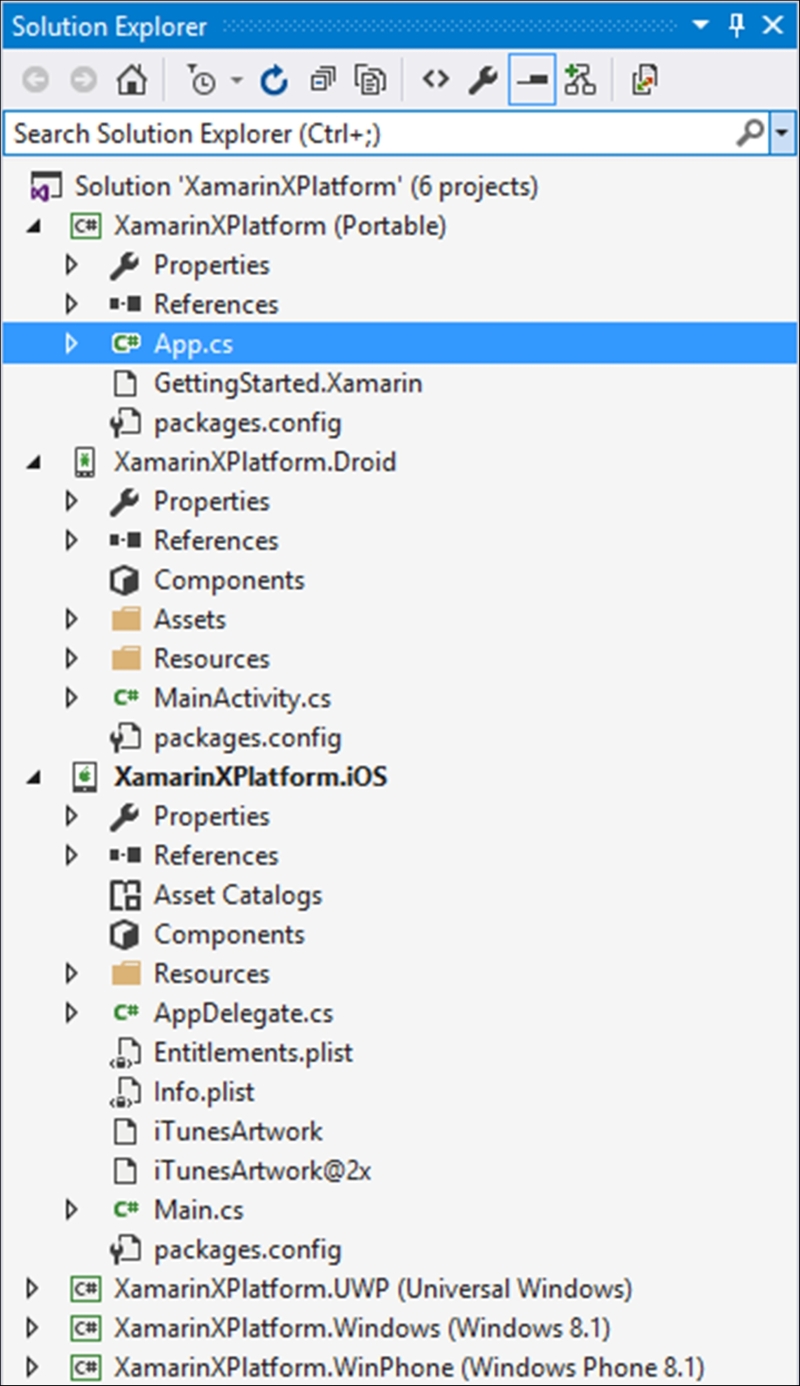
- The default code is displayed. Here you can see the
Welcome to Xamarin Forms!text we saw in the application we debugged earlier: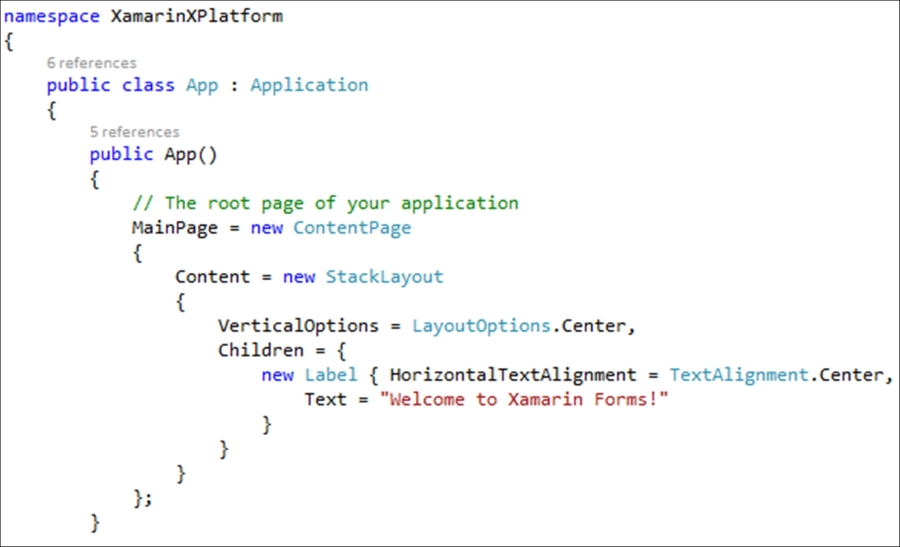
- Change the code to look as follows. All we are doing is adding the date and time. A few things to note here are:
- We are using the standard .NET
DateTimelibrary here - We are using string interpolation to create our text to display on the form:
MainPage = new ContentPage
{
    Content = new StackLayout
    {
        VerticalOptions = LayoutOptions.Center,
        Children = {
            new Label { HorizontalTextAlignment = TextAlignment.Center,
                Text = $"Welcome to Xamarin Forms! The date is {DateTime.Now}"
            }
        }
    }
};
- We are using the standard .NET
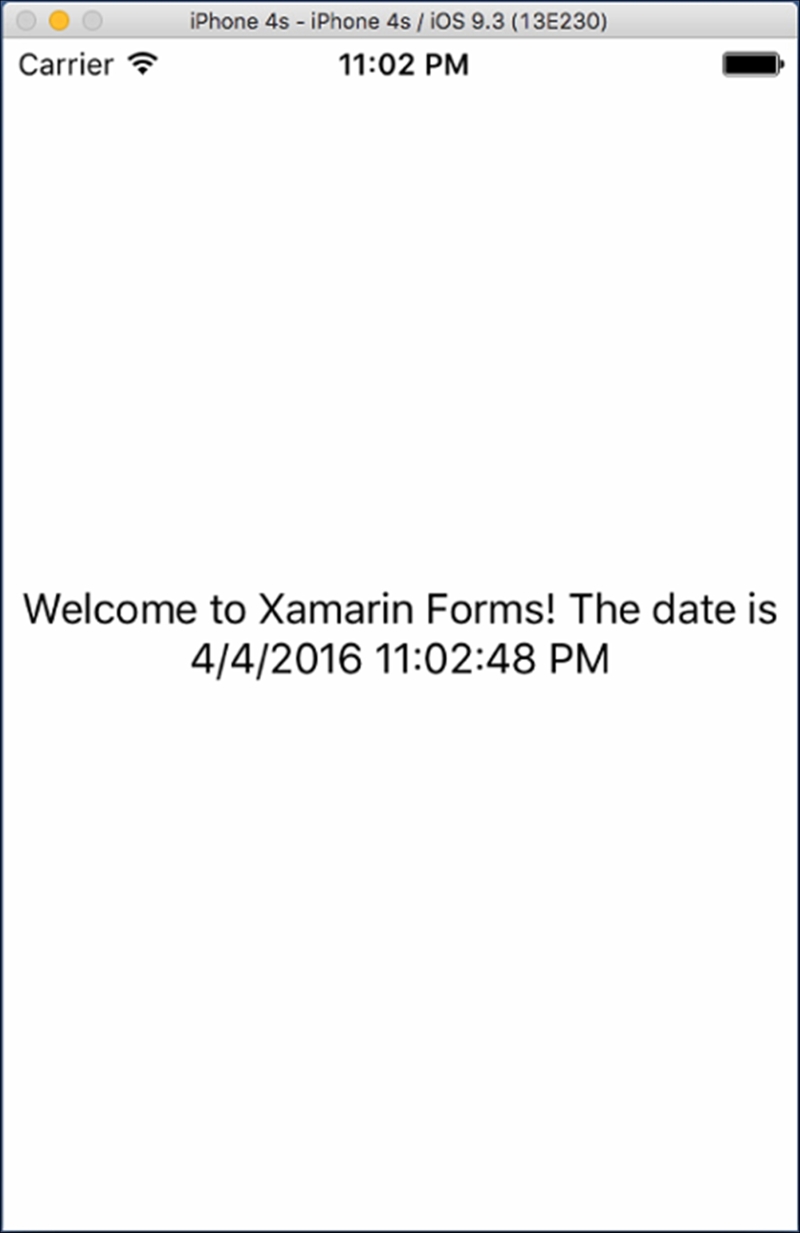
- When you have done that, debug your application again. When the simulator displays your iOS application on the Mac, you will see that the date and time are shown:
One thing to note is that we are not doing anything different here than we would do in any other standard .NET application. We are writing C# code and compiling it to run on an iOS operating system. We can also easily change the application to debug on any iOS device. We didn't need to learn Objective-C or Swift (although Swift is an awesome language and well worth learning). We also didn't need to get to grips with learning a new IDE (Xcode, which is used to develop iOS and Mac applications). We didn't have to tweak any constraints, modify any playground elements, or learn how to use any new controls. Xamarin Forms and Visual Studio take care of all of this for us out of the box. Best of all, Xamarin is now free with Visual Studio. There is no reason why you shouldn't try your hand at writing an iOS application.