
Thruk is a web interface with a mix of AJAX and the classic interface. It also uses CGI scripts and has similar views to what we saw earlier. One advantage with Thruk, as mentioned earlier, is that it can connect to multiple Icinga cores.
Suppose we have two Icinga monitoring servers that monitor different sets of networks for some reason. In this case, we will have two Icinga Classic interfaces that we would need to keep checking. Instead, Thruk can connect to both these servers and show all of the information in one interface. This happens via the MK Livestatus broker module available for Nagios, which can be used with Icinga without any change.
We need to install livestatus on all the monitoring servers. The package installs a livestatus.o object file that needs to be loaded into Icinga. This is achieved with the following option in icinga.cfg:
event_broker_options=-1
broker_module=/usr/local/lib/mk-livestatus/livestatus.o /var/lib/icinga/rw/live
Such a configuration tells Icinga to load the livestatus broker module. This module provides a Unix socket file at the specified location (/var/lib/icinga/rw/live here). This socket file can be bound to a TCP socket using xinetd and unixcat and then served over the network. For example, the xinetd configuration for this is as follows:
service livestatus
{
  type          = UNLISTED
  port          = 6557
  socket_type   = stream
  protocol      = tcp
  wait          = no
  cps           = 100 3
  instances     = 500
  per_source    = 250
  flags         = NODELAY
  user          = icinga
  server        = /usr/bin/unixcat
  server_args   = /var/lib/icinga/rw/live
  disable       = no
}
Now, this Unix socket is now accessible at TCP port 6557.
A remote Thruk installation can now connect to this TCP port and read the Icinga monitoring information it needs to show on the web interface. After installing the thruk package, we need to configure the same htpasswd file for authentication. The easiest way is to copy Icinga's original htpasswd file (or make a symlink to it) in place of Thruk's configured path for the same file that is obtained from Thruk's apache configuration /etc/httpd/conf.d/thruk.conf. Another way is to change the path to the htpasswd file in this configuration.
Now, we need to configure the backend (peer, in Thruk's terminology) that we want to connect to in Thruk. Add the following lines in /etc/thruk/thruk_local.conf depending on your Icinga server backends:
<Component Thruk::Backend>
  <peer>
      name   = Icinga 1
      type   = livestatus
      <options>
          peer   = 172.16.0.2:6557
     </options>
  </peer>
  <peer>
      name   = Icinga 2
      type   = livestatus
      <options>
          peer   = 172.16.0.3:6557
     </options>
  </peer>
</Component>
Thruk will connect to the two configured peers at the specified address and port.
Reloading the web server will load Thruk. Open the address where Thruk is installed in a web browser; Thruk is available under the /thruk HTTP path. We should get a screen similar to the following:
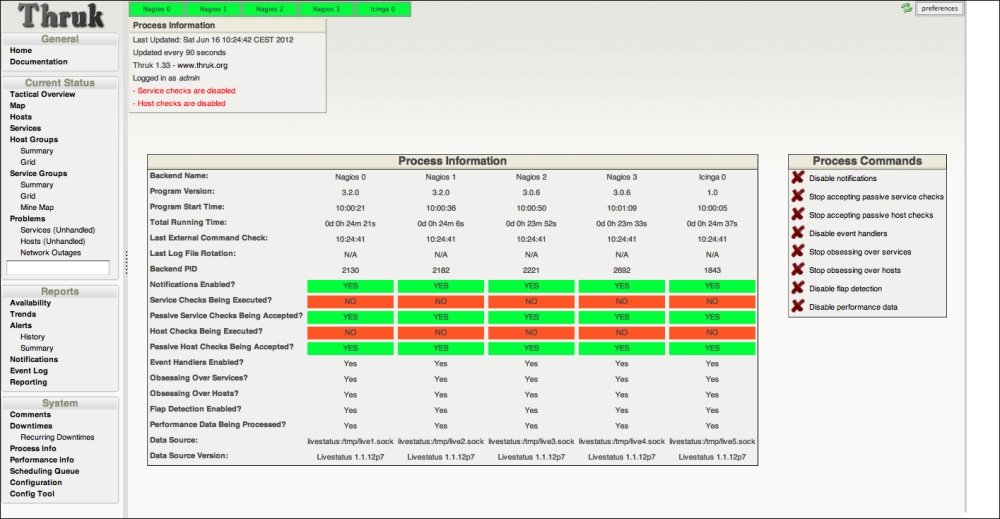
Thruk
As we can see, Thruk has a similar navigation bar with similar views. The row with green cells at the top lists the configured peers. This particular example screenshot has five different peers.