
CONCEPT DEVELOPMENT
You can use any of the techniques in this chapter in the concept-development process, in isolation or in combination with one another. The order in which you use them is flexible. It is an interactive process with the pre-production phase (to be discussed in Chapter 5), as sourcing elements will dictate some aspects of the concept and how the images will be executed.
The exercise below is one workflow technique that integrates the tools I’ve discussed in this chapter to generate a well-developed concept. The right page illustrates the intersection of pre-production and concept-development workflow using my Aspect Medusa shoot as an example.
EXERCISE
Spend 20 minutes writing by hand on paper, stream-of-consciousness style, knowing that what you write is never to be read by anyone. The important thing is to keep pen to paper, even if you are just writing that you don’t know what to write.
Place one word—the first word that comes to mind after you have completed your writing exercise—in the center of a new piece of paper. This is your central concept.
Free-associate using the brainstorming method to generate a list of adjectives and abstractions representing the central concept. Evolve into a series of nouns or visually symbolic items for the ideas on your map.
Previsualize your image, and put your ideas into words by writing a short description of your concept or plan based on the map you created.
CREATE YOUR MOOD BOARD.
The next step is the pre-production phase (coming up in Chapter 5), where you generate an action plan, organizing all of the elements you will need to make your ideas a reality.

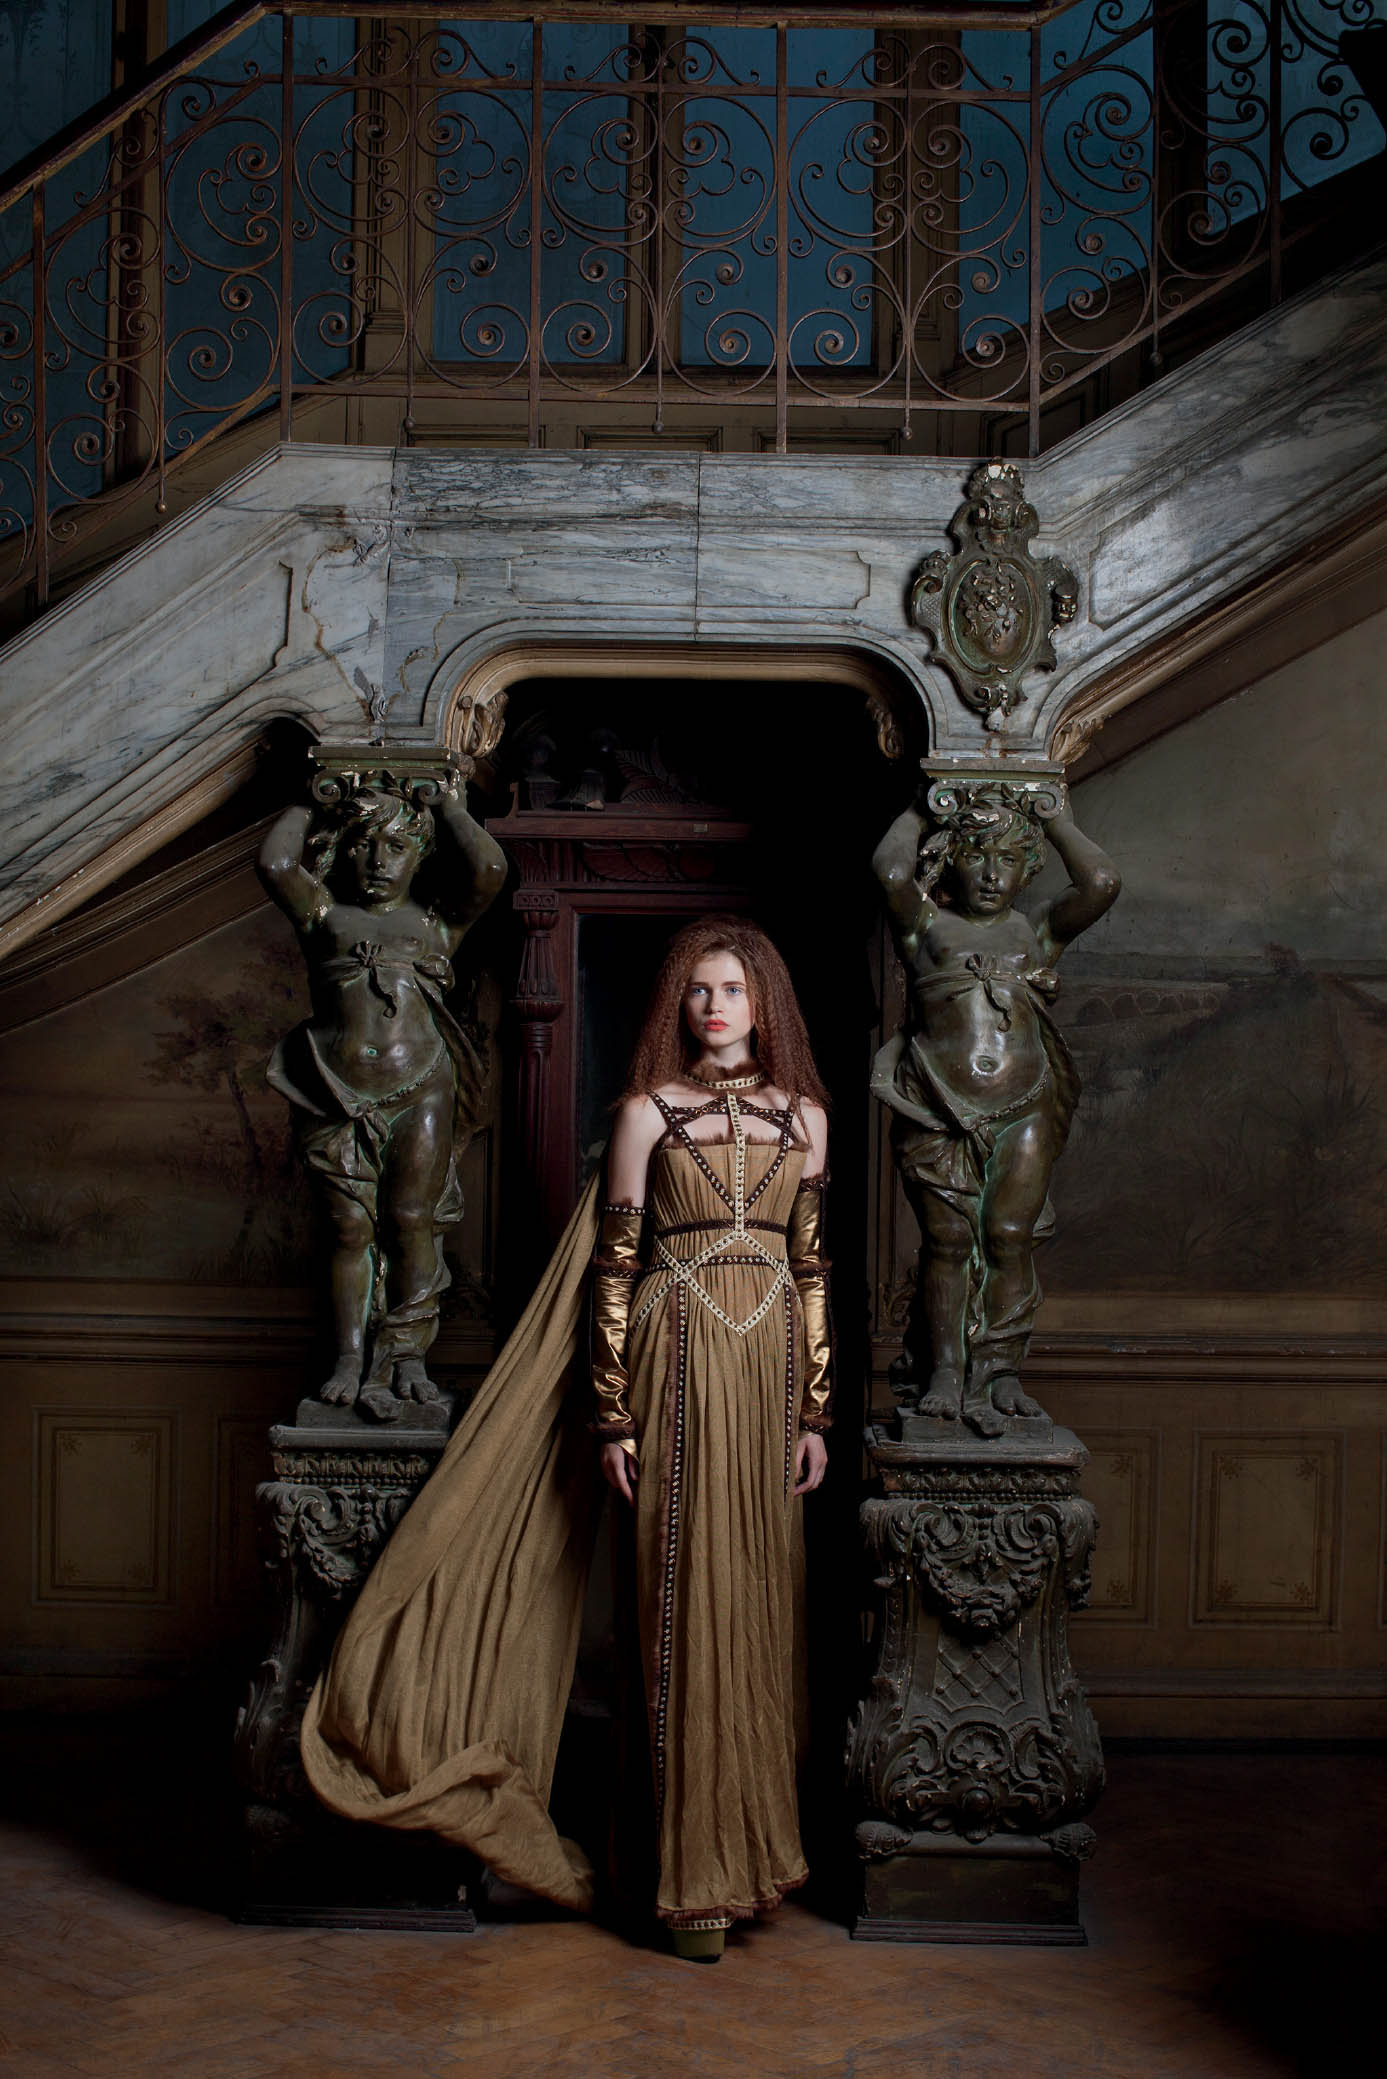
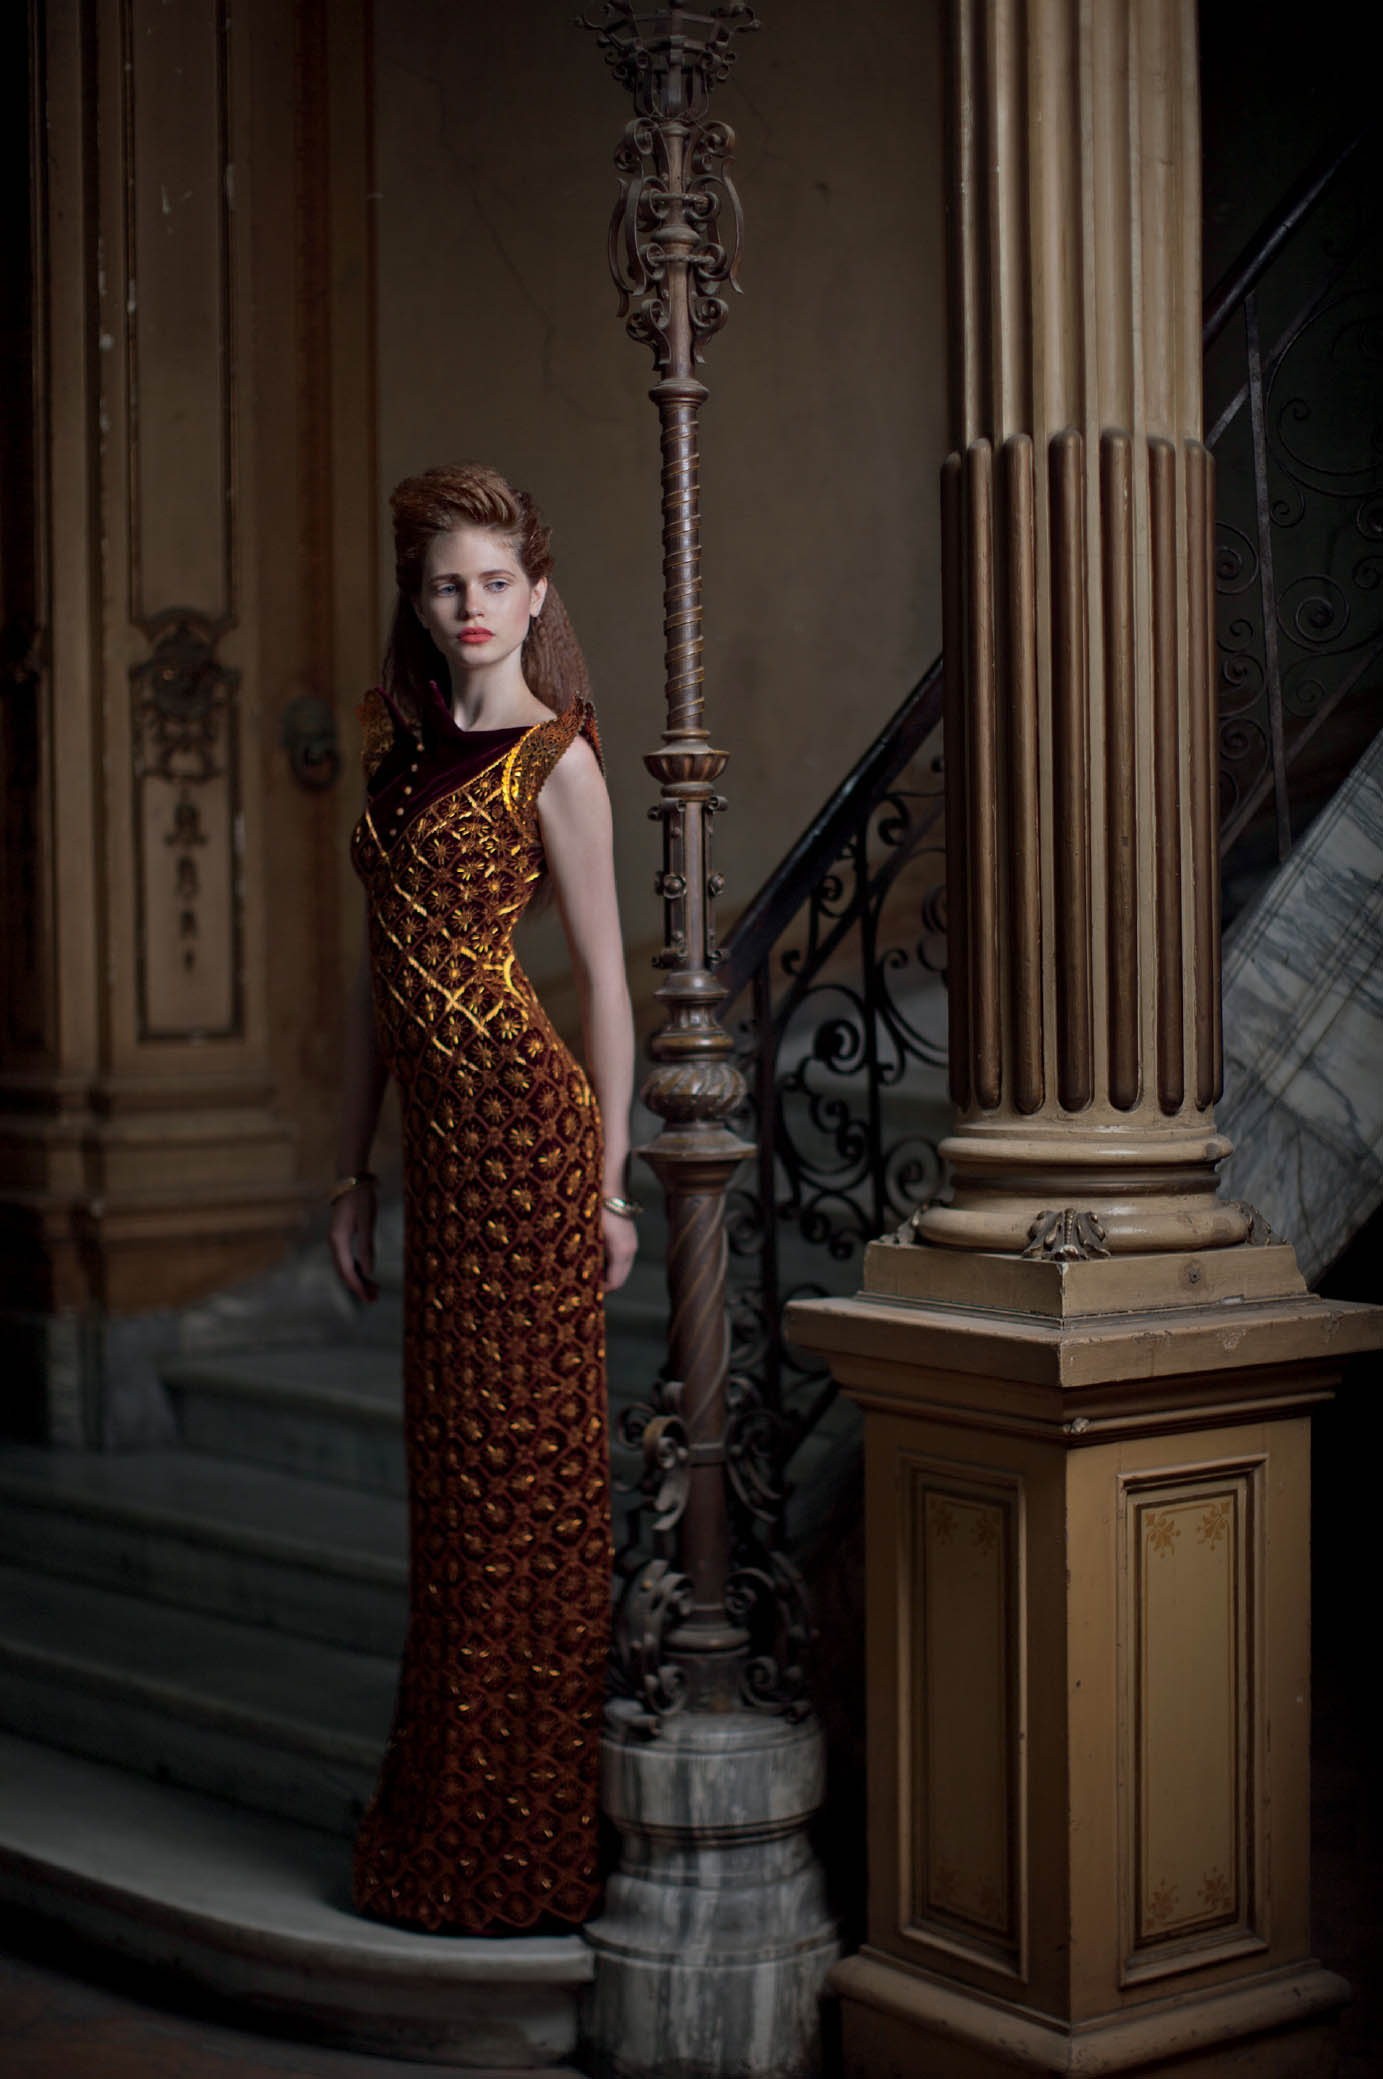
ASPECT MEDUSA
(2013)
(Here and following page)
Results of the fashion test shoot in Bucharest, Romania. Credits: Marta of MRA Models, Raluca Racasan (styling), Alex Claudiu Sarghe (hair), Irina Selesi (makeup), Institutul de Arheologie (location), Cristian Movila (producer).
trigger › trip to ROMANIA
Bucharest
research & resources
- - meet Cristian through Ron
- - location scouting
- - Cristian introduction to Elle Romania photo editor
- ›connects to stylist and modeling agency
- ›stylist arranges hair & makeup
development & pre-production
- - decide on location
- - free write › brainstorm / mind map › mood board
- - share with team › cast model › source wardrobe
- - sketches for shot list
execute
The Creative Process Illustrated: How Advertising’s Big Ideas Are Born (2010), W. Glenn Griffin
![]() RECOMMENDED VIEWING
RECOMMENDED VIEWING
“Changing Education Paradigms” (2011), Sir Ken Robinson for TED Talk