
As mentioned in the previous chapter, colliders are among one of the main components of Unity3D. Using colliders, we define a shape for the object that helps in collision detection. In this chapter, we will learn about colliders. We will learn about the following topics:
- Primitive colliders and their implementation
- Nonprimitive colliders and their implementations
- Uses of Trigger Colliders
- Editing Polygon Collider 2D
Let's have a look at the primitive and nonprimitive colliders in detail.
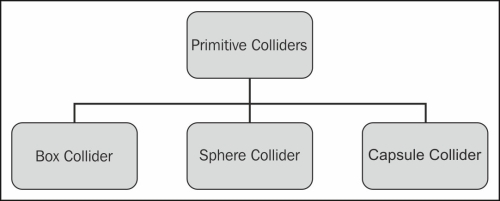
Primitive colliders are basic colliders or, in other words, we can say that these colliders are the earliest of their kind. There are three primitive colliders in Unity3D, and apart from these three colliders, Unity also provides Mesh Collider, which helps us when we need to provide a collision shape for a complex shape.
As shown in the following figure, there are three primitive colliders: Box Collider, Sphere Collider, and Capsule Collider.
We will learn the uses and types of primitive colliders in detail with examples.
Box Collider contains the cube shape and can be implemented for cube-shaped game objects, such as boxes, walls, and doors, that resemble the shape of a cube.
Here, we will see how we can implement Box Collider in the following scene by performing the following steps:
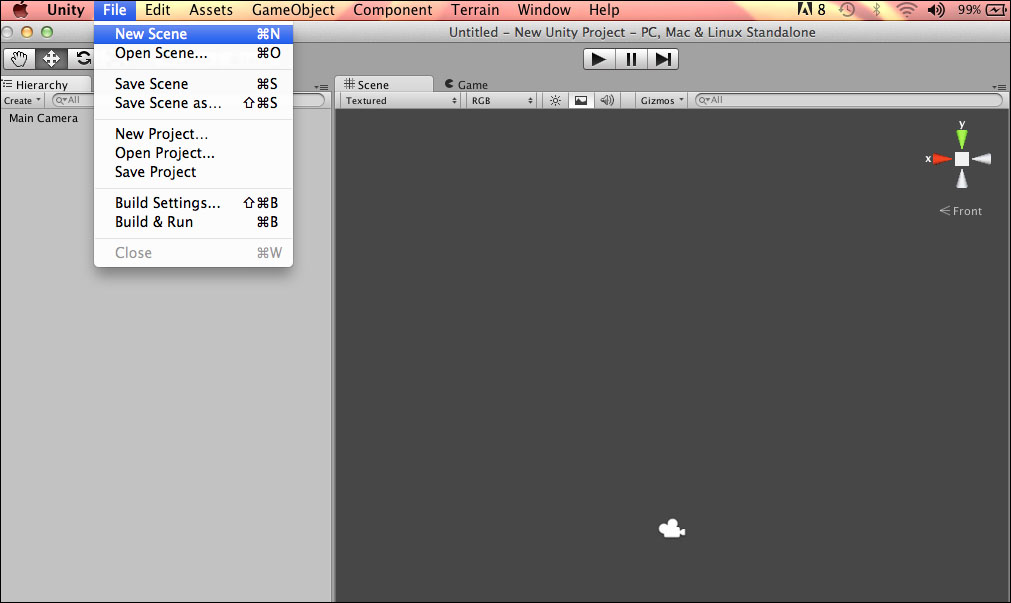
- Let's create a new scene as shown in the following screenshot:
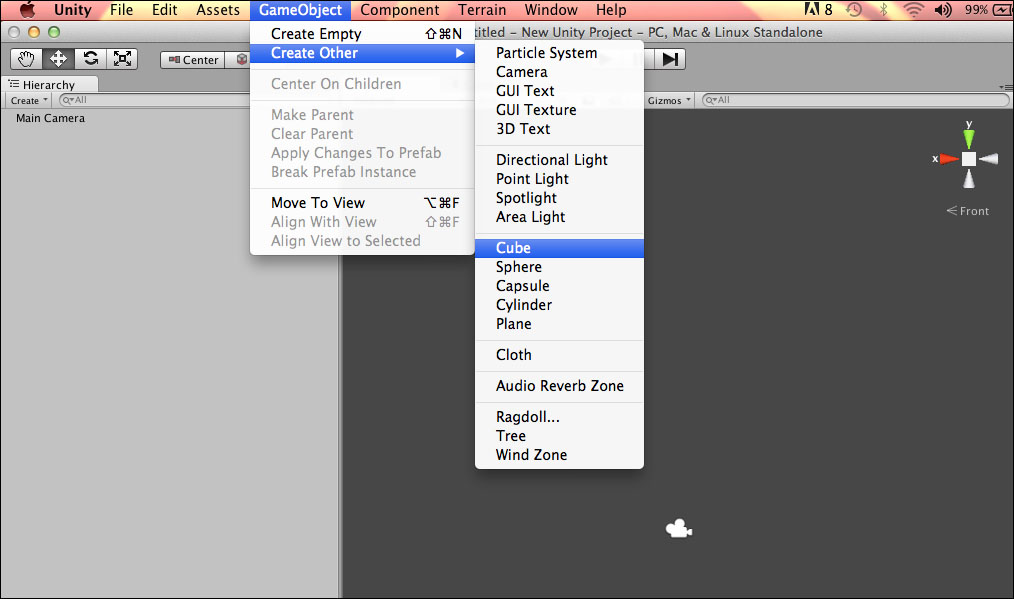
- Select the Cube option by navigating to GameObject | Create Other as shown in the following screenshot, and then open the Inspector panel:
- In the following screenshot, you will see the Box Collider checkbox inside the Inspector panel; make sure it is checked:
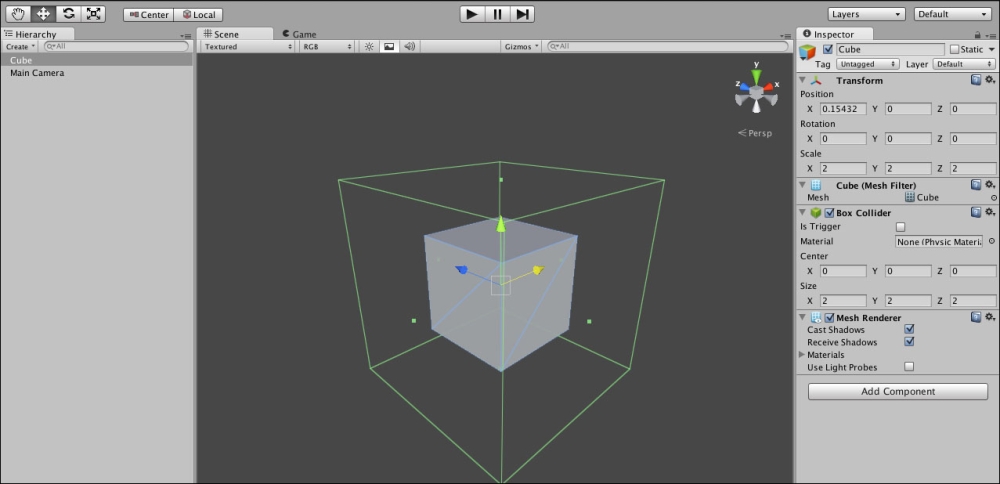
- In the Inspector panel, select the Is Trigger checkbox to make it trigger the collider and fire trigger events.
- We can decide its shape and size using the dimension here; it should be relative to the game object transform and size.
In the previous example, we learned how we can implement Box Collider for cube-shaped objects.
For a 2D game object, Unity provides Box Collider 2D to handle the collision. This collider is of the rectangle shape and can be implemented on a sprite with given dimensions and coordinates. Like the 3D Box Collider, this collider too possesses the Is Trigger and Material properties along with the Size and Center properties.
For game objects that have the shape of a sphere, we use Unity3D's Sphere Collider.
Here, we will see how we can implement Sphere Collider in the scene using the following steps:
- Create a new scene.
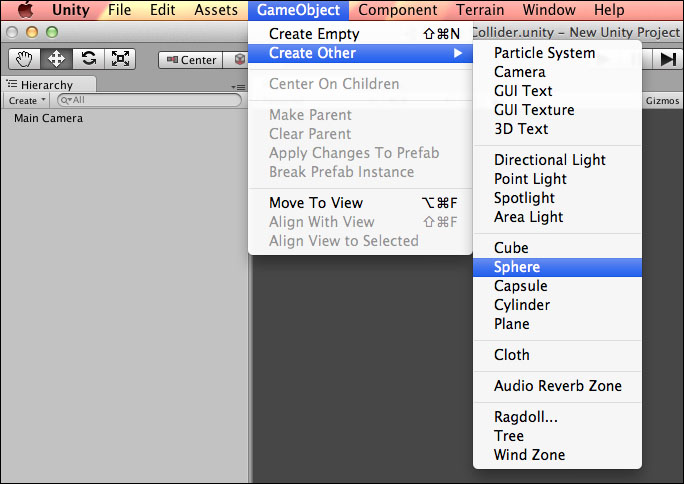
- As shown in the following screenshot, go to GameObject and select Create Other where you will get a drop-down list; now, select a Sphere game object and open the Inspector panel:
- Inside the Inspector panel, you will see Sphere Collider; make sure Sphere Collider is checked:
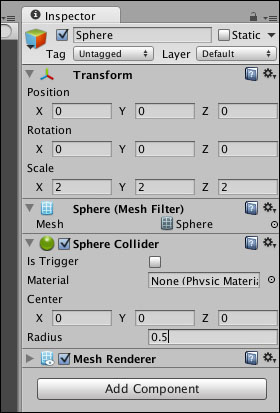
- In the Inspector panel, check Is Trigger to make it trigger a collider and fire trigger events.
- We can decide its shape and size using the dimension and radius; here, it should be relative to the game object transform and size.
For 2D objects, we implement Circle Collider instead of Sphere Collider for circle-shaped game object with a given dimension and coordinate. It has all properties which are in Sphere Collider such as Is Trigger and Radius.
Capsule Collider is used for capsule-shaped game objects. This is commonly used for creating a character game object.
Here, we will see how we can implement Capsule Collider in the scene using the following steps:
- Create a new scene.
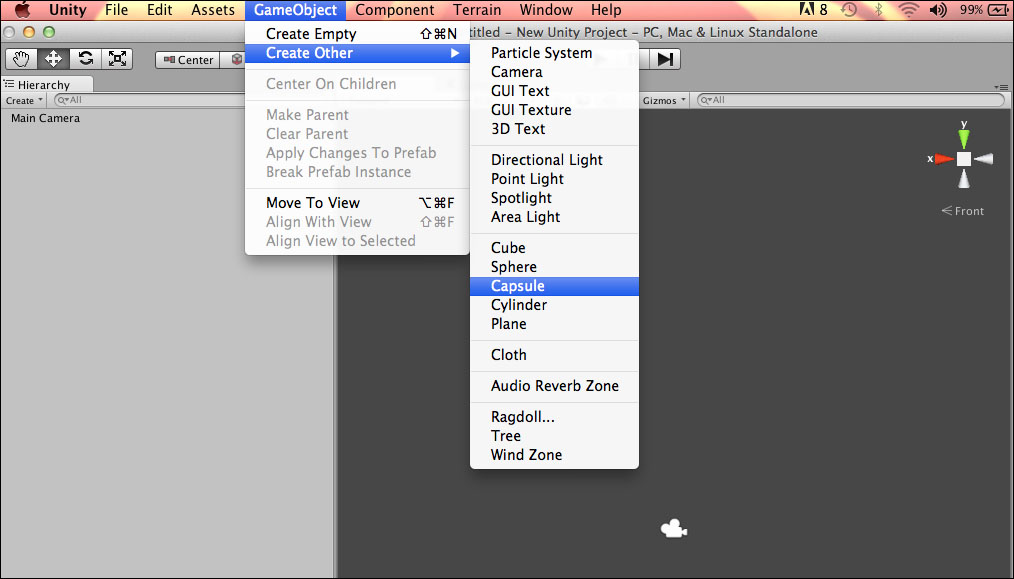
- As shown in the following screenshot, select the Capsule game object and then open the Inspector panel:
- Inside the Inspector panel, you will see Capsule Collider; make sure that it is checked.
- In the Inspector panel, check Is Trigger to make game object trigger a collider and fire trigger events.
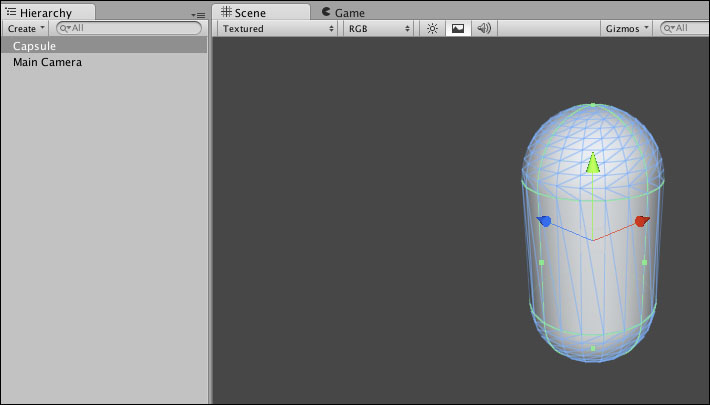
Our capsule object will look as shown in the following screenshot:
- As shown in the following screenshot, we can decide its shape and size using the dimension and radius; here, it should be relative to game object transform and size:
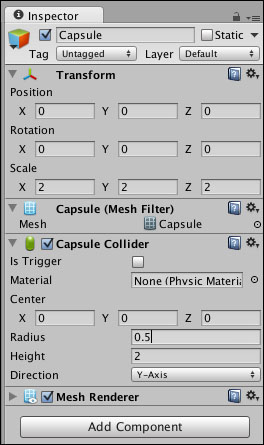
- Select Height as the length of the capsule body.
- As shown in the following screenshot, give a direction relative to the game object:
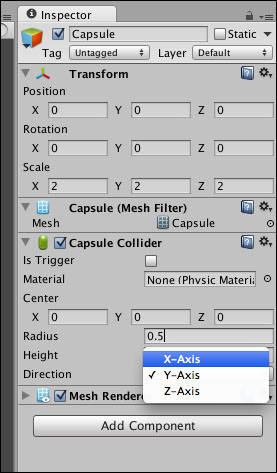
By choosing X-Axis, Y-Axis, or Z-Axis, we give a direction to the game object.
Using mesh, Mesh Collider defines the shape of a collision. Although we use it for accurate shape definition for collision, this is expensive in terms of performance. We should avoid the use of Mesh Collider, and wherever we can, use primitive collider (Box, Sphere, and so on).
Here, we will see how we can implement Mesh Collider in the scene using the following steps:
- Create a new scene.
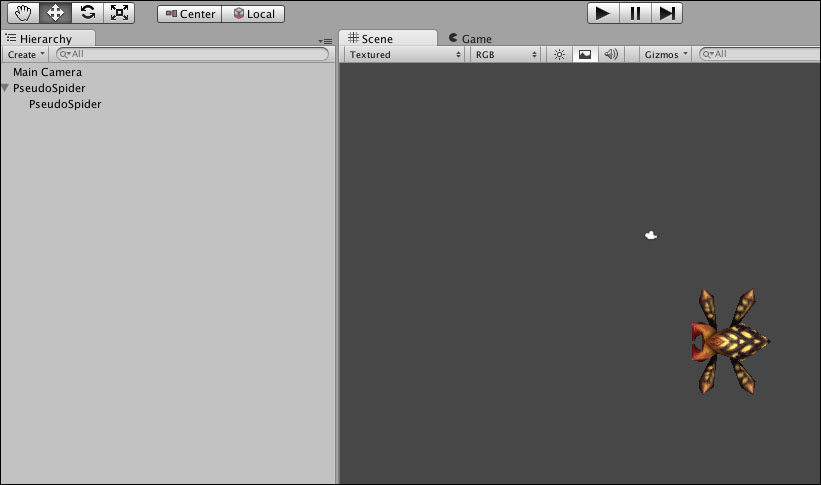
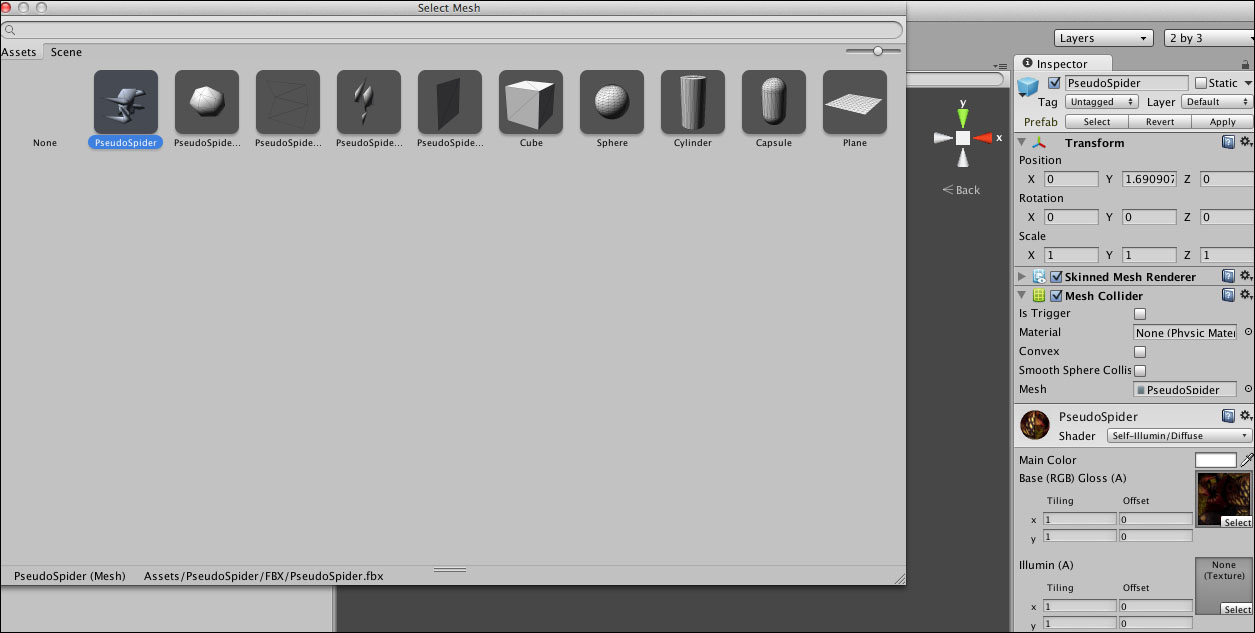
- Download or use any existing assets you have. I have downloaded a free spider asset from Unity3D's assets store.
- Import the assets in the scene; and you will see them appear in the scene. As shown in the following screenshot, you can see your spider:
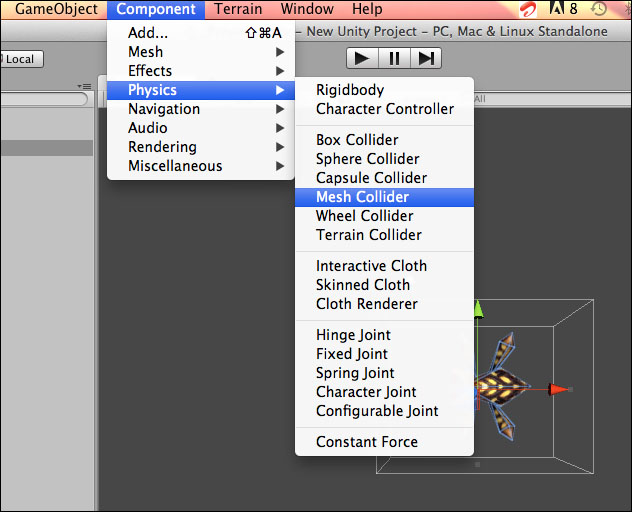
- Now, as shown in the following screenshot, we will apply Mesh Collider. Navigate to Component | Physics | Mesh Collider:
- As shown in the screenshot, select the mesh where we have to implement Mesh Collider:
- As shown in the following screenshot, in the Inspector panel, you will see a Is Trigger checkbox, which is unchecked by default. Check Is Trigger to make it trigger a collider and fire trigger events:

- We can mark Convex as true if we want this game object to collide with another Mesh Collider.
- Give a direction relative to the game object:

As shown in the preceding screenshot, by selecting the game object, we open the Inspector panel and we can give a direction.
For 2D objects where the shape of the game object is irregular, Polygon Collider 2D is used. To edit the collider shape, drag the sprite asset onto the Polygon Collider 2D component in the Inspector panel, hold the shift key and try to edit the vertex or edges.
The following steps will guide you through to implement Polygon Collider 2D:
- Create a new scene and name it
Polygon Collider 2D example. - In the Hierarchy pane, click on Create and select Sprite from the drop-down list to create an empty sprite renderer. Name this sprite renderer
Rockin the Inspector window. - By default, it will be represented by a box that is not appropriate, so we will create a Polygon Collider instead.
- Select Sprite collection and click on Open Editor.
- Select the Rock Sprite option in the Sprite Collection editor.
- Select Collider Type as Polygon.
- Switch the Sprite view option to collider edit mode.
- Double-click on an edge to add a control point. Click and drag this to position it.
Note
We can edit the polygon's shape directly by holding down the shift key as you move the mouse over an edge or vertex in the Scene view. You can move an existing vertex by shift-dragging when the mouse is over that vertex. If you shift-drag while the mouse is over an edge, a new vertex will be created at the pointer's location. You can remove a vertex by holding down the control/command key while clicking on it.
- Edit the collider until you get desired result.
This 2D collider is used where the collision shape for a 2D game object requires precision. Using this collider, a shape is made of line segments. Using the shift and control keys, we can edit the shape of the collider. We can edit Edge Collider 2D in a similar way as shown in the preceding section on Polygon Collider 2D.