
In this example, three VMs will be required to form the cluster nodes. Go through the following steps across all three VMs:
- Install the corosync, pacemaker, and cmrsh toolsets using the following code:
apt-get install corosync pacemaker crmsh

- Edit the corosync configuration file and change the bind address (bindnetaddr) to match the IP configured on the VM using the following code:
nano /etc/corosync/corosync.conf

- Enable and start the corosync service using the code shown in the following screenshot:

- After these steps have been completed on all nodes, check the status of the cluster. You should see that all three nodes have joined the cluster, as shown in the following screenshot:

Note that it says No resources. This is because, although the cluster is running and nodes have become members, no resources have yet to be configured. A virtual IP resource will be required, which is what NFS clients will connect to. A resource to control the Ganesha service will also be needed. Resources are managed by resource agents. These are normally scripts that contain a set of standard functions that pacemaker calls to start, stop, and monitor the resource. There are a large number of resource agents that are included with the standard pacemaker installation, but writing custom ones is not too difficult if required.
- As discussed at the start of this section, fencing and STONITH are essential parts of an HA cluster; however, when building test environments, it can be hard to implement STONITH. By default, if a STONITH configuration has not been configured, pacemaker will not let you start any resources, so for the purpose of this example, STONITH should be disabled with the following command:
crm configure property stonith-enabled=false
![]()
- Now that the cluster is ready to have resources created, let's create the virtual IP resource using the following code:
crm configure primitive p_VIP-NFS ocf:heartbeat:IPaddr params ip=192.168.1.1 op monitor interval=10s

From the preceding screenshot, you can see that the virtual IP has been started and is now running on node nfs1. If node nfs1 becomes unavailable, then the cluster will try and keep the resource running by moving it to another node.
Now, as we did with the previous NFS section, let's install the latest version of Ganesha by going through the following steps:
- Install the Ganesha PPA using the following code ( ganesha 2.7 was the newest release at the time of writing):
add-apt-repository ppa:nfs-ganesha/nfs-ganesha-2.7

- Using the following code, install the PPA for libntirpc-1.7, which is required by Ganesha:
add-apt-repository ppa:gluster/libntirpc-1.7

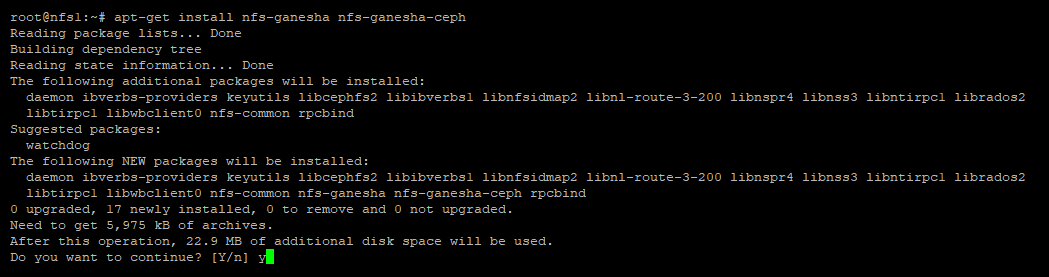
- Install Ganesha using the following code:
apt-get install ceph nfs-ganesha nfs-ganesha-ceph liburcu6
- Copy ceph.conf over from a Ceph monitor node using the following code:
scp mon1:/etc/ceph/ceph.conf /etc/ceph/ceph.conf
- Copy the Ceph keyring over from a monitor node using the following code:
scp mon1:/etc/ceph/ceph.client.admin.keyring /etc/ceph/ceph.client.admin.keyring
- Now that Ganesha is installed, the configuration can be applied. The same configuration can be used from the standalone Ganesha section, as shown in the following screenshot:

Now that all of the configuration work is completed, the pacemaker resource can be added to control the running of Ganesha using the following code:
crm configure primitive p_ganesha systemd:nfs-ganesha op monitor interval=10s
Finally, we need to make sure that the Ganesha service is running on the same node as the virtual IP. We can do this by creating a group resource using the following code. A group resource ensures that all resources are run together on the same node, and that they're started in the order in which they are defined:
crm configure group g_NFS p_VIP-NFS p_ganesha
Now, if we check the status of the cluster, we can see that the Ganesha service is now being run, and because of the grouping, it is running on the same node as the virtual IP, as shown in the following screenshot:

NFS clients should now be able to connect to the virtual IP and map the NFS share. If a cluster node fails, the virtual IP and Ganesha service will migrate to another cluster node, and clients should only see a brief interruption to service.
To check the failover capability, we can put the running cluster node into standby mode to force pacemaker to run the resources on another node.
In the current example, the resources are running on node nfs2, so the command is as follows:
crm node standby nfs2

We can see now that node nfs2 is now in standby mode and the resources have moved across to running on node nfs3.