
About Outlook Notes
Creating and editing notes
Using optional note features
Viewing and searching your notes
Notes is an Outlook feature designed specifically for quick and easy jotting down of those small bits of information we all seem to be inundated with. You can think of them as the electronic equivalent of the sticky notes that most people have pasted all over their monitor, desk, and refrigerator. They are easy to use and understand.
Notes are designed to be as easy as possible to use. They are not designed for storing large amounts of information or for organizing information in any sophisticated way. They can contain text only—no pictures or similar items—and do not permit any formatting. I use notes for things like:
Airline frequent flier account numbers
Descriptions of favorite restaurants
Software installation keys
A list of movies to see
Figure 13.1 shows an open note. The form is very simple and—aside from the content—contains only four elements:
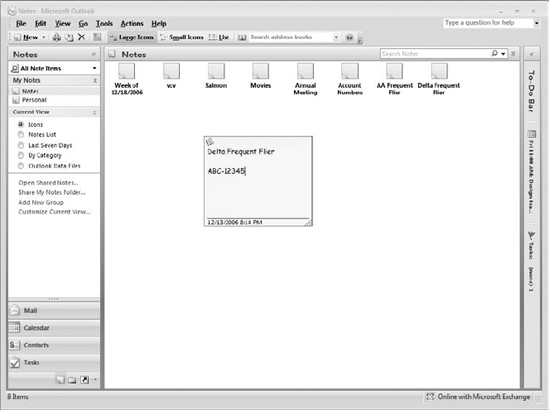
A close button (the X at the top-right corner) used to close the note
A menu button (at the top-left corner) used to open a menu with note-related commands
The time and date the note was created or last modified
A handle (lower-right corner) used to change the size of the note form
Two features contribute to the ease of use of notes:
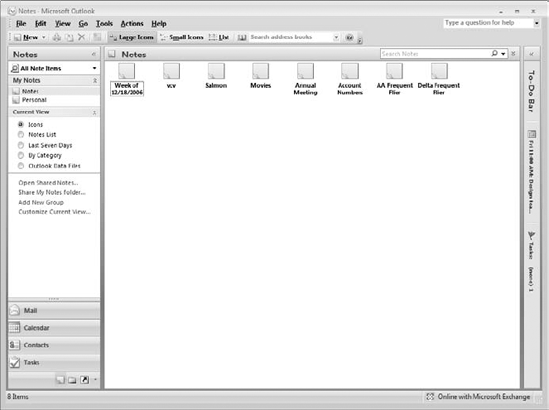
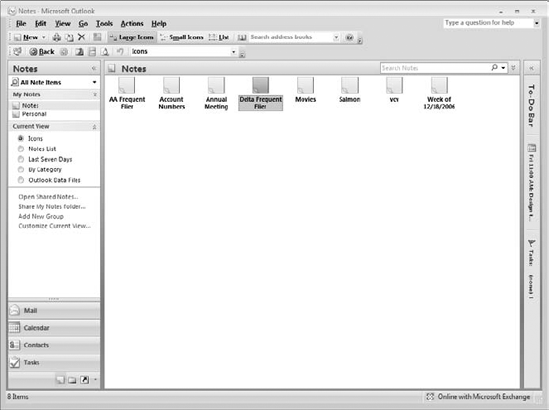
By default, Outlook displays notes as small icons with the title underneath, as shown in Figure 13.2. You can change the note view in various ways as described later in this chapter.
You can create a new note in several ways:
If Notes are displayed in Outlook, click the New button or press Ctrl+N.
If some other view is displayed, display the New menu and select Note, or press Ctrl+Shift+N.
Outlook displays a new, blank note. All you need to do is type in the note title as the first line, hit Enter, and type the rest of the note. Then, click the note's close button or click anywhere outside the note to close and save it.
To open a note, double-click it. You can then edit the note and save your changes by closing the note. If you want to change the note's title, you must change the first line in the note.
When a note is open, you can take the following actions by clicking the menu icon in the top-left corner of the note and selecting from the menu (see Figure 13.3):
Save As: Save the note as an RTF file. The original note is not affected.
Delete: Delete the note.
Forward: Creates a new email message with the note attached. You then address and send the message as usual.
Categorize: Assign the note to an Outlook category or remove any previously assigned categories.
Contacts: Associate one or more contacts with the note.
Print: Print the note.

Outlook's Notes view displays your notes as icons with the note titles. You can change the way your notes are displayed and also perform various actions with notes from Notes view.
By default, notes are displayed as large icons with the note title underneath, as you saw earlier in Figure 13.2. Outlook provides two other Notes views, selected by clicking the Small Icons or List button on the toolbar:
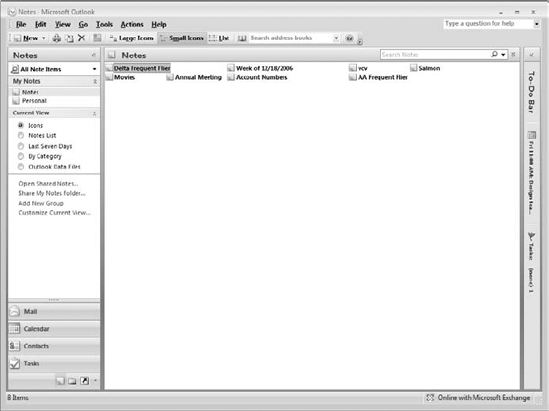
Small Icons view displays each note as a small icon with the title next to it, as shown in Figure 13.4.
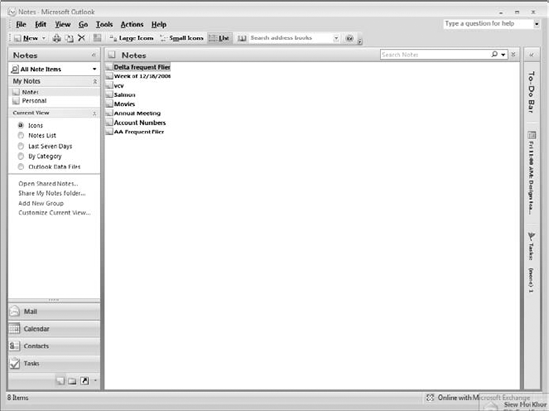
List view is similar to Small Icons view except that the notes and icons are displayed as a list (see Figure 13.5).
Whichever view you are using, you can customize it further by right-clicking a blank area in Notes view and selecting either Sort, Filter, or Other Settings from the context menu.
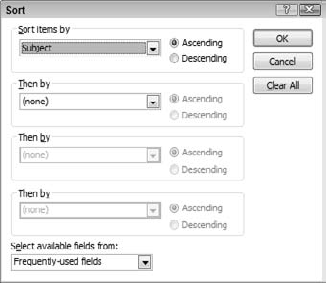
If you select Sort, Outlook displays the dialog box shown in Figure 13.6. You can sort notes on as many as four fields. By default, they are sorted only by Subject (the title). You can sort in ascending or descending order by creation date/time, last modified date/time, contacts associated with the note, color (that is, category), and a few others. To specify how notes are sorted:
Select the primary sort field in the Sort Items By list.
Select either the Ascending or the Descending option.
If you want a secondary sort field for breaking ties in the primary field, select the secondary sort field in the top Then By list and select either the Ascending or the Descending option.
If desired, define a third and fourth sort field in the other Then By sections.
Click OK.
Sorting can be particularly useful when you have a lot of notes.
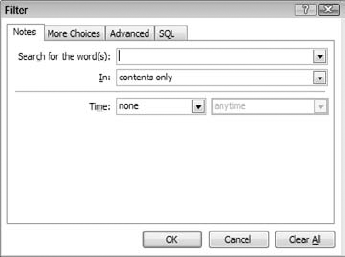
If you select Filter from the context menu, Outlook displays the Filter dialog box as shown in Figure 13.7. Only the Notes tab is relevant. To define a filter:
Enter one or more words of interest in the Search for the Word(s) field. Click the adjacent arrow to select from recently used search words.
Open the In list and select where Outlook should search. You can choose Contents Only (the entire note) or Subject Field Only (the note's first line).
If you want to filter by date/time, pull down the Time list and select Created or Modified. Then open the adjacent list and select your criterion (for example, yesterday, last week, and so on).
Click OK.
If you want to remove a filter from Notes view:
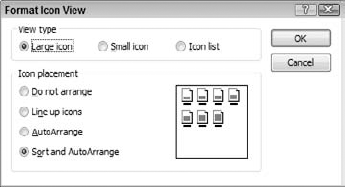
The final command on the context menu, Other Options, brings up the dialog box shown in Figure 13.8. This dialog box lets you specify the kind of icon displayed for the notes and how they are arranged.
You can select additional ways to display notes from the Current View list on the toolbar or the navigation pane. This is shown on the toolbar in Figure 13.9 and on the navigation pane in Figure 13.10. There are several predefined views on this list:
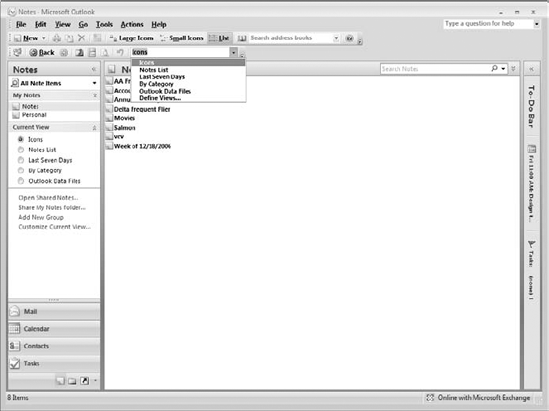
Icons: Lets you choose Large Icons, Small Icons, or List using toolbar buttons as was described in the previous section.
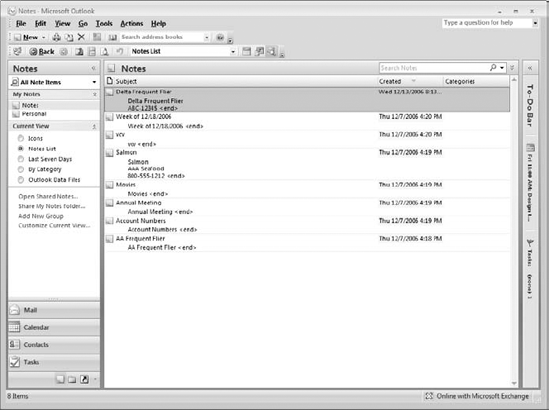
Notes List: Displays a list of notes showing the title, content, and creation/modification date and time. This is shown in Figure 13.11.
Last Seven Days: Displays only those notes that were created or modified within the past seven days. Uses the same display format as Notes List.
By Category: Displays notes in list format organized by assigned category.
Outlook Data Files: Displays notes in list format organized by Outlook data file. This is relevant only if you have two or more Outlook data files, a topic that is covered in Chapter 18.
The last item on the Current View list in the toolbar is Define Views. Selecting this command lets you define custom views for notes. This feature is explained in full in Chapter 19.
As your collection of notes grows, you'll find it useful to be able to search your notes to find just the information that you are looking for. Searching is similar in some respects to defining a filter for Notes view, as was discussed in the previous section. It provides additional power and flexibility, however, and the two used together are even more powerful.
To perform a basic search that matches your search words to the content of the notes, type the search term into the search box (see Figure 13.12) or click the adjacent down arrow to select from previous searches. Outlook searches your notes and displays any notes that contain a match, with the search term highlighted, as shown in the figure. If you have a filter applied to your notes, the search will look only in notes that the filter displays.
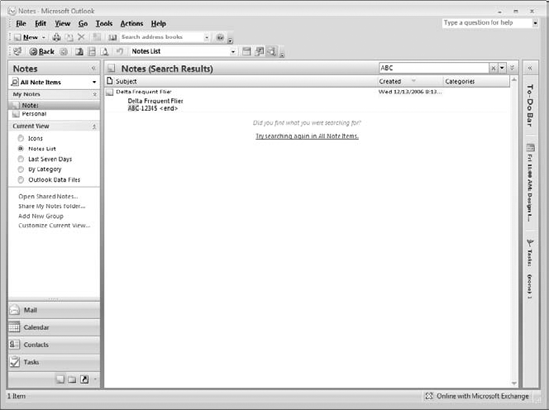
When you are done, click the X adjacent to the search box to delete the search term and return to display of all notes.
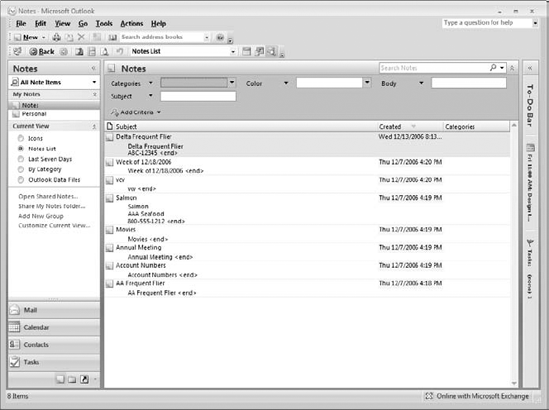
For a more advanced search, click the down arrow at the top right of the Notes window. Outlook expands the search panel to show more criteria fields, as shown in Figure 13.13. Four criteria fields are by default available: Categories, Color, Body, and Subject (or title). Enter your search term in the adjacent box, or select from the list, to search. You can also fine-tune your search as follows:
Click the down arrow next to a field name to change to a different criterion. For example, you could change the Categories field to Created if you want to search based on note creation date/time.
Click the Add Criteria button to add additional criteria to the search if you need more than four.
Click the X next to the search box to clear all criteria and cancel the search.
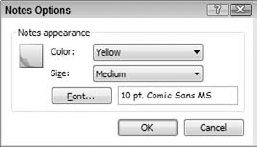
Outlook has only a few general options for notes. They control the default color and size for notes and the font used to display them. You set these options in the Notes Options dialog box, shown in Figure 13.14. To open this dialog box:
The final option for notes determines whether the time stamp is displayed at the bottom of the note. By default this is turned on, but you can turn it off or back on as follows:
Select Options from the Tools menu to open the Options dialog box.
Click the Other tab.
Click the Advanced Options button to open the Advanced Options dialog box.
Click the When Viewing Notes, Show the Time and Date option.