8. Using Cortana

Cortana is a powerful and flexible tool that can help you get the most from your Windows tablet. In this chapter, you learn how to get the most from Cortana. You learn about the following:
Cortana is what Microsoft calls an “intelligent personal assistant.” If you’ve ever used Siri on an iPhone or iPad, you already have some idea of what Cortana can do for you, but Cortana takes things a step further than Siri. Up until now, only Windows Phone users have been able to enjoy using Cortana. Windows 10, however, brings Cortana to everyone else.
Who Is Cortana?
Cortana actually began as an artificial intelligence character in the Halo series of video games. When Microsoft added a personal assistant to Windows Phone, it only made sense to name her Cortana.
Cortana’s voice is actually the voice of Jen Taylor, the same actress who voiced Cortana in the Halo games.
Cortana can help you find things on your tablet or on the Internet, she can help you keep track of what you need to do each day, and she can help you get around by informing you of traffic issues. Cortana also has a powerful, location-based reminder feature that’s unique and remarkable.
Configuring Cortana
Cortana is turned off by default, so you’ll need to enable the feature before you can use it. You’ll also want to let Cortana know what she should call you.
Microsoft Account Required
To use Cortana, you will need to sign in to your tablet with your Microsoft account. If you’re not sure how to do that, see Chapter 4, “Security and Windows 10.”
Enabling Cortana
Before you can take advantage of Cortana, you’ll need to turn on the feature. (It’s off by default.)
1. Tap or click the Start button.
2. Tap or click inside the Search box.
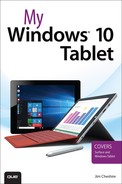
3. Tap or click Next.

5. Enter the name you would like Cortana to use when talking to you.
6. Tap or click Next to complete the setup and enable Cortana.

Cortana Settings
If you have the Search box or Search icon enabled on the Taskbar, you can access Cortana settings by tapping or clicking it and searching “Cortana.” You can access Cortana’s Notebook settings from the Cortana menu.
Changing Your Name
If you decide that you would like Cortana to call you by a different name, you can change your name.
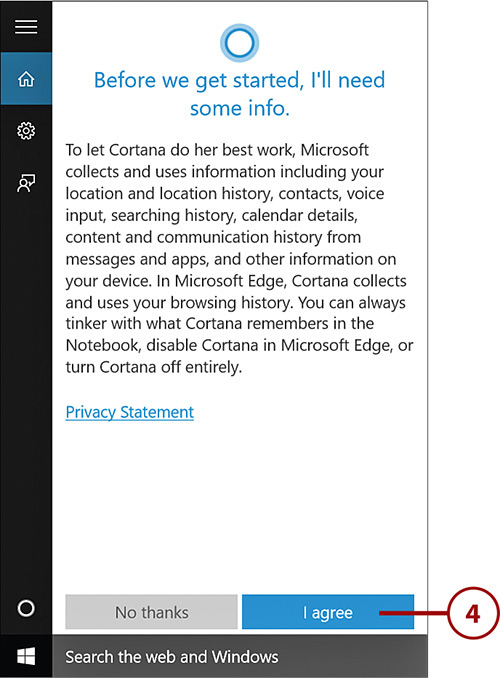
1. Tap or click inside the Search box, or tap or click the Search icon.
2. Tap or click Notebook.
3. Tap or click About Me.
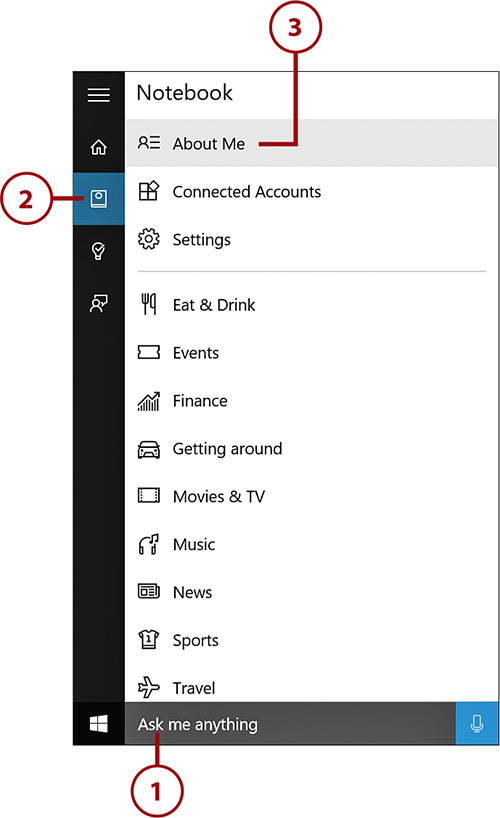
4. Tap or click Change My Name.
5. Enter the new name you would like Cortana to use.
6. Tap or click Enter.

Adjusting Cortana Settings
Cortana can help you by looking up flight information and other tracking information based on emails you receive. She can also help you when you call on her by saying “Hey Cortana.” You can enable or disable these features easily.
1. After activating Cortana, tap or click Notebook.
2. Tap or click Settings.

3. Tap Let Cortana Respond To “Hey Cortana” to enable or disable voice activation for Cortana.
4. Tap or click Detect Tracking Info, Such as Flights, in Messages on My Device to turn tracking info detection on or off.

Using the Notebook
Cortana stores information about what you want to see and other information about you in her Notebook. When you activate Cortana, she’ll display relevant information based on what she has stored in her Notebook about you. Each item you see is based on settings that Cortana has stored for you.
You can configure settings for different categories stored in Cortana’s Notebook to tell her more about yourself.
Changing Category Settings
Cortana uses cards to display information on various categories. You can configure the cards in Cortana’s Notebook to make the information she provides to you more relevant.
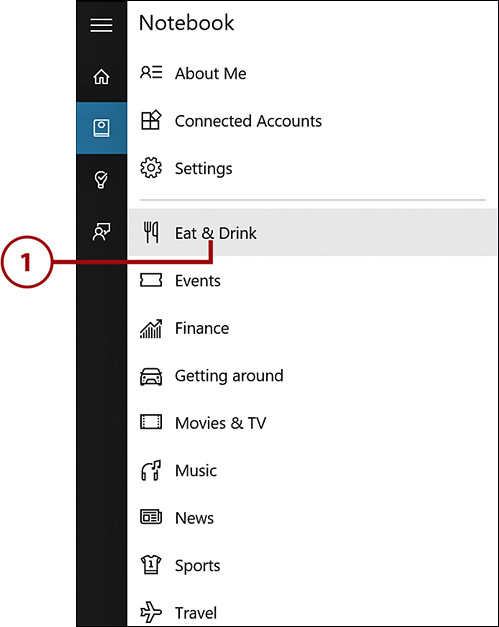
1. After activating Cortana, tap or click Notebook.
2. Tap or click a category.

3. Make the desired changes to the category’s settings, and then tap or click Save.

Turning Off a Category’s Cards
You can turn off the cards for a category if you are not interest in seeing them. Turning off a category’s cards causes Cortana to stop displaying information based on that category. You can always open the Notebook later and turn the cards back on again and keep all of your settings.
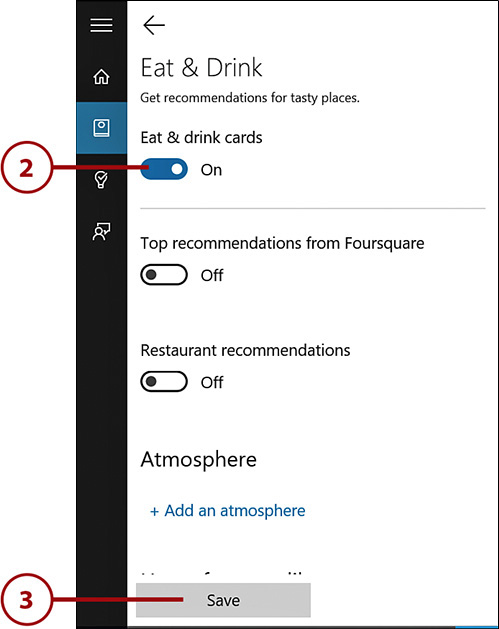
1. After activating Cortana, tap or click Notebook.
2. Tap or click the category whose cards you want to turn off.

3. Tap or click the slider to turn off the category’s cards.
4. Tap or click Save.

Turning On a Category’s Cards
If you’ve previously turned off a category’s cards, you can turn them back on from inside the Notebook.
1. From the Notebook, tap or click the category you want to turn back on.
2. Tap or click the slider to turn the cards on.
3. Tap or click Save.
Searching with Cortana
Cortana makes it easy to find things that are stored on your tablet or on the Internet. She can find apps and documents and search the Web.
Searching Your Tablet
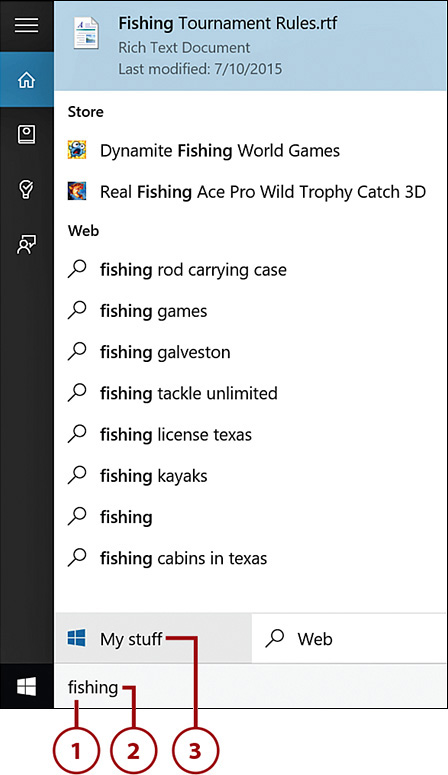
Cortana will display some results from your tablet if you simply enter a search term into the Search box, but she’ll give you much more if you tell her that you want her to search only your stuff.
1. Tap or click inside of the Search box.
2. Enter a search phrase.
3. Tap or click My Stuff.
4. Swipe up or scroll down to see more search results.
5. Tap or click a Sort drop-down to change the sort order of results.
6. Tap or click the Show drop-down to filter search results.
7. Tap or click a search result to open the item.

Searching the Web
Cortana can search the Web for you. She’ll display the most common web searches when you enter a search term. She can then open your browser and enter your search term into your search engine for you.
1. Enter a search term into the Search box.
2. Tap or click a suggested search term.
3. To search the Web for your exact search term, tap or click Web.

Using Reminders
Cortana has a powerful reminders feature that can remind you of something not only at a particular time, but also when you next speak to someone or when you arrive or leave a particular place.
Setting a Reminder for a Specific Time
You can have Cortana remind you of something at a specific time of day. You can configure your reminder to repeat every day or on particular days.
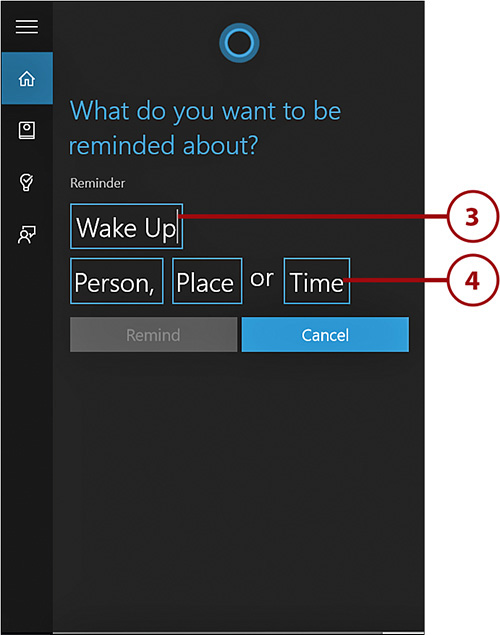
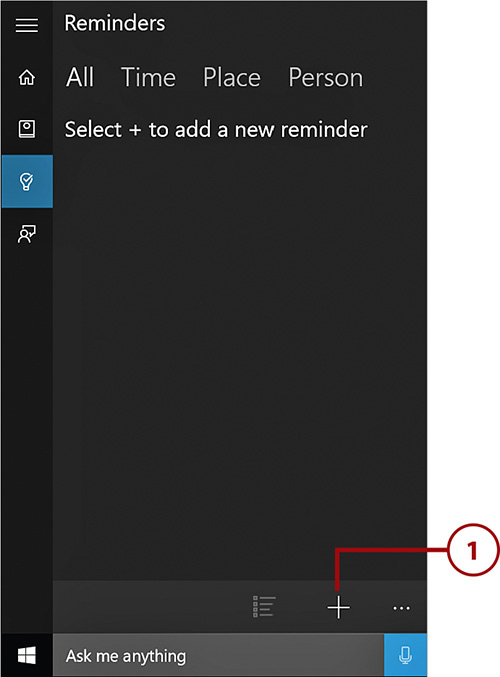
1. After activating Cortana, tap or click Reminders.
2. Tap or click + to add a new reminder.

3. Enter a message for your reminder.
4. Tap or click Time to select a time.
5. Tap or click an hour, minute, and AM or PM to select the desired time for your reminder.
6. Tap or click the check mark to save your time selection.

7. Tap or click the Date box to change the date for your reminder if necessary.
8. Tap or click Only Once if you want your reminder to repeat daily or on a specific day of the week.
9. Tap or click Remind to set your reminder.

Setting a Place Reminder
Cortana can remind you to do something when you arrive at or leave a specific place. She can also remind you when you arrive at or leave a kind of place, such as a grocery store.
1. From the Reminders pane, tap or click + to add a new reminder.

2. Enter the text for your reminder.
3. Tap or click Place.

4. By default, Cortana uses your current location for the reminder. Enter a new location or the kind of place if you want to.
5. Tap or click a suggested location.
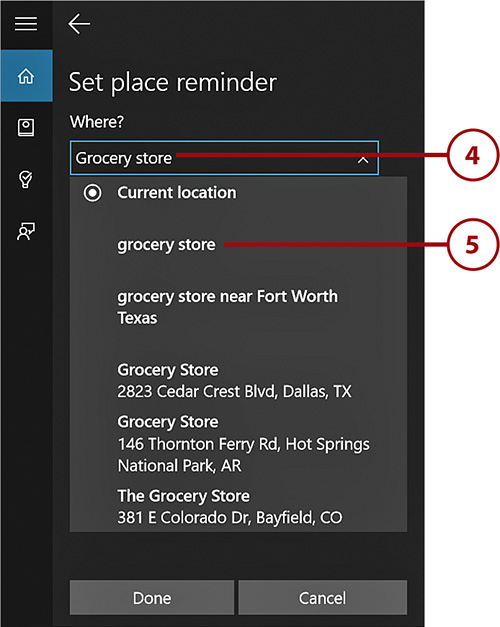
6. Tap or click Arrive to be reminded when you arrive at the location you specified.
7. Tap or click Depart to be reminded when you depart the location you specified.
8. Tap or click Done.

Setting a People Reminder
Cortana can remind you when you interact with a particular person. For example, she can remind you to do something when you send an email to or receive an email from one of your contacts.
1. From the Reminders pane, tap or click + to add a new reminder.
2. Enter the text for your reminder.
3. Tap or click Person.

4. Enter a contact name or tap or click one of your contacts.

5. Tap or click Remind.
