
Chapter 4
Getting Help from Office 2013
In This Chapter
![]() Opening and browsing the Help window
Opening and browsing the Help window
![]() Searching the Help window
Searching the Help window
![]() Changing the appearance of the Help window
Changing the appearance of the Help window
Microsoft always tries to make each new version of Microsoft Office easier to use than the previous version. Yet it’s likely that you’ll still have questions about using the features buried in one of the many Office programs.
To answer any questions, Office 2013 provides a Help system, which lets you browse through different help topics until you (hopefully) find the answer you need. There are two ways to use the Help system:
![]() Browse through the various topics displayed until you find the answer you want. This can take time to search but can also show you related help that you may find useful.
Browse through the various topics displayed until you find the answer you want. This can take time to search but can also show you related help that you may find useful.
![]() Type a query such as Page margins or Font size. The Help system will then display all topics related to your query. This can be a fast way to search for help, but if you don’t type the right terms that the Help system recognizes, this method may not find the exact help you need.
Type a query such as Page margins or Font size. The Help system will then display all topics related to your query. This can be a fast way to search for help, but if you don’t type the right terms that the Help system recognizes, this method may not find the exact help you need.
 To view the latest help information about Office 2013, make sure that your computer is connected to the Internet.
Browsing the Help Window
Each Office 2013 program comes with its own help files that you can access at any time. To browse through the Help system, follow these steps.
1. Choose one of the following to display the Help window, as shown in Figure 4-1:
• Click the Help icon. (It looks like a question mark sitting in the upper-right corner of the window.)
• Press F1.
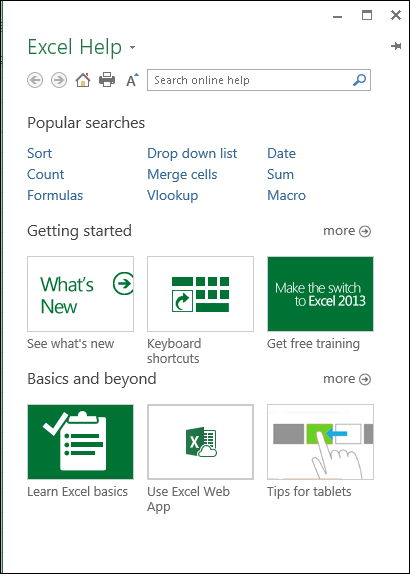
Figure 4-1: The Help window lets you search for answers to your questions.
2. Click a topic.
The Help window displays a list of Help topics, as shown in Figure 4-2.
3. Click a Help topic.
The Help window displays information about your chosen topic. You may need to click multiple Help topics until you get the answer you want.
4. Click the Close box when you’re done to make the Help window go away.
If you click the Back icon, you can view the previous text displayed in the Help window. If you click the Forward icon (after clicking the Back icon at least once), you can return forward to the text that you were looking at before you clicked the Back icon. If you click the Home icon, you can view the Help window’s list of topics that appear every time you open the Help window.
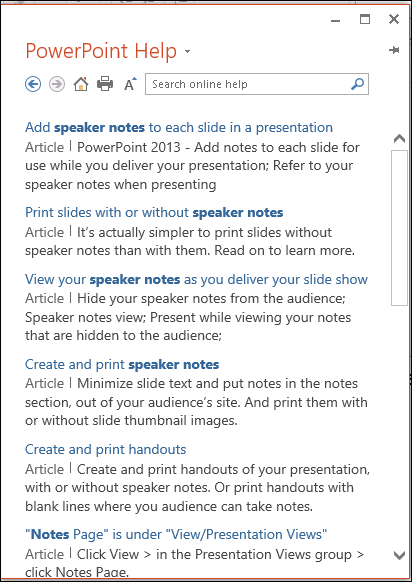
Figure 4-2: The Help window displays a list of Help topics.
Searching in the Help Window
Rather than browse through one or more subcategories to find help, you may want to search for help by typing in one or more keywords. Such keywords can identify a specific topic, such as Printing or Editing charts.
If you misspell a topic, the Help system may not understand what you want to find, so check your spelling.
To search the Help window by typing in a keyword or two, follow these steps:
1. Choose one of the following methods to display the Help window (refer to Figure 4-1):
• Click the Help icon.
• Press F1.
2. Click in the Search Help list box and type one or more keywords, such as Formatting or Aligning text.
 Type as few words as possible. So rather than type “I want to find help on printing,” just type “Printing.” Not only will this make it easier for you to search for help, but it will also keep Office 2013 from looking up extra words that have nothing to do with your topic, such as “I want to find help on. . . .”
3. Click Search or press Enter.
The Help window displays a list of topics, as shown in Figure 4-3.
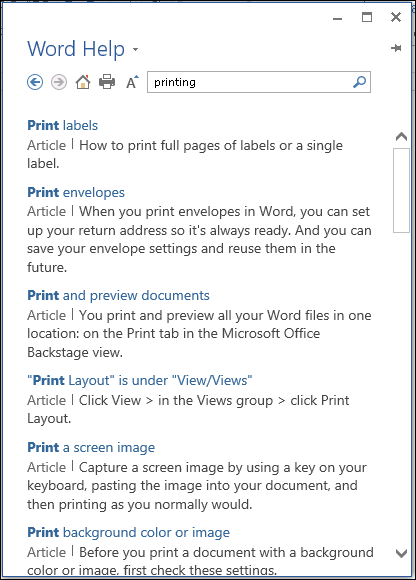
Figure 4-3: Keywords let you view a list of related topics right away.
4. Click a Help topic.
The Help window displays information for your chosen topic. You may need to click additional topics to get the answer you want.
5. Click the Close box when you’re done to make the Help window go away.
Making the Help Window Easier to Read
One problem with the Help window is that it may appear too small to read comfortably. To get around this problem, you have two choices:
![]() Resize the Help window.
Resize the Help window.
![]() Expand the size of the text inside the Help window.
Expand the size of the text inside the Help window.
Resizing and pinning the Help window
You can resize the Help window just as you would any other window, by clicking one of the following icons in the upper-right corner (as shown in Figure 4-4):
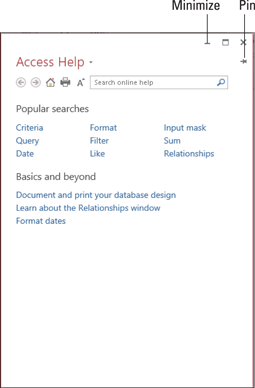
Figure 4-4: The Minimize and Pin icons on the Help window.
![]() Minimize: Shrinks the Help window to an icon on the Windows taskbar.
Minimize: Shrinks the Help window to an icon on the Windows taskbar.
![]() Pin: Keeps the Help window on the screen so you can read the instructions while still using an Office 2013 program.
Pin: Keeps the Help window on the screen so you can read the instructions while still using an Office 2013 program.
To make the Help window disappear if you click away from it, just click the Pin icon a second time to toggle the Help window’s behavior.
You can also resize a window by moving the mouse pointer over one edge or bottom corner, holding down the left mouse button, and dragging (moving) the mouse.
Enlarging the text in the Help window
In addition to, or as an alternative to, resizing the Help window, you can enlarge or shrink the text inside the Help window: Make it larger so you can read it easier or smaller so you can cram more text into the limited confines of the Help window. To change the size of the text inside the Help window, follow these steps:
1. Click the Help icon or press F1 to open the Help window.
2. Click the Use Large Text icon.
The Help window text changes in size. Each time you click the Use Large Text icon, it toggles between enlarging or shrinking the text.
Printing the text in the Help window
Sometimes you may find the step-by-step instructions in the Help window so useful that you may want to reference them again. Rather than open the Help window each time, you can print the step-by-step instructions so you’ll always have them at your fingertips when you need them.
To print the text displayed in the Help window, follow these steps:
1. Click the Help icon or press F1 to open the Help window.
2. Make sure that your printer is connected to your computer and turned on.
3. Click the Print icon (refer to Figure 4-4).
The Print dialog box appears.
4. Choose any options in the Print dialog box (such as choosing a printer to use), and then click OK to print the current contents of the Help window.