
Chapter 10
Otto von Guericke and the Vacuum Pump
1654 CE
There’s an old saying that goes “nature abhors a vacuum.” It’s commonly attributed to the Greek philosopher Aristotle.
Although Artistole’s views played a profound role on the development of science and learning, a lot of what he wrote turned out to be wrong. Nature, it now appears, loves vacuums. There are vacuums in outer space, glass barometers, toilet plungers, and radio tubes. It was a 17th century German scientist who figured out a way to produce them whenever and wherever we need them.
Even Wild Horses Couldn’t Drag Them Apart
In the spring of 1654, Otto von Guericke, a city official and part-time scientist, put out notices all over Magdeburg, a city in what is now Germany. The notices stated that all the townspeople of Magdeburg were invited to come out to the public square for an important demonstration.
What did Otto have in mind? It turns out the townspeople were in store for a spectacular demonstration of science!
Von Guericke came from a leading family in the city of Magdeburg. His father was the mayor of the city, as was his grandfather. Under their leadership, the city had grown large and prosperous. In 1626, Otto also began working for the city when he returned to his hometown after studying a dizzying number of subjects at the University of Leyden.
He was an able administrator, and over time, he earned a reputation as an exceptional city administrator and civil servant. But his true love was putting natural philosophy to work—in modern times we call this engineering.
Von Guericke wanted to stage a dramatic demonstration of his new mechanical invention, the vacuum pump. Otto was so excited by the possibilities of his pump that he wanted to show it off in a very big way. He arranged for a public demonstration of his machine to be held in the town square. But exactly how would someone really show off something as prosaic as a vacuum pump?
Because he was something of a showman as well as a scientist, he assembled two teams of draft horses that he said would try to pull apart a 20-inch-diameter metal sphere, which had been cut in half earlier.

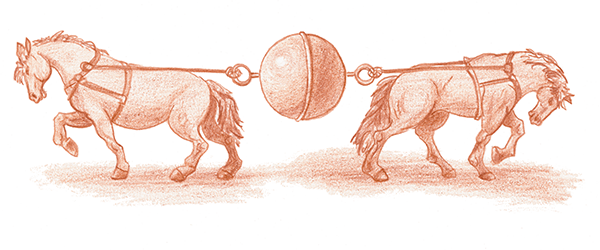
The two halves of the sphere had not been bolted, welded, glued, or otherwise mechanically reconnected to one another. Instead, von Guericke had used his new vacuum pump to evacuate the air inside the sphere. Strain and pull as they might, the dray teams could not part the spheres—the force of the vacuum inside the metal halves was stronger than the horses (see Figure 10-1).
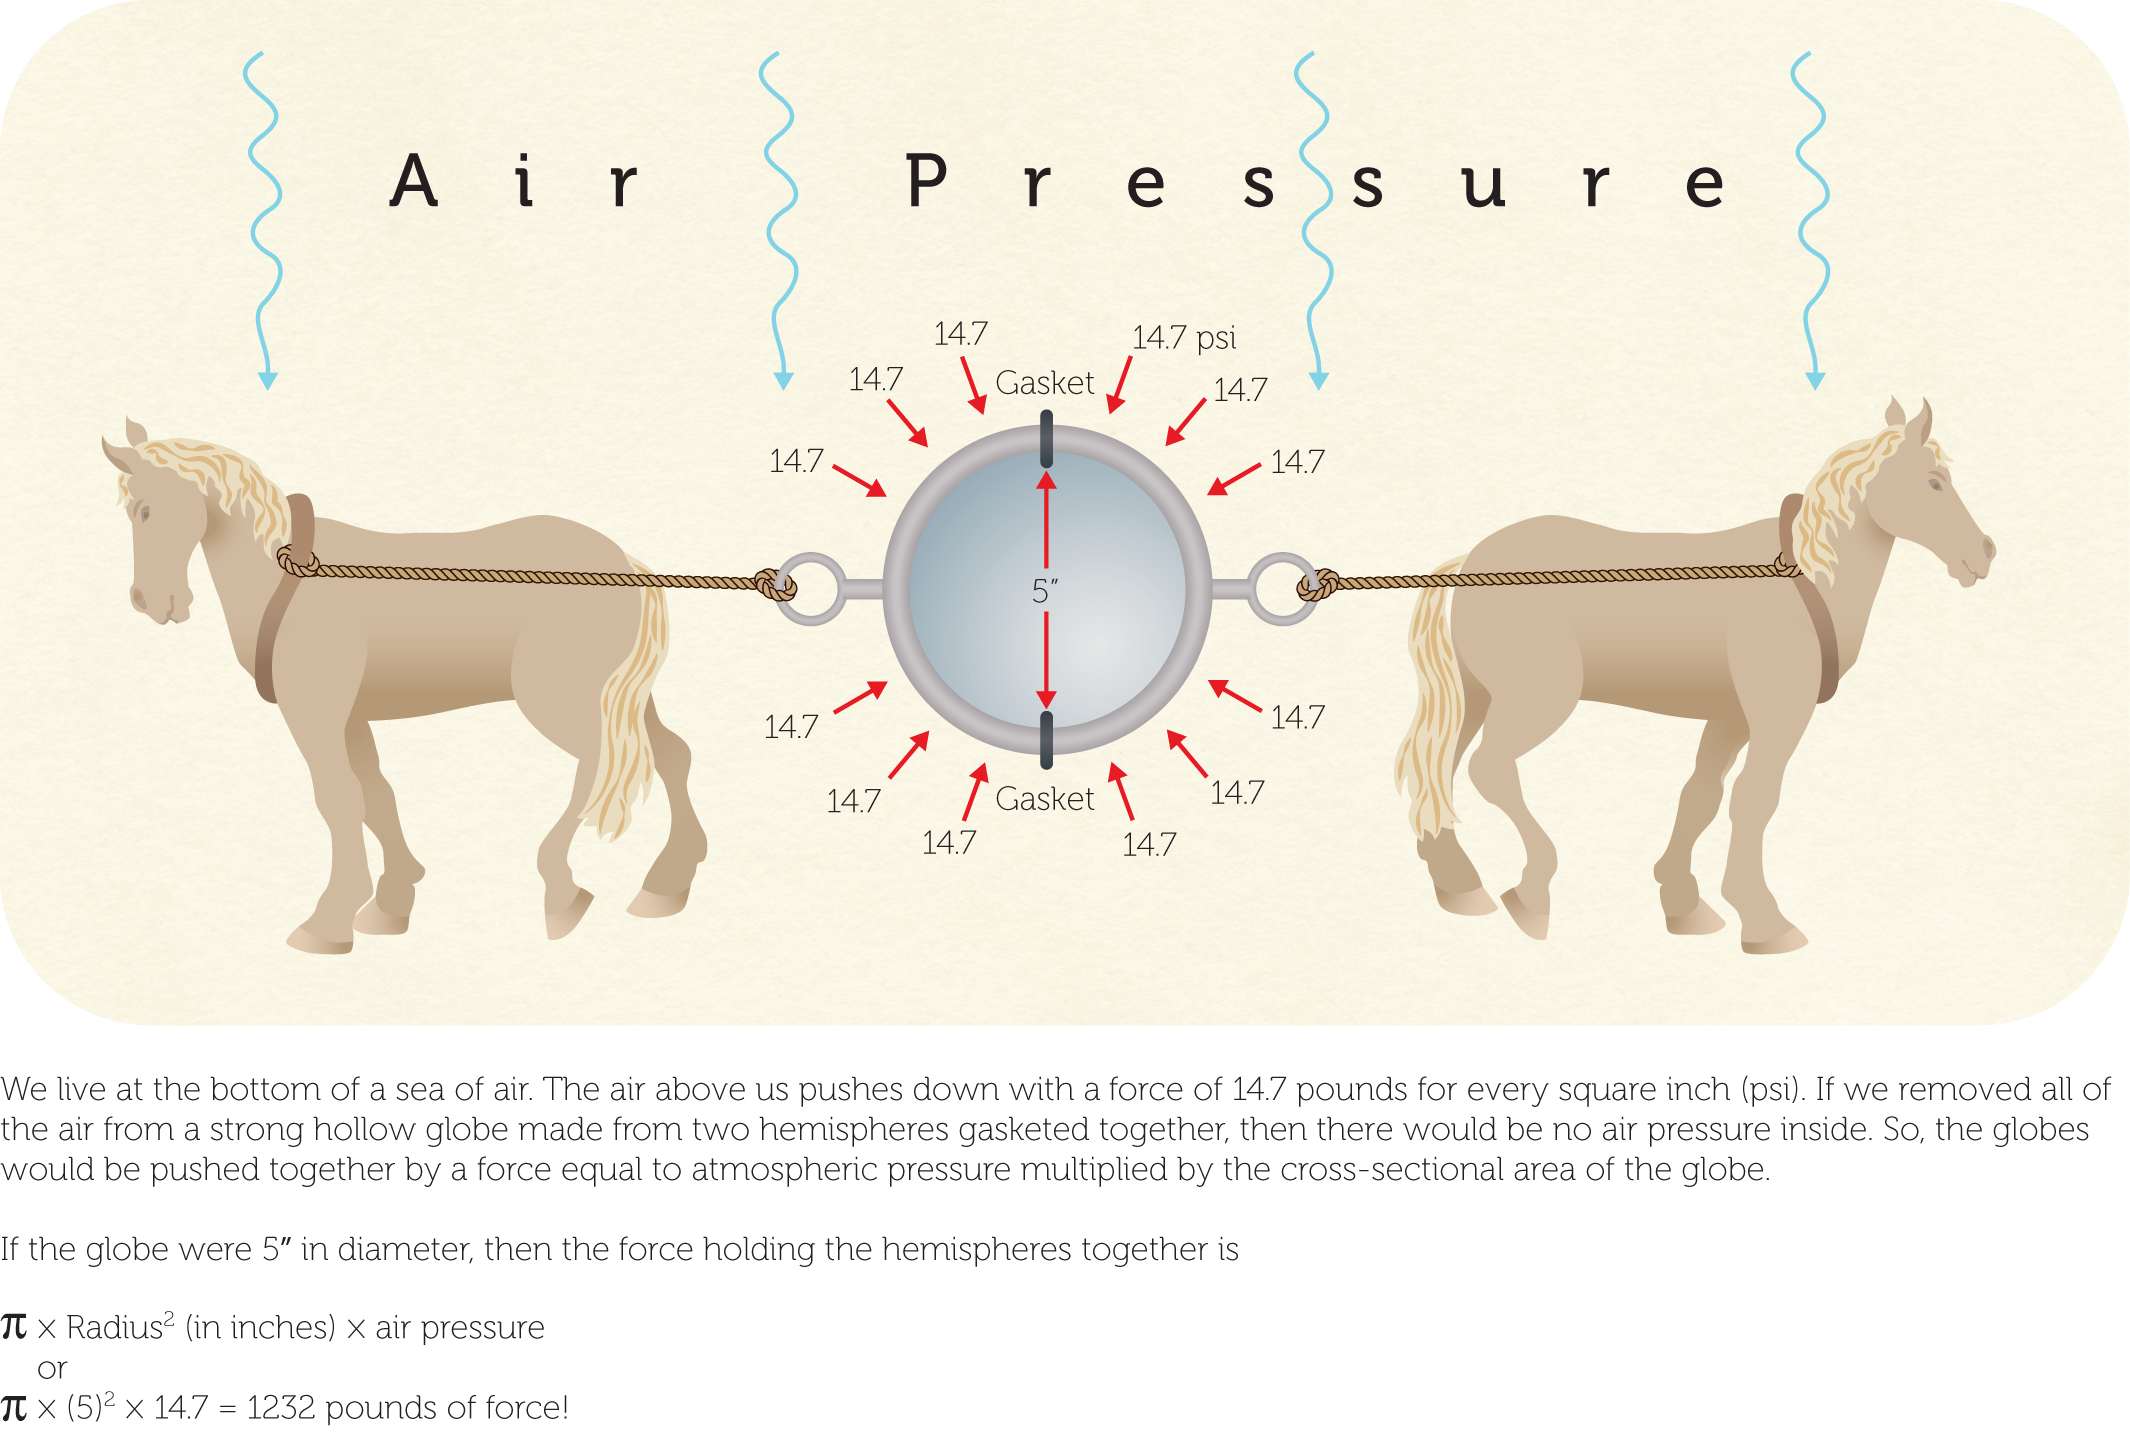
Figure 10-1: Horses trying to pull apart a vacuum
Exactly how hard would those horses have to pull to separate the hemispheres? To figure this out, you first need to calculate the area of a 20-inch-diameter circle. The radius of a 20-inch circle is simply half the diameter, or 10 inches.
Area = > × r2
where r is the radius, so, the area of the separation space in the sphere is > × 100, or 314 square inches.
If von Guericke’s pump was capable of pulling a pretty good vacuum of about 1 pound per square inch (psi), then the force required to pull the halves apart is this:
314 in2 ×(14.7 – 1) psi = 4300 lbf
It would take over two tons of force to separate those spheres!
Re-creating the Magdeburg Hemispheres
It’s easy and fun to build your own Magdeburg hemispheres, although in this case, we’ll use aluminum cake pans instead of copper hemispheres. Hooking up horses to pull the pans apart is definitely optional!
Before you get started, take a look at Figure 10-2, which shows how your hemispheres will be assembled.
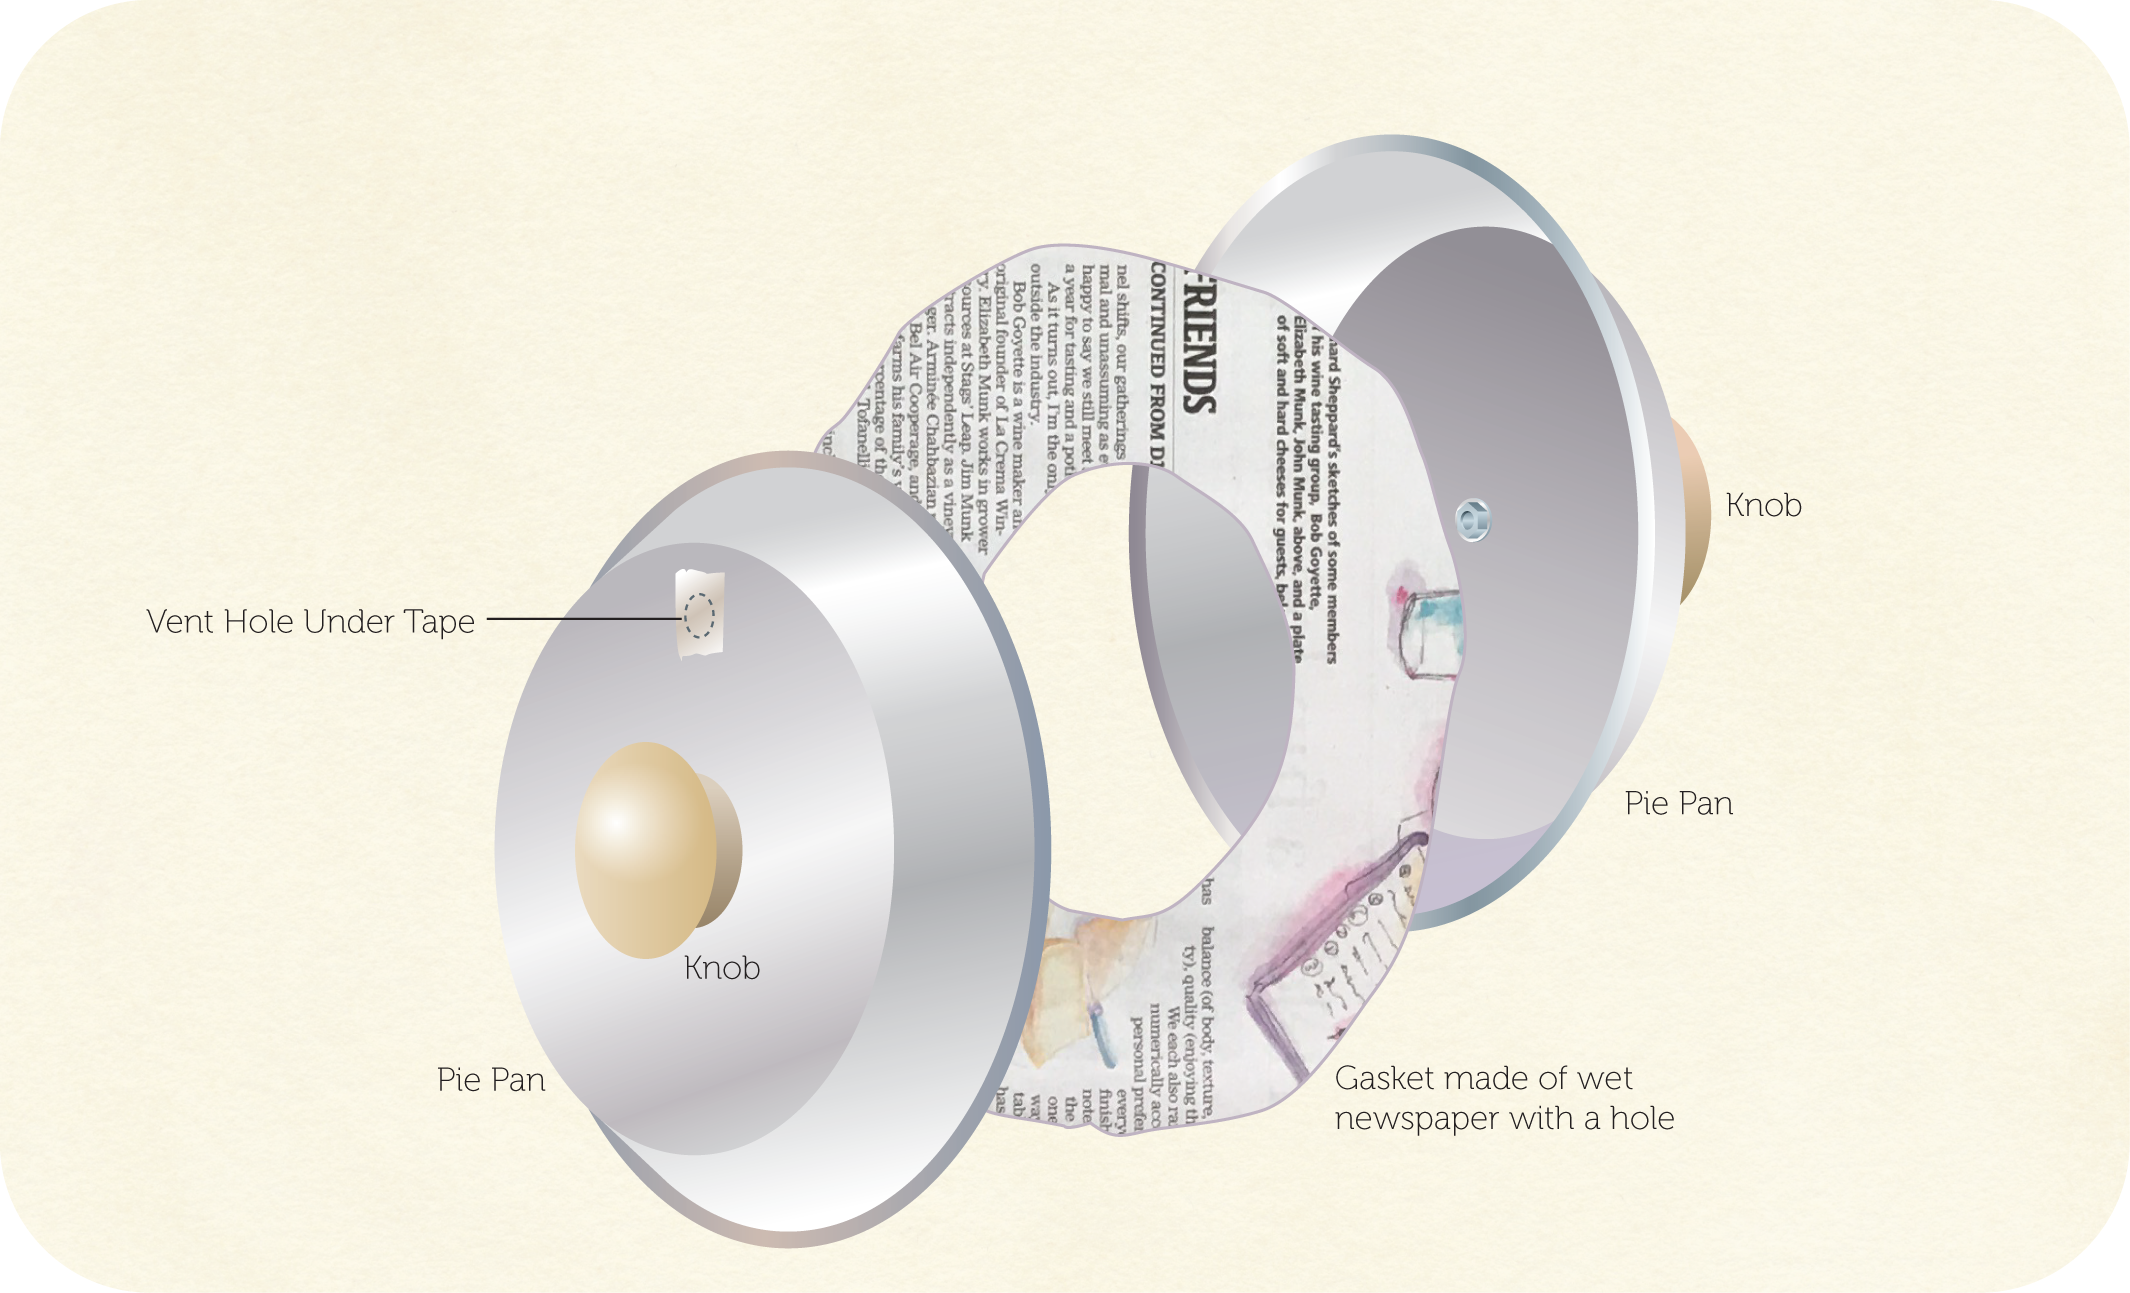
Figure 10-2: Assembly diagram for Magdeburg hemispheres
Part 1: Attaching Knobs to Cake Pans
Follow these steps to attach the knobs:
- Drill a hole in the center of the cake pan that is the same diameter as the screws that came with the cabinet knobs (probably 1/8-inch, but check prior to drilling the hole).
- Place a dollop of silicone cement on the hole (see Figure 10-3).
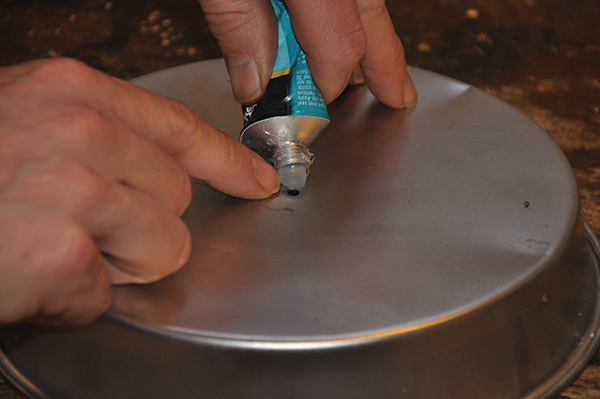
Figure 10-3: Sealing the knob hole
- Insert the knob screw through the hole and into the receiving hole on the knob and tighten it. The silicone will seal around the screw, making the connection airtight.
Part 2: Making the Vacuum Release Port
To make the release port, follow these steps:
- Place one of the cake pans on a wooden block.
- Mark a point about 2 inches from the center knob with the marking pen and drill a 1/8-inch hole.
- Cover the hole with a piece of aluminized tape (see Figure 10-4).

Figure 10-4: Making and covering the release port
Part 3: Making a Paper Sealing Gasket
To make the gasket, follow these steps:
- Lay seven or eight sheets of newspaper on top of one another.
- Mark a circle that is slightly larger than the cake pan with a marking pen and then cut out the paper circles (see Figure 10-5).
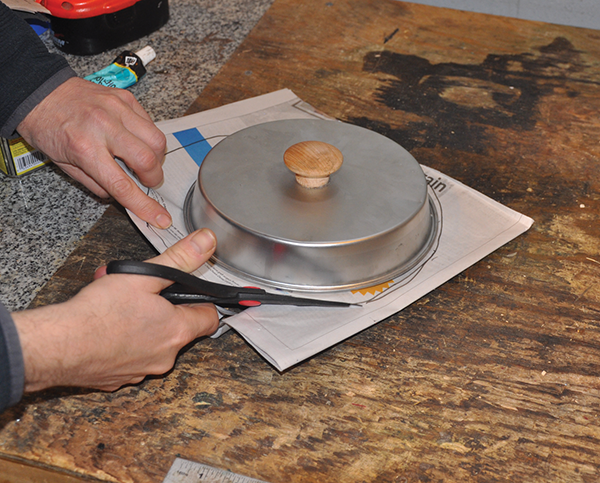
Figure 10-5: Cutting out the paper circles
- Cut a 4-inch diameter doughnut hole in the middle of the paper circles.
- Arrange the paper circles neatly on top of one another and soak them briefly in water. Remove them from the water as soon as the inside paper circles are wet.
Part 4: Pulling a Vacuum
Now it’s time to create your vacuum. Follow these steps:
- Arrange the one cake pan and the wet newspaper as shown in Figure 10-6.
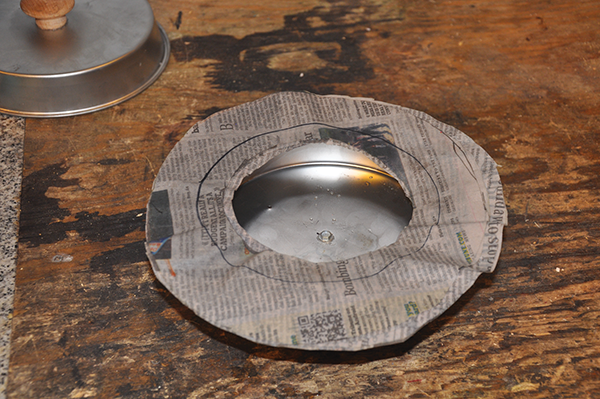
Figure 10-6: Arranging newspaper on cake pan
- Pour a small amount of fuel (about 3 drops) onto a small cotton ball and then place the cotton ball in the approximate center of the cake pan, but away from the vacuum release port.
- Carefully light the cotton ball with a long match or fireplace lighter (Figure 10-7).

Figure 10-7: The lit cottonball
- Quickly place the other cake pan atop the paper gasket, taking care to align the rims of the cake pans, one on top of the other.
Caution: The burning cotton ball will locally heat the cake pans; avoid this area with your bare hands.
The burning cotton ball produces water vapor. The vapor quickly condenses into a liquid, and it is this that produces a partial vacuum inside the container.
Part 5: Attaching a Draft Horse Team to Attempt to Separate the Halves
Now let’s see if your vacuum worked!
- Attach one team of horses to each knob. (If you have no horses available, have a friend pull one knob while you pull the other.)
- Start the horses moving in opposite directions and see if they can separate the two cake pans.
If you’ve worked carefully, the halves will not separate, even if you apply a great deal of force (see Figure 10-8)!

Figure 10-8: Attempting to pull apart the cake pans
Part 6: Releasing the Vacuum
Now that you’ve seen the vacuum in action, you might want to take it apart. To do so, use the 6d nail to poke a hole in the aluminum tape that covers the vacuum release port. Once the seal is broken, the two halves will release.
Vacuums Everywhere
The ability to draw a vacuum is a very important part of many industrial processes. Certainly, scientists use a lot of vacuum pumps. For example, electron microscopes require high vacuums to work, as do the dryers that make freeze-dried foods, and the centrifuges that make fuel for nuclear reactors.
Although you probably don’t handle many vacuum pumps directly on a daily basis, they are hiding just behind the scenes in a hundred different places. For instance, farmers use them to milk dairy cows, as do mechanics who service automotive brake and fueling systems and the technicians who keep air conditioners and refrigerators working properly.