Converting an Existing VB6 Project to Visual Basic .NET
Visual Basic .NET provides the Visual Basic Upgrade Wizard to streamline the process of converting existing VB6 projects to Visual Basic .NET. You invoke the wizard simply by opening a VB6 project in the Visual Basic .NET IDE. It should be noted that the Upgrade Wizard does not change your existing VB6 project; instead, it creates a new Visual Basic .NET project from the VB6 project, leaving the original project untouched.
The following steps walk you through the use of the Visual Basic Upgrade Wizard to convert a VB6 project to the Visual Basic .NET architecture. You may want to open one of your own existing VB6 projects or simply create a sample VB6 project to see how it works:
1. |
If Visual Basic .NET is not already running, start it; then click Open Project on the Start page. If Visual Basic .NET is already running, select File, Open, Project from the menu system. |
2. |
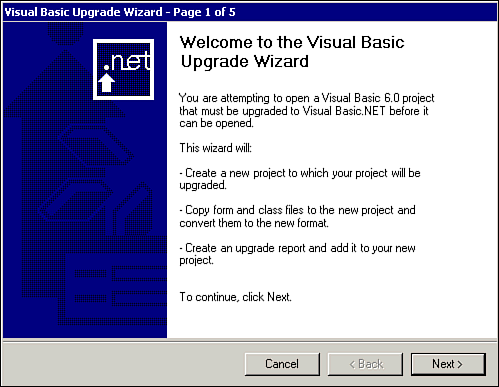
In the Open Project dialog box, browse to the .vbp file from the VB6 project you want to convert; then click Open. The Visual Basic Upgrade Wizard starts, as shown in Figure B.1. Figure B.1. The Visual Basic Upgrade Wizard lets you convert your VB6 projects to the Visual Basic .NET environment.
|
3. |
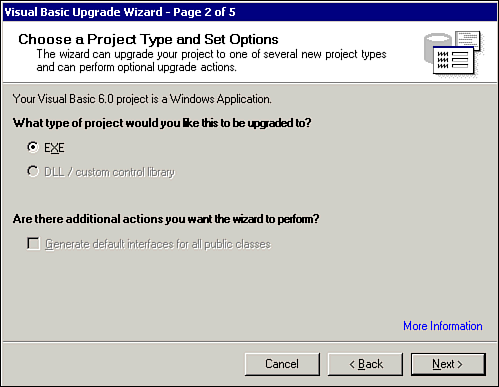
Click Next to display Page 2 of the wizard. Depending on the type of project that your VB6 project is, you will need to specify the target platform for the Visual Basic .NET project. In Figure B.2, the wizard has detected that the VB6 is a Windows Application project, so we can open it as an .EXE project. Figure B.2. In Step 2 of the Visual Basic Upgrade Wizard, you specify the type of project that you are converting.
|
4. |
Click Next to display Page 3 of the wizard, where you can specify the location into which you want the converted project saved. By default, the wizard offers to create a folder named projectname
.NET, where projectname
represents the name of the VB6 .vbp file that you are opening. Figure B.3 illustrates this step. Figure B.3. Step 3 of the wizard allows you to specify a location for your converted Visual Basic .NET project.
|
5. |
Click Next, and you will be asked to verify that you want to create the new folder into which the project will be converted (if the folder does not exist already). Click Yes to create the folder. |
6. |
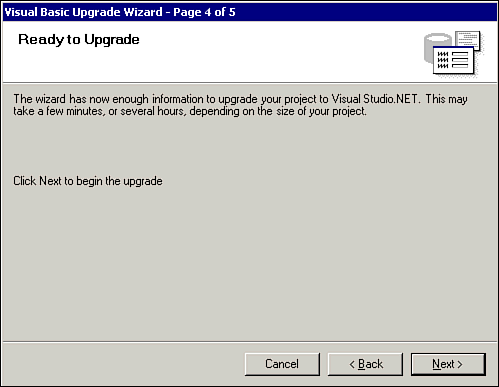
Figure B.4 shows Page 4 of the wizard, which simply reports that it now has enough information to begin the conversion process. Figure B.4. The wizard is ready to begin converting the project.
|
7. |
Click Next to start the conversion. Page 5 of the wizard shows how the conversion is progressing. |
8. |
Once the conversion is complete, the new (converted) project is open and shown in the Solution Explorer, as shown in Figure B.5. Figure B.5. The converted project is now ready for development in Visual Basic .NET.
|
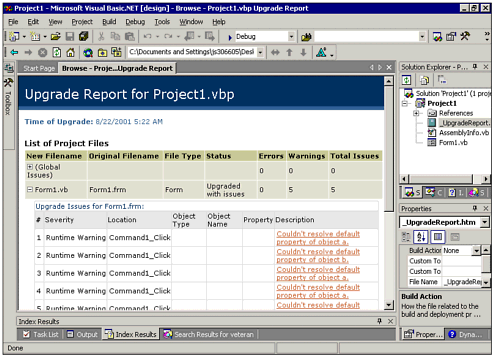
The Visual Basic Upgrade Wizard will take care of things such as simple syntax changes, converting from the use of a control’s Caption property to the new Text property, and so on. However, if there are issues that it can’t resolve, these issues will be presented in the Upgrade Report, which is an HTML page named _UpgradeReport.htm shown in the Solution Explorer. This page reports the results of the conversion process. If there are any issues that you need to deal with, which might keep your program from running as intended, you can click the plus sign next to either Global Issues or one of the forms or other classes for a list of suggested remedies. Figure B.6 shows a sample upgrade report that contains issues that the programmer must resolve before the program will run correctly.
Figure B.6. The Upgrade Report lists any issues that may have arisen during the conversion.
