
Session
7
Final Open Make:
Personalized Projects

Now that the makers have completed all the activity sessions, we recommend offering one or more Open Make sessions, dedicated to working on final projects. During these Open Make sessions, support makers as they imagine, design, and build personalized projects.
Session Goals
In this session, makers will
- Plan and create a culminating personal project, either individually or in small groups.
- Build on learning and ideas from earlier sessions, applying STEM concepts and techniques in a new medium or context.
- Dive deeper into earlier interests or incorporate new interests, media, or tools.
✓ Getting Ready
Set up the space so that your makers will be able to brainstorm and then build personal projects. Arrange the materials and tools so they are accessible and organized to help makers easily find and utilize everything safely.
Lay out materials from the previous sessions in addition to the Open Make box. You may want to add additional materials and tools, such as those listed in the “Session Flow” chapter in the section called “Open Make Box.”
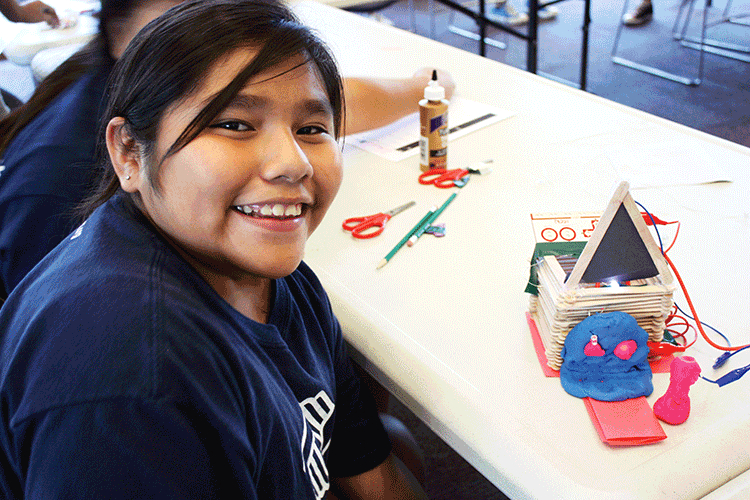
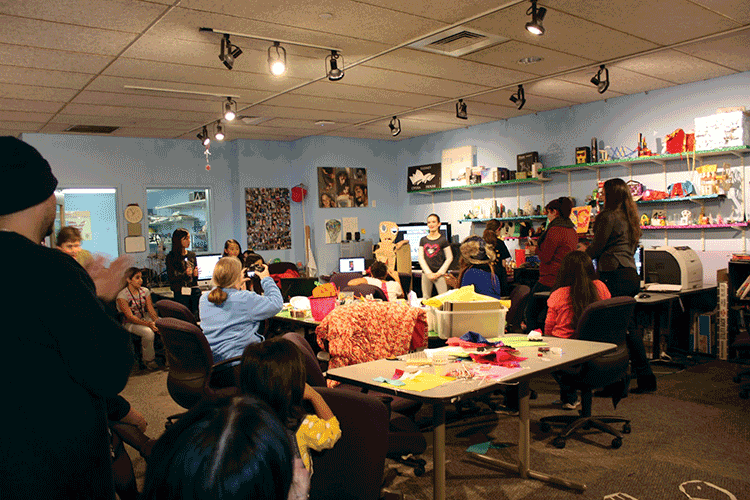
Working on Open Make projects (Youth Connections Clubhouse, Lismore, Australia)
 Generating Ideas

Idea wall (Awa City Clubhouse, Whanganui, New Zealand)
Start by brainstorming what projects the makers would like to work on, either individually, in pairs, or in small groups. They may choose to build on a project idea they worked on in a previous session or start something new.
Suggest that makers look at ideas they generated during previous sessions, which they documented in their design journals and on the idea wall. They can look through previous journal entries to consider the materials, tools, and projects they enjoyed making and that they might want to explore further.
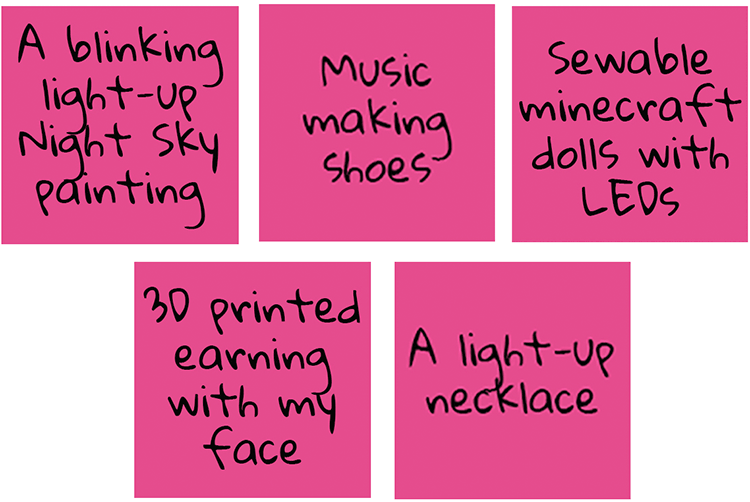
Sample project ideas
Give them sticky notes to write down the ideas they would like to pursue for their final projects. In addition to brainstorming what they want to make, they can also write notes about how they will make it—by listing different tools and techniques and any questions they have about the process. They can also write notes about why they want to make something, for example, to solve a problem, for fun, or to help someone. Makers can help each other in this process, adding notes and suggestions.

Project ideas with notes about process
 Building Open Make Projects
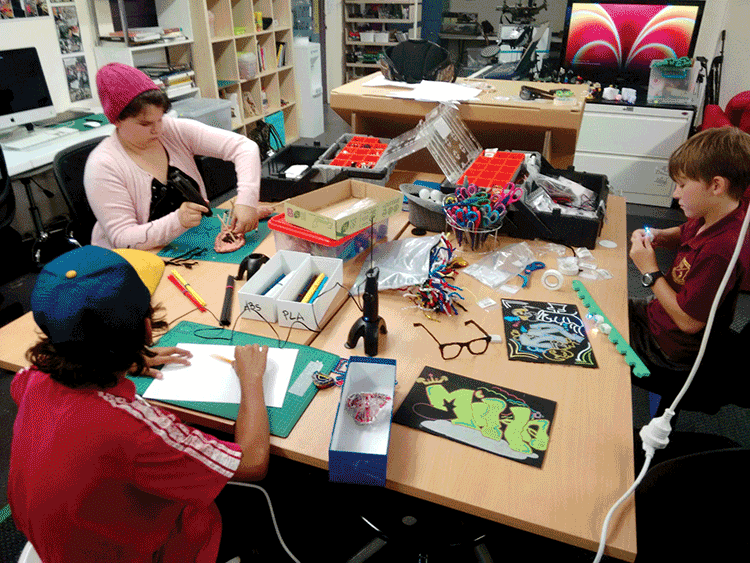
Developing an Open Make project (Gila River Boys & Girls Club, Sacaton, AZ)
Remember that Open Make is designated time when makers create their own projects, building on starter activities and pursuing a personal interest, question, or design challenge. Help your makers progress from a basic project they each have done in the previous sessions to a more complex and advanced project.
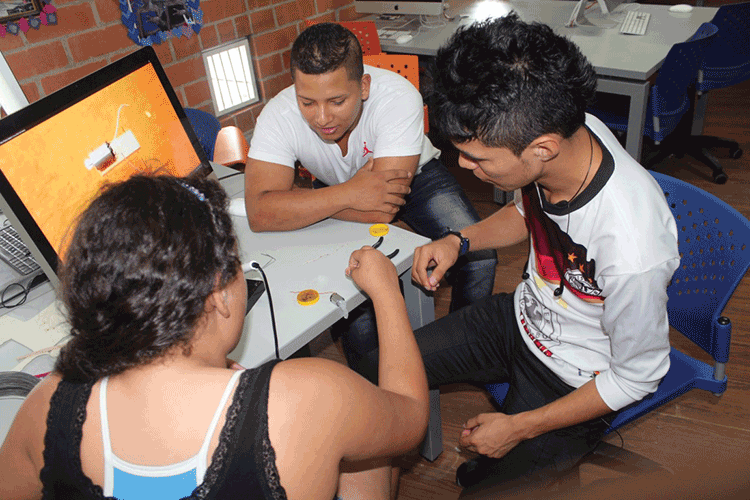
Experimenting with a motor (Tecnocentro Somos Pacífico Clubhouse, Cali, Colombia)
You can suggest that they build on one of their previous projects or combine several types of projects (for example, making a musical project that lights up, or combining paper circuits with a MaKey MaKey and Scratch). Encourage makers to sketch out their project ideas and then take photos and videos to document their process as they work on their projects.
 Sharing and Reflecting
Group critique (Flagship Clubhouse, Museum of Science, Boston, MA)
Light box paper circuit project (Gum Springs Community Center Clubhouse, Alexandria, VA)
Although your makers might want to keep building, be sure to make time for everyone to pause and document their Open Make projects in their Start Making! journals.
You can also organize group reflections such as a group critique, a mini-showcase, or an internal Maker Faire as a dress rehearsal for a final Show and Share community showcase. Makers can share versions of their personal projects, along with their prototypes and the materials they used, and get feedback from each other.
 Documenting and Displaying
Consider both low-tech and high-tech ways for makers to document and show off their work, including placing projects on shelves, bulletin boards, and poster boards, and documenting online.

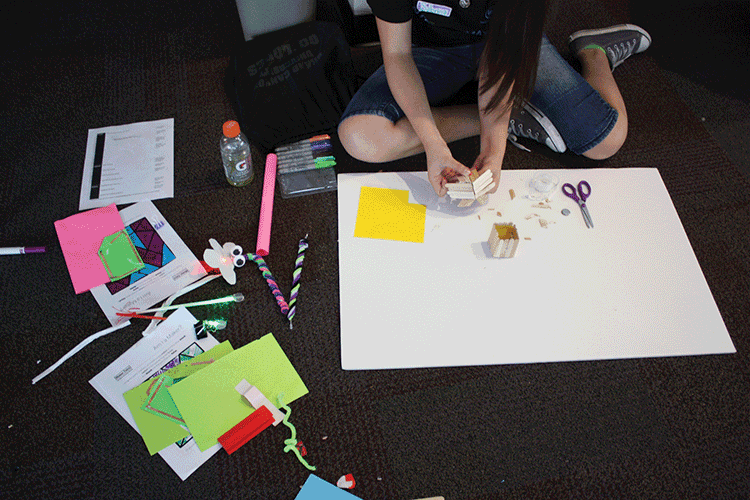
Documenting a project (Hennepin County Library Best Buy Teen Tech Center, Minneapolis, MN)
Encourage makers to be persistent in building and remixing, to find new solutions, and to overcome roadblocks.
Give reminders so makers are aware of how much time they have to work on their projects. Reserve time for them to document their projects (as well as help clean up!). See Session 8 for ideas on how to plan and get ready to share their projects at a Community Showcase.
Stories from the Clubhouse Network: Two Open Make Experiences
Open Make projects can lead in many different directions based on makers’ interests. Here are two examples of projects created during Open Make sessions.
Alien Autopsy Game
When makers were invited to explore any activity or tool during Open Make time, one girl immediately chose MaKey MaKey. She started by playing around with Play-Doh, making tiny aliens. Then a sample project on the shelf caught her eye: a Valentine candy box version of the board game Operation. The goal of the game was to pick up a piece of candy from the candy box without touching the edge. The makers of that game had used a MaKey MaKey board and programmed a project in Scratch, so that it would buzz if the player touched the edge of the box.

Sharing the final project (Flagship Clubhouse)
Meanwhile, one of the staff members had brought in a large refrigerator-sized cardboard box. Inspired by the Valentine candy box, everyone brainstormed the idea of making a life-sized version of one of the tiny Play-Doh aliens. Mentors helped the young maker sketch the body of the alien on the box and think about how she could use the materials and tools provided to create her own game. Eventually she created a MaKey MaKey interface with keys at different parts of the alien’s body, and she used Scratch to program her game. When touched, each body part emitted a different sound, like a pumping heart or a stomach growl.
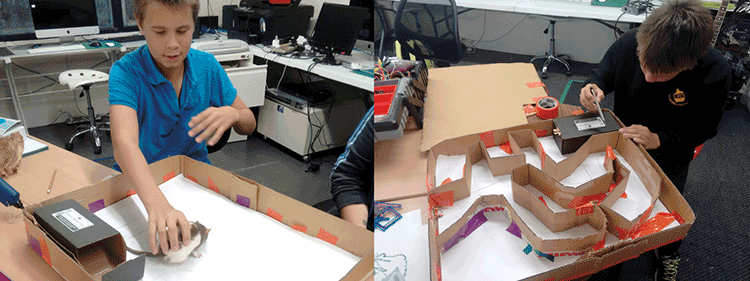
Building a maze (Youth Connections Clubhouse)
Maze for a Pet
During the Open Make session at the Youth Connections Clubhouse in Lismore, Australia, one young maker wanted to design a maze for his pet rat, Beauty. Because he had a special bond with his rat, he was motivated to spend time and attention working out the details of the project. With support from mentors, he drew a maze on paper, and then built the floor, walls, and ceiling of the maze using corrugated cardboard. He added a box for Beauty to nest in. Then he wired up some colored LEDs to 3V batteries and made a lighted passage through the maze. He was excited to let his rat explore the maze and was proud of the project he had created.
Reflections from Start Making! Facilitators

Facilitator helping during an Open Make session (Casa de La Juventud Clubhouse, Mora, Costa Rica)
Here are a few reflections from Clubhouse Coordinators on facilitating Open Make sessions.
Try It and See
To me, Open Make time is about igniting the curiosity for experimentation within our youth so that their interest in figuring out how is stronger than their aversion to failure or not knowing. Yes, we need to show them what can be done and how to use tools they’ve never seen, but I think our goal should be eventually to be unnecessary to their exploration. Makers don’t need to know the way to do something; they just need the curiosity to figure out a way, so I think our job is to instill that mindset more than specific skills.
—Anna Fleming, Gold Crown Clubhouse, Denver, CO
Connecting the Dots
By engaging in conversations with one of our Clubhouse members, I was able to figure out her interests and connect her to making activities. She loved video games, so I challenged her to create her own. She took an interest in physical computing and began creating projects on her own. She likes being in charge when working in groups, so I gave her the title of Project Manager. . . . Taking the time to learn about her interests allowed me to help her identify her strengths and build confidence so that she can proudly call herself a maker.
—Jaleesa Trapp, Tacoma Clubhouse, Tacoma, WA
Creativity Is the Main Ingredient
Making is taking any project and finding ways to expand on it. An example of this is taking something like a water bottle and making a beautiful flower out of it. A maker will also find ways to do more with that water bottle by finding a different object to make, like a plastic dress for a character made from scrap materials. I’m a huge fan of creating things out of recycled goods. Being a maker doesn’t mean you have to go out and spend a bunch of money on high-tech electronics. Being a maker means taking what you have, like trash, and viewing it differently—think of it as material that you get to reinvent. A great example of this is plastic. Plastic is strong and very versatile, meaning it can have many uses. I challenge all makers to reinvent a piece of plastic material and see what you come up with!
—Audrey Maestas, Compadre Boys & Girls Club Clubhouse, Chandler, AZ
Additional Resources
- Tinkering Studio project ideas: tinkering.exploratorium.edu/projects
- Instructables DIY projects website: instructables.com
- Mentoring tips: youngmakers.org/mentoring-tips/
- Spin turntable to photograph creations: spin.media.mit.edu
