Chapter 12
Getting More from a Tablet PC
Windows comes with many features designed to help you get the most out of your tablet PC. In this chapter, you learn how to use gestures, type with and configure the touch keyboard, add a second monitor, and more.
Using Gestures to Control Windows
Input Text with the Touch Keyboard
Understanding Gestures
You can get the most out of your Windows tablet by learning the various gestures that you can use to initiate actions, manipulate data, and control the elements on your screen. Traditional computers use the mouse and keyboard to input data and make things happen. A tablet lacks these input devices; instead, you must rely on your fingers because tablets are built to respond to touches on the glass screen surface. Some tablets also come with a small penlike device called a stylus, which you can use instead of your finger for some actions.
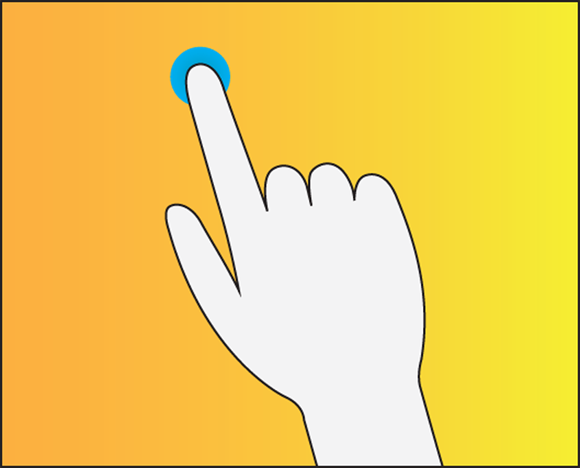
Tap
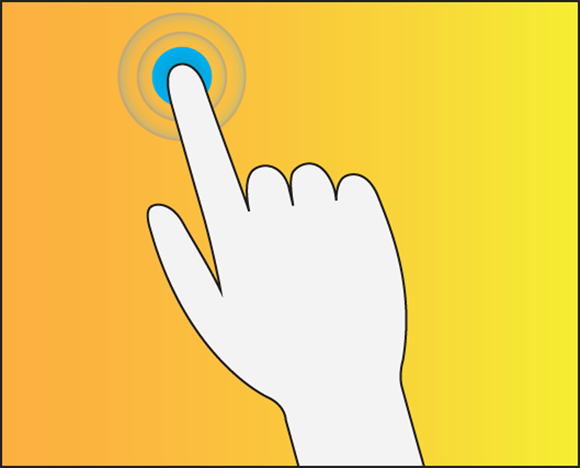
Use your finger to touch the screen and then immediately release it. You use this gesture to initiate an action.
Double-Tap
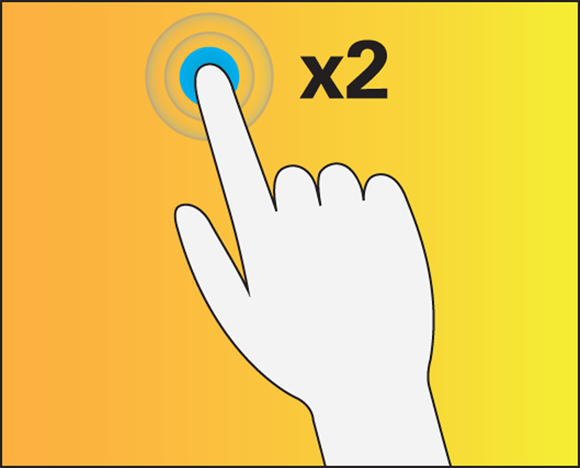
Tap and release the screen twice, one tap right after the other. You also use this gesture to initiate an action, although mostly with older desktop programs.
Tap and Hold
Press your finger on the screen for a second or two. This gesture usually displays a menu of options related to whatever screen object you are pressing.
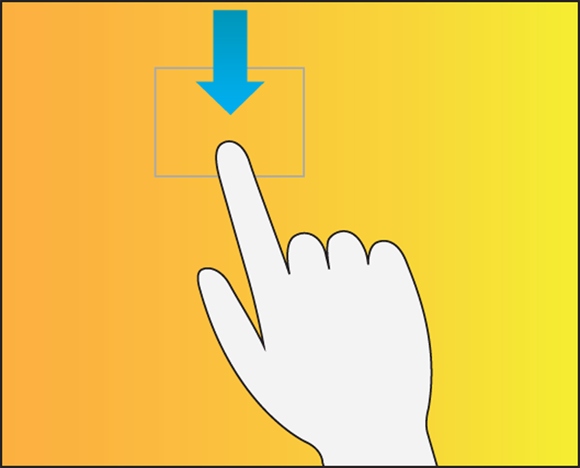
Slide
Place your finger on the screen, move your finger, and then release. You use this gesture either to move an object from one place to another or to scroll the screen in the same direction as your finger.
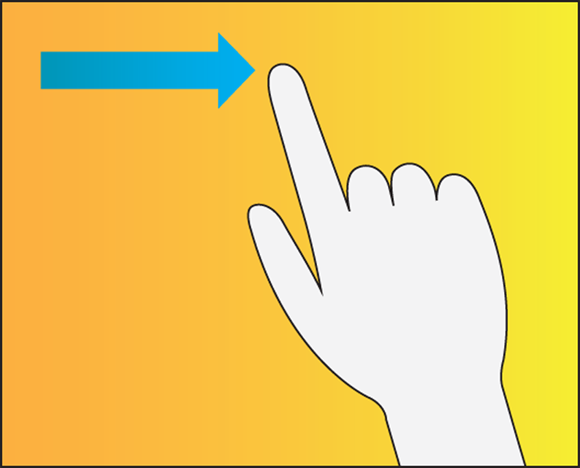
Swipe
Quickly and briefly run your finger along the screen. Windows has specific swipe gestures that display screen elements. For example, you swipe up from the bottom of the screen to display the taskbar.
Pinch
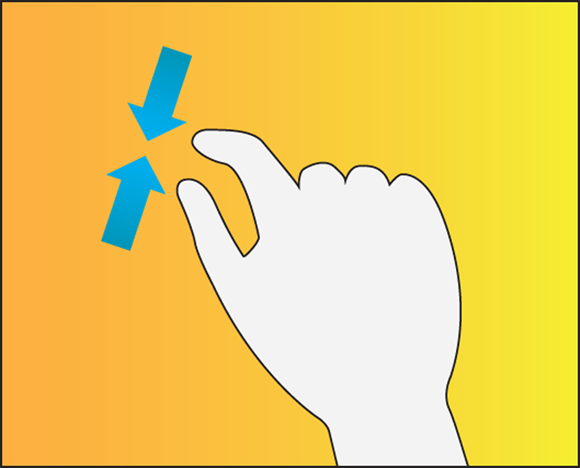
Place two fingers apart on the screen and bring them closer together. This gesture zooms out on whatever is displayed on the screen, such as a photo.
Spread
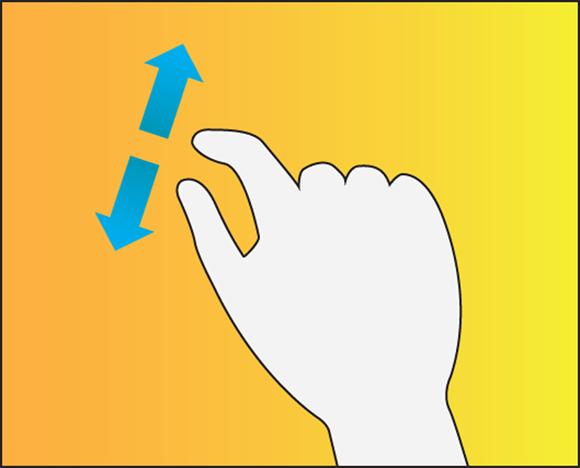
Place two fingers close together on the screen and move them farther apart. This gesture zooms in on whatever is displayed on the screen, such as a photo.
Turn
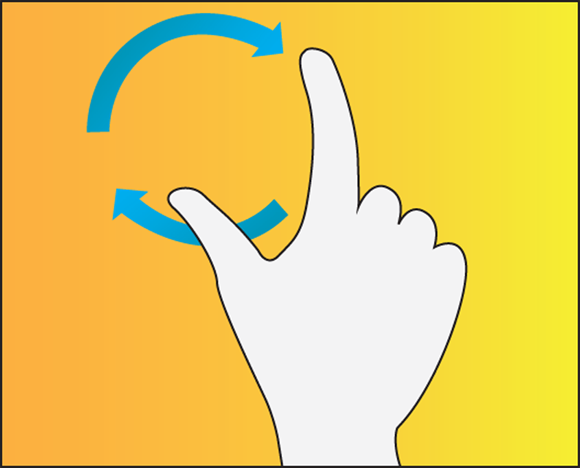
Place two fingers on the screen and turn them clockwise or counterclockwise. This gesture rotates whatever is displayed on the screen, such as a photo.
Using Gestures to Control Windows
To use your tablet efficiently and accurately, you need to know how to use gestures to control Windows. Using a tablet is a different experience than using a regular computer, but Windows was built with the tablet in mind, so it is intuitive and easy to learn.
If you have never used a tablet PC before, the main difference is that you use your fingers (or stylus) to run applications, select items, and manipulate screen objects. This might seem awkward at first, but it will come to seem quite natural if you practice the techniques shown here as much as you can.
Using Gestures to Control Windows
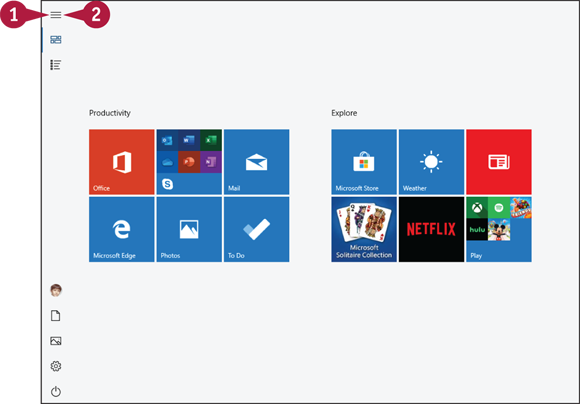
Initiate an Action
![]() Position your finger or the stylus over the object that you want to work with.
Position your finger or the stylus over the object that you want to work with.
![]() Tap the screen.
Tap the screen.
Depending on the object, Windows either selects the object or performs some operation in response to the tap, such as displaying more of the Start screen.

Swipe the Screen
![]() Quickly move your finger or the stylus across the screen in a swipe motion:
Quickly move your finger or the stylus across the screen in a swipe motion:
![]() You can swipe left from the right edge of the tablet to display the Notifications pane.
You can swipe left from the right edge of the tablet to display the Notifications pane.
![]() You can swipe right from the left edge of the tablet to display Task View for switching between running applications and viewing your timeline.
You can swipe right from the left edge of the tablet to display Task View for switching between running applications and viewing your timeline.
![]() You can swipe (or slide) up, down, left, or right to navigate an app’s screens.
You can swipe (or slide) up, down, left, or right to navigate an app’s screens.
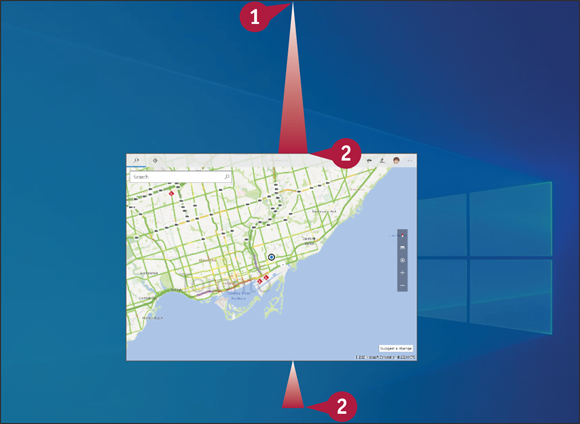
Shut Down an App
![]() Place your finger or stylus at the top edge of the app screen.
Place your finger or stylus at the top edge of the app screen.
![]() Slide down until the app window turns into a thumbnail, and then slide the thumbnail down to the bottom of the screen.
Slide down until the app window turns into a thumbnail, and then slide the thumbnail down to the bottom of the screen.
Windows shuts down the app.
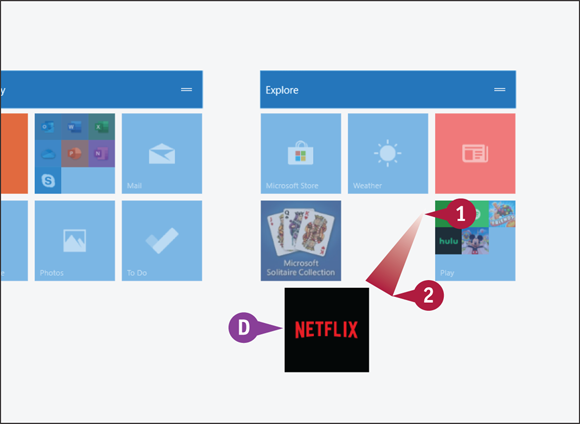
Move an Item
![]() Position your finger or the stylus over the item that you want to move.
Position your finger or the stylus over the item that you want to move.
![]() Tap and hold the item and immediately begin moving your finger or the stylus.
Tap and hold the item and immediately begin moving your finger or the stylus.
![]() The object moves along with your finger or the stylus.
The object moves along with your finger or the stylus.
![]() When the object is repositioned where you want it, lift your finger or the stylus off the screen to complete the move.
When the object is repositioned where you want it, lift your finger or the stylus off the screen to complete the move.
Input Text with the Touch Keyboard
If you are using a tablet, or a PC in tablet mode, you do not have a physical keyboard available. To input text, Windows offers the touch keyboard, which is a virtual keyboard that appears on the screen. You input text using this keyboard by tapping the keys. Windows offers several touch keyboard types, and some characters are difficult to find, so you need to know how to use the touch keyboard to get the most out of Windows.
Input Text with the Touch Keyboard
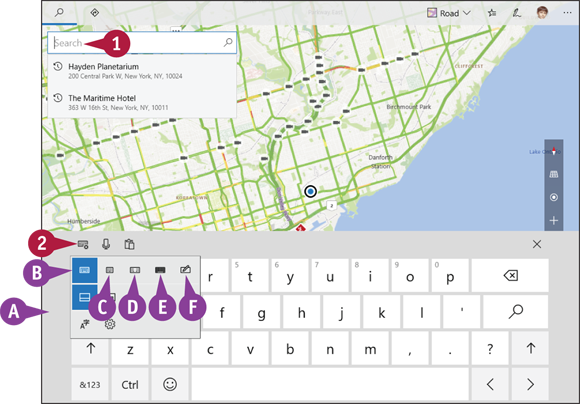
Select a Keyboard
![]() In an app, tap the text box area in which you want to insert text.
In an app, tap the text box area in which you want to insert text.
![]() Windows displays the touch keyboard.
Windows displays the touch keyboard.
![]() Tap Keyboard Settings (
Tap Keyboard Settings (![]() ).
).
Windows displays the keyboard options.
![]() You can tap
You can tap ![]() for the default keyboard.
for the default keyboard.
![]() You can tap
You can tap ![]() for the compact keyboard.
for the compact keyboard.
![]() You can tap
You can tap ![]() for the split keyboard.
for the split keyboard.
![]() You can tap
You can tap ![]() for the standard keyboard.
for the standard keyboard.
![]() You can tap
You can tap ![]() for the handwriting panel.
for the handwriting panel.
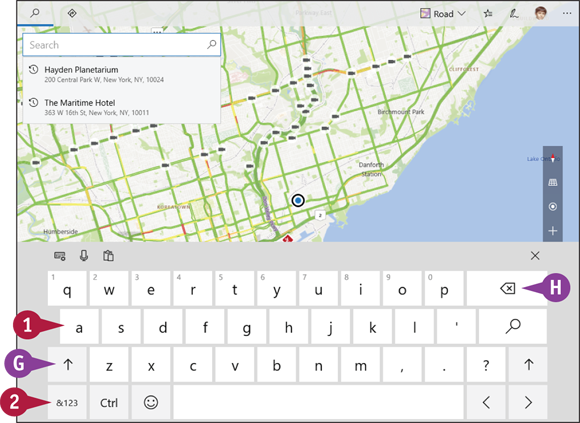
Input Text
![]() Tap the keys for the characters that you want to input.
Tap the keys for the characters that you want to input.
Windows inserts the text.
![]() To enter an uppercase letter, you can tap Shift (
To enter an uppercase letter, you can tap Shift (![]() ) and then tap the letter.
) and then tap the letter.
![]() To delete the previous character, you can tap Backspace (
To delete the previous character, you can tap Backspace (![]() ).
).
![]() To enter numbers and other symbols, tap &123 (
To enter numbers and other symbols, tap &123 (![]() ).
).
Windows displays the numbers and symbols.
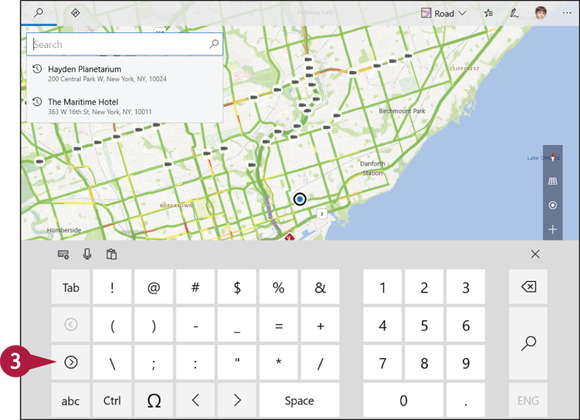
![]() Tap More (
Tap More (![]() ) to see more symbols.
) to see more symbols.
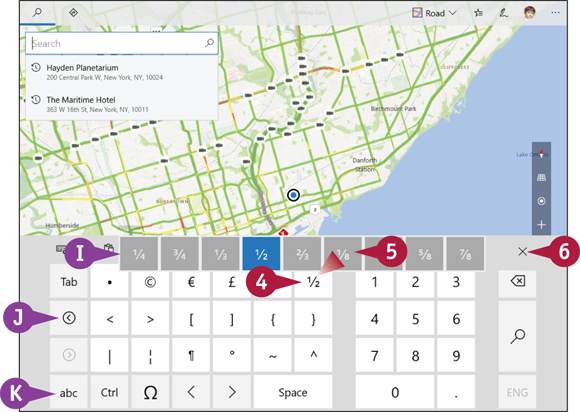
![]() To see more symbols, tap and hold a key.
To see more symbols, tap and hold a key.
![]() Windows displays the extra symbols.
Windows displays the extra symbols.
![]() Slide your finger to the symbol that you want and then release.
Slide your finger to the symbol that you want and then release.
![]() You can tap Back (
You can tap Back (![]() ) to return to the previous symbols.
) to return to the previous symbols.
![]() You can tap
You can tap ![]() to return to the letters.
to return to the letters.
![]() When you are done, tap Close (
When you are done, tap Close (![]() ) to hide the keyboard.
) to hide the keyboard.
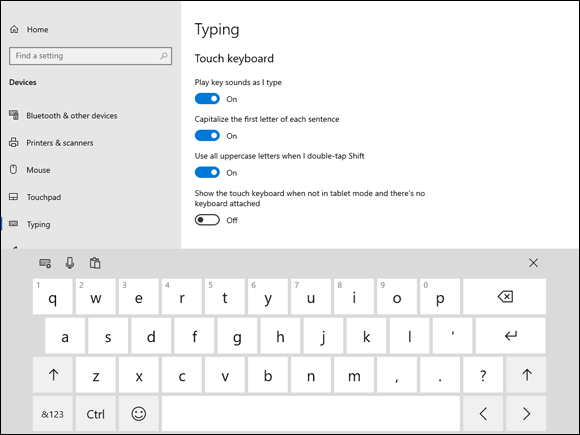
Configure the Touch Keyboard
The touch keyboard offers a number of features that make it easier to use. For example, the touch keyboard automatically adds a period and space when you double-tap the spacebar, and it automatically capitalizes the first letter of each sentence.
However, the touch keyboard also has some features that you might not like — such as the noise it makes each time you tap a key. You can use the Settings app to turn on the touch keyboard features that you like and turn off the features that you do not like.
Configure the Touch Keyboard
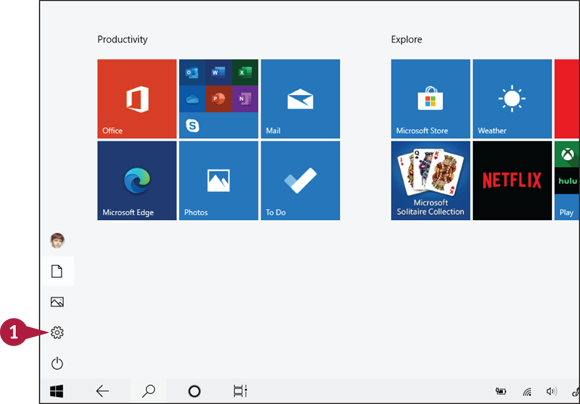
![]() Tap Settings (
Tap Settings (![]() ).
).
The Settings app appears.
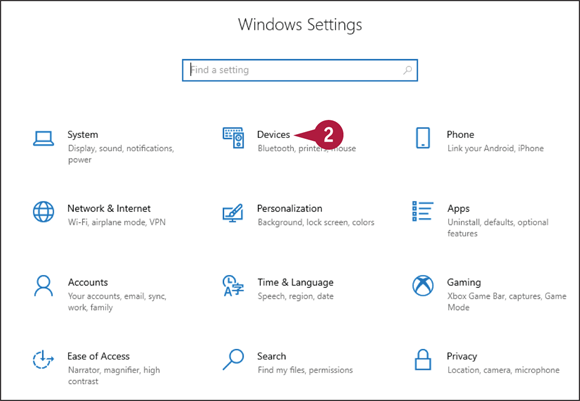
![]() Tap Devices.
Tap Devices.
The Devices screen appears.
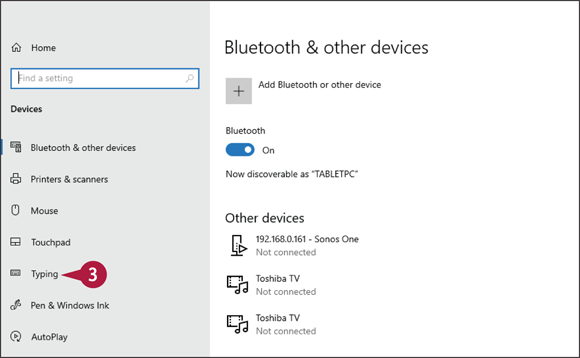
![]() Tap Typing.
Tap Typing.
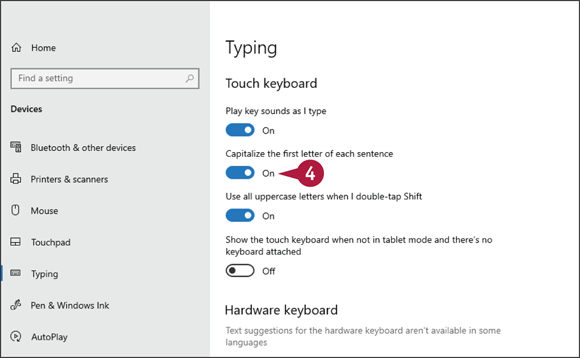
![]() Under Touch Keyboard, tap each option On or Off, according to your preferences.
Under Touch Keyboard, tap each option On or Off, according to your preferences.
Windows applies your new settings to the touch keyboard.
Configure Your Tablet to Work with a Second Monitor
You can improve your productivity and efficiency by using a second monitor. To work with an external monitor, your tablet must have a video output port, such as VGA, DVI, or HDMI. If you do not have such a port, check with the manufacturer to see if an adapter is available that enables your tablet to connect with an external monitor.
After you have connected your tablet and the external monitor, you then need to configure Windows to extend the Start screen to both the tablet screen and the external monitor.
Configure Your Tablet to Work with a Second Monitor

![]() Connect the second monitor to your tablet.
Connect the second monitor to your tablet.
![]() Tap Settings (
Tap Settings (![]() ).
).
The Settings app appears.
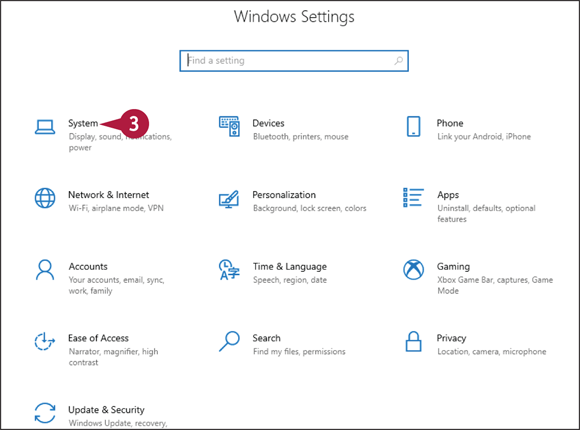
![]() Tap System.
Tap System.
The System screen appears.
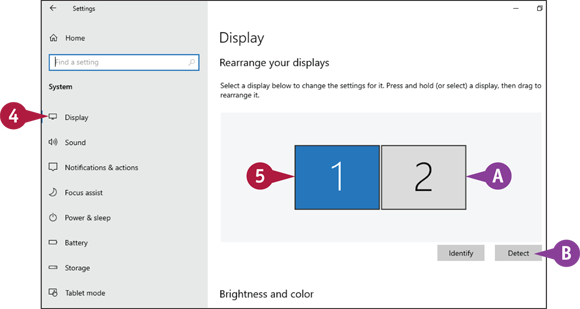
![]() Tap Display.
Tap Display.
![]() Windows displays an icon for each connected monitor.
Windows displays an icon for each connected monitor.
![]() If you are not sure which icon corresponds to which monitor, click Detect. Windows projects the icon number onto the corresponding display.
If you are not sure which icon corresponds to which monitor, click Detect. Windows projects the icon number onto the corresponding display.
![]() Tap the monitor that you want to set as the main display.
Tap the monitor that you want to set as the main display.
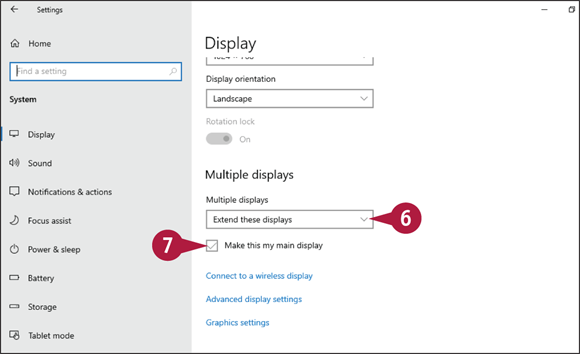
![]() Tap the Multiple displays
Tap the Multiple displays ![]() and then tap Extend these displays.
and then tap Extend these displays.
![]() Tap Make this my main display (
Tap Make this my main display (![]() changes to
changes to ![]() ).
).
Windows connects to the second monitor, uses it to extend the desktop, and uses the monitor that you selected as your main display.
Adjust Screen Brightness
You can extend the battery life of your tablet by turning down the screen brightness. Your tablet screen uses a lot of power, so turning down the brightness also reduces battery drain.
On the other hand, if you have trouble seeing the data on your tablet screen, you can often fix the problem by increasing the screen brightness. This is not a problem when your tablet is running on AC power. However, you should not use full screen brightness for very long when your tablet is running on its battery because a bright screen uses a lot of power.
Adjust Screen Brightness
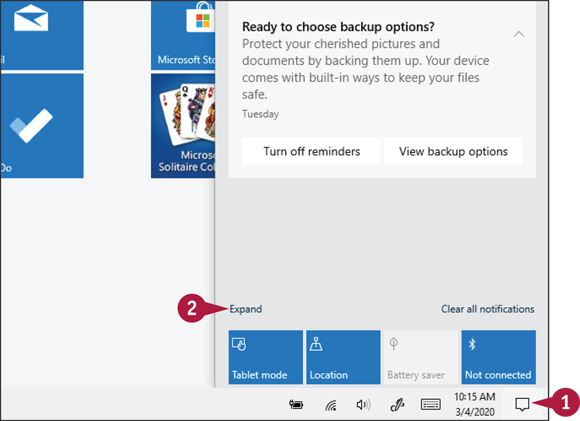
![]() Tap Notifications (
Tap Notifications (![]() ).
).
![]() Tap Expand.
Tap Expand.

Windows shows all of its notification screen actions.
![]() Tap and drag the brightness slider to set the brightness as you prefer it.
Tap and drag the brightness slider to set the brightness as you prefer it.
Windows puts the new brightness setting into effect.
Monitor Battery Life
You can use the Power icon in the desktop taskbar’s notification area to monitor your tablet’s remaining battery power. When the battery is at maximum charge, the icon shows as all white. As the battery charge falls, the amount of white in the icon also falls. You can also position your stylus cursor over the icon or tap the icon to see a tool tip that shows you the current battery level.
Monitor Battery Life
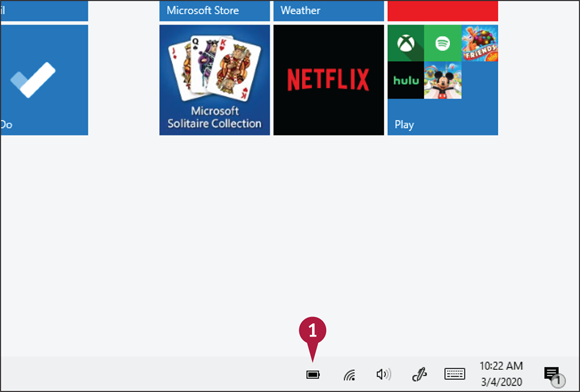
![]() Tap Power (
Tap Power (![]() ).
).
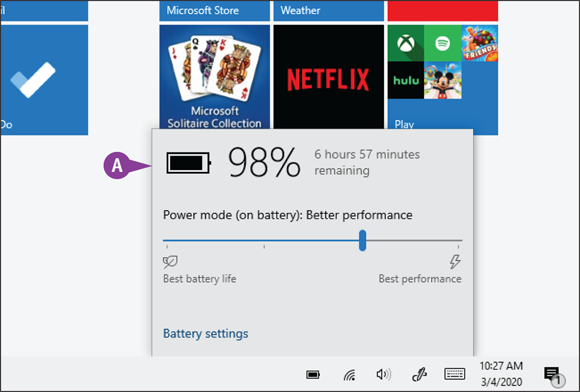
![]() The current battery level appears here.
The current battery level appears here.