Chapter 7
MAKING YOUR OWN

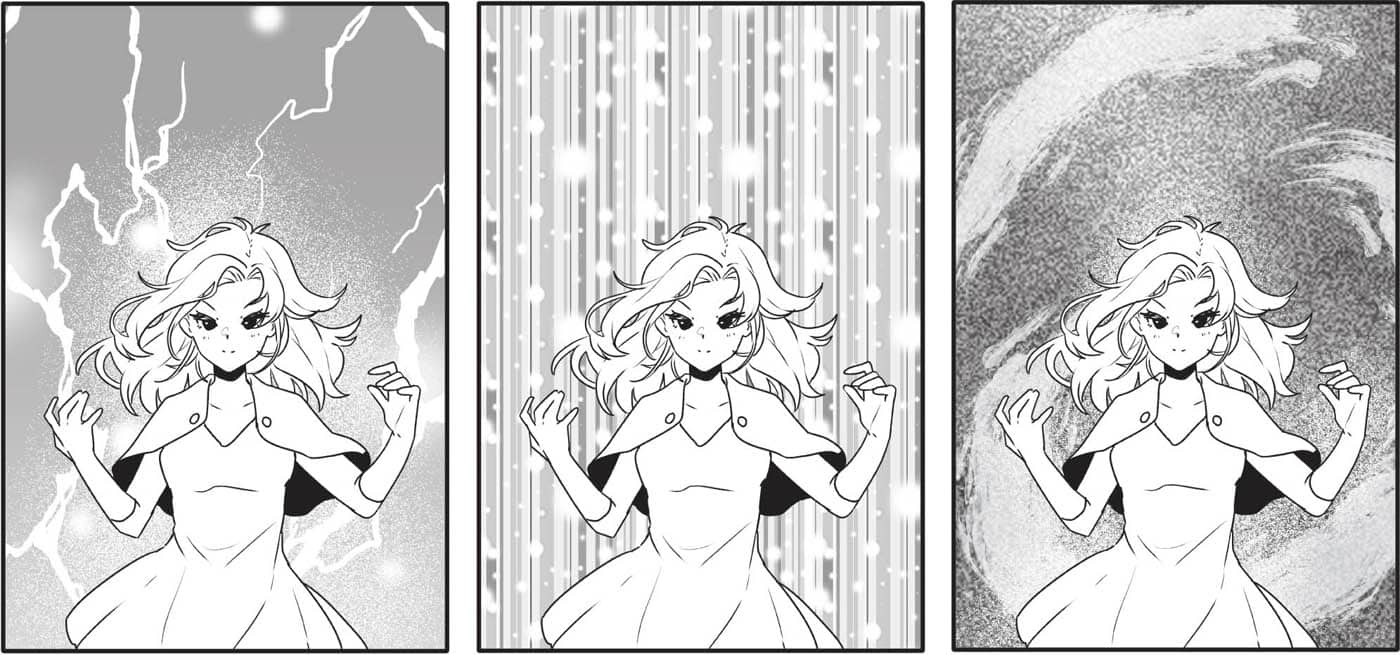
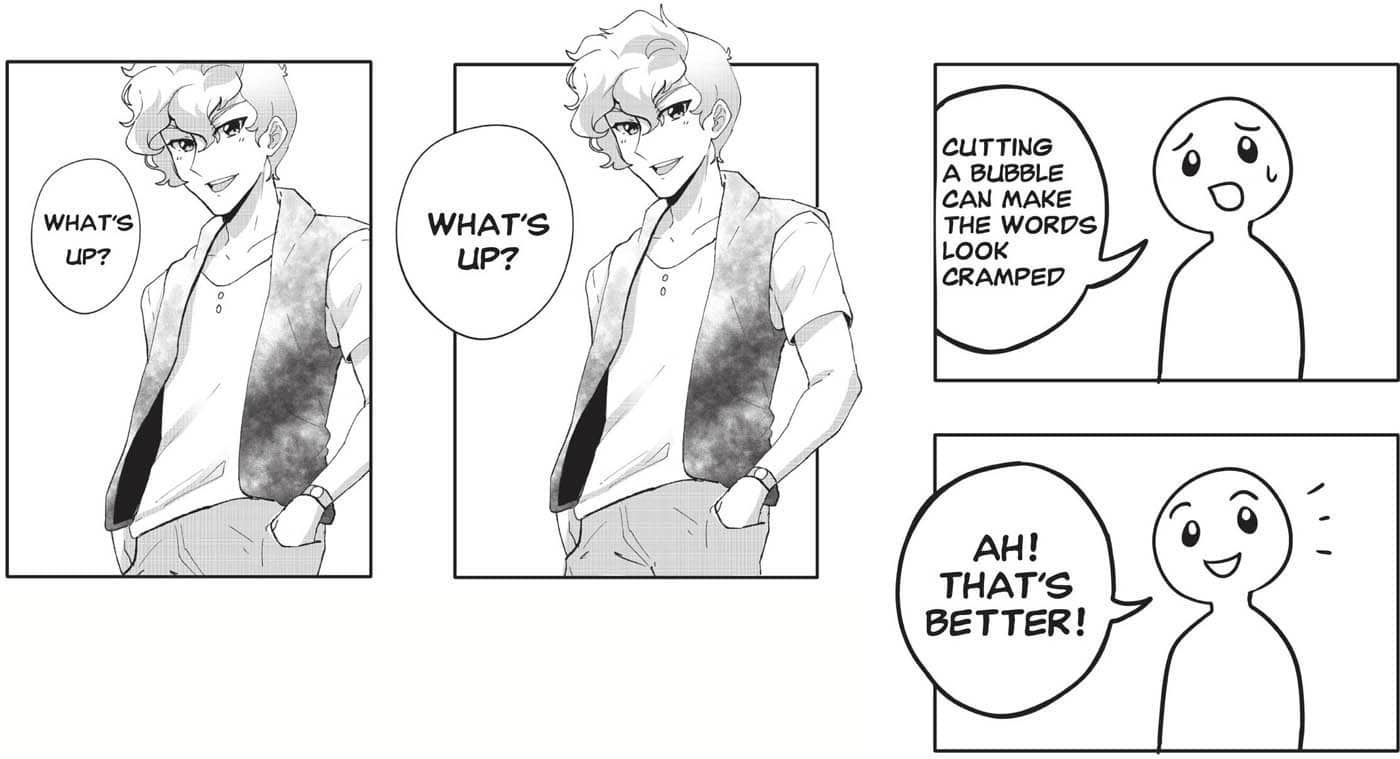
Manga panels are the containers on each page that include the scenes, characters, and dialogue. Strategic layout of these panels helps the story flow. Typically, a manga page is read from the top, right to the bottom, left as per Japanese reading conventions. But as manga becomes more popular in Western cultures, many Western mangaka draw their stories left to right. It’s up to you how you build your manga pages. Try to limit your panels to one to six per page. Sometimes one panel can take up a whole page! Using fewer panels per page helps let each scene “breathe” and not feel too crammed, as well as making the manga more readable. Characters don’t need to stay confined in the panel’s boundaries (above). A great way to have a scene stand out is for the characters to break the panel lines and into the open areas of the page. Similarly, you also don’t have to confine word bubbles in the borders of a panel (right). If a word bubble feels cramped, try having it sit on top of the panel borders. Spreading a speech bubble over two panels can also help lead the viewer’s eyes to where they should go next. Learn more on word balloons on this page. Panels can be a wide variety of shapes and sizes. A large panel that covers most of the page can be used to establish a setting or to bring emphasis or climax to a certain point in the story. Small panels are used for quicker, fast-paced parts of the story where lots of things may be happening. Combine small and large panels on a page to give your reader a variety of things to look at. Panel shapes can also range from standard rectangles to irregular quadrilaterals of any size and orientation! Straight lines are used 99 percent of the time, but experiment with as many fun and different shapes as you’d like for your own storytelling. When action or drama strikes your scene, you can communicate a change of pace by shifting from horizontal and vertical panels to diagonal panels and layouts. These give the reader a sense of movement and urgency that help dramatize action sequences. For the scene above, you’ll see that there are a few large panels on two pages. One scene can stretch over multiple pages depending on how significant it is. If an action scene is important in your story, give it the room it deserves! You’ll also see a dramatic perspective in the last panel. When done correctly, panels with dramatic perspectives can really enhance the impact of a particular scene. Having a fist look like it’s coming at you has more impact than seeing the punch from afar. Finally, the “BAM” sound effect and glove are breaking the panel borders, which allows for extra impact at the climax of the scene. Word balloons don’t just contain the words a character says. They also aid the reader in understanding the tone and emotion that was used by the character. Avoid using too many different kinds of balloons on one page, as that can distract from the characters and the scene. Also try to limit word balloons to one to three sentences. If you find yourself writing too much, then add more panels to spread the dialogue out! The shapes of the word balloons vary to show whether a character’s speaking voice is relaxed and casual, happy or excited, angry, or trembling. In manga, they either have a small balloon tail or none at all. If you have a character not shown in the scene talk, use an inverted balloon tail to show that the speech isn’t coming from any of the characters drawn in the panel. In manga, sound effects are written out using onomatopoeia. Most of these phonetic sounds are self-explanatory, but occasionally you will come across sounds or situations that may be harder to describe. When this happens, get creative! Just as each manga artist has a unique art style, each person can describe sounds differently in their stories. A feature of sound effects that is almost more important than the word itself is how the word is written or drawn. A soft tapping of shoes on the floor should be written small, but an explosion should be large with thick letters and could include patterns or color. Bring life and different meanings to your sound effects by making sure the way they are written matches the sound volume in the story. Rain can be written out with a small “shaaaaaa.” Walking is often shown as “tmp tmp tmp” or “tp tp tp.” Explosions are represented with a big “KA-BOOM, “CRASH,” “POP,” or “BOOM!” Small kisses are written as “chu~.” Depressed and gloomy atmospheres, which are exaggerated and usually used comedically, are often accompanied by a “doooooon” sound effect. Heartbeat sounds often accompany blushing and signify the racing heart of someone who’s in love. This sound is shown as “doki doki” in Japanese-language manga and “ba-dump ba-dump” in English-language manga. The finishing stage of creating a manga, after lining it all, is adding manga screentones. Screentones are a semi-transparent, adhesive film with different patterns on them that you cut and stick onto your manga to add shadows, textures, gradients, and atmosphere. Depending on where you live, it can be hard to source screentones, as they are predominantly sold in Japan. If you don’t have access to screentones, an alternative is to use pens and monochromatic markers to re-create similar effects and shading. Here are four popular screentone overlays used to give a scene a distinctive atmosphere and feeling. Motion lines are used when a character is shocked or surprised. Soft fluff shows feelings of happiness, contentment, and love. A downward-flowing gradient provides a gloomy or moody atmosphere. A cloudy atmosphere signifies that a character is planning or thinking, or if something is on the character’s mind. Apart from character poses and page layouts, there are other ways you can add a bit more dynamic action into your scenes. Speed lines are useful when a character or object is moving fast. The lines blur and stretch, indicating the speed of the object. Experiment with a different number of lines to see how it affects the way a reader will interpret the movement. Power auras convey a character’s incredible power. Use lightning bolts, power swirls, or whatever you feel best represents the character and their potential. Once again, experiment!PANELS

PANEL SHAPES & SIZES
USING PANELS TO AID ACTION

WORD BALLOONS


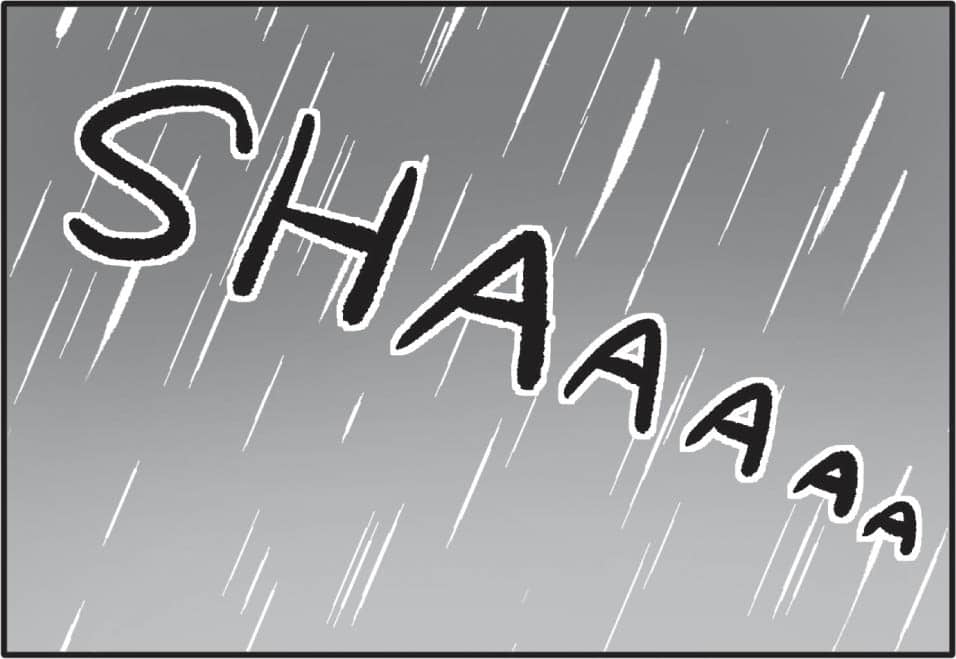
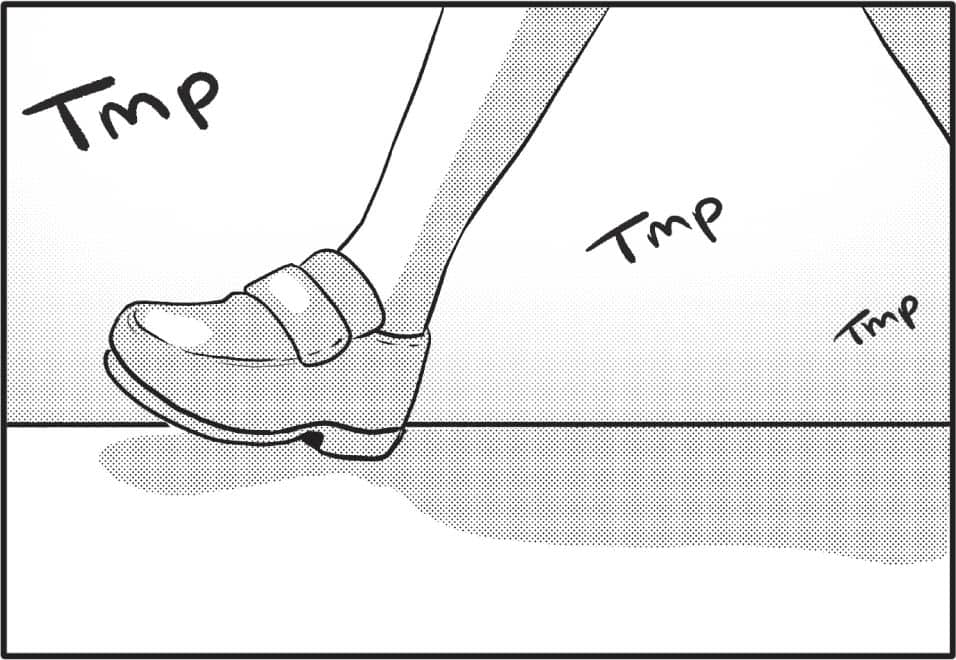
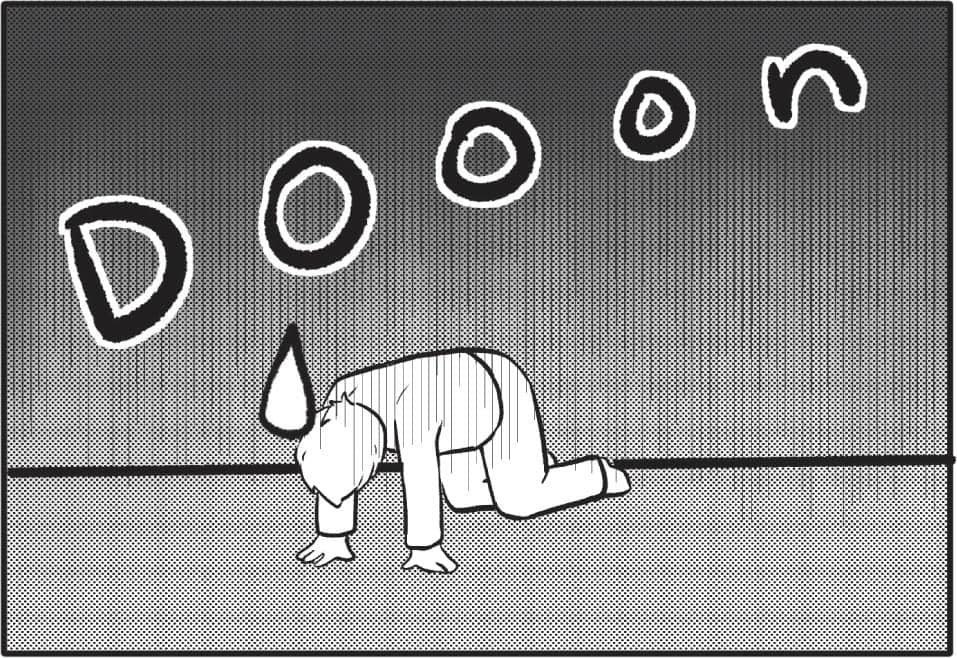
SOUND EFFECTS


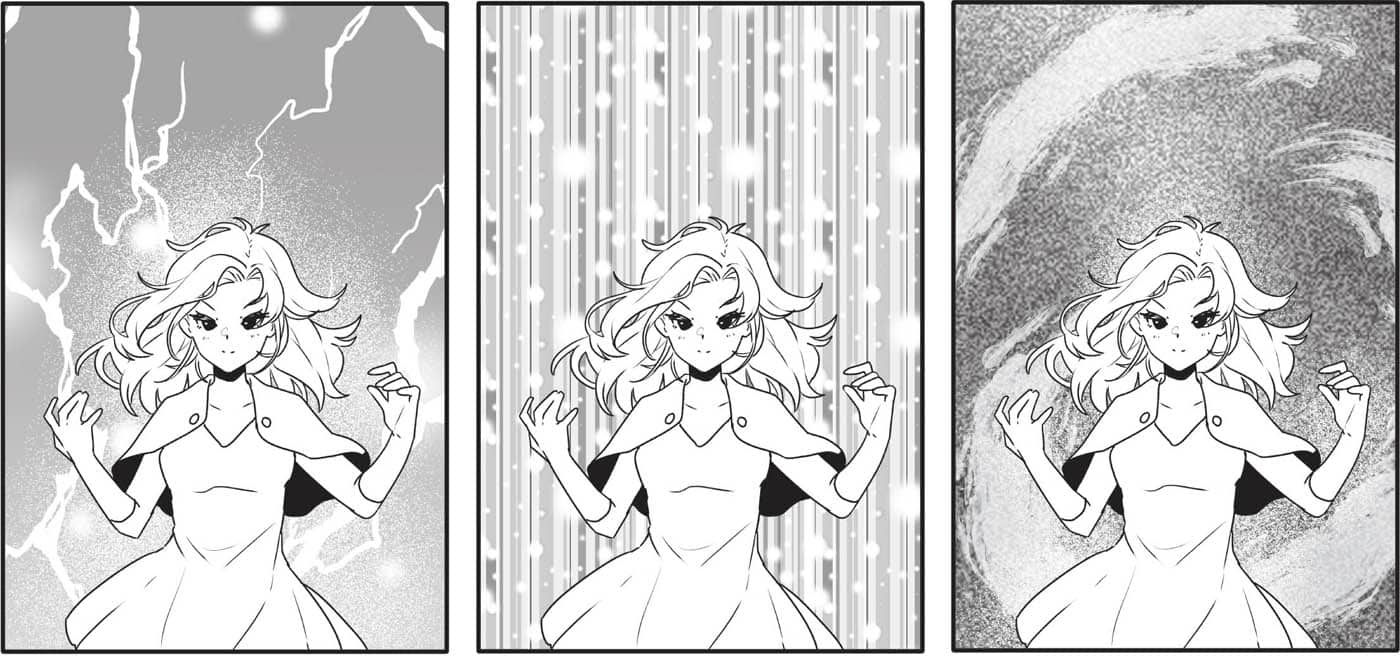
OVERLAYS


ACTION EFFECTS

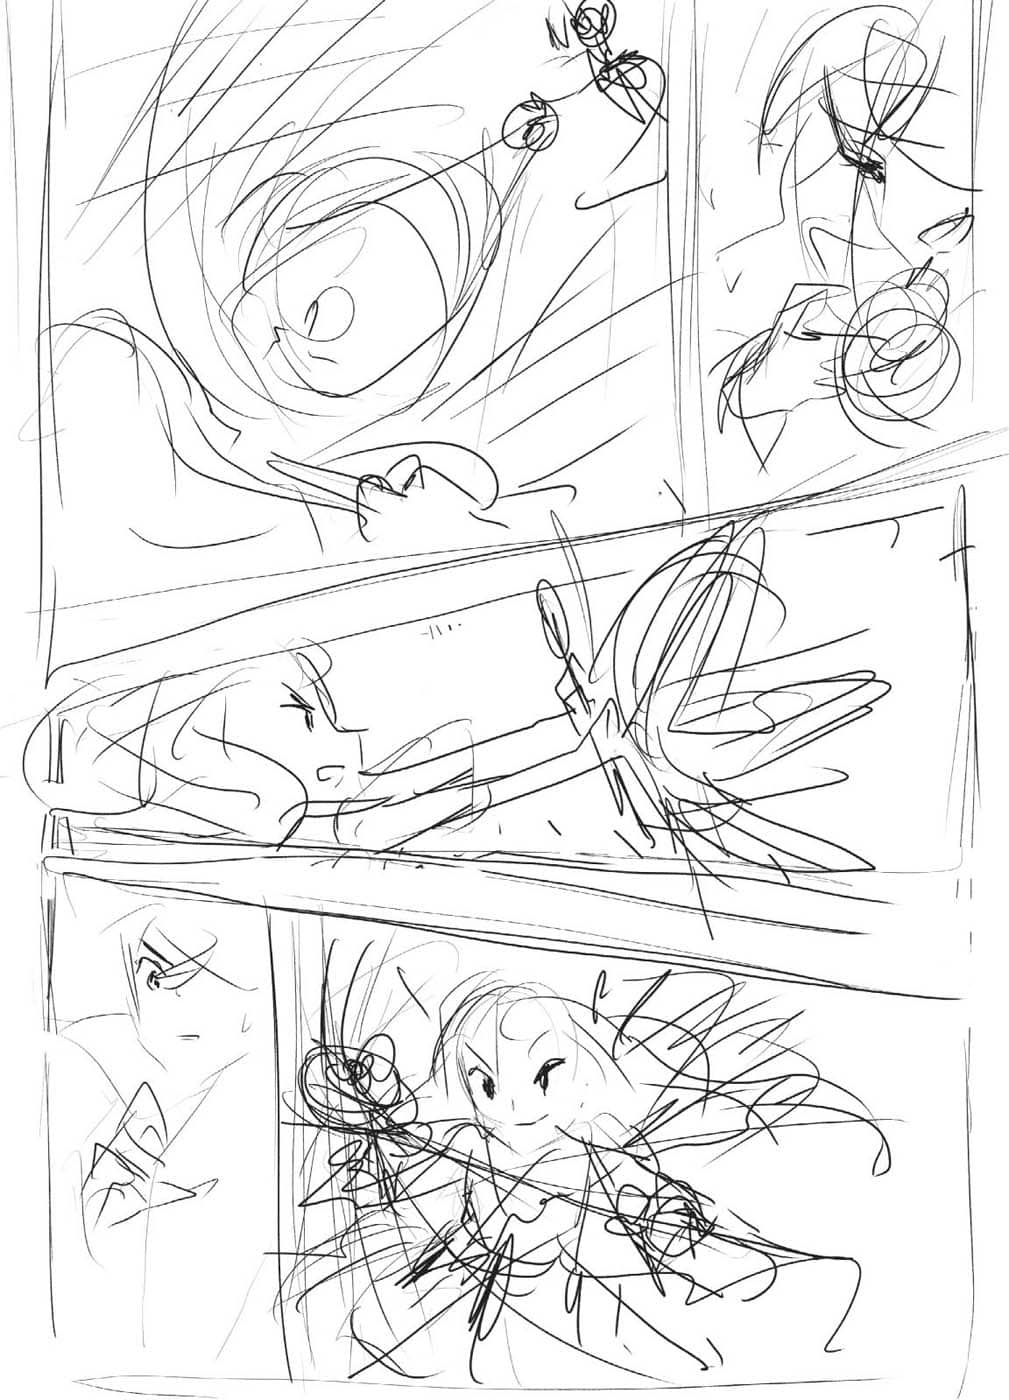
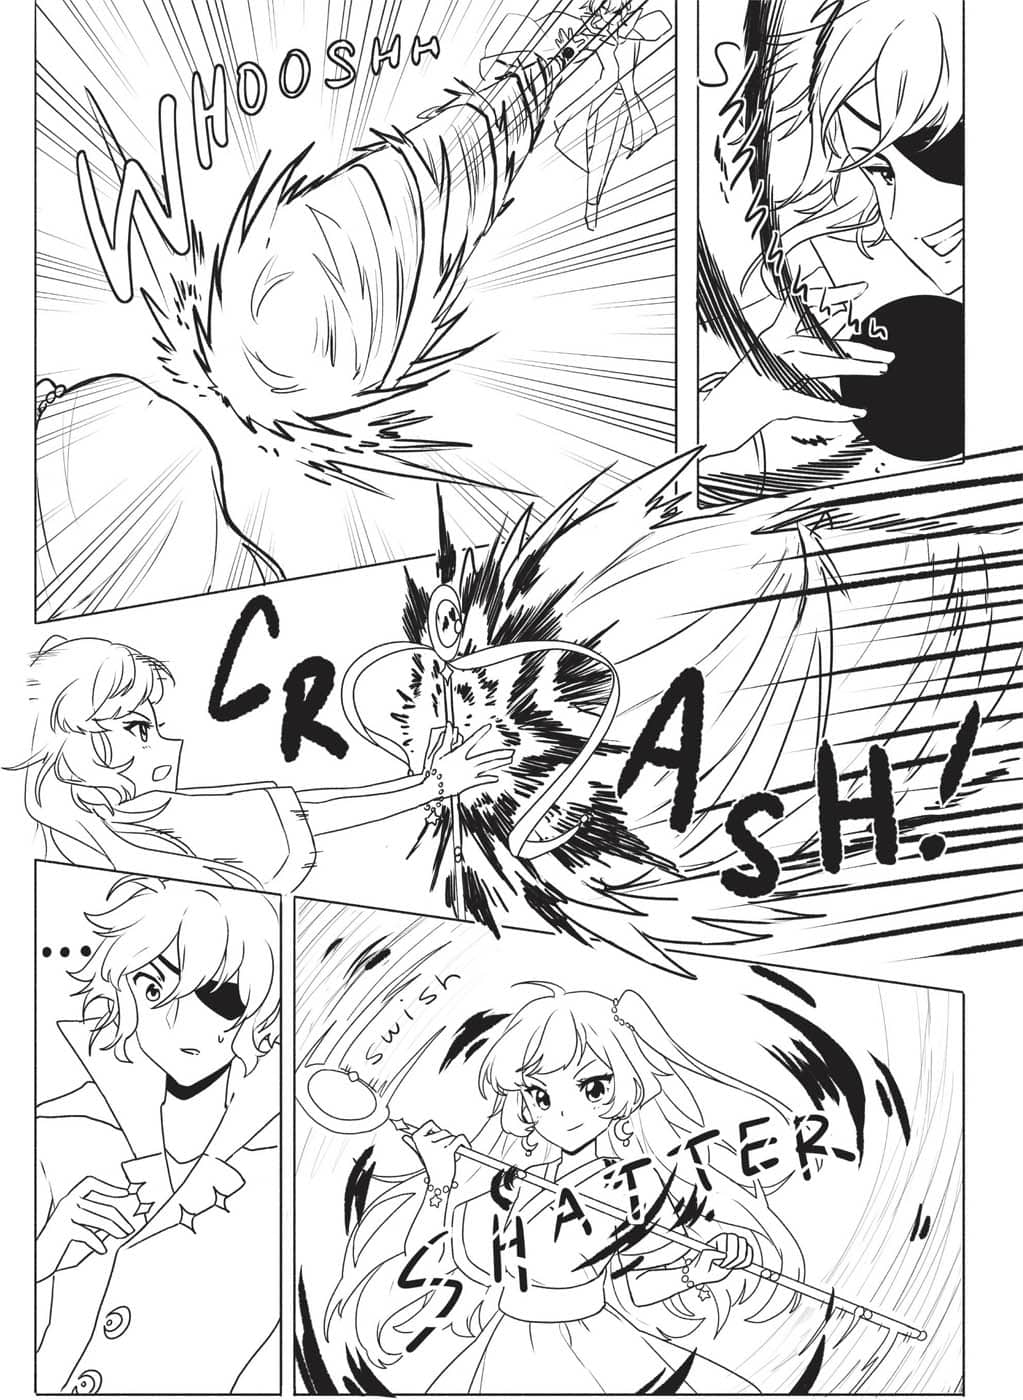
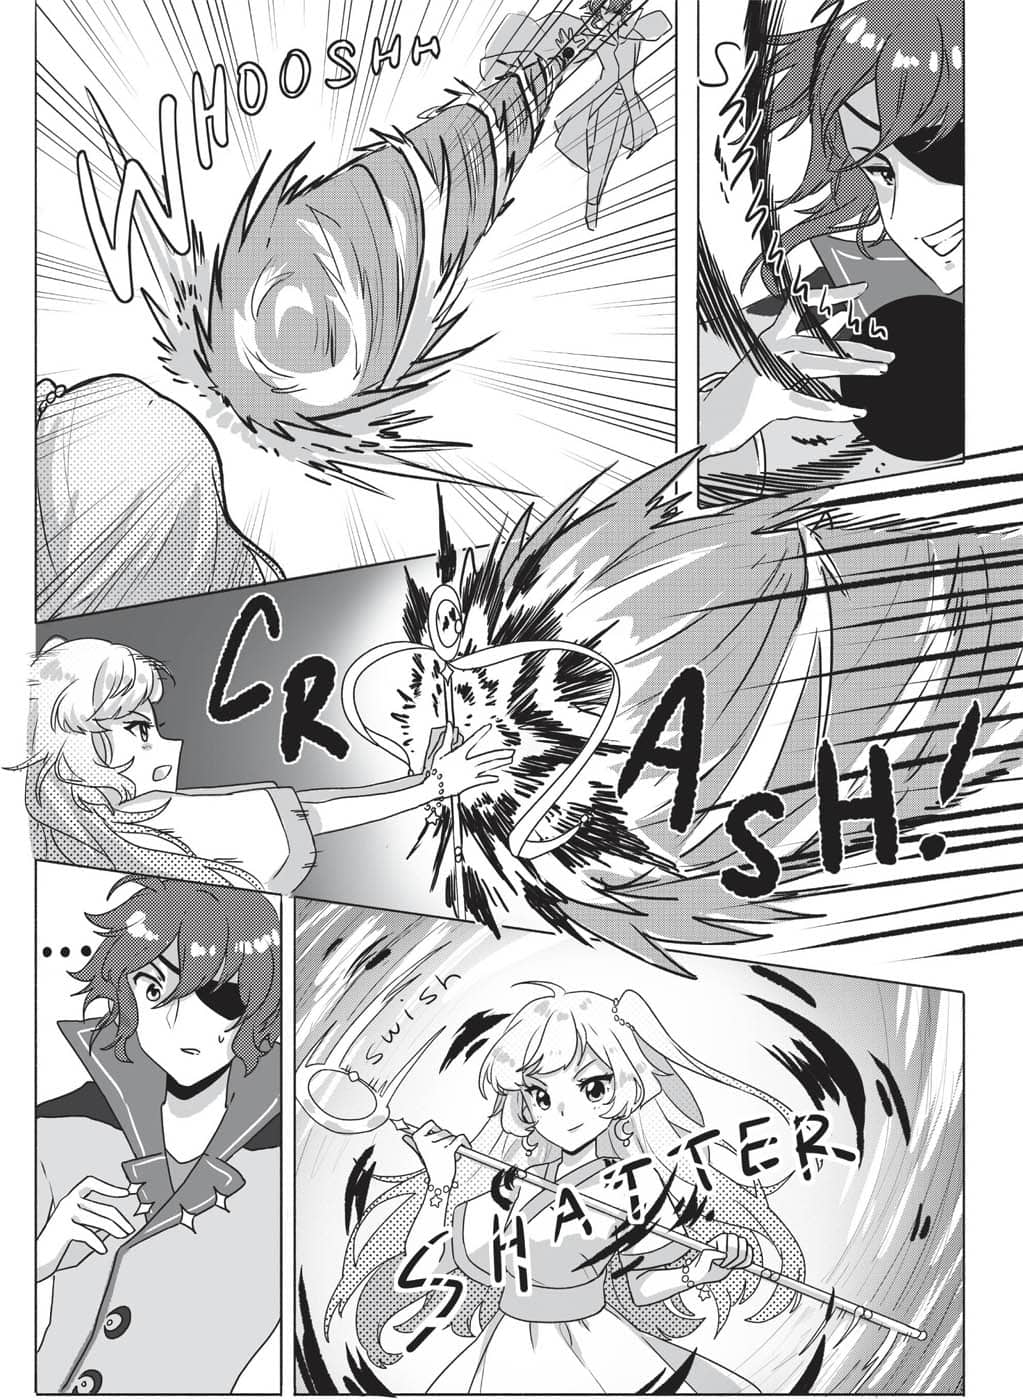
On this page, the character sees the fireworks begin at a Japanese summer festival. 1 Begin by roughly drafting the page. This page features a wide first panel to set the scene, a borderless panel of the character turning around to see the fireworks, the fireworks panel, and then a close-up of the character’s eyes in reaction to seeing the fireworks. 2 Now complete the line art! Using an ink pen or dip pen, line the panels and the contents in each panel. In this digitally rendered example, the fireworks and night sky will be added using a screentone overlay effect, but you can draw these if you’d like. This is also the time, if you are drawing this traditionally, to make sure to line in the speech bubbles. 3 Add the sound effects and speech. If you are drawing digitally, add the speech balloons on the top layers after you’ve completed step 4. 4 Lastly, add in screentones and overlays to shade and create atmosphere. As this atmosphere is one of excitement and wonder, use soft shading gradients to give a romantic, dreamy feel to the scene. You can use gray markers or pencils to create shading and effects. Now that you have practiced how to make characters and objects look like they are in motion with dramatic, action-packed scenes, try drawing your very own action scene! This will be a battle between the hero Kira Moon (see here) and villain Kaze Moon (see here). This manga page is laid out in the traditional Japanese reading order of right to left, beginning at the top, right corner panel. 1 At the rough-draft stage, you can be as messy and experimental as you want. Play around with panel sizes and shapes. Build action with speed lines and power-aura backgrounds. 2 Now that the bare bones of the page have been started, begin to clarify and neaten panels, and add in sound effects or any dialogue. Neaten and redo your drafts as much as you like before moving on to the line-art stage. 3 Using a liner pen or dip pen, begin the page line art. For the best outcome, use a lightbox with a new sheet of paper for the final. Don’t be afraid to use bold lines or full black to enhance the contrast in each panel. Add the sound effects. 4 Before moving to the screentones and overlay stage, continue using your inking pen to add action lines to give momentum to the series of events in the panels. Make sure to use a ruler for the straight lines! 5 Lastly, add shading and background atmosphere with screentones or gray pencils or markers. For important panels, use a lot of contrast for a dramatic atmosphere. And with that, you have finished your action manga scene!JAPANESE FESTIVAL MANGA PAGE


MANGA ACTION SCENE


Here is an exercise that can help you experiment and over time develop a style that is unique to you. 1 Find art you like! Search high and low for at least 10 artists whose art style you love. 2 Analyze each artist’s work. What do they do that appeals to you? Is it how they draw hair, eyes, or clothing? Is it how they line the art, shade, or add highlights? Is it their characters’ anatomy or a special way they render backgrounds? 3 Take one feature from the art you love and apply it to one of your own drawings. If you like it, try it again. If you don’t like it, don’t do it again. Repeat this over and over, and soon you will see you have your own unique style! There is a big difference between copying another artist and using their work to help you develop your own style. Both of the sketches below were created using the image on the left-hand page as a reference. One is a bit too close to the original to call it a brand-new piece (left), but the other became an original work (right). Often there is a stigma around tracing, but it can be a great way to speed up practice sessions and for your hand to acquire muscle memory for some things that may take longer to figure out without it. In the image above, for example, the traced image is different from the original drawing pictured on the opposite page, including the facial expression and some of the clothes. When used in this way, tracing can be valuable practice. (The key word here is practice. Of course, you should never claim traced art as your own work.) You can also collect images that you like to use as reference for new drawings. The character above was also created using the same reference image from the opposite page. But the reference image served as inspiration for an entirely new piece. This new drawing doesn’t look too similar to the reference image, as a variety of references were used in its creation. Collect all kinds of images that you can use to help you draw. If you aren’t yet confident with your drawing abilities, don’t give up! Keep practicing and experimenting, and you will see progress. For example, here is my progression over many years, which may encourage you. When I first started drawing manga, I was inspired by every single magical girl anime available to me. I didn’t care about my art looking good. I just had ideas in my head that I wanted to see on paper, so that’s what I did! After learning more about manga and reading quite a bit, my art style fluctuated a lot. I didn’t have my own style at this stage, but I experimented a lot. I began studying art and drawing from life, and not just manga styles. I experimented with coloring and different media. I now started to find my own style. After a few years of life drawing and coloring practice, I understood anatomy and color theory. At this point, my art style really matured. A couple of years later, I truly discovered a style that was working for me. I was creating my own characters, stories, and working as an artist almost full-time. To this day, I continue to hone and refine my skills, learning better ways to shade, trying more complex poses or compositions, and stepping out of my comfort zone any chance I can. Each attempt helps me grow. Now that you’ve reached the end of this book, you may be wondering, “Now what?” One of the most common questions asked by emerging manga artists is, “How do I get noticed?” You are your own best advocate. No one else will be with your art as much as you will, so if you want others to know about it, you need to show it to them! Make a social media art account and post your art for the world to see! Ways to increase your exposure is by entering competitions, participating in “draw this in your style” challenges that other artists host, and connecting with other users who share the same passions as you do. Instead of basing your art’s worth on follower count, think of social media as a way to gain connections and possible exciting opportunities in the future. For those of you who want to pursue manga art as a side gig or career, after you establish your social media, you can try moving on to whatever you are interested in, whether it be selling art, creating comics, or getting into digital animation. The most important thing is never to stop creating! Continually grow your style and your storytelling. If you do this, no matter what happens, people will start to notice. They will notice the passion in you and your characters and art. And once that happens, the sky is the limit. So why are you still reading? Get to drawing!EXPERIMENTAL EXERCISE
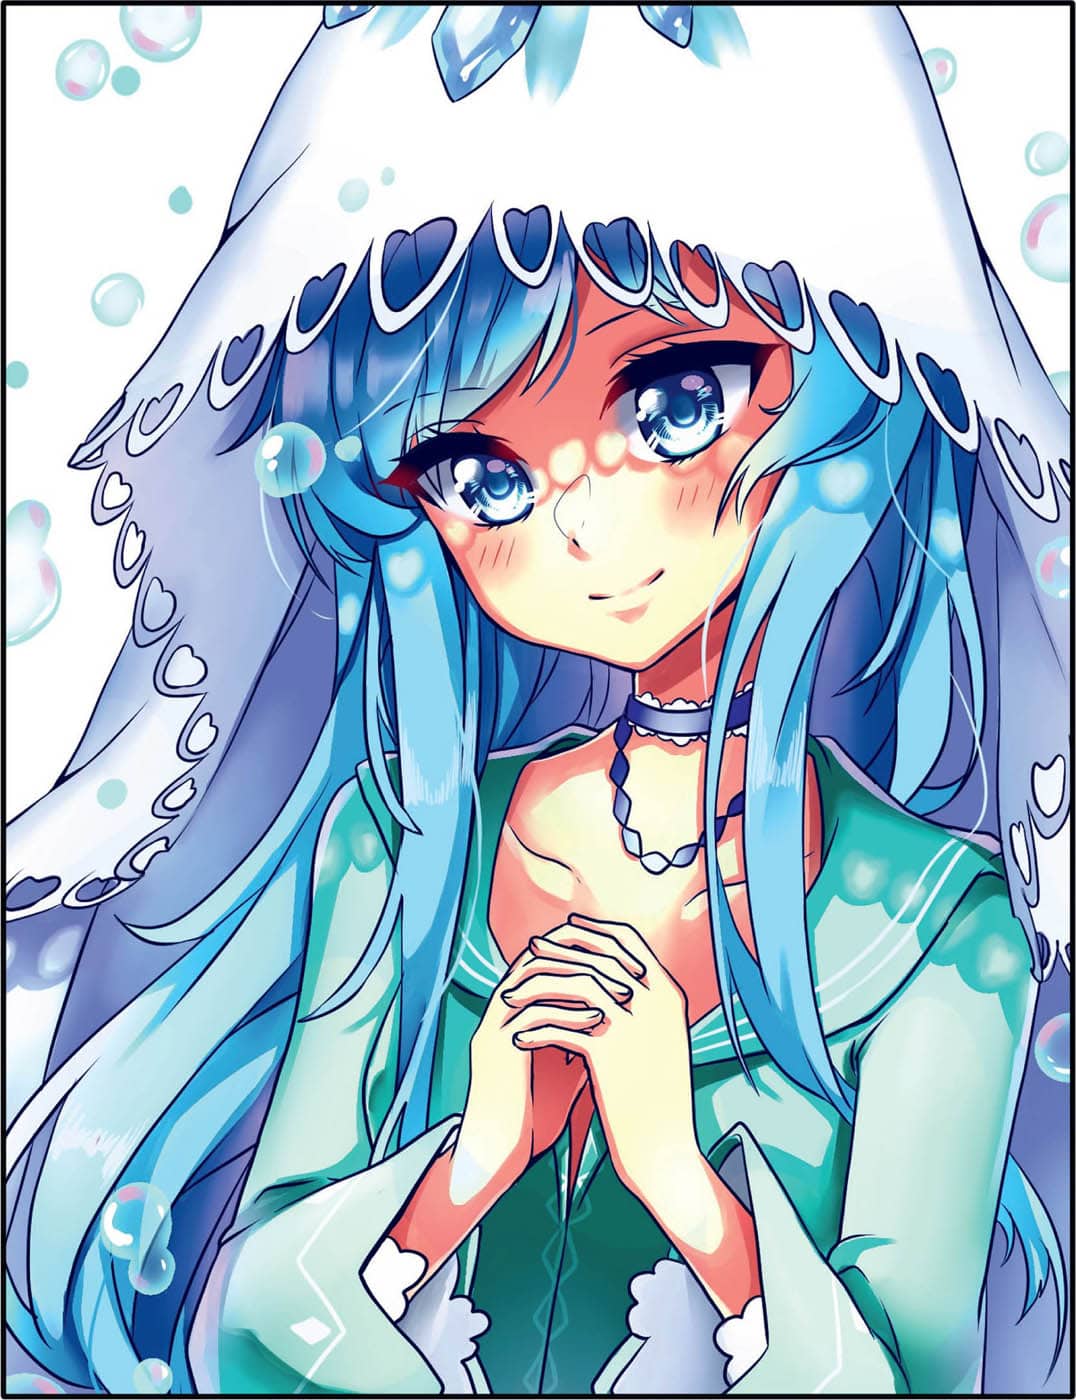
TRACING & REFERENCING


MAKING PROGRESS


WHERE TO GO FROM HERE