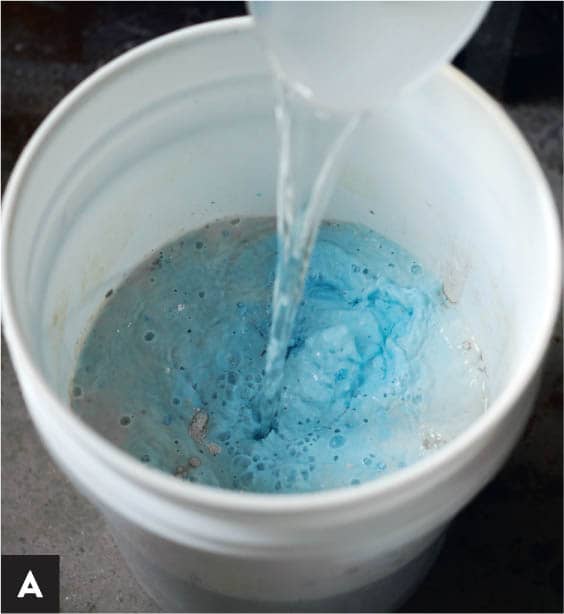
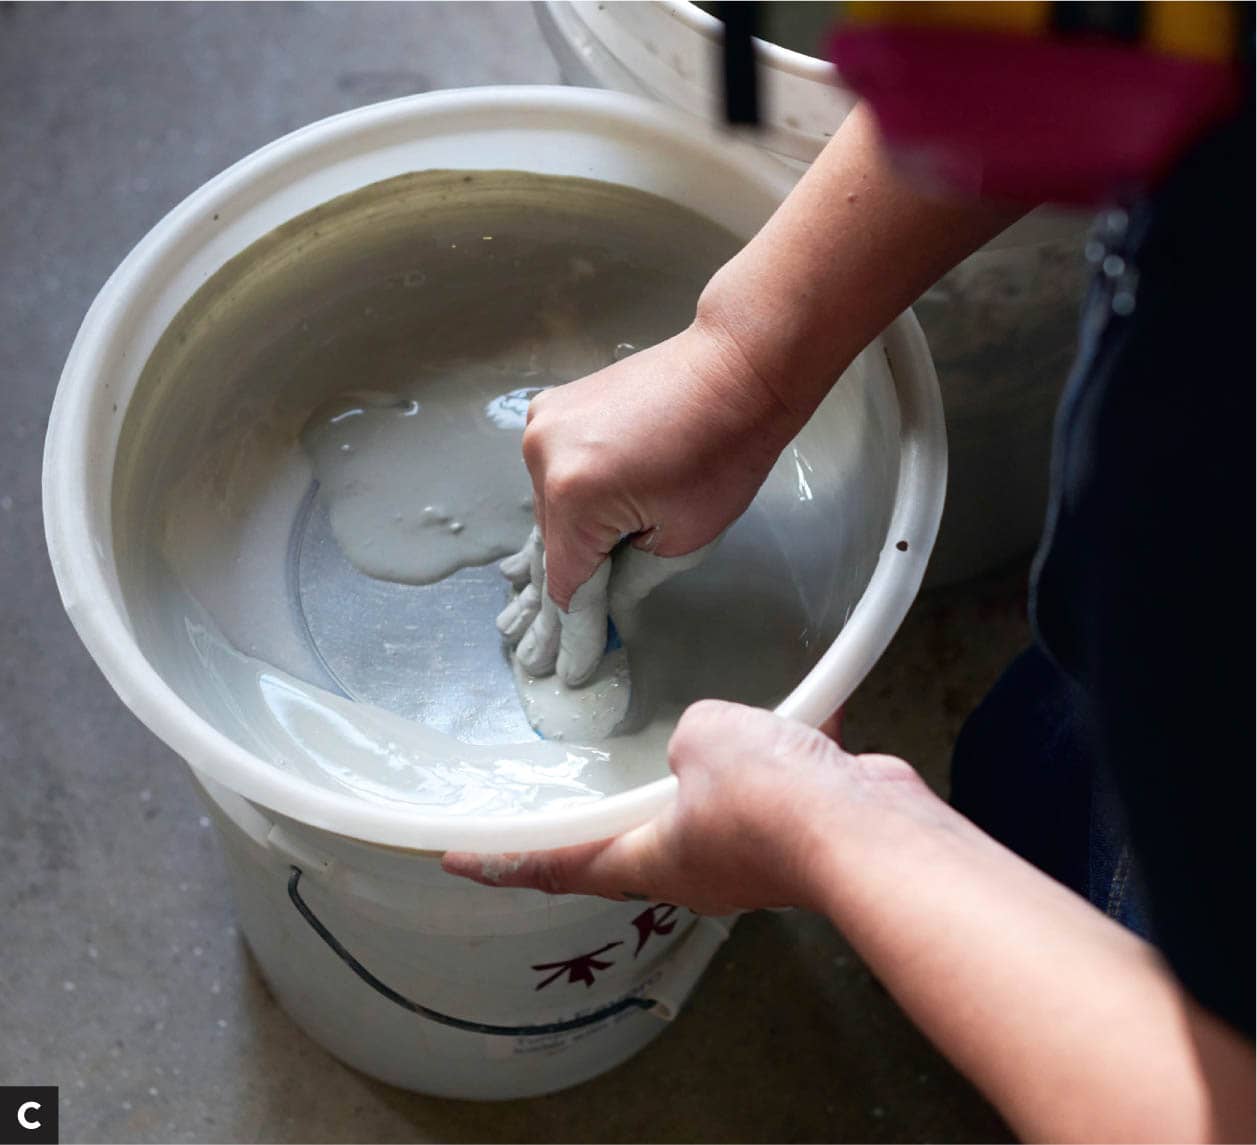
MATERIALS EPK 28 OM4 28 Silica 22 Frit 3124 22 100 COLORANTS Zircopax 5 (white colorant) Mason Stain 6 to 10 percent depending on the vivacity of color you want. Test, test, test. NOTES: Most recipes measure to 100 grams. Determining batch size depends on how much you need. I recommend starting small to test slips and colors on your clay body before you dive into a big batch. For a painting-size amount, 200 to 500 grams is sufficient. To fill a 5-gallon bucket, 5,000 grams is appropriate. STEP 1 Before you dive into weighing out materials, it is important to get set up first. Have your scale out and ready with a small bucket for weighing and a larger bucket for adding and mixing. Have your recipe and a writing utensil handy to cross off or check mark materials as you add them. STEP 2 Set your scale to grams and place your small bucket on the scale. Press tare. This is to set the scale to zero so the bucket is not included in the weight of the material. STEP 3 Weigh out materials one by one. Remember to check off each material as you add it to the larger bucket. This may seem like a given, but trust me, if you get distracted or lose your place, it might be hard to tell where you left off because most dry materials look the same. STEP 4 After adding all materials to the bucket, slowly add a little water at a time. Mix manually at first with a spatula or stir stick. [A] Once your slip starts to resemble spoiled milk, come in with your power mixer and start mixing. The power mixer will break up chunky particles so the slip will start to resemble pancake batter. Keep adding water until you reach the consistency of buttermilk. [B] STEP 5 Now that your slip is pretty well mixed, it is time to sieve it. The sieve will break up any remaining chunks and ensure your slip is a smooth consistency. I recommend using a 100-mesh sieve for slip. Get your second large bucket ready and place the sieve over the bucket. Start pouring the slip into the sieve. Once it is almost full, stop to work the material through the sieve. I use a hard rib for this. [C] STEP 6 After all the slip has passed through the sieve, it is ready for use. I recommend letting it sit for a while because the particles continue absorbing moisture as the slip settles. You may find you need to add water and mix again before use. Congratulations, you just followed your first clay recipe.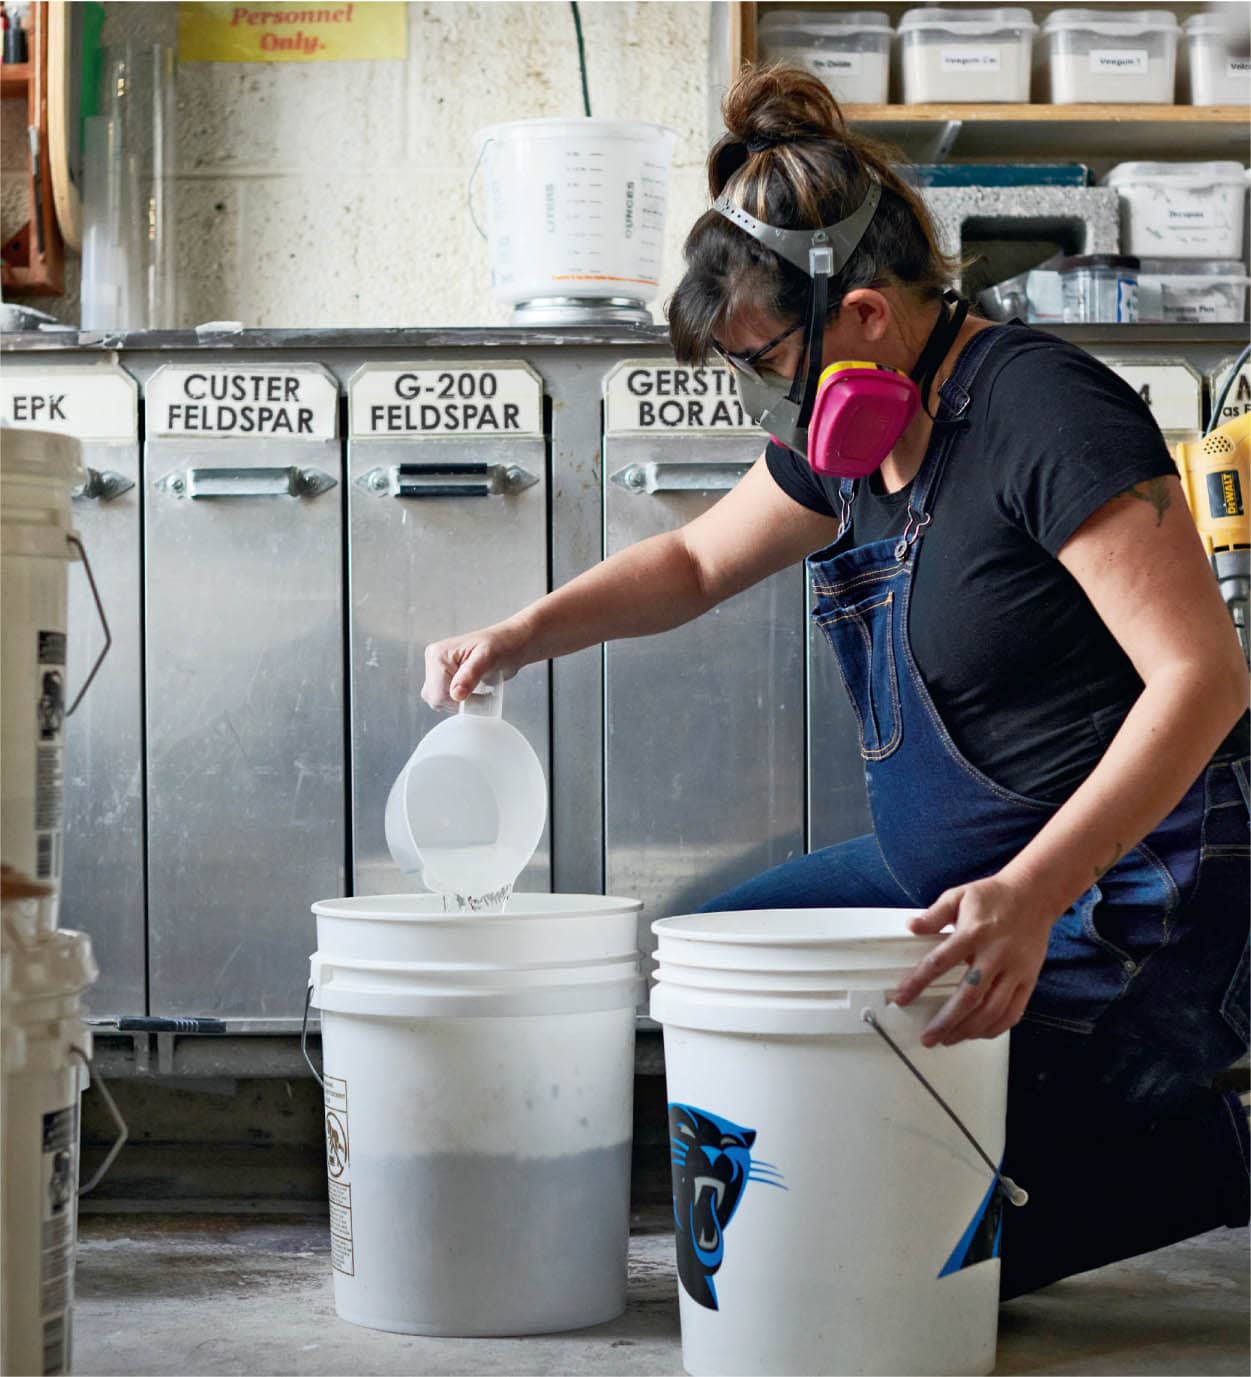
All-Purpose White Slip
Instructions

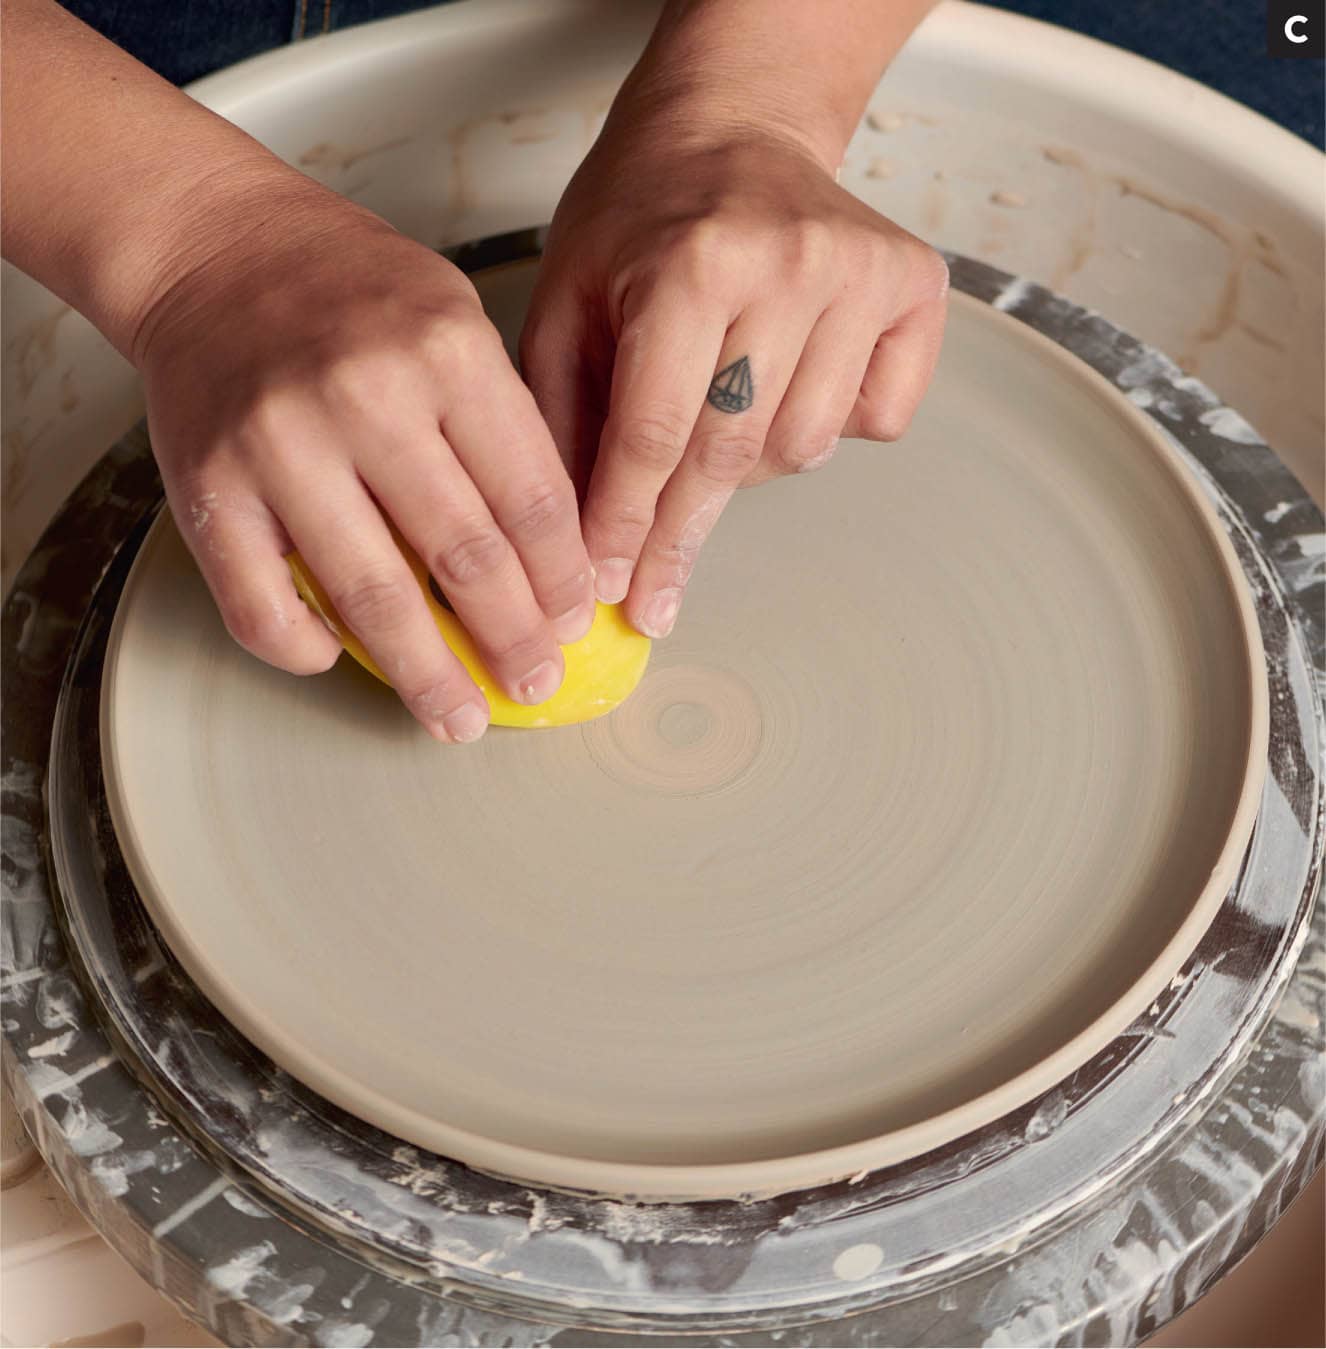
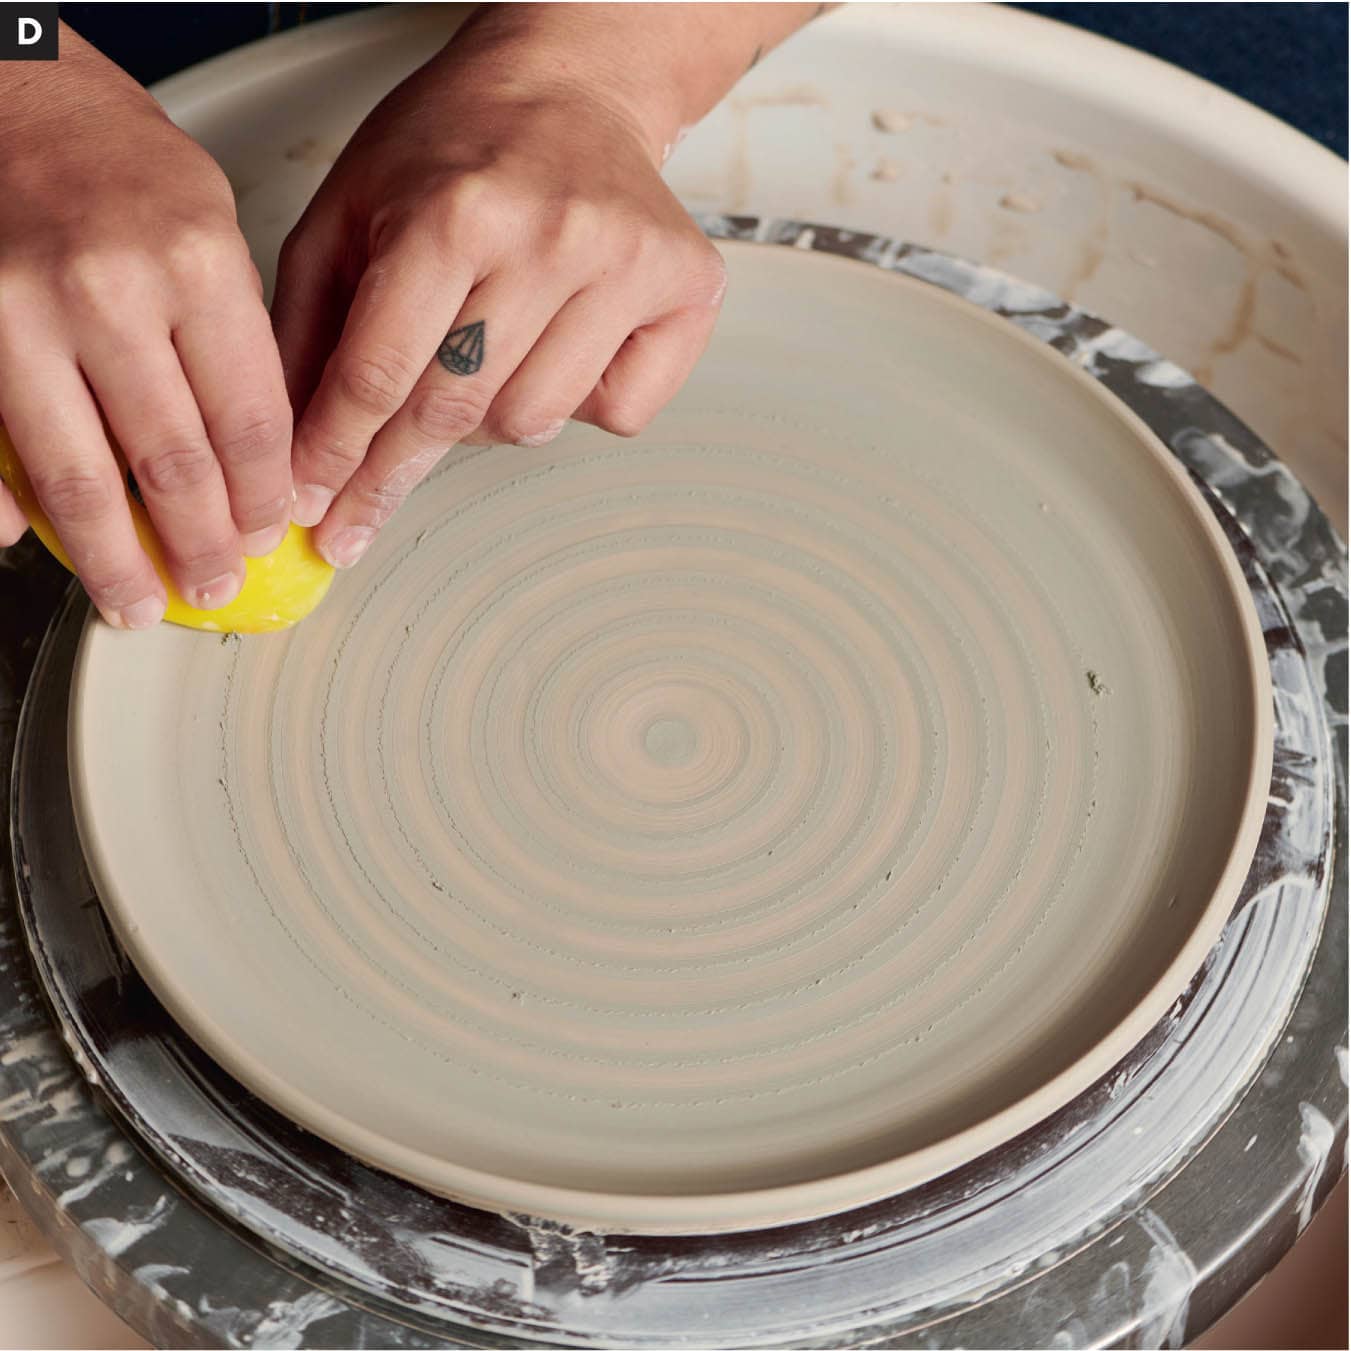
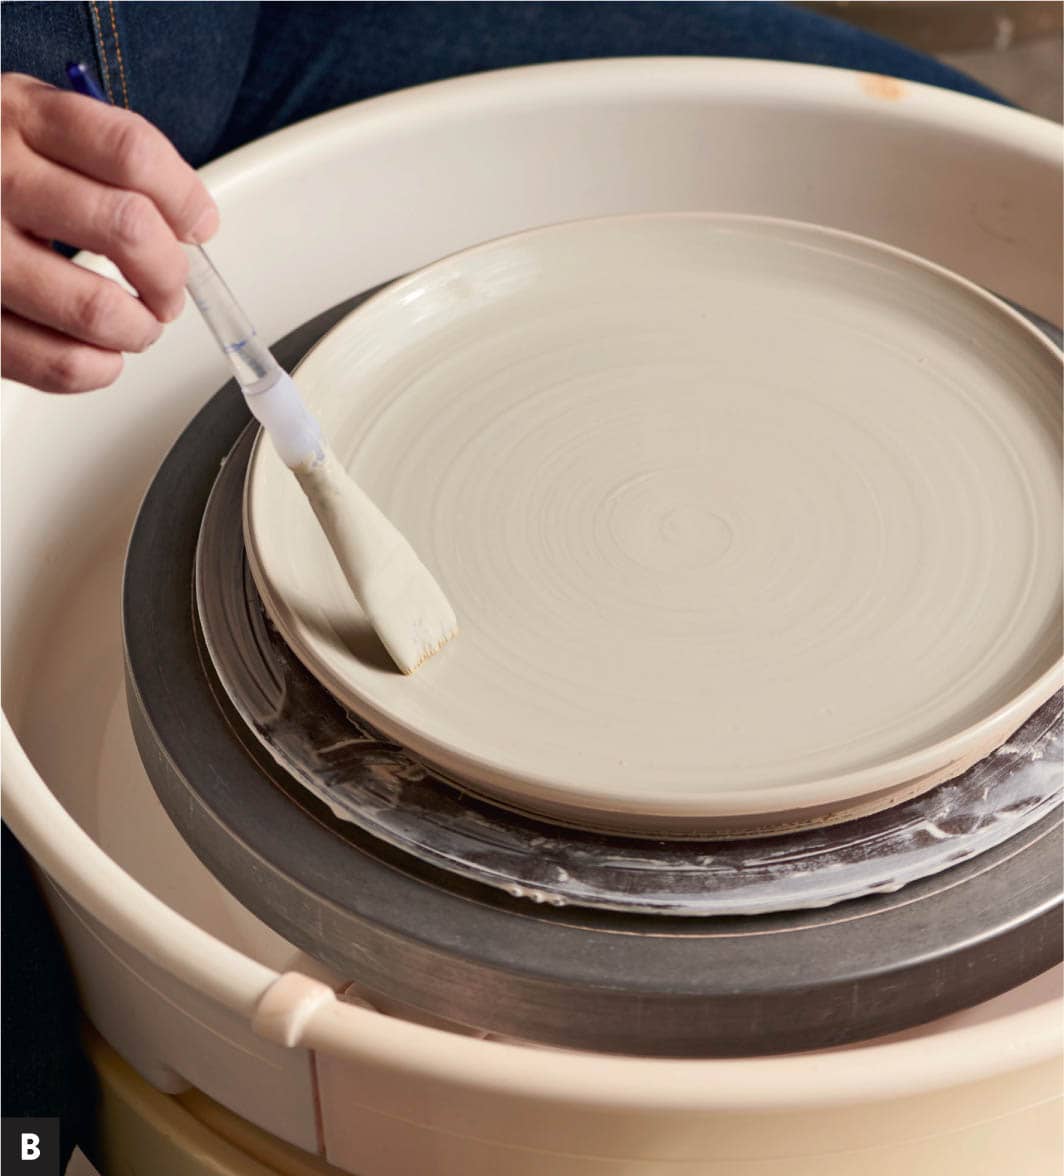
STEP 1 Secure your pot to the wheel using lugs or a Giffin Grip. TIP If you are slip painting a plate, leave it on the bat until it stiffens up a bit. That way all you have to do is place it on the wheel with bat pins and it’s already centered and secure. STEP 2 Thoroughly mix your slip. Dip your paintbrush in and give it a go. Start with something as simple as a swirl. [A] Wheel speed and how fast you are moving your paintbrush outward will determine the tightness of the design. [B] STEP 3 You can go further and cover your whole pot in slip, then work subtractively to create a swirl. Cover the whole pot evenly with slip, then use your finger or a rib to subtract clay while the wheel is spinning. [C] [D] TIP Try different movements with your rib. The best way to discover your own personal aesthetic is to play around; introduce another colored slip over your first layer to create more variation in color.Instructions

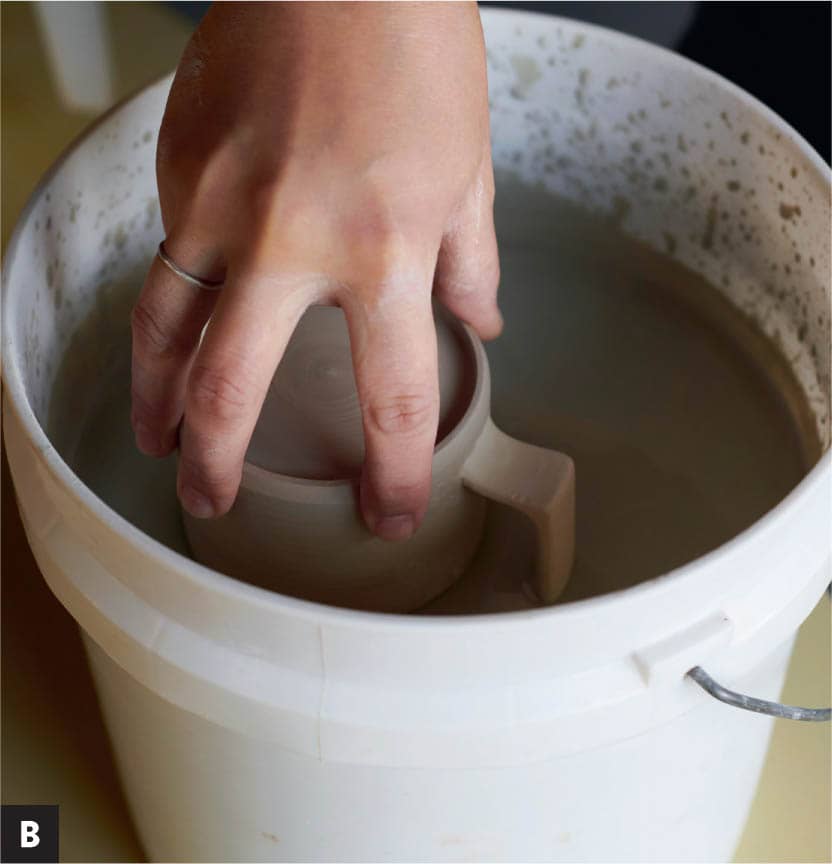
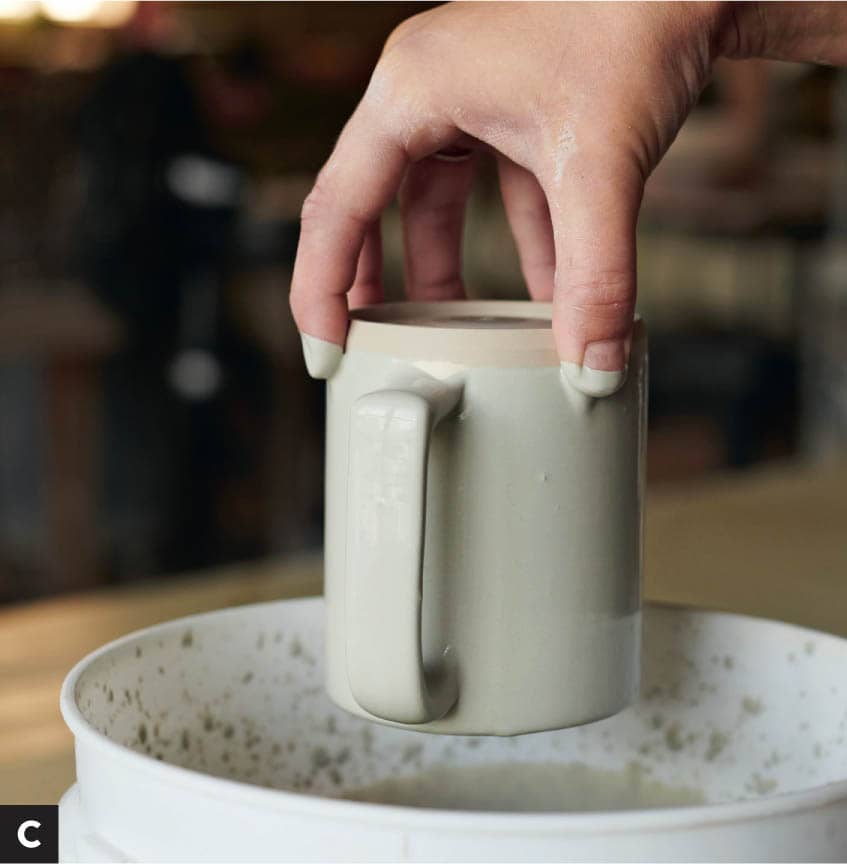
STEP 1 To make your slip the right consistency for dipping, add water. Do this gradually, as the only way to thicken it back up if you add too much is to leave it uncovered so moisture evaporates or to add more dry mix. Slowly add water and mix well. STEP 2 When your slip reaches the consistency of buttermilk, it is ready for dipping. To test this, I like to use my hand. If I can see through the slip, I unfortunately added too much water. If it looks like a nice thin, milky coating, then it is ready. [A] STEP 3 Time to dip. Grab your pot and dip it into your slip. Then carefully set the pot down on your ware board. [B] [C] STEP 4 Allow your pot to dry to leather hard again before handling. Keep in mind that when you add slip to leather-hard clay, you are reintroducing moisture. This will soften the pot back to a plastic/wet state. Depending on the humidity, this could take several hours or more to dry. STEP 5 Once your pot is no longer tacky to the touch, you are ready to carve. This could be something as simple as lines or a full-blown drawing. The sky is the limit. Happy carving! [D]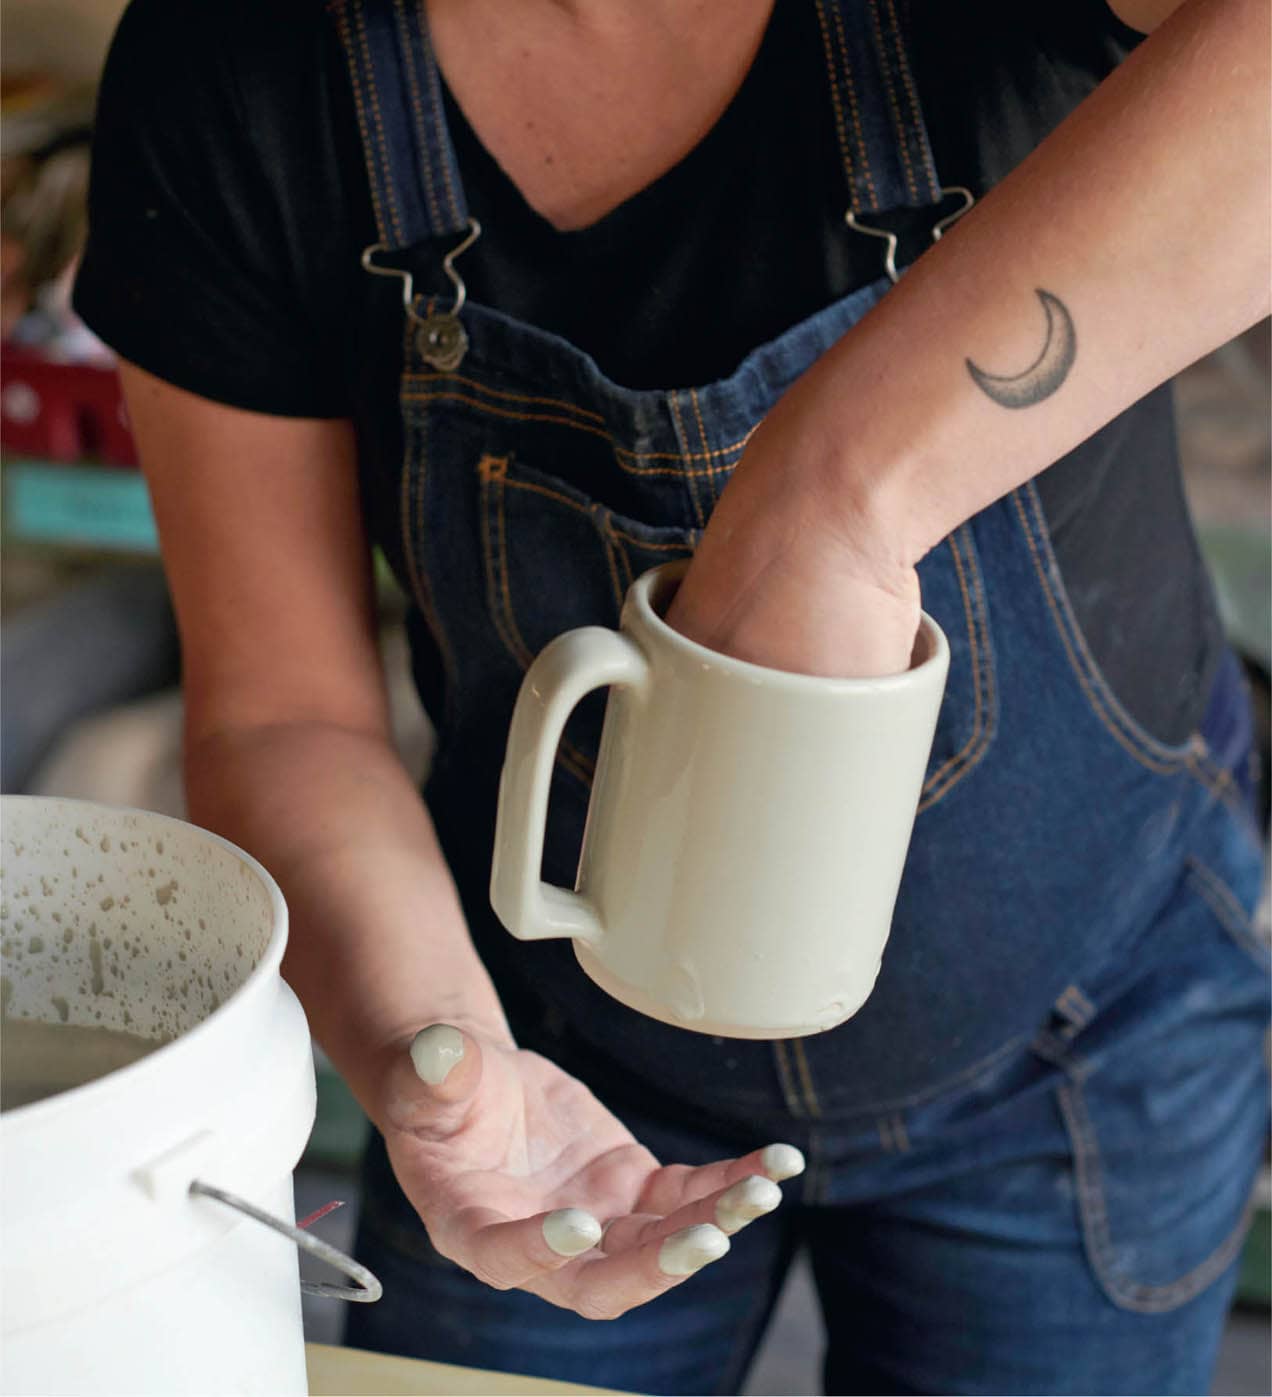
Instructions


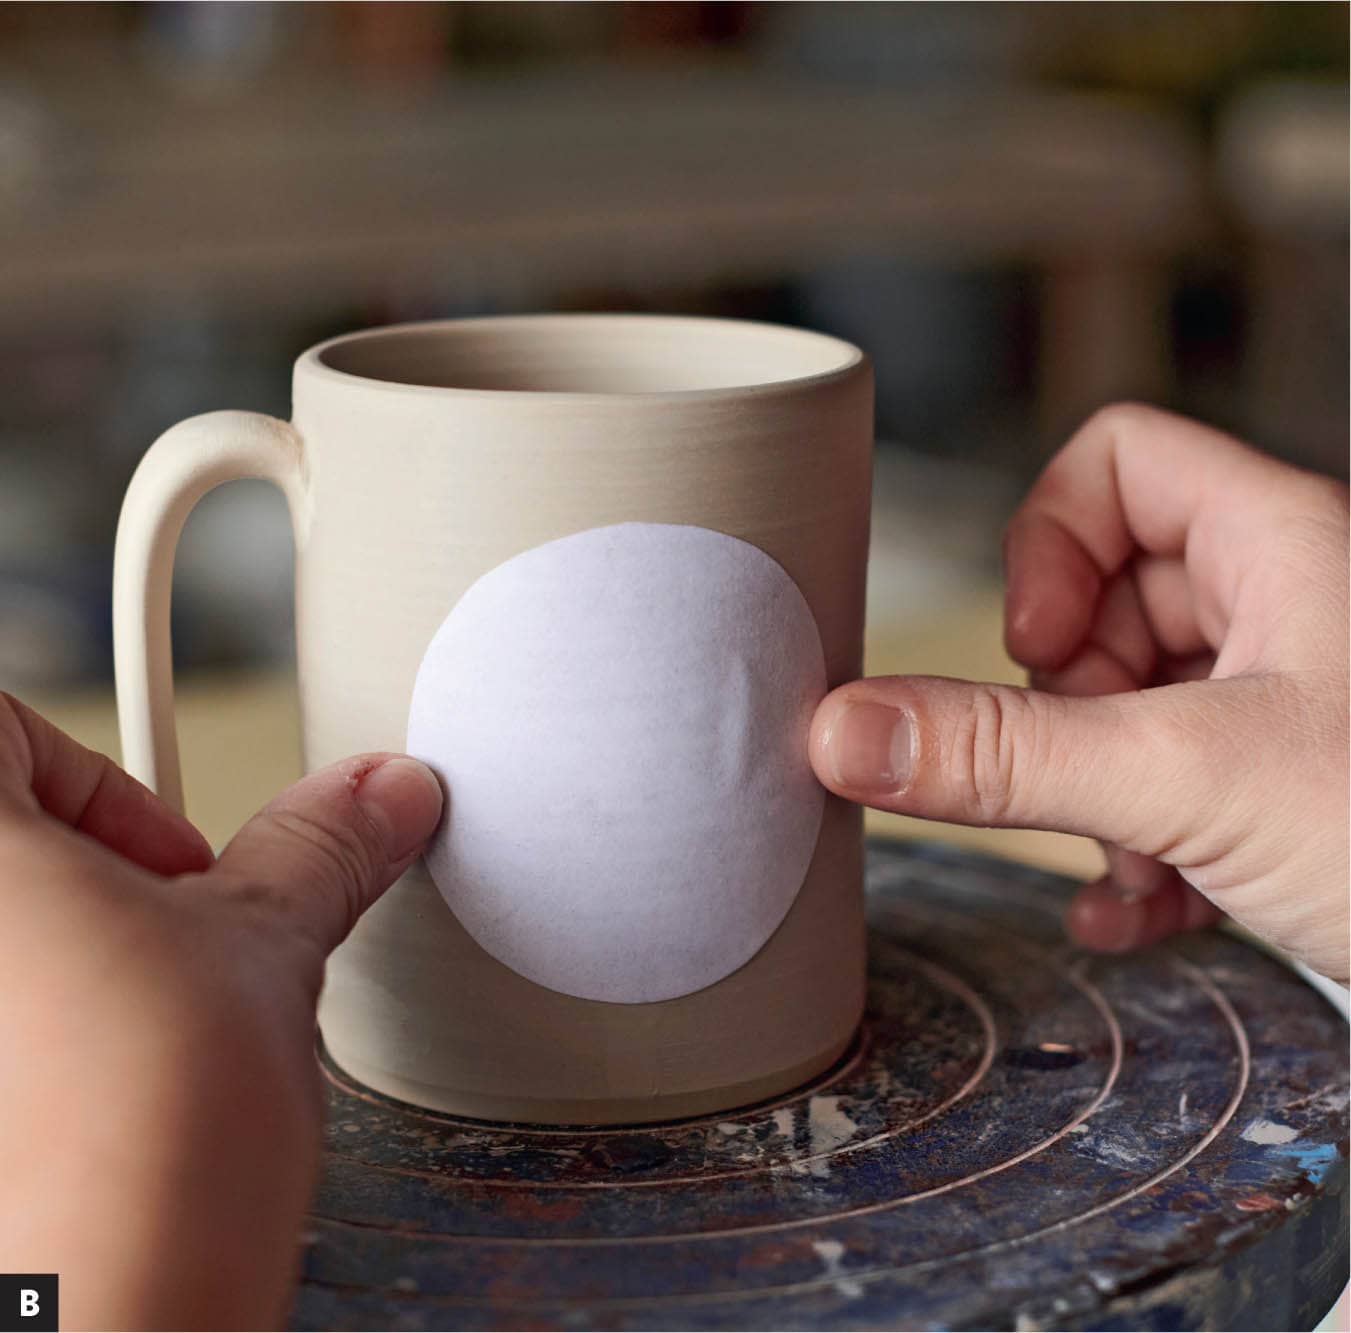
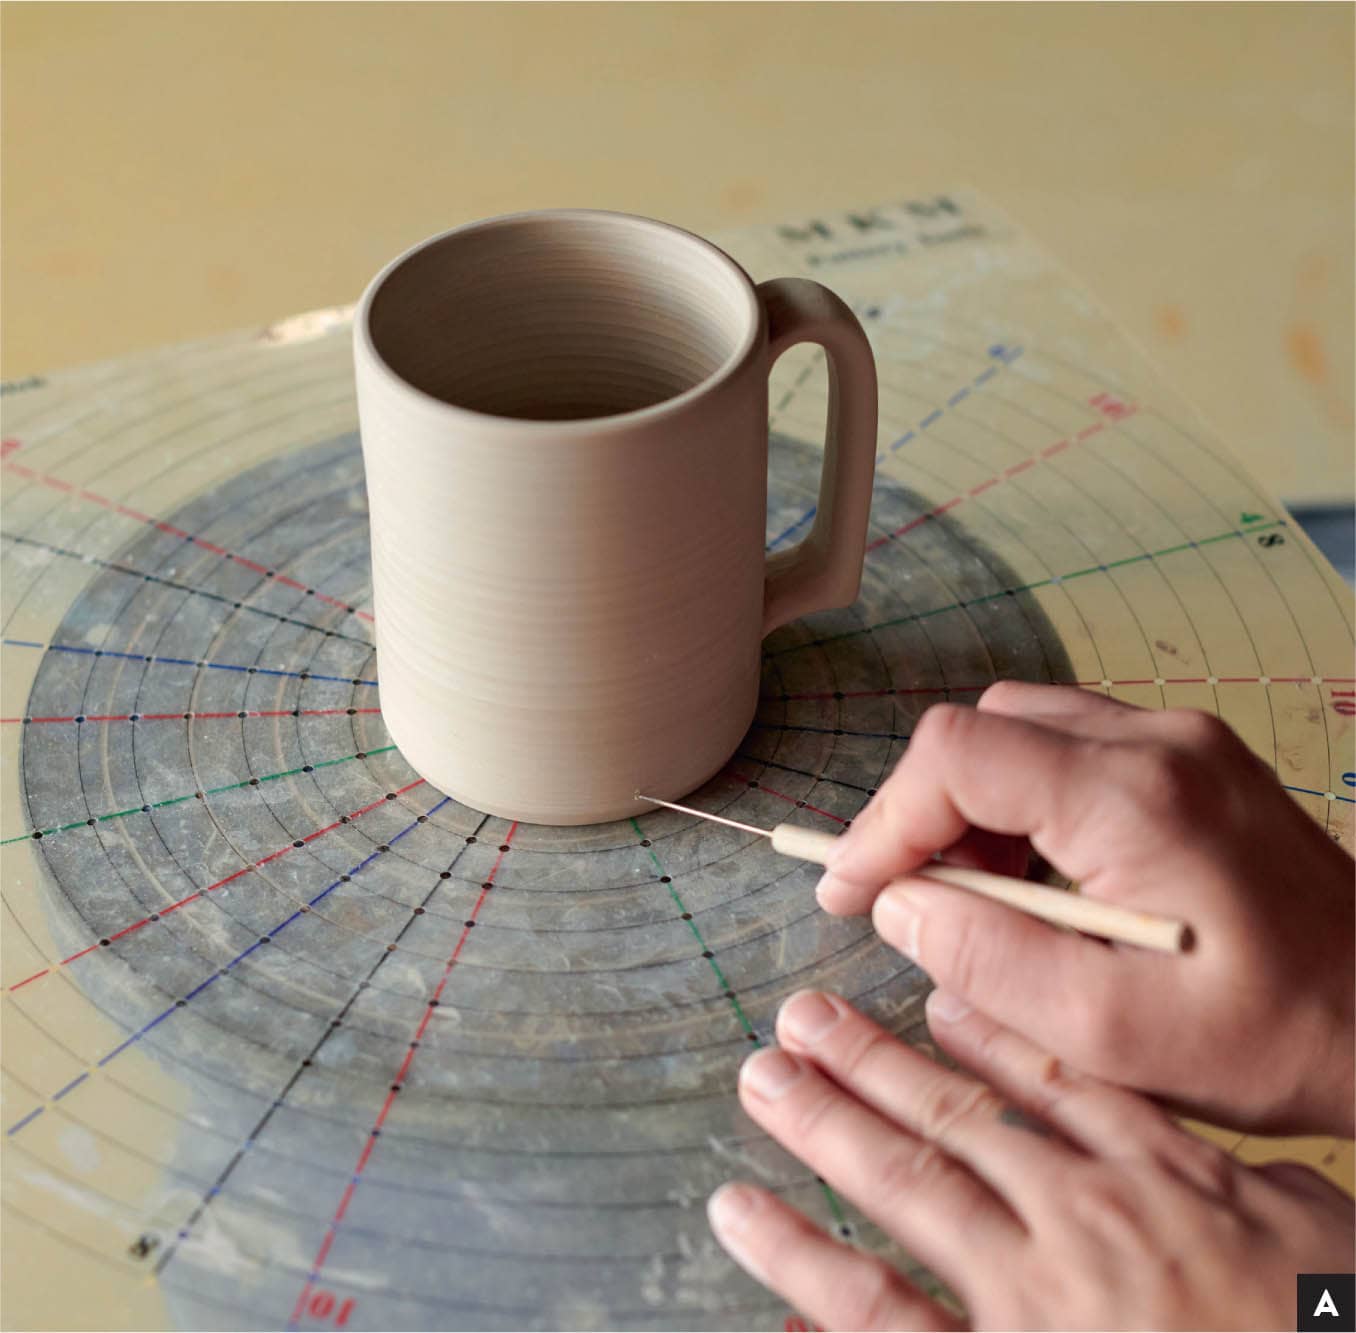
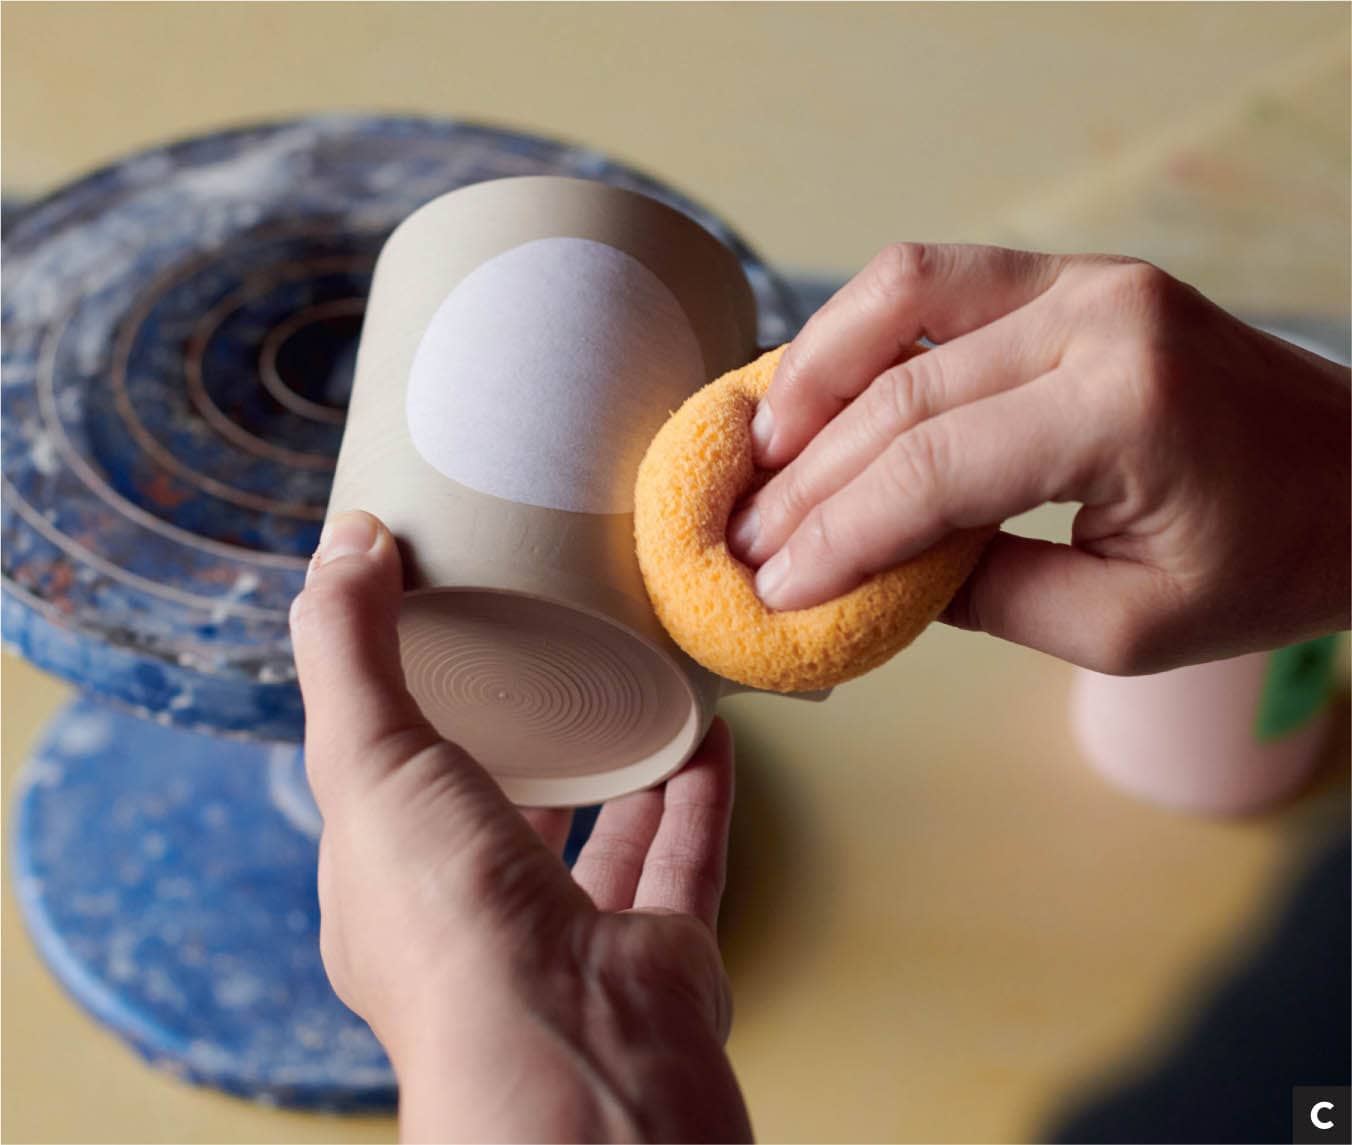
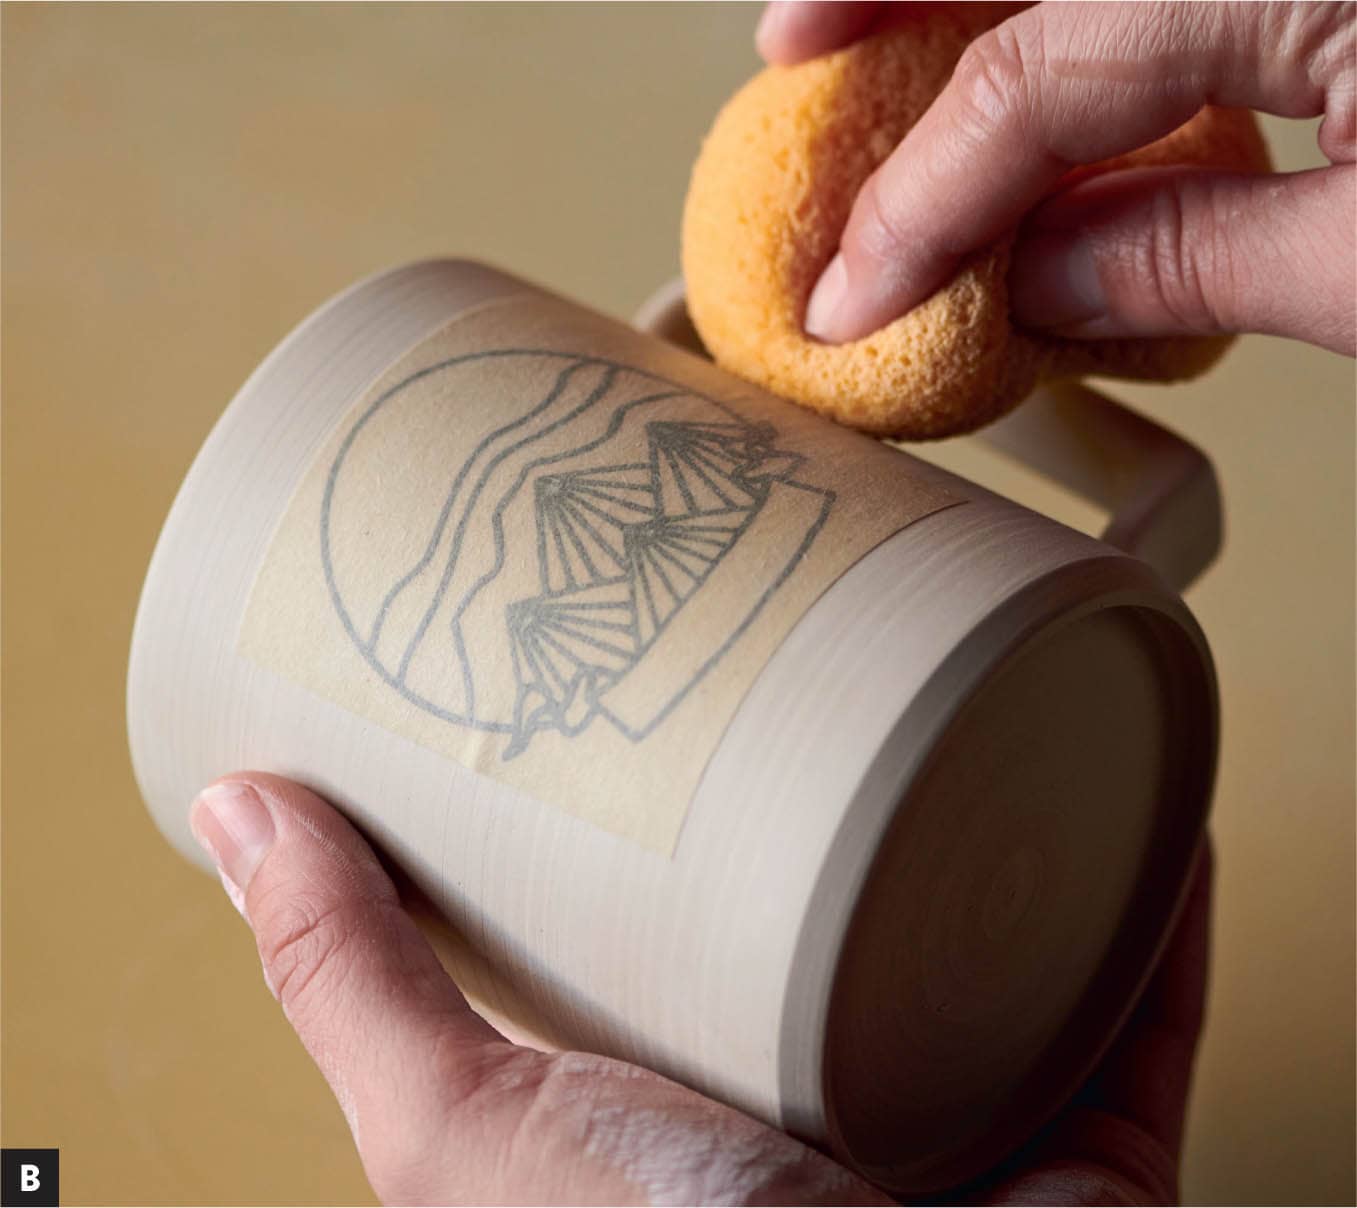
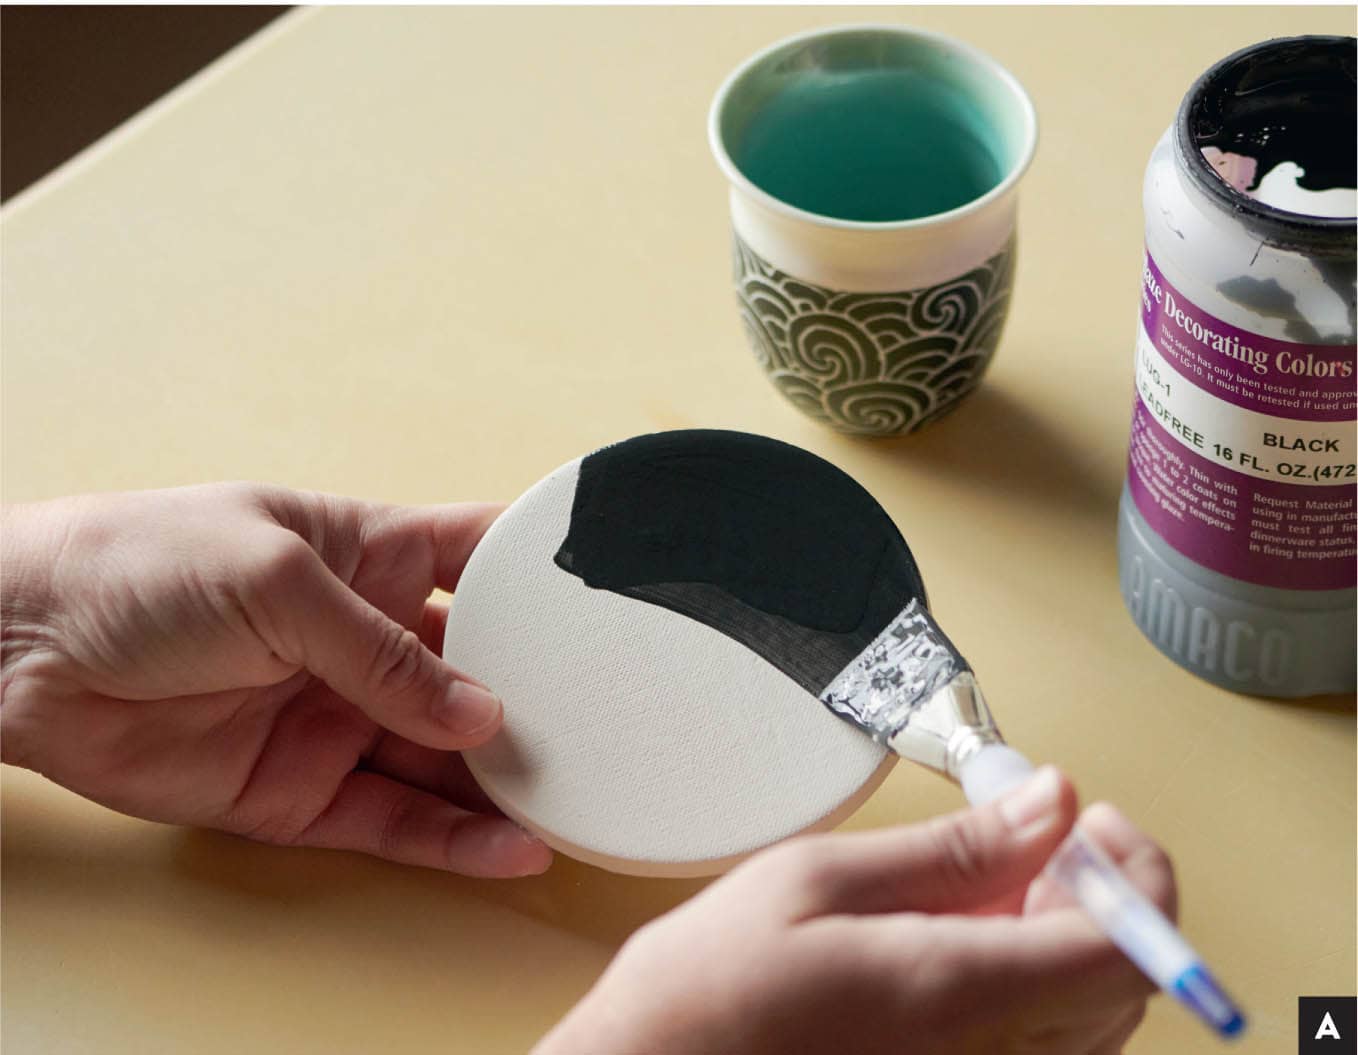
STEP 1 Starting with a leather-hard mug, map out the size of your stencil. You can use found objects such as cups, a compass, a rough sketch, or something a little fancier such as a circle grid. STEP 2 Next, trace the circle on paper or your preferred material. STEP 3 Cut the circle out. If you are using Tyvek or vinyl, be sure to use sharp scissors. If you choose something with straight lines, I recommend using an X-ACTO knife and a ruler. STEP 4 Now that you have your stencils cut out, it’s time to decide where to place them on the pot. Do this by “eyeing it up” or by mapping out the stencil placement using a decorating disk. Since I want my circle window to be on both sides of the mug, I will use my decorating disk to mark equal parts of the clay. [A] STEP 5 Next, submerge your stencil in water and place it on your pot. I find it helpful to shake off some of the excess water so I don’t create a puddle at the foot of my pot. [B] STEP 6 Gently smooth over the stencil with your clean sponge. If you are using Tyvek, use a rib to secure the edges to the pot. [C] STEP 7 Now you are ready to paint over your stencil. Choose a suitable brush that provides smooth strokes (if that is what you are going for). In my experience, underglaze usually takes three coats to create an opaque layer of color. Or, you may want transparency. I recommend testing a range of layers of paint on random tiles before you dive into painting your whole pot, as all underglazes are different. One brand may be thicker than another. [D] TIP Let each layer of underglaze dry between coats. If you paint over wet underglaze, chances are it will smear off or smudge into the layer of clay underneath. It is dry when the underglaze is no longer shiny. Test it by touching the underglaze with your finger. If it leaves a fingerprint mark, it is too wet. STEP 8 Now the exciting part, removing the stencil. If you leave the stencil on long enough, it will start to peel off on its own as it dries. If you are impatient like me, use your X-ACTO knife or any sharp object to lift the stencil off your pot. TIP If you are using a stencil on a round object such as a plate, make it easier on yourself and secure your plate to the wheel to paint the underglaze. The same tip goes for removing underglaze from unwanted areas. Once the underglaze is completely dry on my mug, I put it back on the wheel and use a trimming tool to clean up the top and bottom.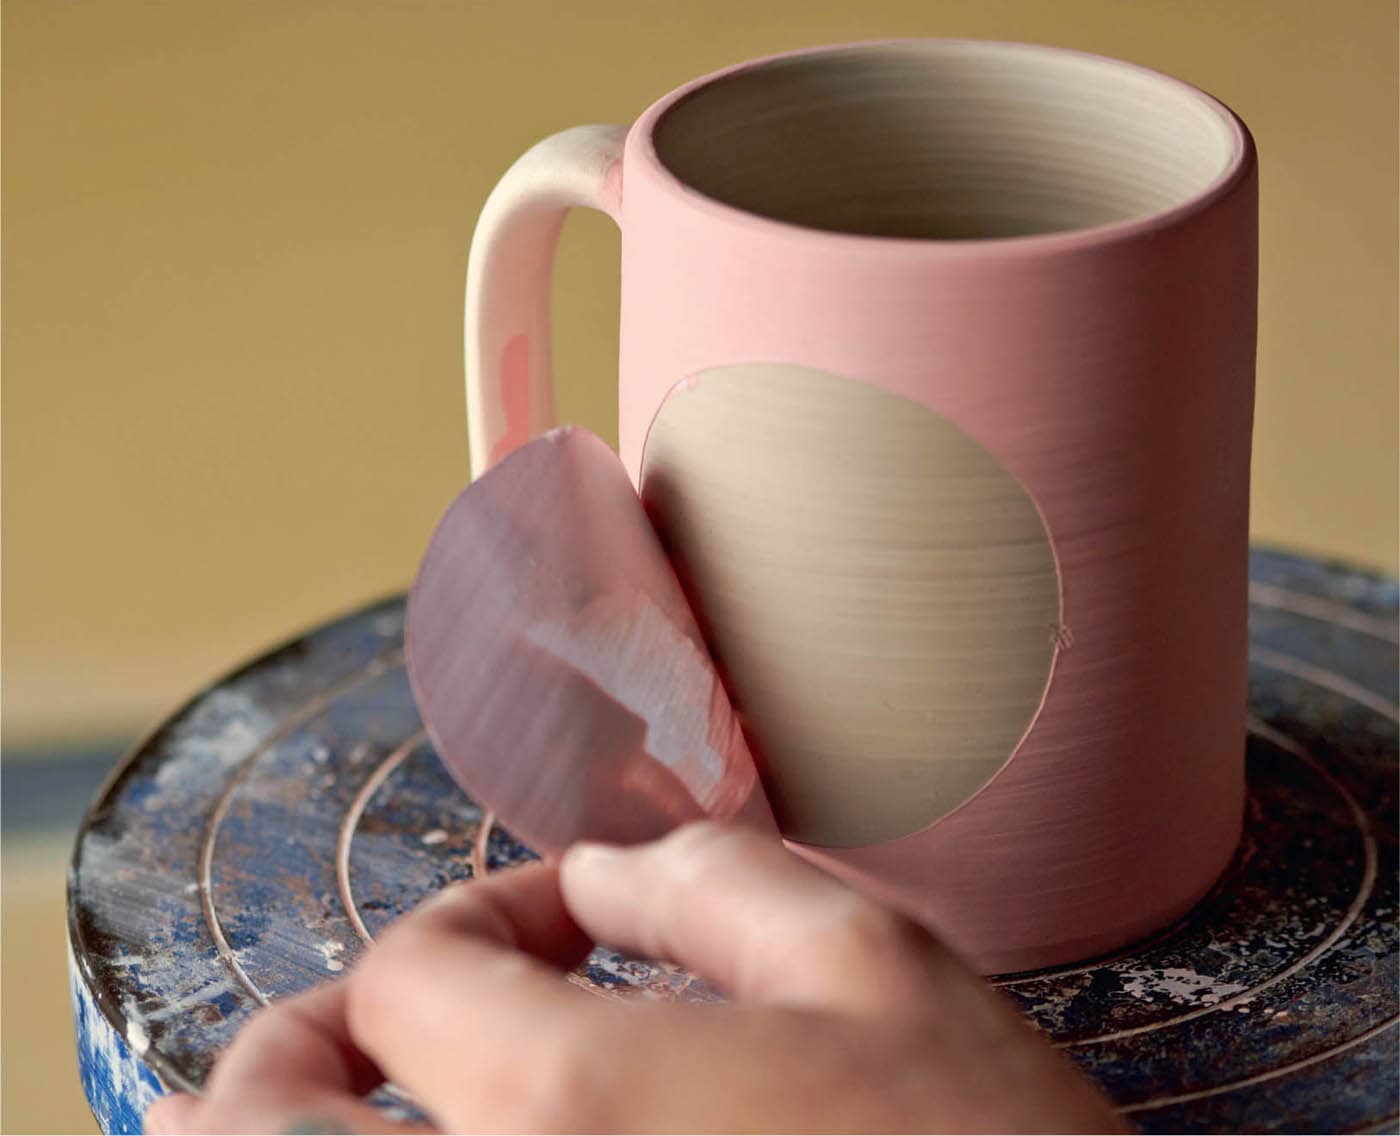
Instructions

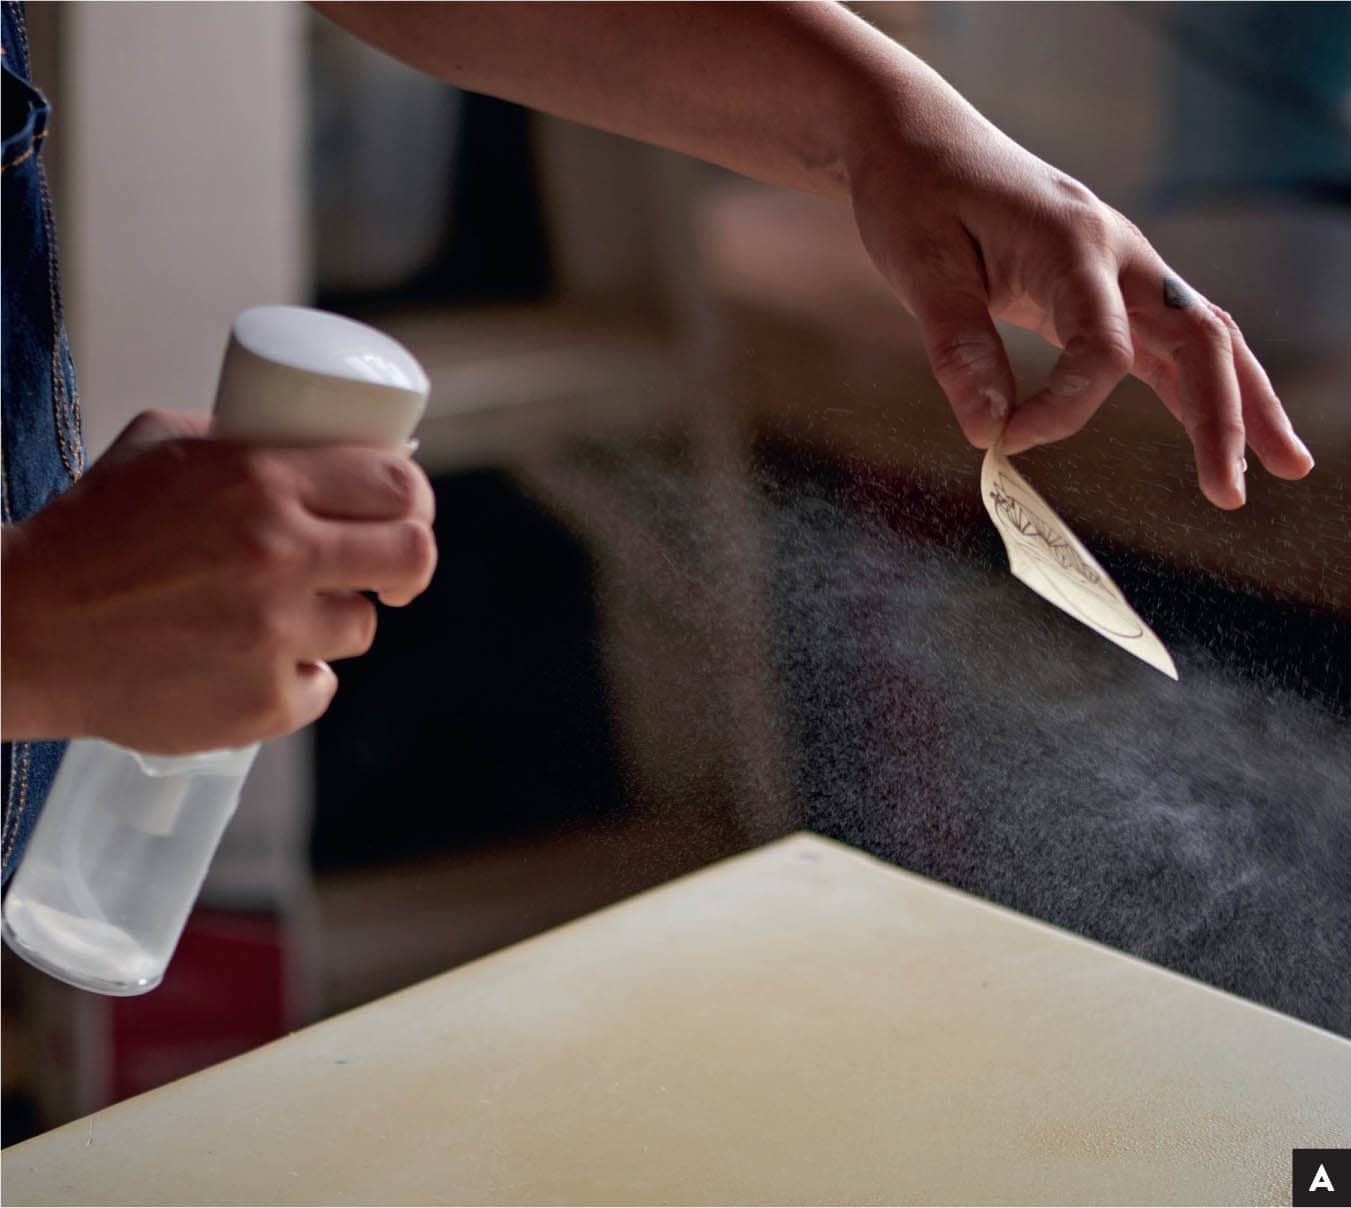
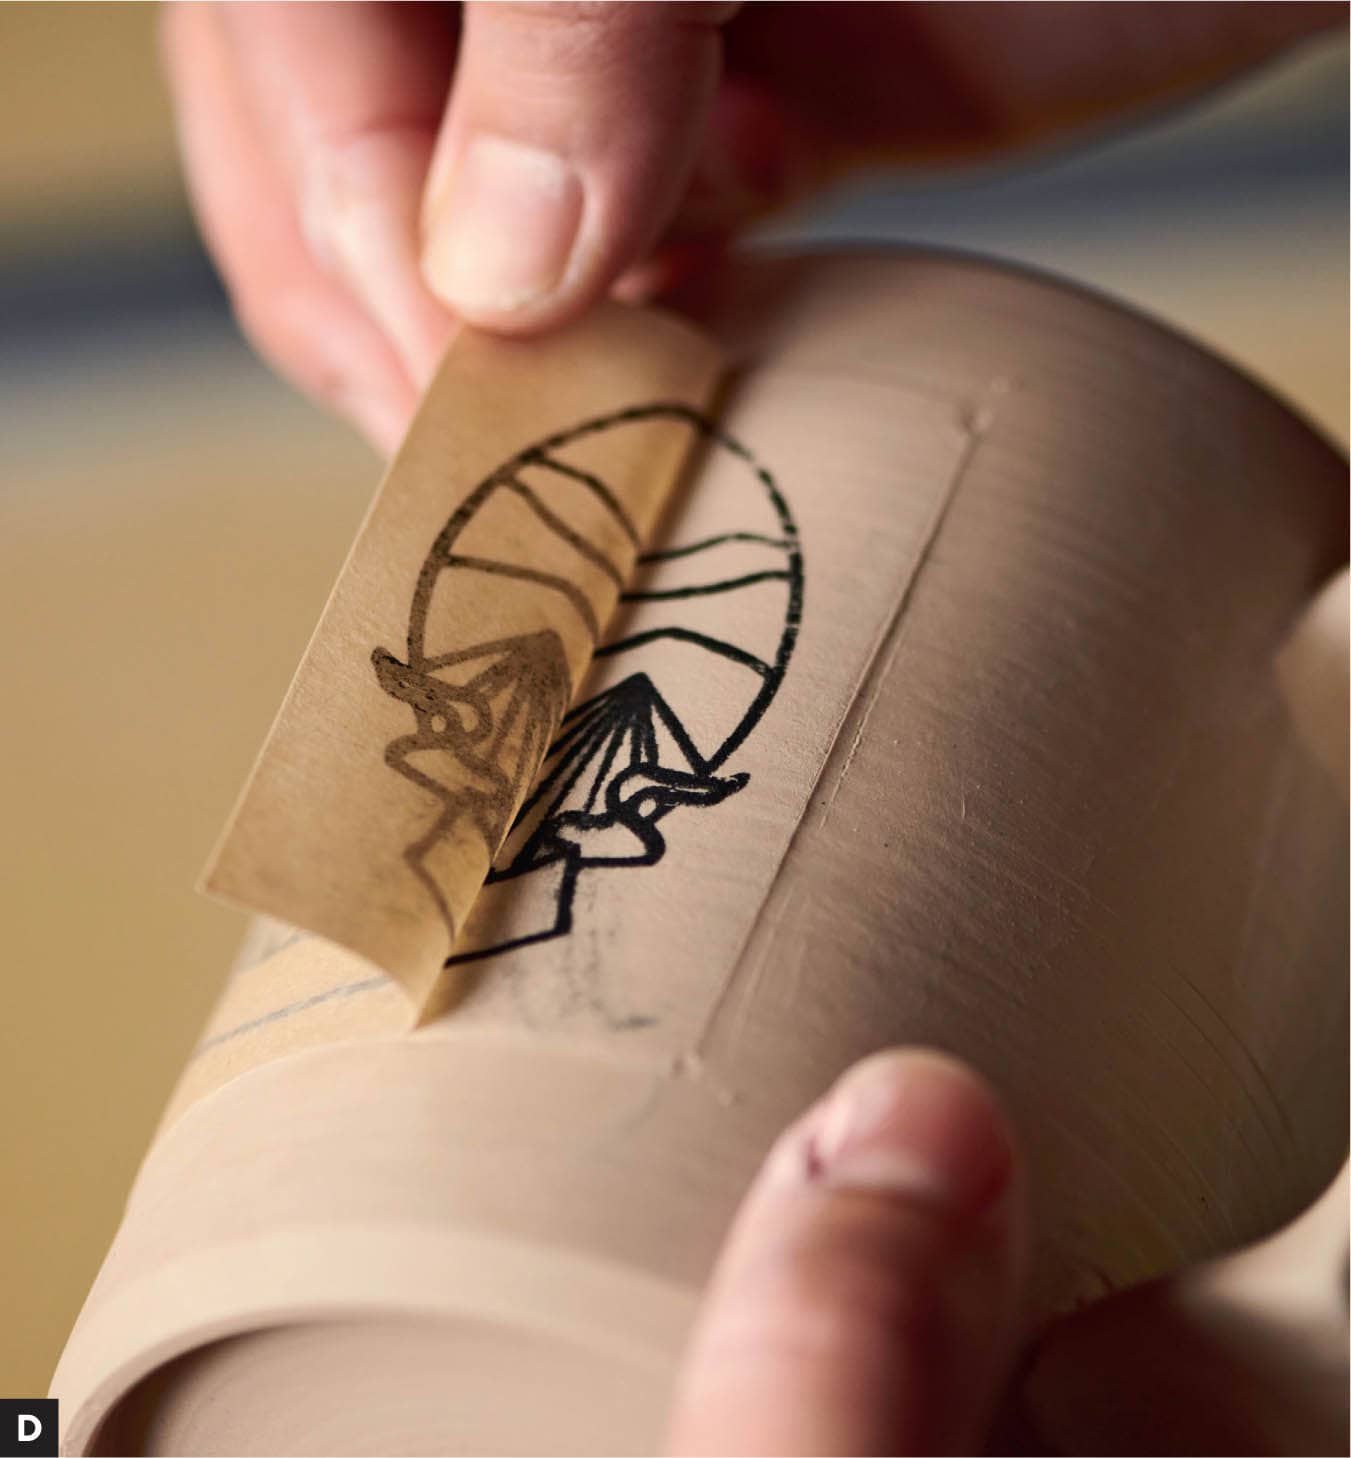
STEP 1 Optional: To add color to your newsprint transfer, start with the printed side up and get painting. Keep in mind that the layer you are painting will be underneath the first layer of the newsprint once applied. STEP 2 After your added underglaze has dried, you are ready for the application process. First, determine placement and decide whether you need to cut the image to match the size of your pot. STEP 3 Using your mist spray bottle, generously mist the back of your newsprint. Do the same with the front side. [A] STEP 4 When your newsprint is no longer shiny but has absorbed the water, place the printed side down on your piece. With a moist sponge, make sure the newsprint has made contact with all areas of the surface. [B] STEP 5 Use your soft rib to work the back of the newsprint, ensuring that the underglaze is lifting off the paper and onto your pot. [C] STEP 6 To check if you need to continue ribbing or add more moisture, gently peel back the edge of your newsprint. If you are looking for a flawless and crisp image transfer, you may need to keep ribbing. If you are more interested in a “distressed” look, you can stop ribbing sooner. [D] STEP 7 Once you are happy with the quality of the image, gently peel off your newsprint completely. Now wasn’t that fun?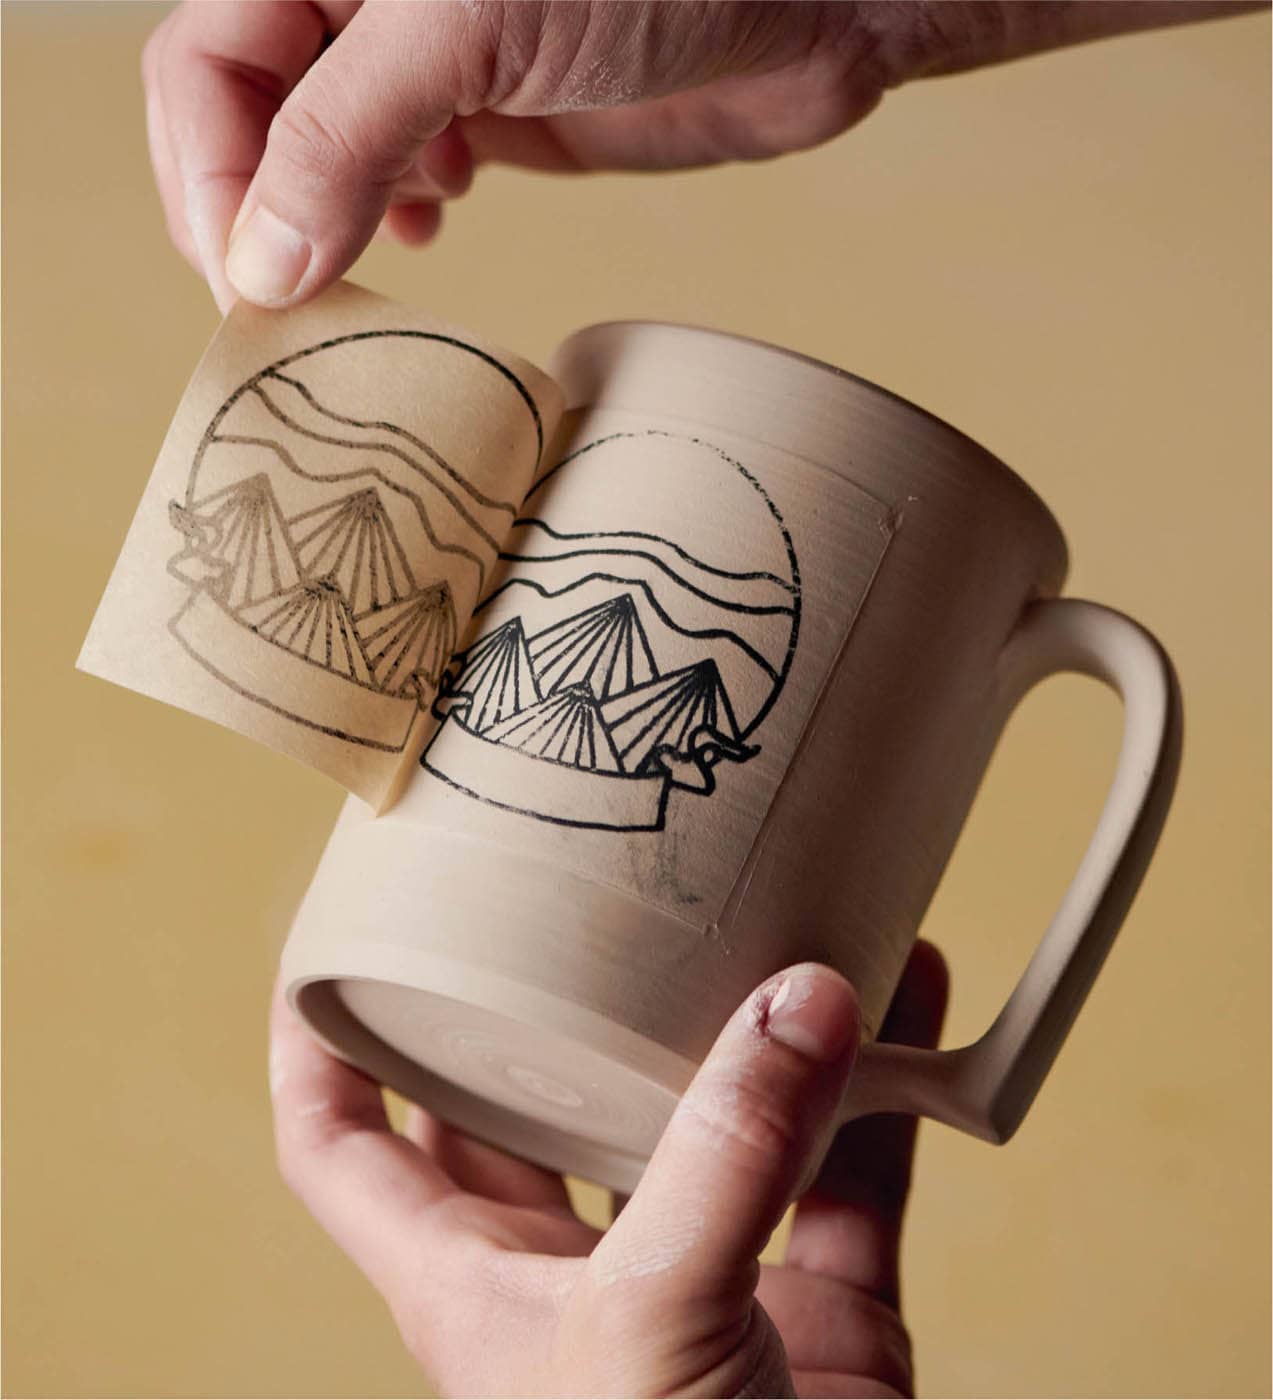
Instructions

STEP 1 Paint the bone-dry surface of your pot with underglaze. I recommend using a darker color that will contrast nicely with the color of your clay body. [A] STEP 2 After the underglaze is dry, begin scratching. As with all surface decoration techniques, it is beneficial to have a design ready before you dive in. You can freehand or follow a stencil design, whatever your heart desires. [B] STEP 3 Continue scratching until you are happy with your image. [C] If you are working indoors, use a dry paintbrush to remove the dust off your carvings rather than removing your mask to blow it off.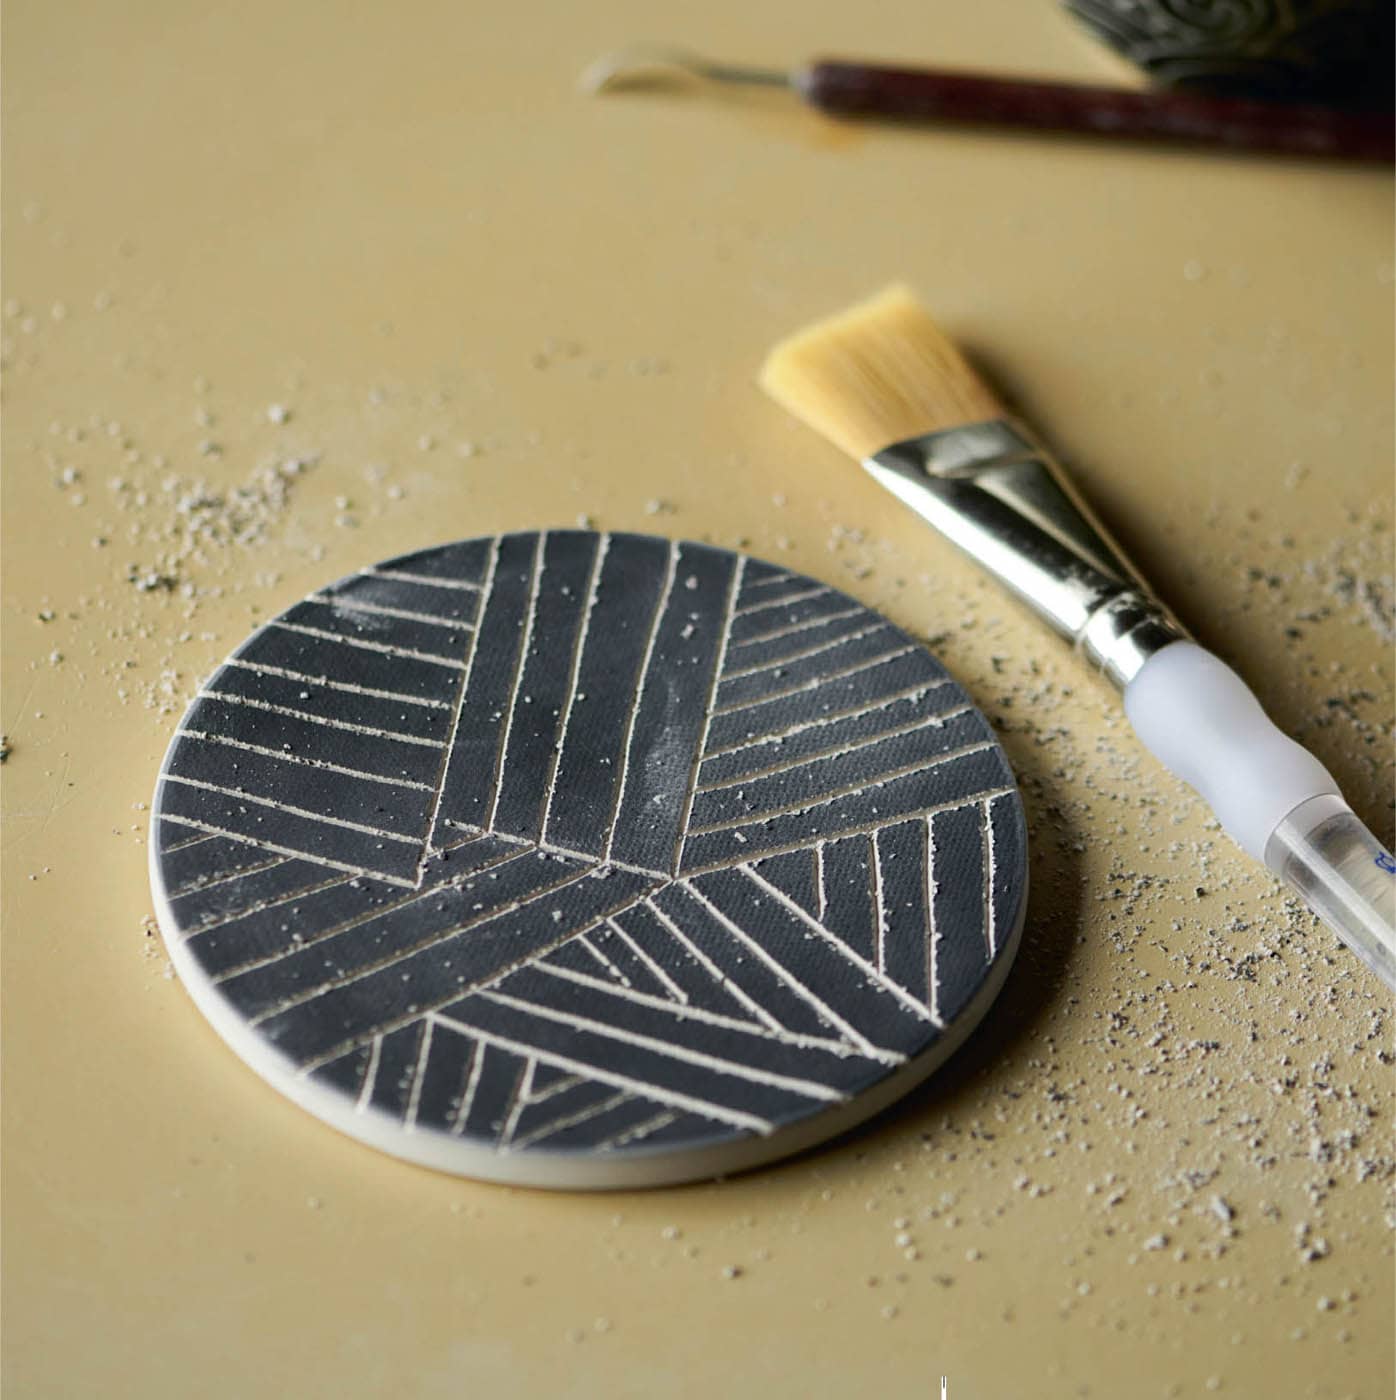
Instructions


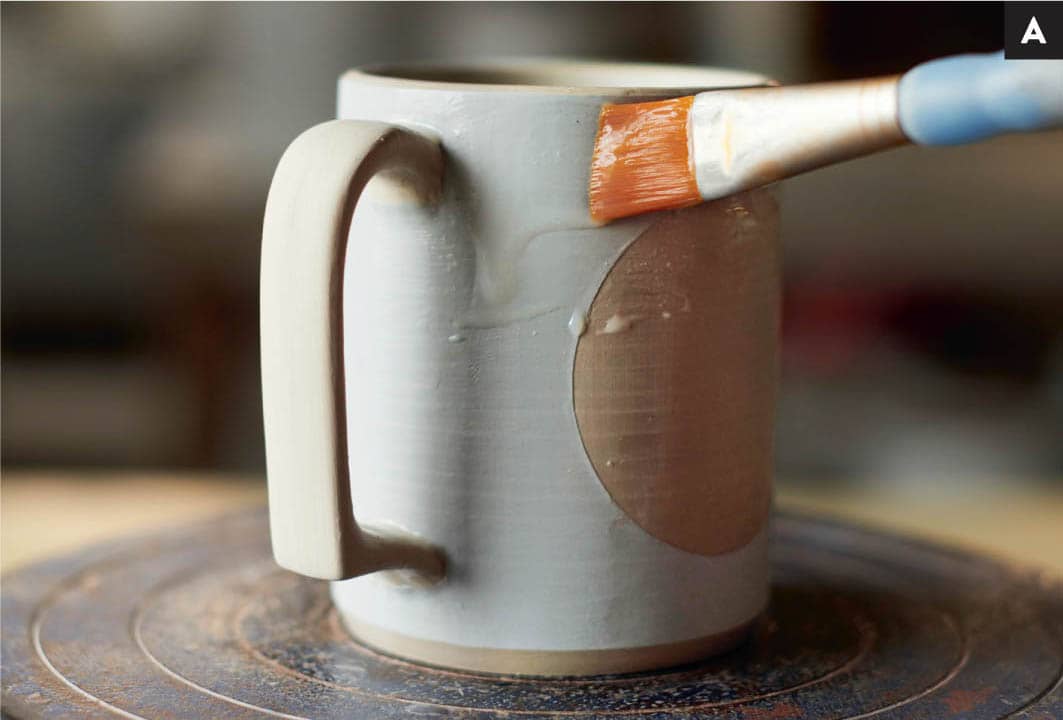
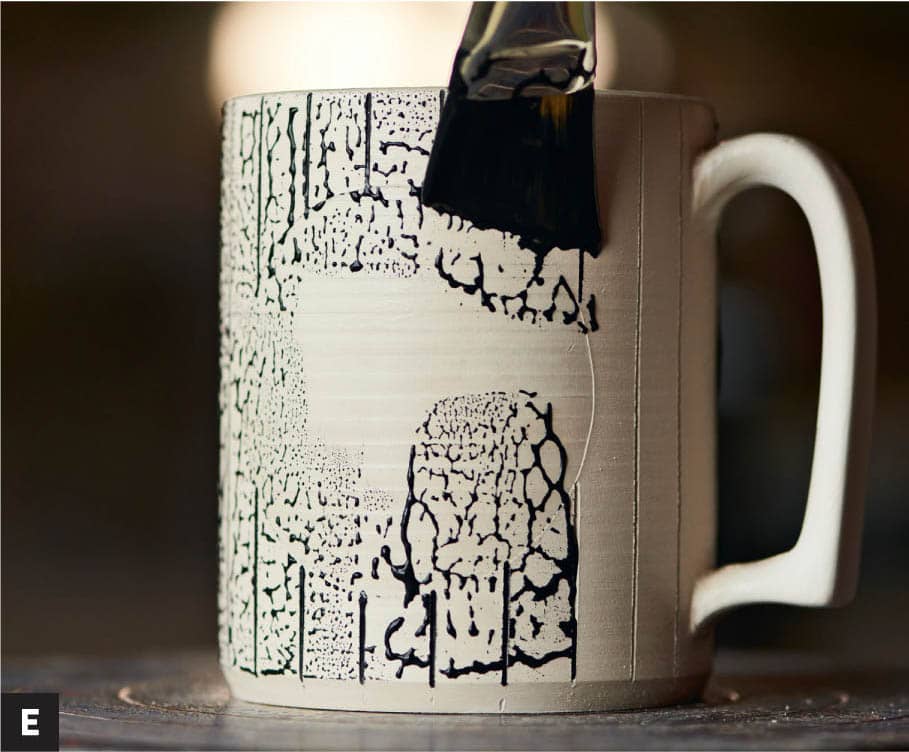
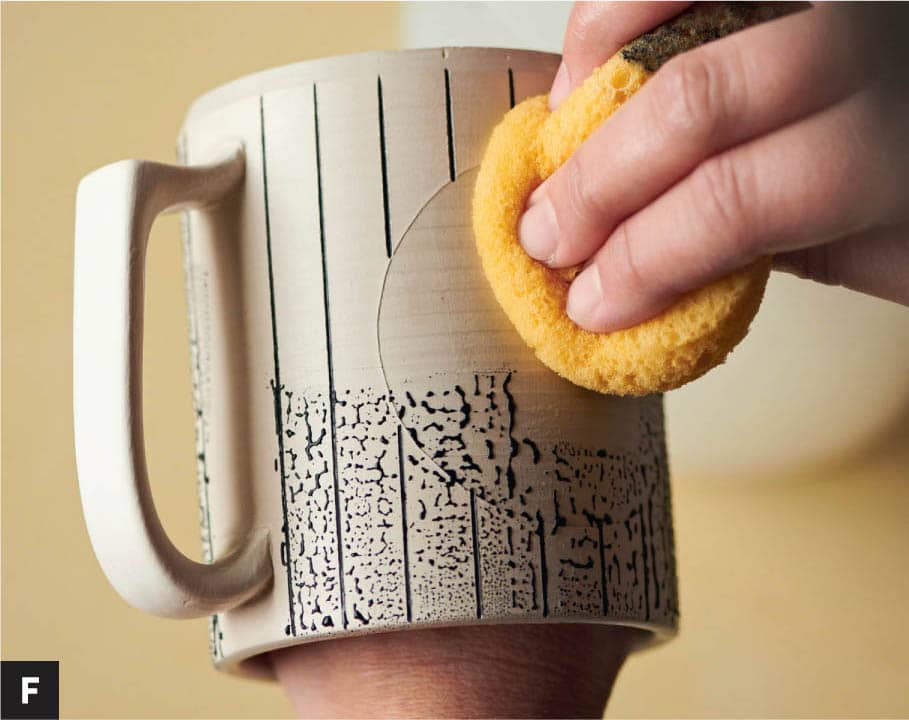
STEP 1 Starting with a leather-hard already underglazed pot, paint the wax resist on the surface area you intend to carve. [A] TIP I wax a little further down and get it into any crevices that might easily pick up my inlay color. STEP 2 Once the wax is completely dry to the touch, you can carve into the clay. Depending on the aesthetic you want to achieve, you can carve freehand or with a ruler or guide. [B] TIP I love using old business cards in place of rulers. They bend with the shape of my clay and are easier to hold onto at times. STEP 3 Carve, carve, carve. [C] STEP 4 Once you are done carving your pot, it is important to let it dry to bone dry. I know it is tempting to dive right in and paint those lines, but I promise you will have more success getting that inlay color to stay and really pop at bone dry. Also easier at bone dry is removing the burrs left behind from your carving tool. To do this, use a hard bristle paintbrush or my favorite alternative, a toothbrush. Give it a quick scrub. [D] STEP 5 Next, paint the inlay color. Give the paint a stir or a shake, then paint the inlay color over your carved lines. You may have to angle your paintbrush to get into some of the grooves. Another way to get your underglaze into every line is to water it down a bit, as it may be too thick. [E] STEP 6 Paint your entire pot, then start wiping. At this stage you can already see the work the wax is doing by resisting the underglaze in all the areas except where I have carved. Using a clean sponge and bucket of fresh water, start wiping the surface of your pot. You may have to rinse the sponge and wipe a few more times to achieve perfection. [F]
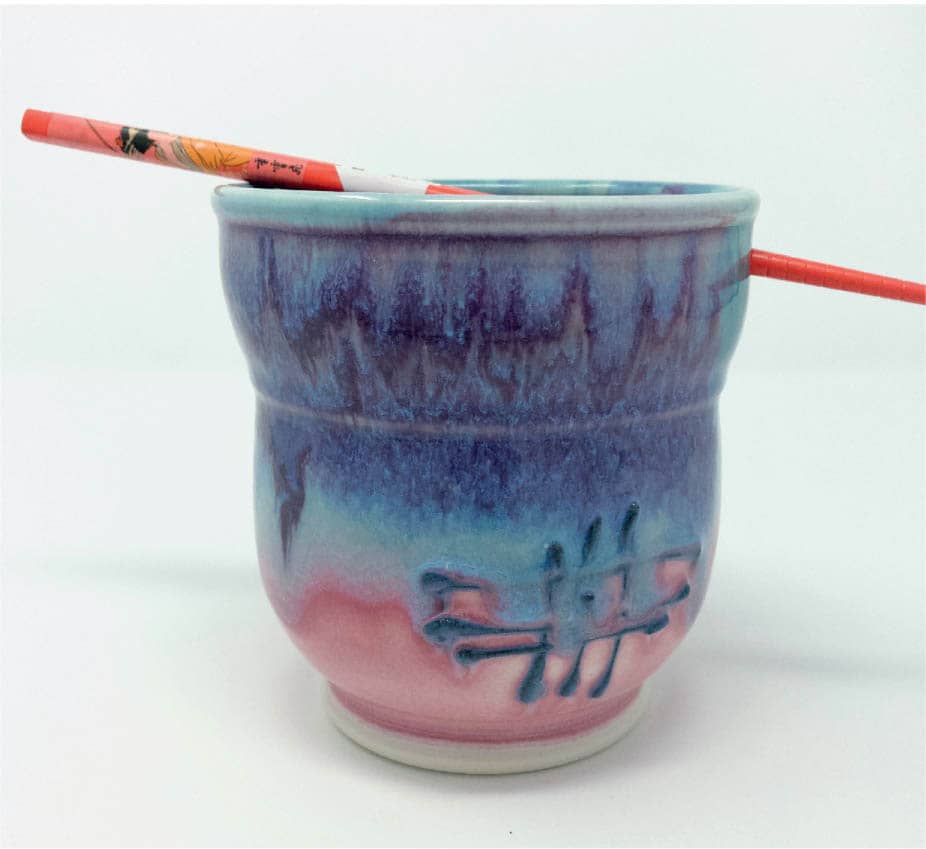
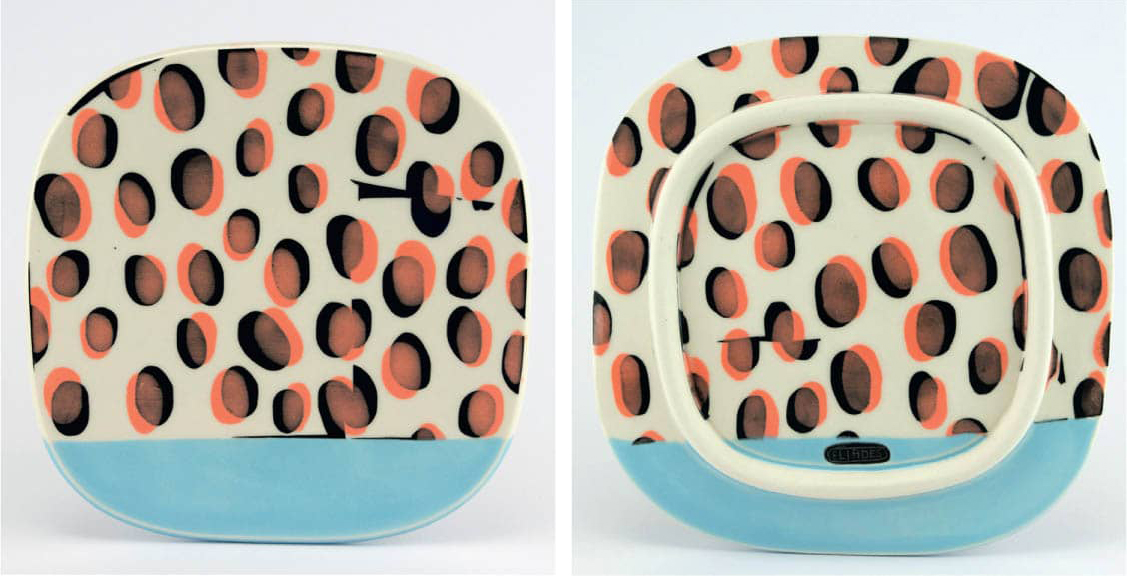
Anja Bartels, Sea Urchin BowlWheel-thrown porcelain, fired to cone 7 electric, slip trailing decor, three layered glazes on interior Anja Bartels, Lobster PlatterSgraffito, fired to cone 7 electric Gillan Doty, PlateWood-fired Matthew Schiemann Sara Ballek, Shallow Bowl Mike Cinelli, Ewer Rachel Donner, Plates Laurie Caffery, Cabin Side PlatePorcelain, underglaze and mishima, cone 6 oxidation Laurie carves her mishima lines at leather hard and then waits until bone dry to fill the lines and wipe. This allows her to smooth the burrs left by her carving tool. After bisque she uses watered-down underglazes to “watercolor” her illustrations. Renee LoPresti, MugWheel-thrown 2020 stoneware underglazes, glazes, and luster, fired to cone 5 and 019 electric oxidation I fell in love with Renee’s work years ago. Her layered surfaces and color palettes continue to impress me. I had been hand-cutting my stencils up until I watched a demonstration of her process. Renee uses a die cutter to cut vinyl stencils—so simple but brilliant. Rachel Donner, Pitcher Eric Herspink, Pitcher Adrienne Eliades, Plate Front and BackPorcelain hand built, underglaze and glaze decoration, fired to cone 7 oxidation Photo by artist Adrienne Eliades, TeapotWheel-thrown with hand-built lid and handle, underglaze and glaze decoration, fired to cone 7 oxidation Liana Agnew, Plate Gabriel Kline, Rice BowlCone 7Instructions


GALLERY
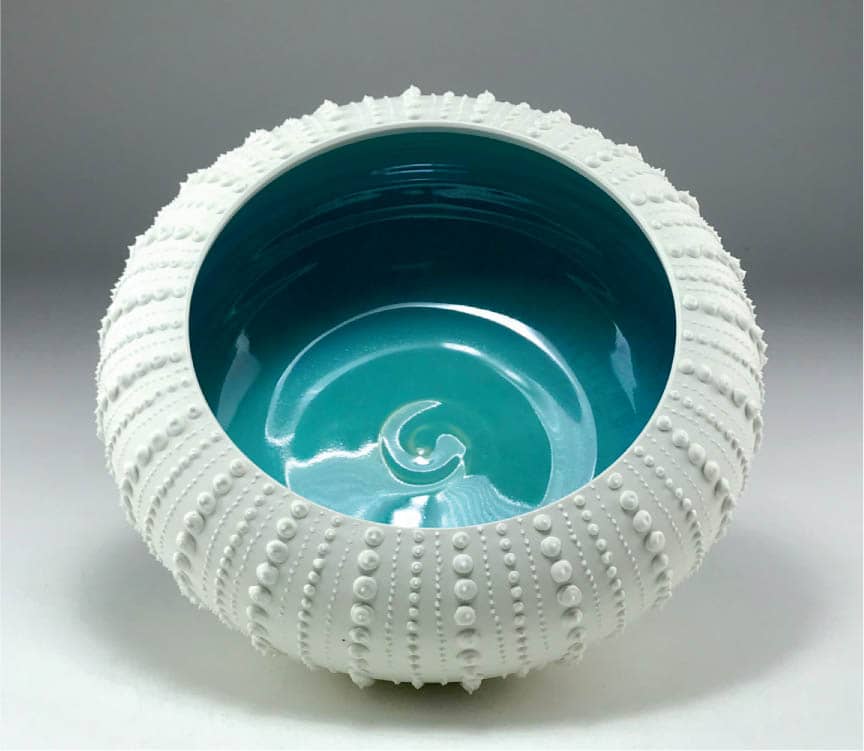
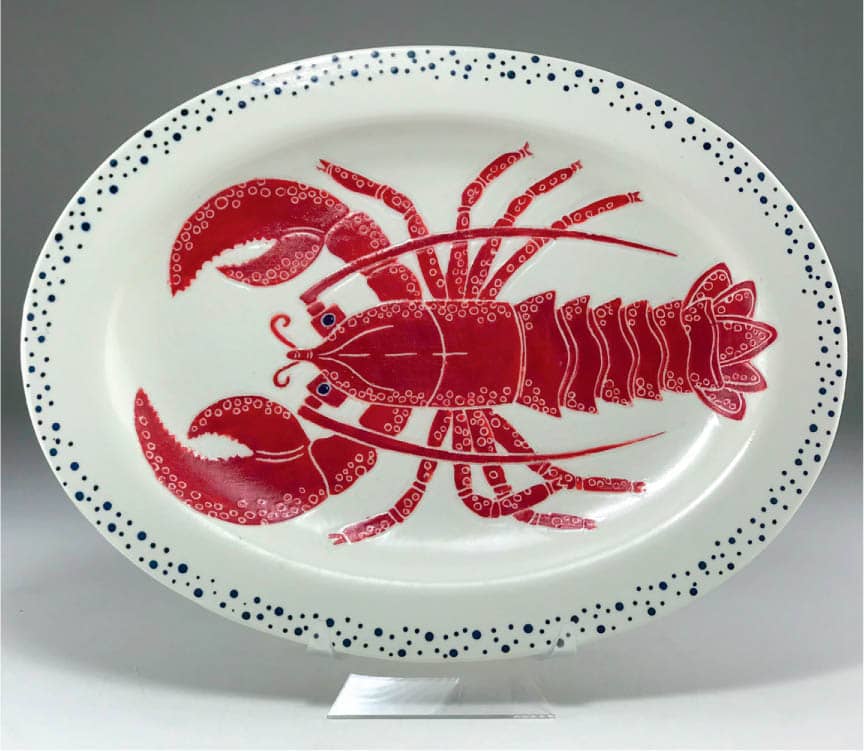

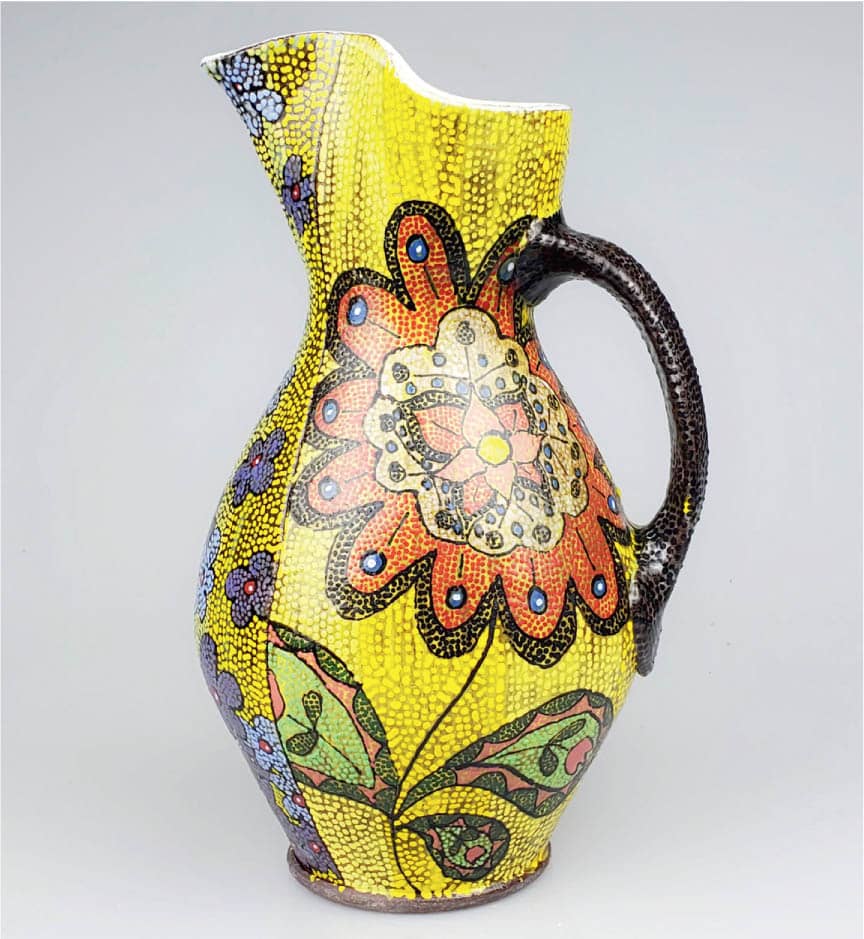
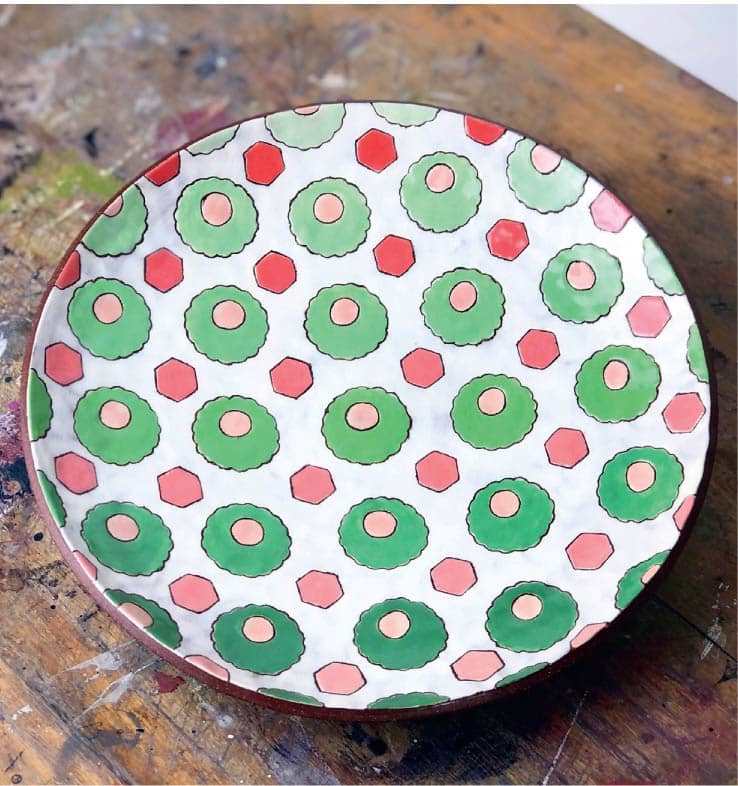
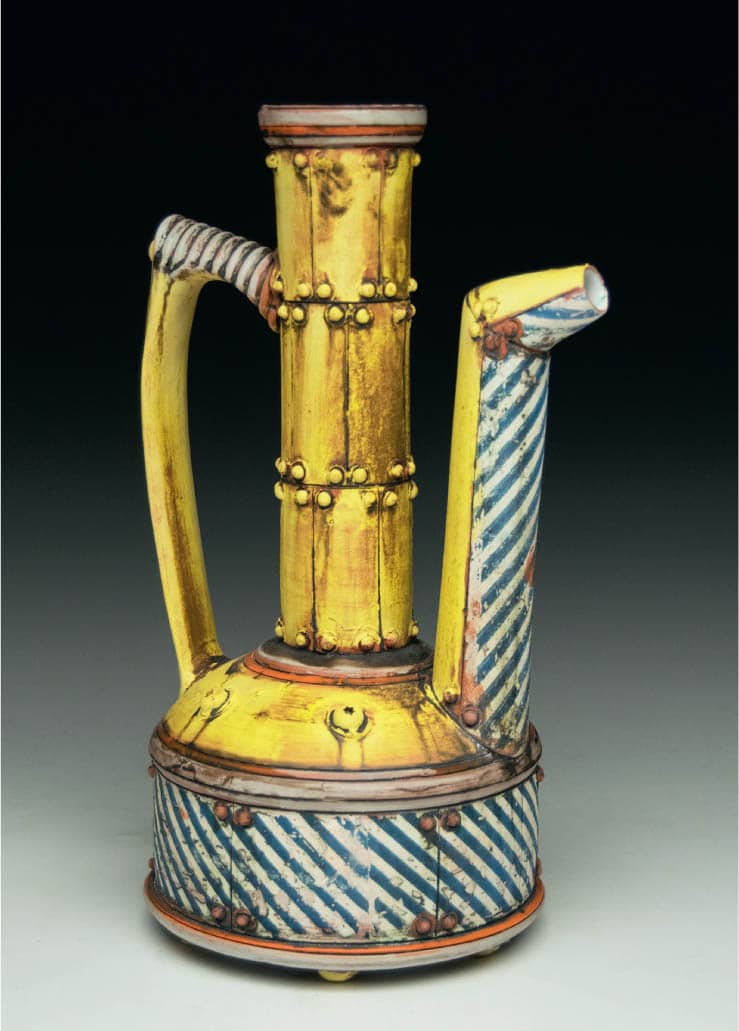
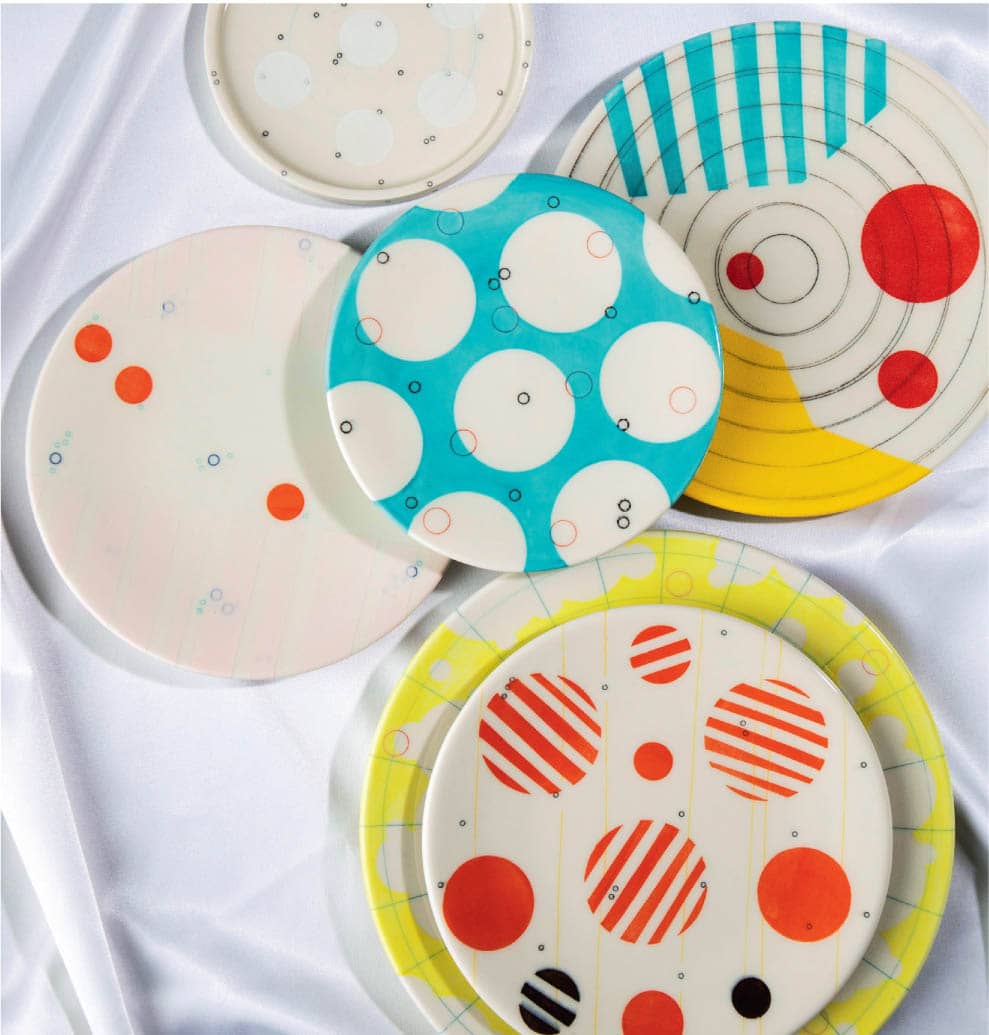
Photo courtesy of Emily Mason