Chapter 4: Change it Up/Get Silly
48
MakerMagicianHandbook_IntroNchapters_FIN.indd 48MakerMagicianHandbook_IntroNchapters_FIN.indd 48 11/17/20 10:07 AM11/17/20 10:07 AM

The Maker Magician’s Handbook 49
#4
CHANGE IT UP/
GET SILLY
We’ve done some great magic already, and created more
than just a collection of tricks … we’ve tied each routine to the
others. We’re making our own props! We’re learning how to
involve our audience and make it an interactive experience for
them. In other words, we’re building a show! As a performer,
my goal is always to bring some type of new surprise with
each routine that I perform.
This next section of the show is all about being silly. Yes,
there is actually an art to being silly, and there are people in
the world who actually do it for a living! Imagine that … having
a job to make people laugh! There are comedians, talk show
hosts, comedy magicians, and even comedy maker magicians!
Making people laugh is something I love so much. Let’s show
the audience what being a professionally silly person means!
ROUTINE:
FUNNY flOWER
THE EffECT
Make a paper flower magically wilt
(or headbang!!) at your command!
MakerMagicianHandbook_IntroNchapters_FIN.indd 49MakerMagicianHandbook_IntroNchapters_FIN.indd 49 11/17/20 10:07 AM11/17/20 10:07 AM

Chapter 4: Change it Up/Get Silly
50
This is one of my go-to homemade magic treasures. You
can amaze people and make people laugh at the same
time, all using materials you can readily find in your home.
I’m giving you three versions here, but the variations and
possibilities are endless!
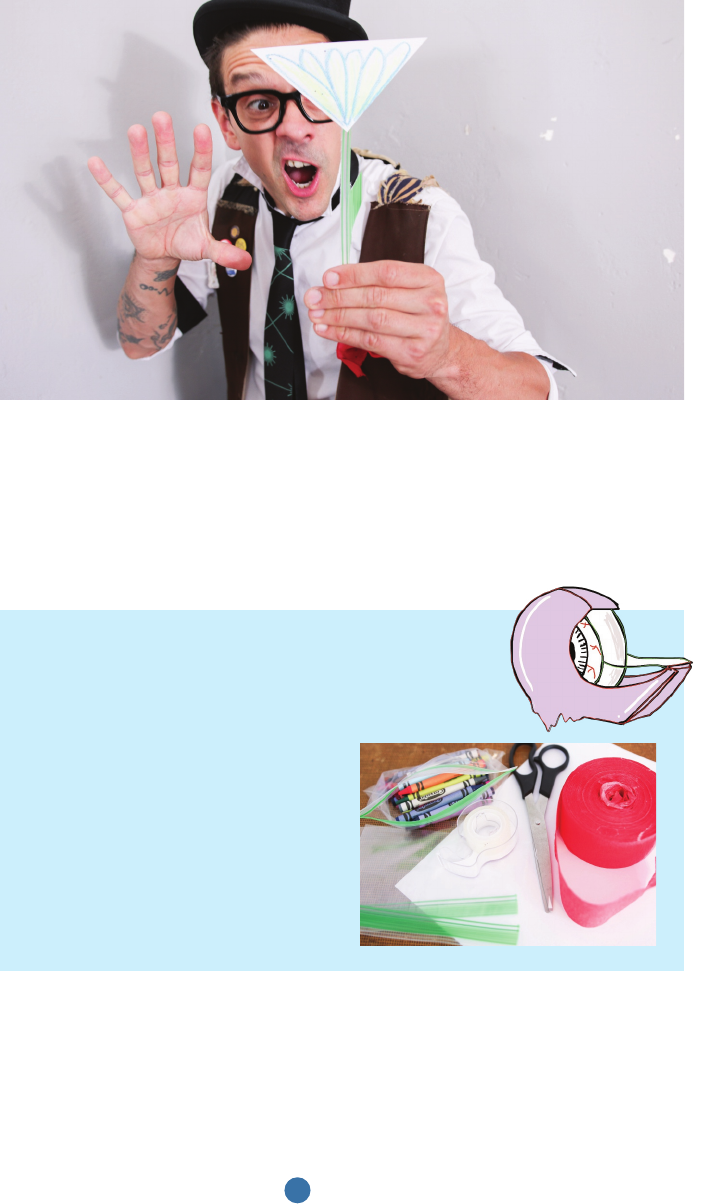
SUPPLIES
• 1 plastic ziplock bag A 6½" wide sandwich
bag with green tabs works best.
• 1 sheet of blank paper
• Crayons, markers, or
colored pencils
• Clear Scotch tape
• Scissors
• Optional: crepe paper roll
for tissue flower variation
BUILD
MAKE THE STEM
1. We need to separate the zip portion of the sandwich bag
from the rest of the bag to make a “stem” for our flower. To
do so, cut along the edge of the ziplock portion, starting from
the clear bag side
(Figure
A
)
.
MakerMagicianHandbook_IntroNchapters_FIN.indd 50MakerMagicianHandbook_IntroNchapters_FIN.indd 50 11/17/20 10:07 AM11/17/20 10:07 AM

The Maker Magician’s Handbook 51
2. Now, cut along the other side of the zip, to remove the
green portion, but be sure to leave a small tab of green at
the bottom, which will serve as a grip for your thumb during
performance. Also cut out a leaf shape in the green tab about
halfway up the strip. Once cut, spread the leaf apart
(Figures
B
,
C
, and
D
)
!
3. To finish off our “stem,” cut a bit off the end of the thumb
tab at the bottom
(Figure
E
)
. This is very important, because
it will allow us to do the magic move during performance!
A
C
B
D
E
MakerMagicianHandbook_IntroNchapters_FIN.indd 51MakerMagicianHandbook_IntroNchapters_FIN.indd 51 11/17/20 10:07 AM11/17/20 10:07 AM

Chapter 4: Change it Up/Get Silly
52
ADD THE PETALS
1. Next, it’s time to create the top, the petals, of our flower!
One way to do this is to simply cut out a proportionately sized
triangle of blank paper
(Figure
F
)
and color it in like a flower
(Figure
G
)
!
2. Then, tape your flower head to the top of your stem, the side
without the thumb tab. Tuck the tape around the bottom of the
paper flower head, and your prop is complete
(Figures
H
and
I
)
!
LEARN THE SECRET MOVE
1. Hold the flower by the tab at the bottom of the stem,
between your thumb and first three fingers. Make sure your
F
H
J
G
I
K
MakerMagicianHandbook_IntroNchapters_FIN.indd 52MakerMagicianHandbook_IntroNchapters_FIN.indd 52 11/17/20 10:07 AM11/17/20 10:07 AM
..................Content has been hidden....................
You can't read the all page of ebook, please click here login for view all page.
