
TYPO3’s powerful permission system can allow teams of editors, even thousands of them, to manage content through the backend. Administrators have fine-grained control over who can see and edit what content, determined by a number of factors, including user role, language, location within the page tree, and more.
As an administrator or integrator, you should take care that the options and fields provided fit editors’ everyday workflow. Providing too many options can add complexity and slow things down, while too many limitations can block the creative process.
In this guide, using the promotion tour website we created in Guide 2, we’ll create a usergroup for the editor role, configure it to only be able to manage content and upload files in the restricted, password-protected area we created in Guide 7, and then create an editor user to test the permissions.
TYPO3 permission basics
In TYPO3, you can control permissions for the frontend output to site visitors and, in the backend, for administrators, system maintainers, and editors.
- 1.
Editors, following the principle of least privilege, don’t have any permissions to see or change anything, unless explicitly granted.
- 2.
Administrators (admins) can see and do anything related to content within a TYPO3 installation. For example, this role can create additional editors and administrators, can modify permissions, and see all system-relevant settings.
- 3.
System maintainers can do anything an admin can. In addition, this role has access rights to change TYPO3 installation-wide and low-level settings for maintaining database consistency, handling TYPO3 updates, and more.
When installing TYPO3, an administrator with system maintainer permissions is automatically created. This guide will focus on the editor role and the permissions needed to have a limited set of options available in TYPO3.
Permissions are set on a group basis. Editors should be assigned to a usergroup, giving all users in that group the same permissions. This is especially useful when your project is growing and you need many people as editors or other jobs. Since we also say “all users with the editor role,” it’s helpful to give your groups meaningful names.
At the end of this tutorial, you will have...
A file mount to a specific folder in the file system to allow access to files
A backend usergroup with one backend user assigned
Permissions for the usergroup, restricting access to the file mount
Prerequisites
Step 1: Creating the file mount
- 1.
In the TYPO3 backend, navigate to the File ➤ Filelist module.
- 2.
Click the main folder “fileadmin/” and then click the “+” Create new record button at the top of the module (Figure 12-1).
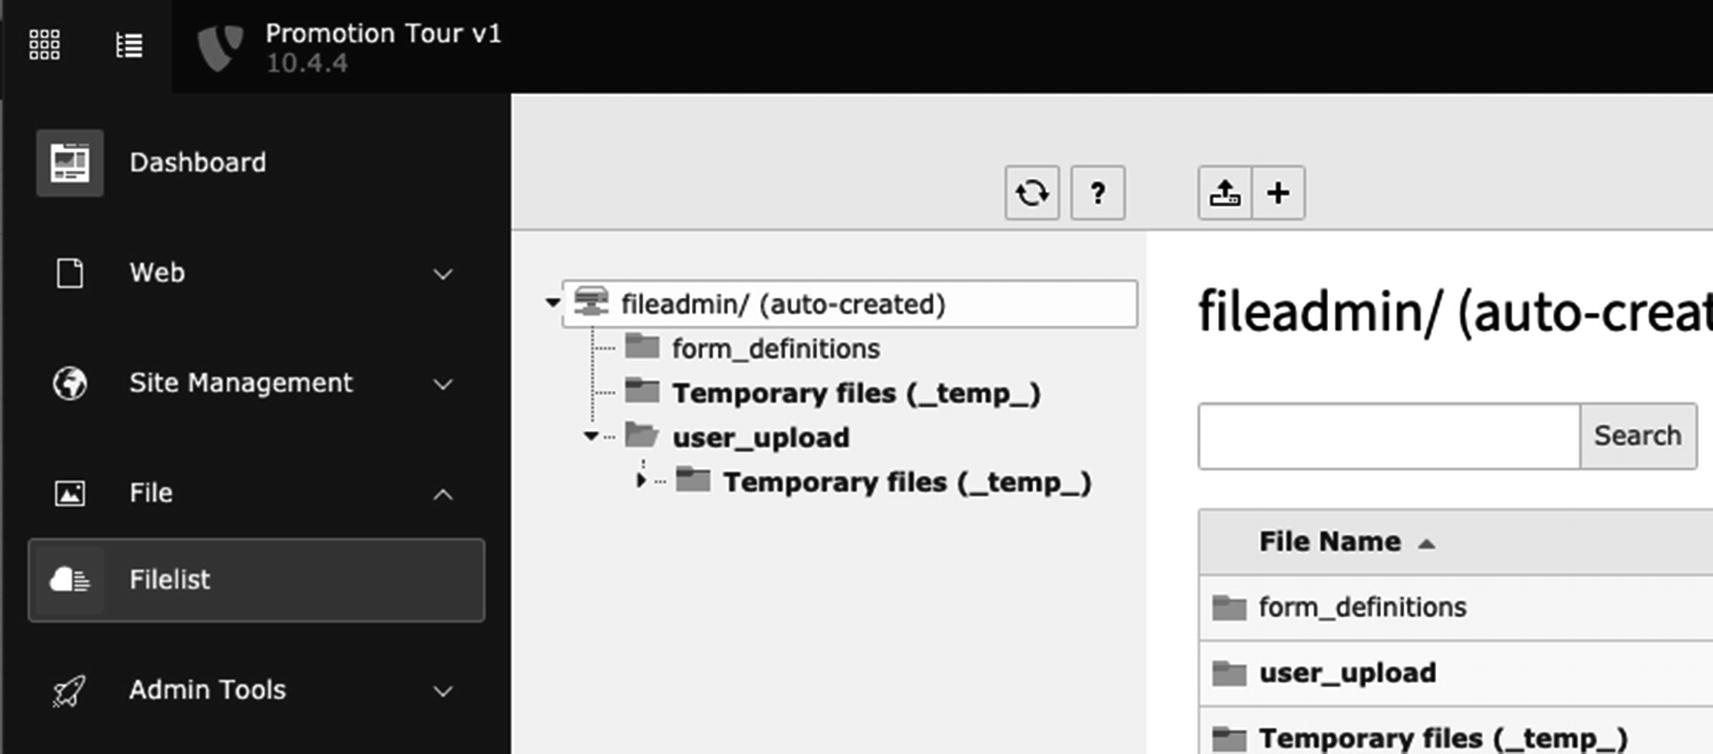
The Filelist module and page tree
- 3.
Add a new folder called “members” (Figure 12-2).
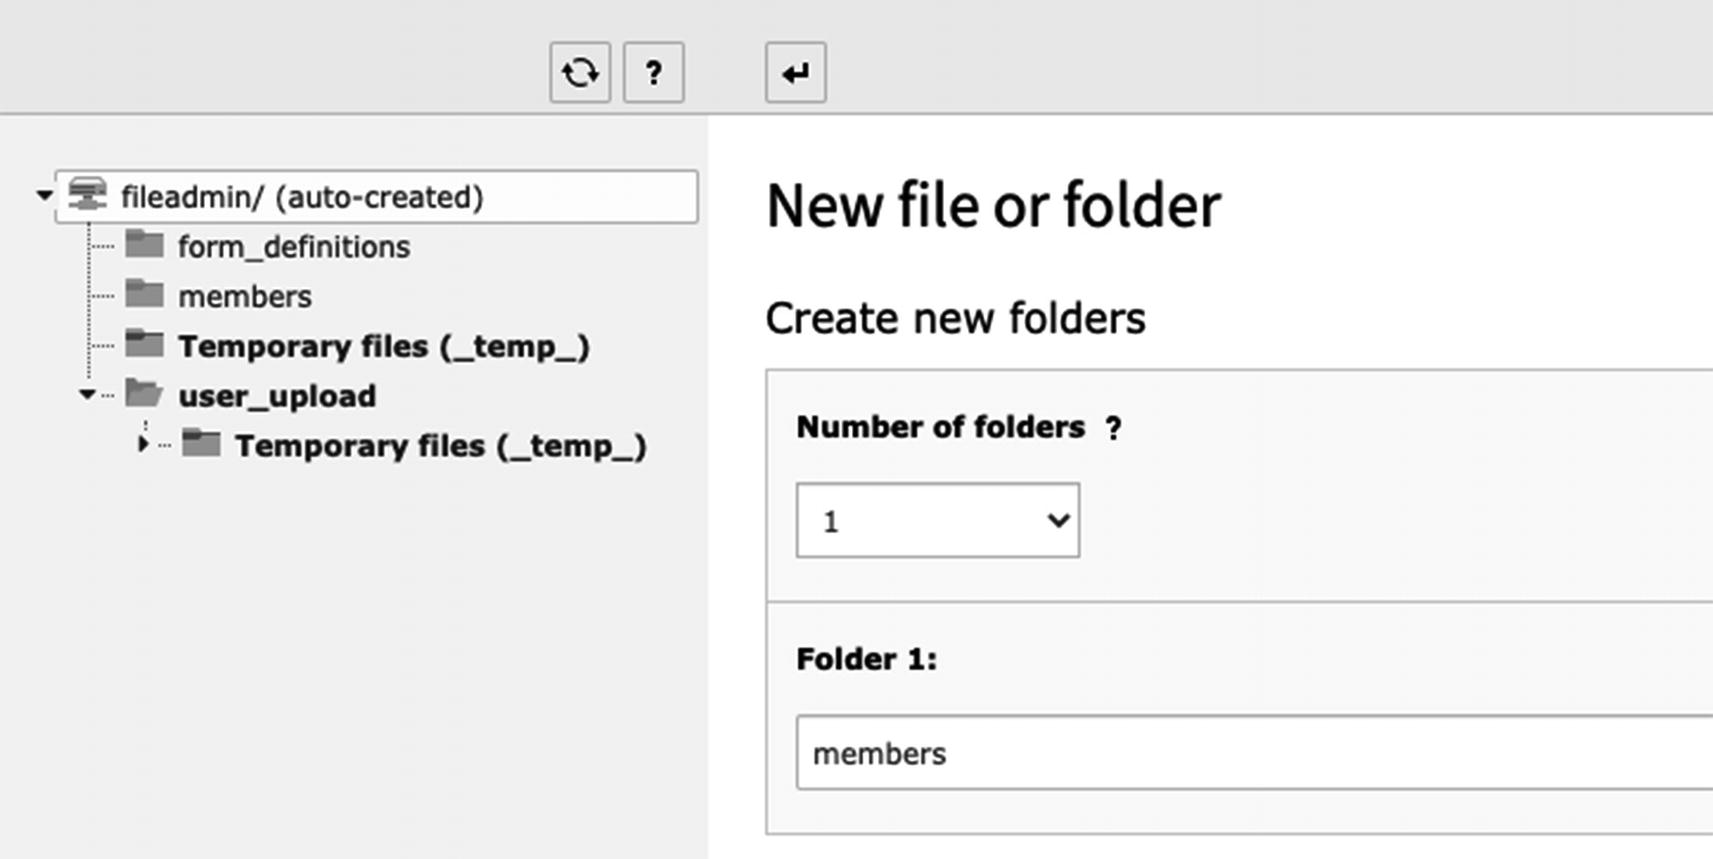
A new folder called “members”
- 4.
Go to the Web ➤ List module, and select the Promotion Tour root page in the page tree.
- 5.
Click the “+” Create new record button on the very top of the module, and select “Filemount” (Figure 12-3).

The list of new record options, with “Filemount” circled
- 6.Configure the file mount as follows:
In the Label field, type “Member area”.
In the Storage list, select “fileadmin”.
In the Folder list, select the folder called “/members/” that we just created (Figure 12-4).

The fields configured for Filemount
- 7.
Save and close the record.
Expected outcome: You now have a file mount called “Member area” for the promotion tour site.
Step 2: Creating a backend user group
Before we create an editor user, we’ll create a usergroup and set the permissions for all users that are attached to that group.
- 1.
Go to the System ➤ Backend Users module.
- 2.
In the drop-down list at the top of the screen, select “Backend user groups” (Figure 12-5).
- 3.
Click the “+” Create new record button.
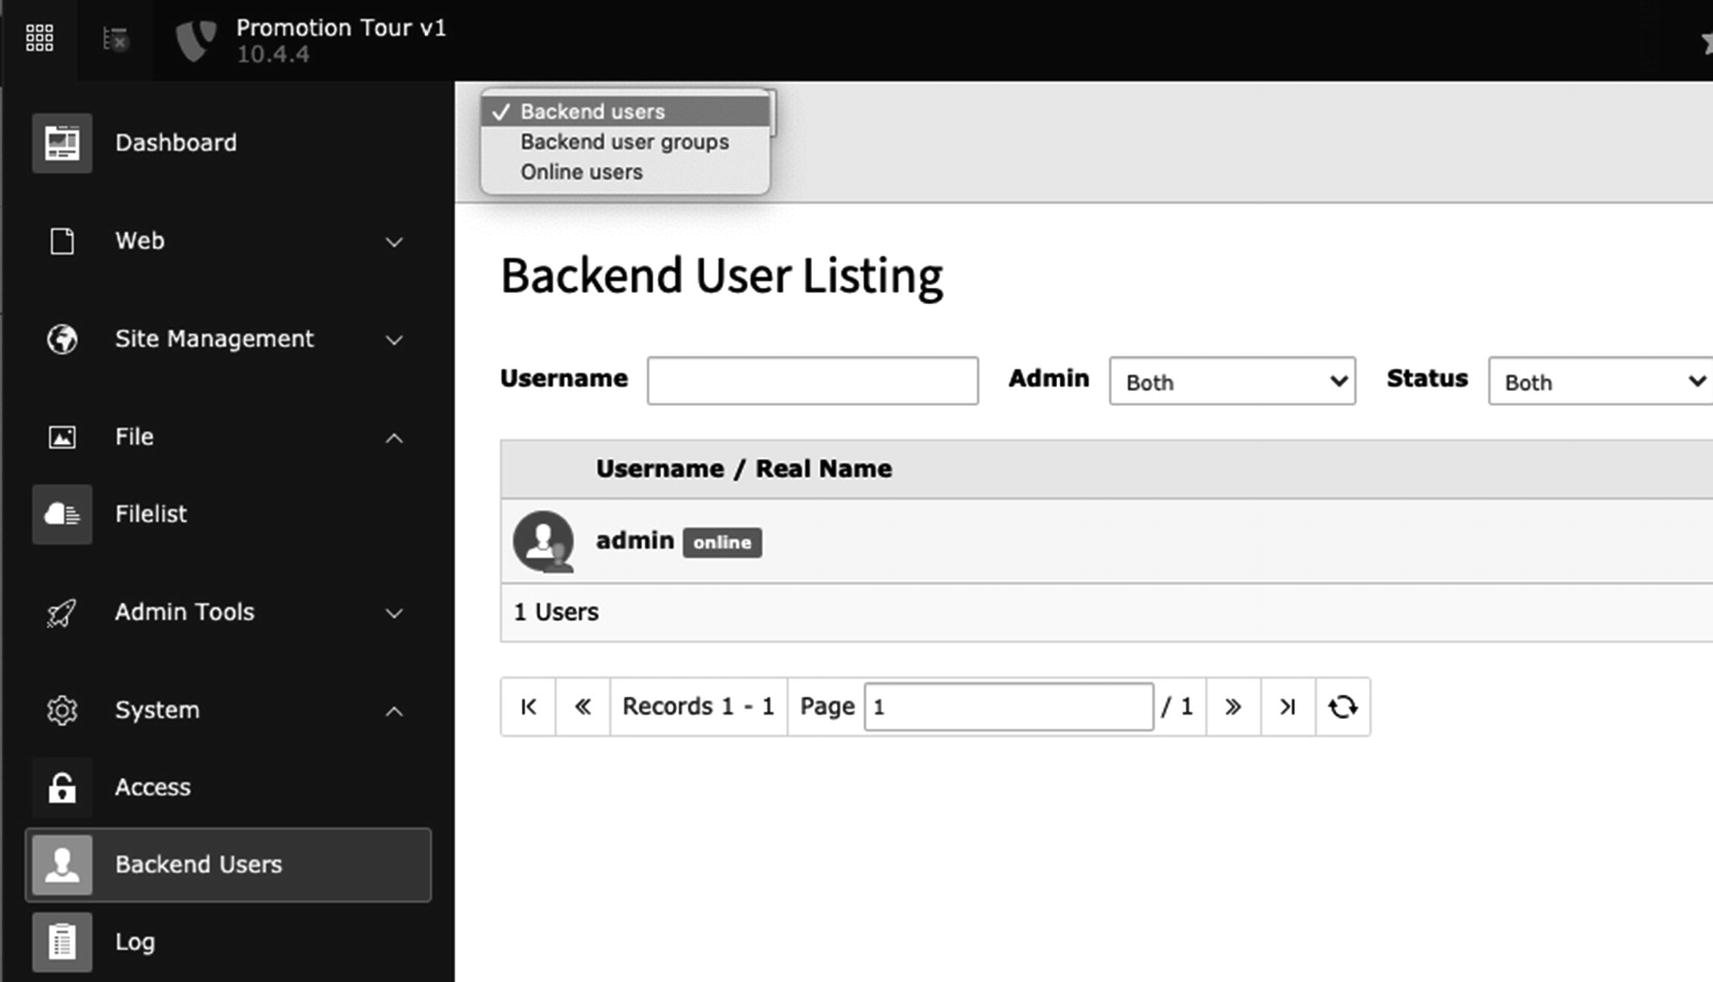
The drop-down list at the top of the screen of the Backend Users module
- 4.
On the General tab, in the Grouptitle field, type “Member Area Managers” (Figure 12-6).

The Grouptitle field on the General tab
- 5.On the Access lists tab, give the editor access to the following modules:
Web ➤ Page
Web ➤ List
File ➤ Filelist
User Tools ➤ User Settings (so they can update their password and personal details)
- 6.Scroll down to the Tables (listing) section, and give the editor access to the following:
Page
File
File collection
File metadata
File reference
Page content
- 7.Scroll down and tick the Toggle all box (Figure 12-7) for the following sections:
Page types
Allowed excludefields
File reference
File collection
Page

The Toggle all box for sections on the Access lists tab
- 8.On the Mounts and Workspaces tab (Figure 12-8), do the following:
In the DB Mounts section, select the “For members only” page.
In the File Mounts section, select “Member area.”
In the Fileoperation permissions section, tick the Toggle all box.

Completed fields in the Mounts and Workspaces tab
- 9.
Save and close the record.
Expected outcome: You now have a backend usergroup called “Member Area Managers.”
In this step, for clarity and brevity, we created a usergroup expressly for the members’ area editors. Permissions are cumulative and inheritable in TYPO3; a user has all the permissions granted to all usergroups they belong to. The best practice is to create a usergroup for general access permissions for all users. Then, add a sub-usergroup on top of that, granting additional permissions for editors. If we were putting this project site into production, we would add a further subgroup, extending the editors group, adding the permissions for the members’ area editors.
For more on this topic, see the “Configure user permissions” section of Chapter 3, which includes a visual metaphor (Figure 3-5) that we find helpful in explaining this concept. The image is taken from the article “Creating TYPO3 Backend Usergroups Your Clients Will Love”1 by Desirée Lochner at b13. It provides useful information about designing well-organized backend usergroups.
Step 3: Giving access to the page tree
- 1.
Go to the System ➤ Access module, and in the page tree, select the “For members only” page (Figure 12-9).
The Access module and page tree
- 2.Click the pencil Change permissions button next to the For members only page, so that we can add the newly created Group to this page and all subpages:
In the Group list, select “Member Area Managers” (Figure 12-10).
In the Depth list, select “Set recursively 1 level.”
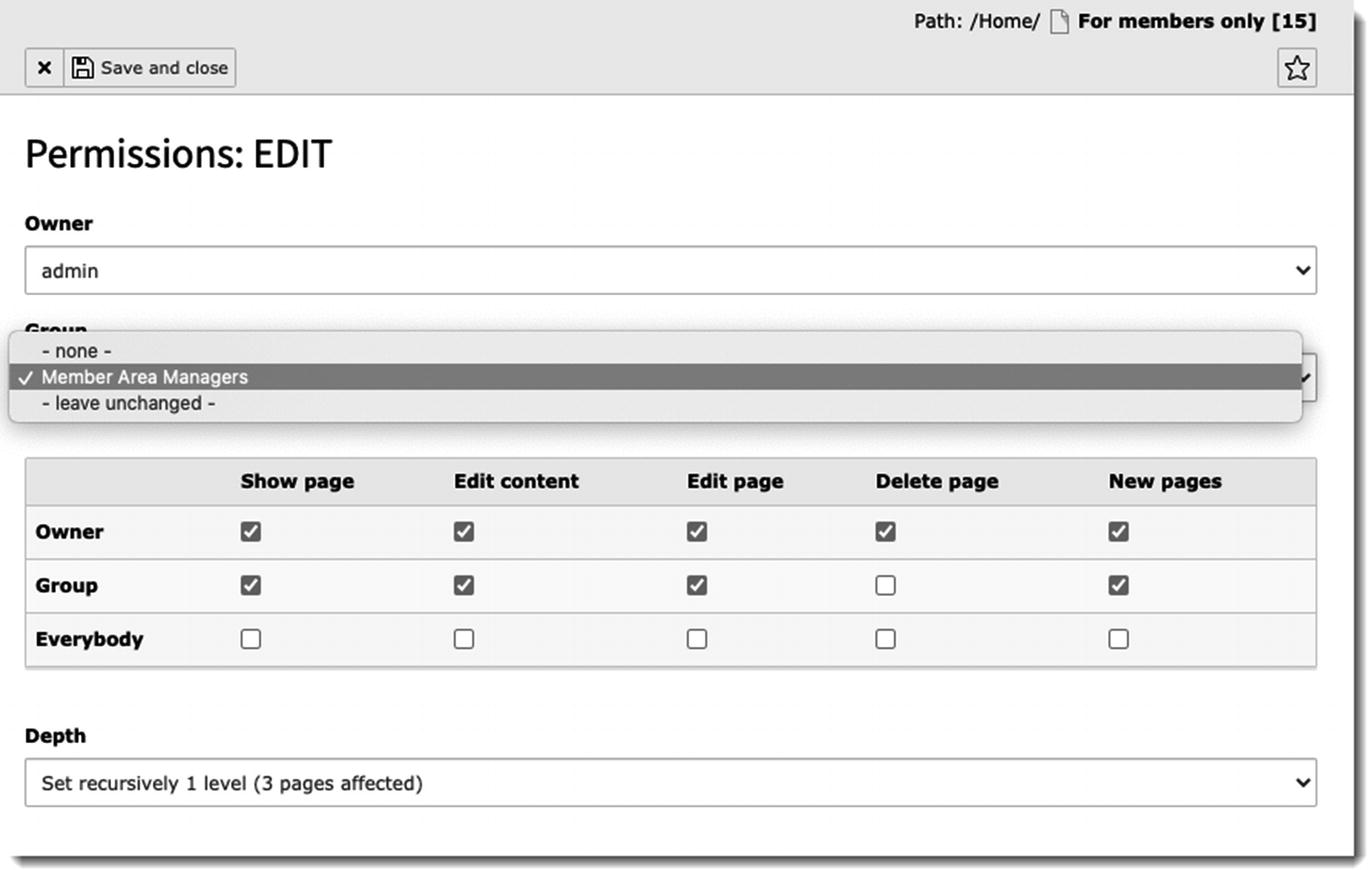
The Permissions screen
- 3.
Save and close the record.
Expected outcome: You have given the Member Area Managers usergroup access to see, edit, and create pages in the “For members only” section of the page tree, as well as to edit content on those pages.
Step 4: Creating a user
- 1.
Go to the System ➤ Backend Users module.
- 2.
Click the “+” Create new record button.
- 3.Configure the user as follows:
- a.
In the Username field, type “membereditor”.
- b.
In the Password field, type a password.
- c.
In the Group section, select the newly created “Member Area Managers” group (Figure 12-11).

The Create new user screen
- 4.
Toggle the “Enabled” switch to enable the user.
- 5.
Save and close the record.
Expected outcome: You have added a user to the backend user group “Member Area Managers.”
Step 5: Testing the permissions
- 1.
Click the Switch to user button at the far right end of the new editor user row (Figure 12-12).

The user listing with the Switch to user button circled
- 2.
Explore the page tree. You will see only the modules and pages that the “membereditor” user has access to (Figure 12-13).
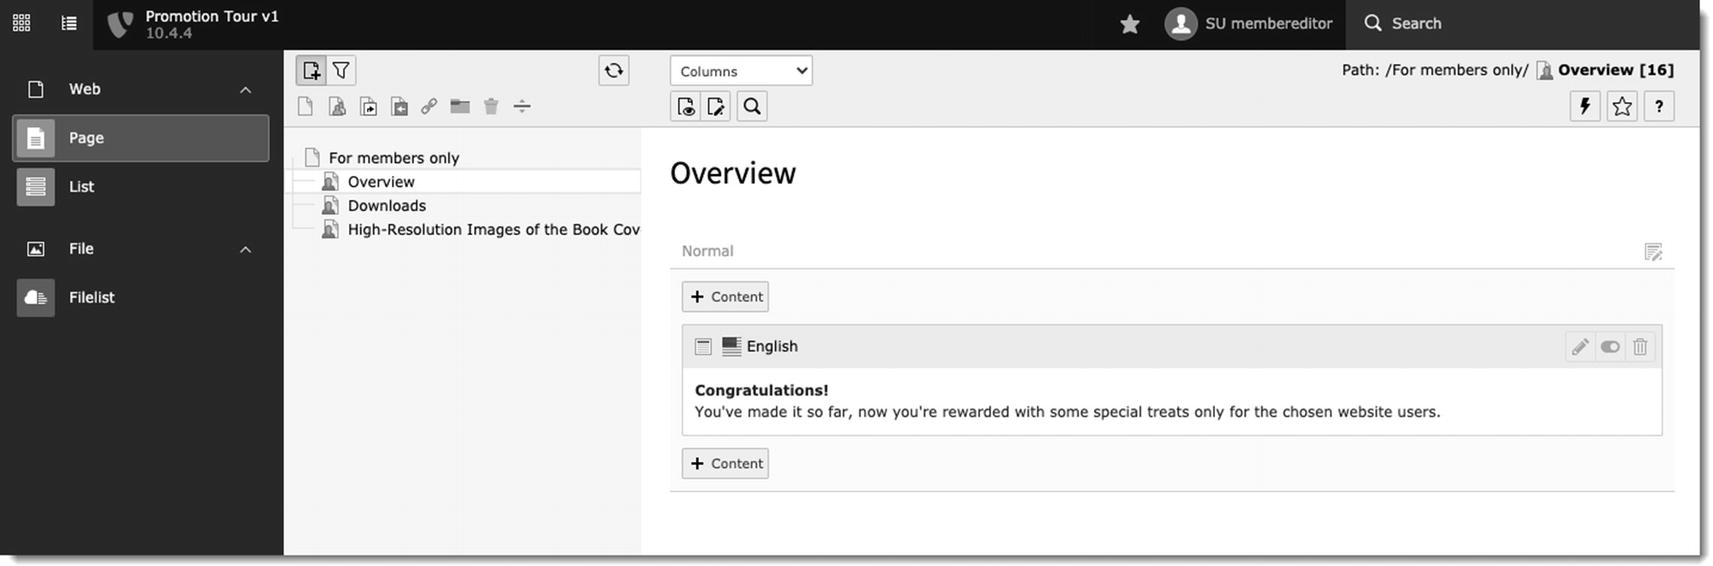
The backend as seen by the “membereditor” user
- 3.
At the top of the screen, click the “SU membereditor” profile, and then click the Exit button to switch back to your original administrator login.
Expected outcome: You now have a backend user with access to edit and manage the restricted members’ area content of the website, but not the rest of it. This is useful for removing visual noise for editors, so they can focus on their work and start editing content right away.
Summary
Congratulations! You’ve created a file mount to a specific folder, a usergroup access with access to that file mount, and a specific part of the page tree and added a user to that group.
Now that we’ve created a usergroup, and an editor, you know how to add more editors and groups. You’ll be able to make use of TYPO3’s powerful permission and access capabilities.
What’s next?
Dive deeper into permissions with subgroups. You can create sophisticated group structures that inherit permissions from others. Find out more on the Setting up User Permissions page2 of the TYPO3 Getting Started tutorial.
Further leverage the power of usergroups and permissions by installing the Workspaces extension. Workspaces allow you to implement a review workflow, so that changes to content made by one group go through an approval process by another group before being published to the website. See the official TYPO3 documentation guide on Workspace Management.3
Resources: Learn more
Consult the official TYPO3 documentation for comprehensive information about backend access control4 and permissions.5
Read the TSconfig Reference guide6 for setting Page TSconfig and User TSconfig.
The article “Creating TYPO3 Backend Usergroups Your Clients Will Love”7 by Desirée Lochner at b13 provides useful information about designing well-organized backend usergroups.