In this chapter we are going to learn how to quickly create some foliage for our scene. Foliage is generally very difficult to create manually and a very time-consuming process, so this chapter introduces some tools and libraries that can make it easier. It is important to understand that creating foliage that has an organic, natural shape can be difficult at times, and there are several dedicated tools available at your disposal that allow you to overcome this problem. There are also some online libraries that have ready-made foliage available for you to download and use out-of-the-box.
Creating Grass
Let’s start with the simplest foliage model first, grass. In game engines, grass is made up of planes with masked textures applied to them. We are going to use Quixel Bridge for this purpose. Go to quixel.com and download Quixel Bridge. This software and all its assets are completely free for use with Unreal Engine 4.
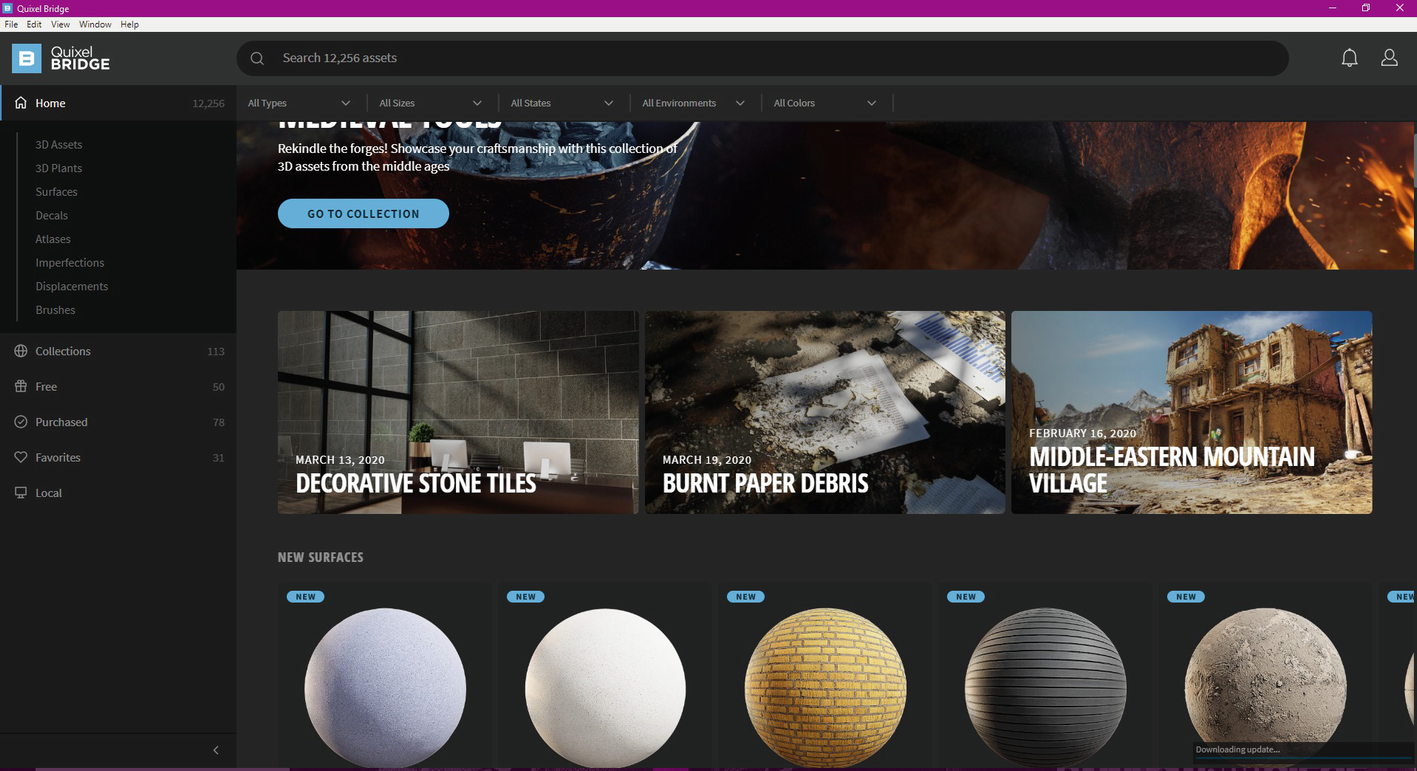
Once you have downloaded and installed Quixel Bridge, it’s time to set it up to work with UE4. See Figure 8-1.
Figure 8-1
Quixel Bridge
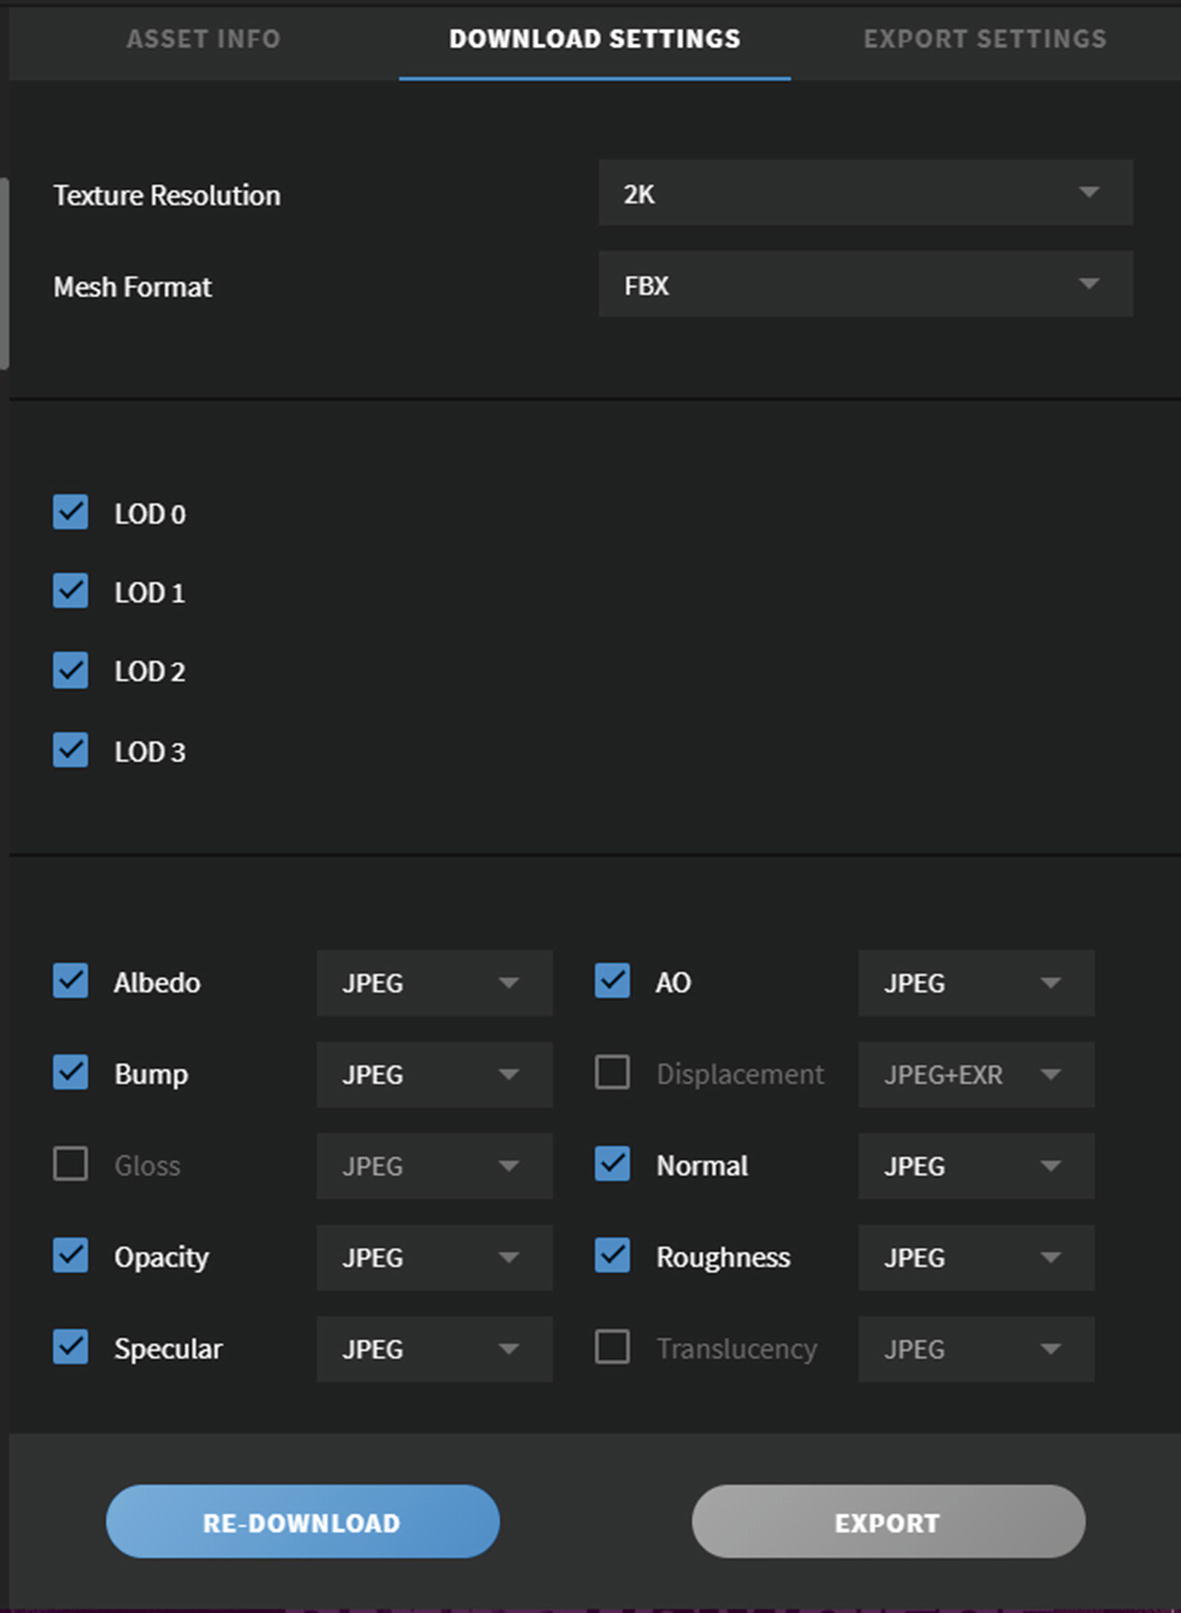
Use the search bar to search for 3D grass assets. You can find plenty of them in Quixel Bridge. Use the download settings shown in Figure 8-2.
Figure 8-2
Download settings
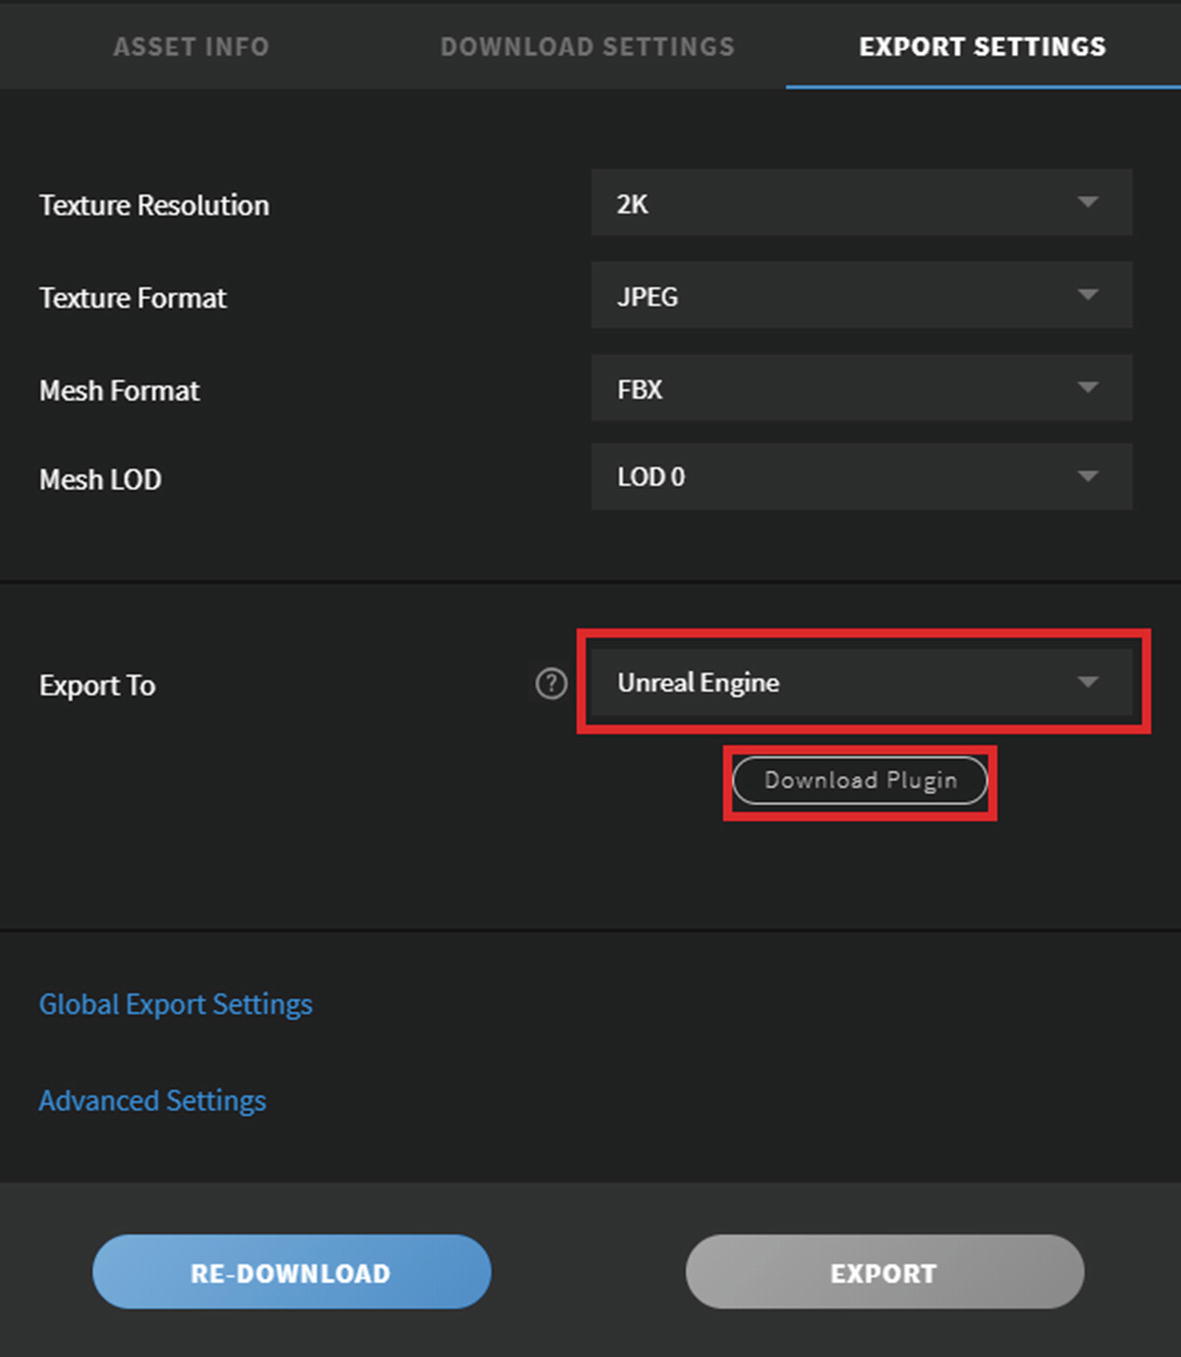
Next go to the Export Settings tab and change Export To to Unreal Engine. Then download the Unreal plugin. Set the Export settings to what you see in Figure 8-3.
Figure 8-3
Export settings
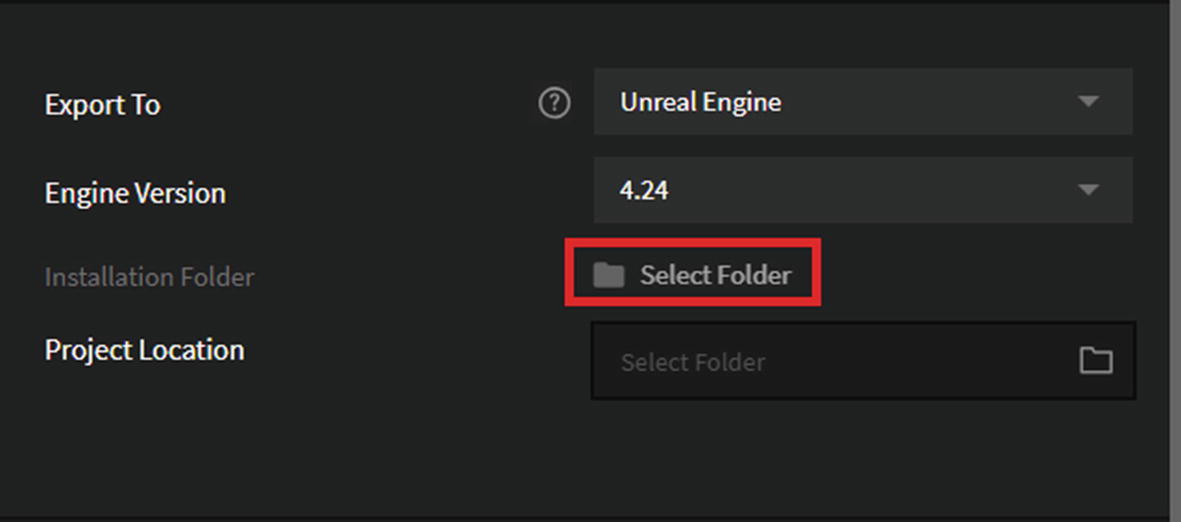
Once the plugin has been downloaded, set the Installation Folder to the directory where you installed UE4 (see Figure 8-4). UE4 may require a restart if an editor is running.
Figure 8-4
Set this to the Unreal Engine directory
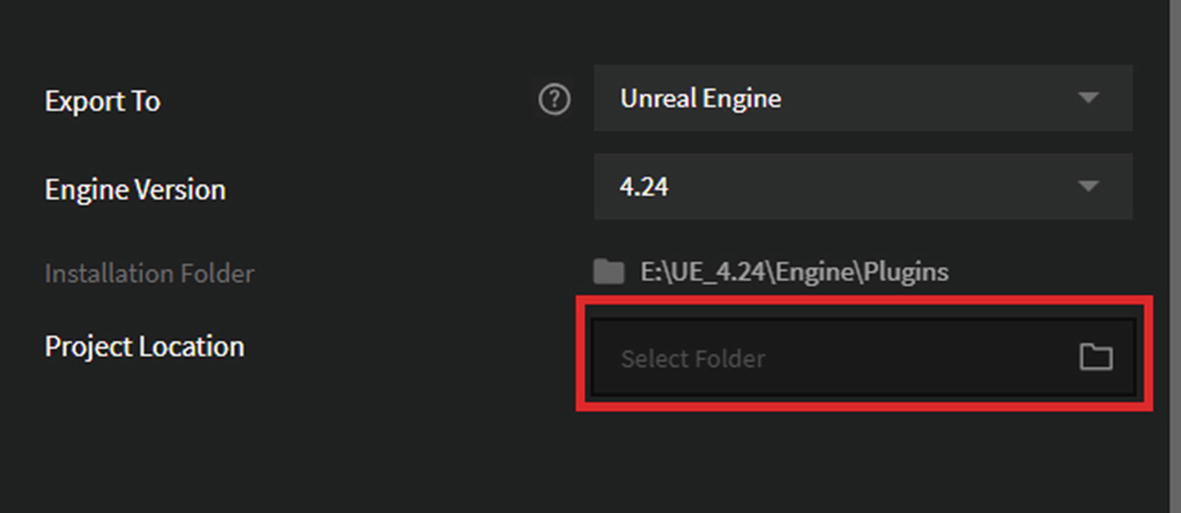
Next, you need to set the project location. For this, you need an Unreal Engine project. Go to the Unreal Engine section of this book to learn how to create a new project. It is really simple and you can create a temporary test project to see how this works. Next, click on the Project Location field and set the location to be the same as your project directory (see Figure 8-5).
Figure 8-5
Project location
Once you’ve completed these steps, the asset is ready for export. Set the Export settings as shown in Figure 8-6.
Figure 8-6
Export settings for the asset
Once everything has been set up, click on Export to send the file to UE4 and to your project. You should see the asset in your Content Browser right away.
Creating Trees
In this section we are going to create a simple tree using a free tool called TreeIt. Go to www.evolved-software.com/treeit/treeit to download it. This free tool allows you to create organic tree models using various easy controls. It also has a library of trees that you can download and randomize to get something that you want.
Once you have downloaded and installed the software, launch it and we will get started with the basics. The first thing that you will see when the software opens is a single tree trunk (see Figure 8-7).
Figure 8-7
TreeIt startup
On the right side, you can see all the settings that you can modify that will alter the look of the tree you are creating. There are a ton of settings under different categories, namely: Tree, Trunk, Branch, Leaf, and Mesh. It is very easy to get lost and mess things up, so be very careful.
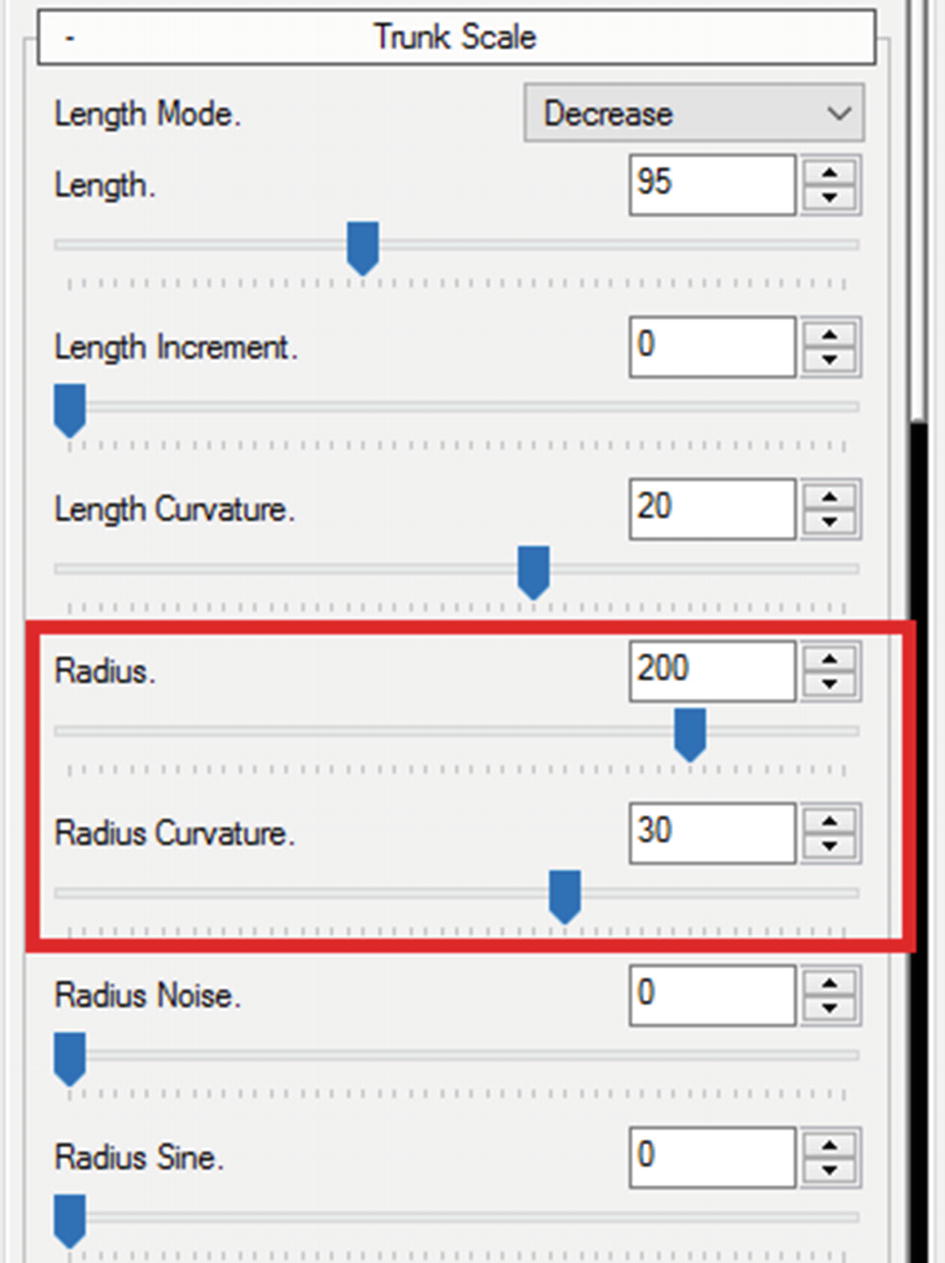
Let’s create something now. We will begin by modifying the trunk. Set the Radius of the trunk to be something like 200 and reduce the Radius Curvature to 30 (see Figure 8-8).
Figure 8-8
Modifying the trunk
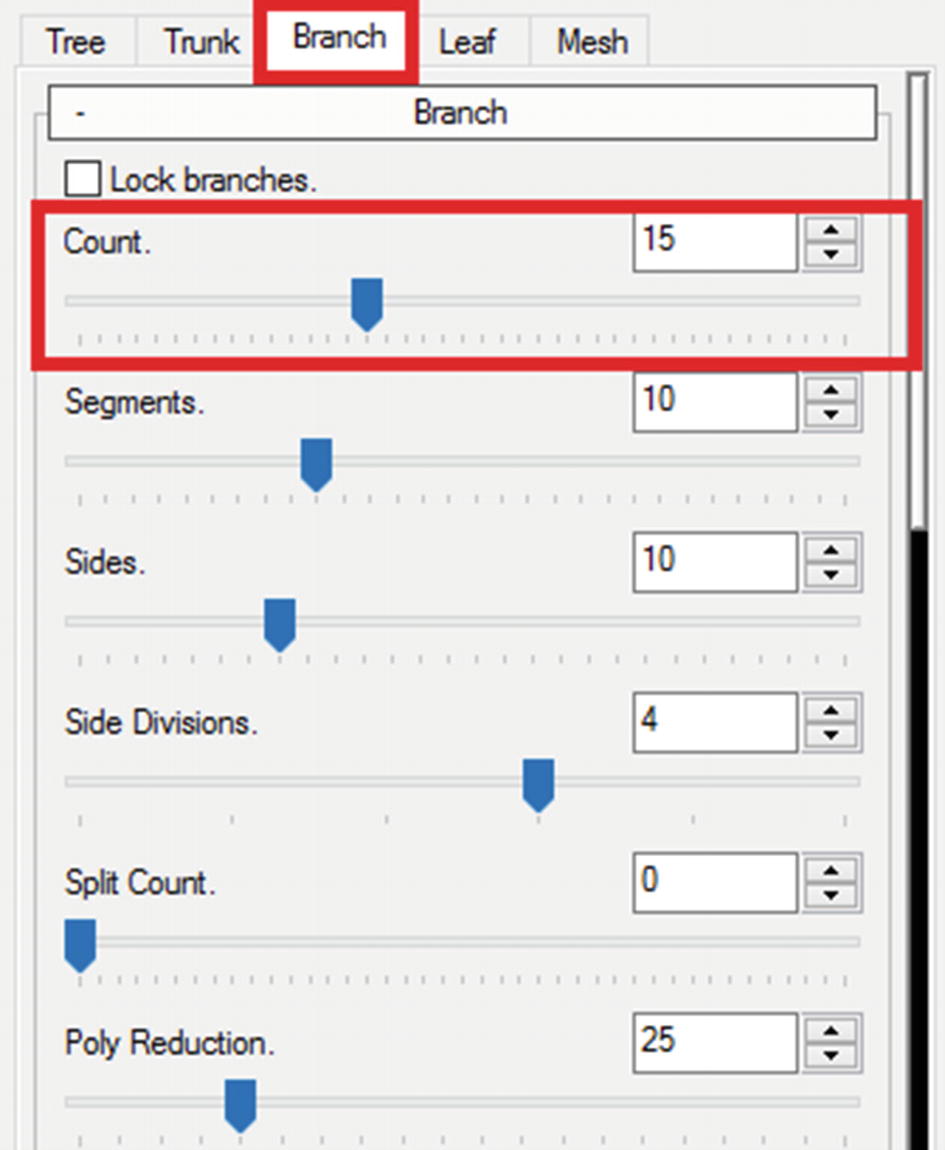
Next go to Branches and increase the Branch Count to about 15. Decrease the Branch Radius and Curvature values if the branches look too thick (see Figure 8-9).
Figure 8-9
Increasing the branch count
Let’s apply some texture to the tree mesh. Go back to the Trunk tab and look for the Load Texture option (see Figure 8-10).
Figure 8-10
The Load Texture button
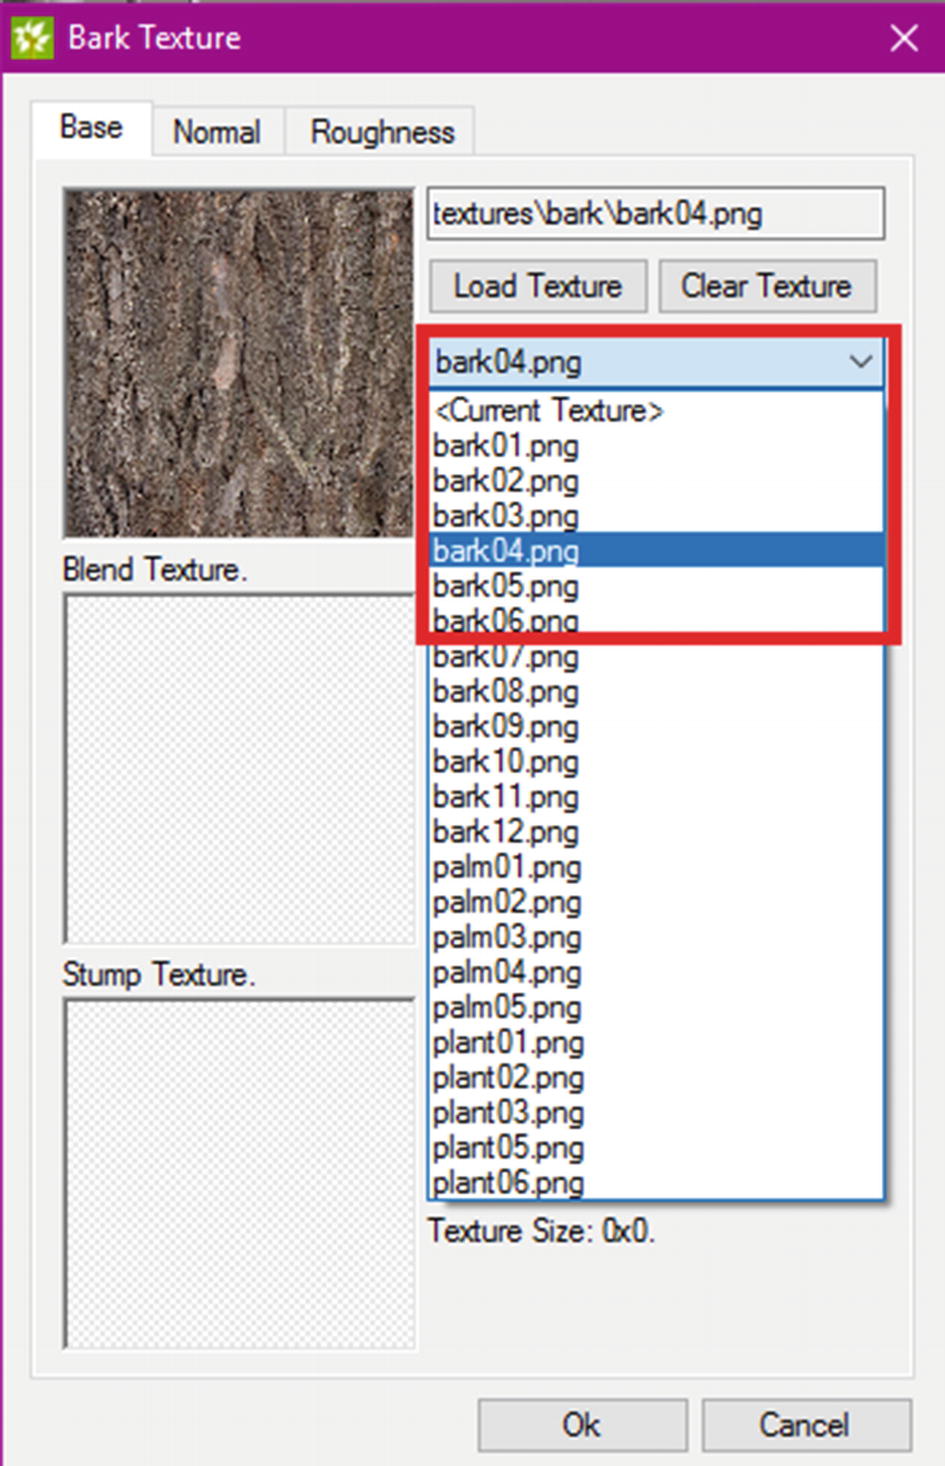
A new window will open, allowing you to choose textures. Use the drop-down menu to load Bark_04 into the Base, Normal, and Roughness tabs (see Figure 8-11).
Figure 8-11
Loading a texture
For Blend Texture, choose any. Once you’re done, click on OK. Your mesh will be textured and should look similar to Figure 8-12.
Figure 8-12
Results so far
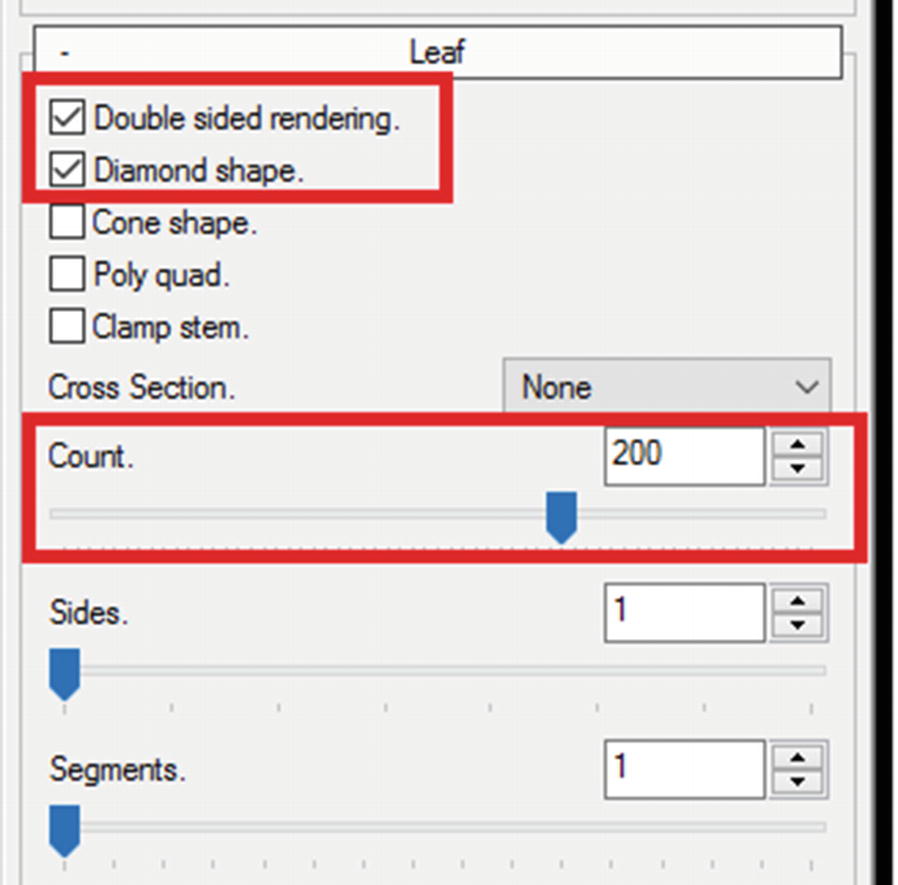
Next let’s add some leaves. Go to the Leaf tab, enable Double Sided Sided and Diamond Shape, and increase the leaf Count to about 200 (see Figure 8-13).
Figure 8-13
Modifying leaf settings
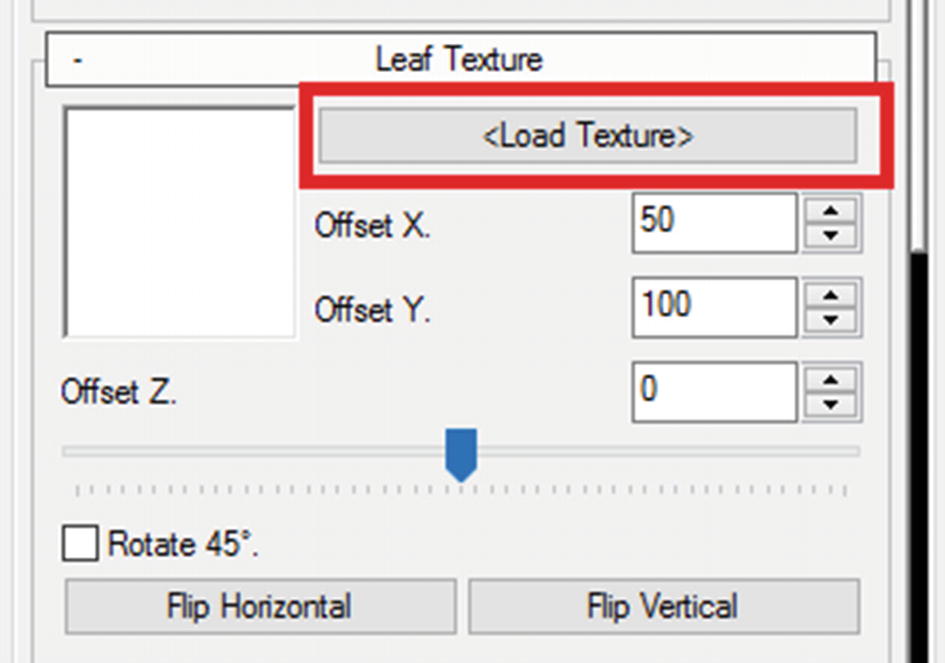
Next load the leaf textures by clicking on Load Texture under the Leaf Texture category (see Figure 8-14).
Figure 8-14
Loading a leaf texture
Just like you did for the trunk, choose a leaf texture of your choice for all the maps that the menu says. In this example, we chose the Fern texture (see Figure 8-15).
Figure 8-15
Choosing a texture for the leaf
Next choose Create Alpha Mask and, from the window that opens, choose Auto. Close the window (see Figure 8-16). Click on OK when you’re done.
Figure 8-16
Creating an alpha mask
Your final result should look similar to Figure 8-17.
Figure 8-17
Final result
You can also go to TreeIt’s website to download one of the pre-built tree templates and use it to get the result that you want.
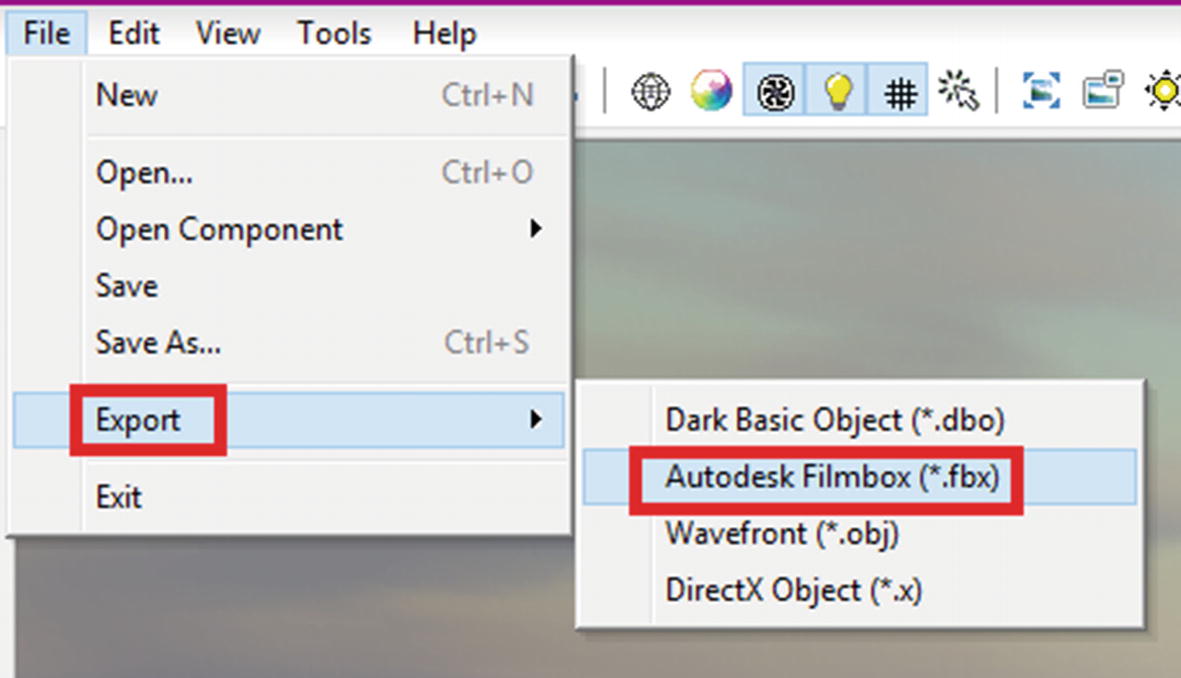
After you are done, the only thing you need to do is export this tree. Go to File ➤ Export and choose an export format. I suggest you use the Autodesk Filmbox (.fbx) format (see Figure 8-18).
Figure 8-18
Exporting the file
And that’s all for this chapter. Make sure to check out the free foliage assets that are available at the Unreal Engine store and the templates on the TreeIt website in case you are not satisfied with your results. Making realistic assets from nature is difficult, because there is a lot of randomness present in nature, and that’s very difficult to create manually. In the next chapter, you will see how to export the assets that you created in other tools for UE4.