PRE-MIXING AND AUTOLYSIS
Everything starts with the mixing of flour and water (called frasage in French), an essential step in the production of bread dough.
Pour the water (or other liquid, depending on the recipe) into the bowl and add the flour. Mix briefly with a wooden spoon to hydrate the entire dough; there should be no dry flour left in the bowl. Cover it with a cloth or plastic wrap, and let it stand for at least 30 minutes. This resting period, called autolysis, will allow the gluten to relax and thus work on the texture of the dough and its toughness, while shortening the amount of time needed for kneading.
Worth Knowing
True autolysis involves only a mixture of water and flour. But in some recipes, the wild yeast starter is diluted in water before the flour is added, before the resting period. I prefer to call that “pseudo-autolysis.” The advantage of this method, especially for beginners, is that the starter is already incorporated into the dough from the beginning. Thus, we skip a step, since all that remains is to incorporate the salt during kneading.
ADDING THE STARTER
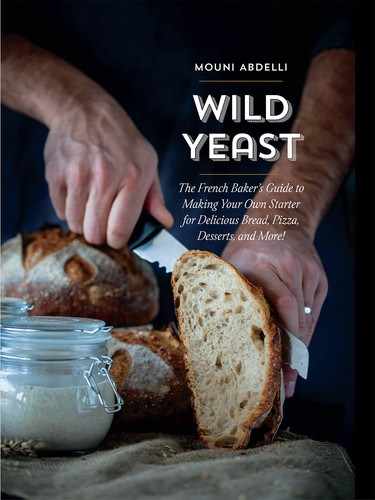
After the first step, it is time to add the wild yeast starter. There are two options for incorporating the starter into the dough: you can either add it manually (using your wet hands or a wooden spoon) or use a dough mixer.
Your choice of technique will depend on the hydration of the dough and your own experience. For some very soft and sticky doughs, it will be much easier to use a dough mixer with a hook. The objective is not really to knead the dough, but rather to mix it briefly so that it is easier to handle later on.
INCORPORATING THE SALT
Depending on the recipe, the salt may or may not be added at the same time as the starter.
FIRST RISE AND FOLDS
The dough is now ready to ferment for the first time; this step is called bulk fermentation. Transfer the dough into a lightly greased large bowl or plastic container.
The first rise, or bulk fermentation, will usually take 3 to 4 hours. The time will vary depending on the recipe because it depends on the quantity of active starter being used. But it will also depend on the room temperature and the temperature of the ingredients, as we have already seen.
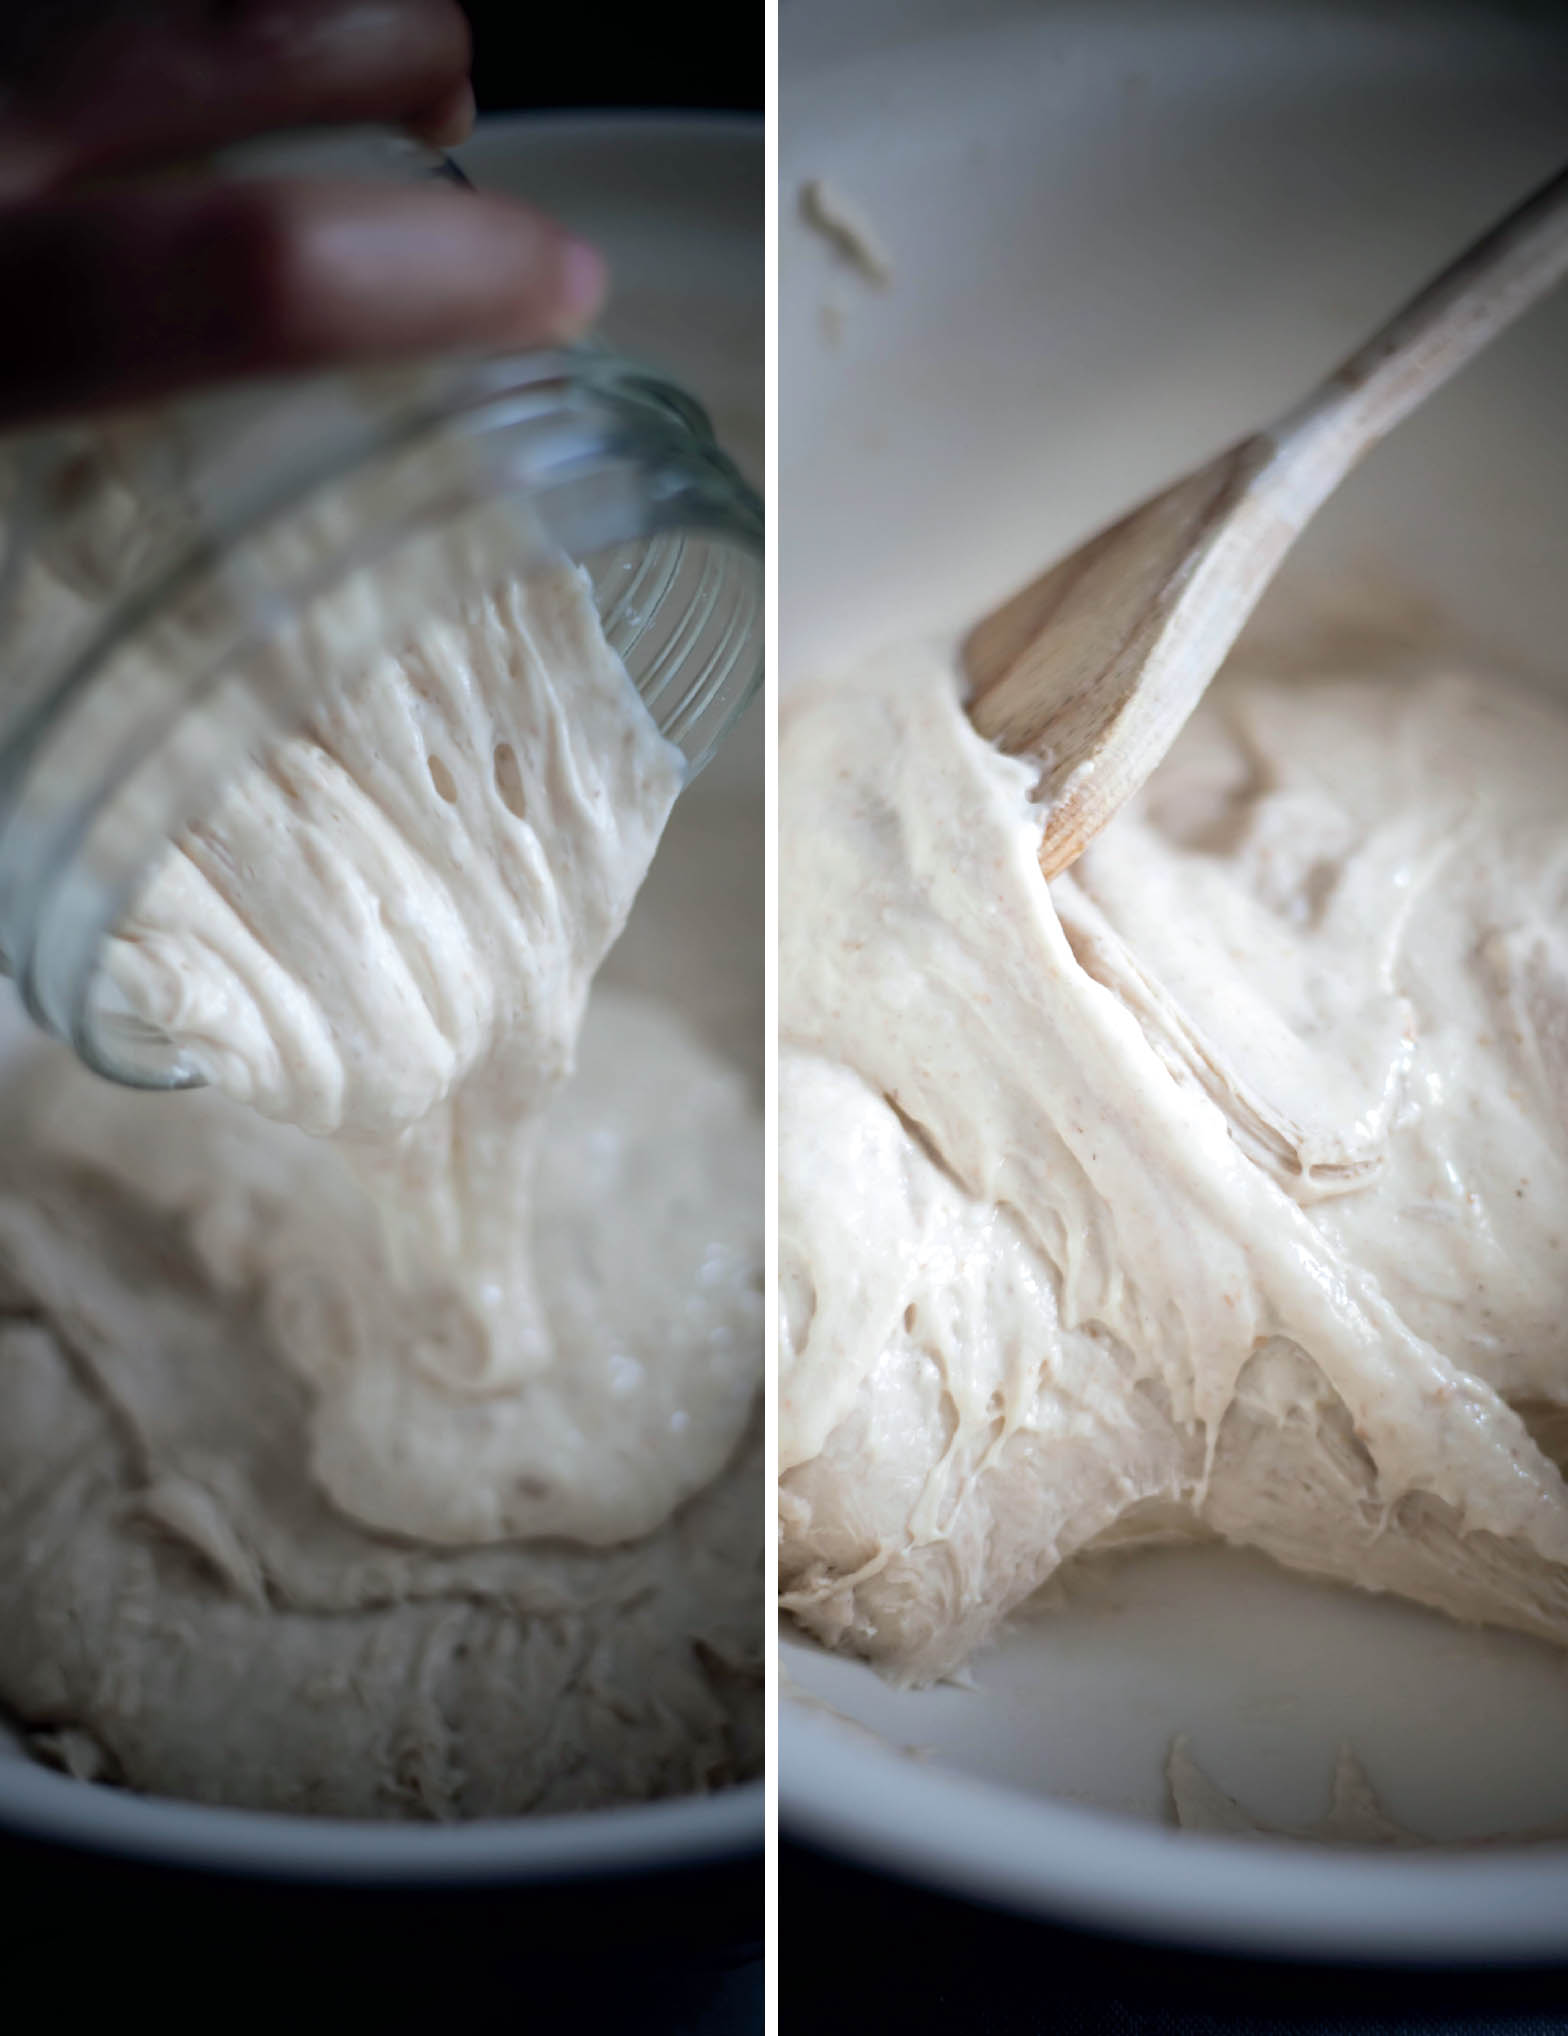
While the dough is resting in the bowl, you will make a series of folds (see photos, opposite) at 30- to 45-minute intervals, depending on the recipe. You will need to keep a container of water nearby. Wet your hand, and then catch up the dough at the edge of the bowl, stretch it out, and fold it over what was the top of the dough. Then rotate the bowl, make another fold, and continue in this manner until all of the dough has been stretched out and folded back on itself. Rewet your hand frequently so that the dough will not stick to your fingers. These folds help to develop the toughness of the dough while also aerating it. This technique will allow you to avoid using a dough mixer to knead the dough and will greatly improve the texture and elasticity.
You should be able to see a change in the texture as you go through the process of folding the dough during this bulk fermentation. It is important to make your folds more and more delicate the longer the dough has been resting to avoid discharging and breaking up the glutinous network.
Once the dough has fermented, its texture should be soft and airy. If it seems as though the dough needs to develop a little longer, especially at cold temperatures, it is better to let it ferment for at least an additional hour.
PRE-SHAPING AND RELAXATION
Once the dough is ready, it has to be detailed and pre-shaped. It is important not to neglect this step; not only does it allow for a successful final shaping, but it also guarantees the optimal development of the bread and an airy crumb.
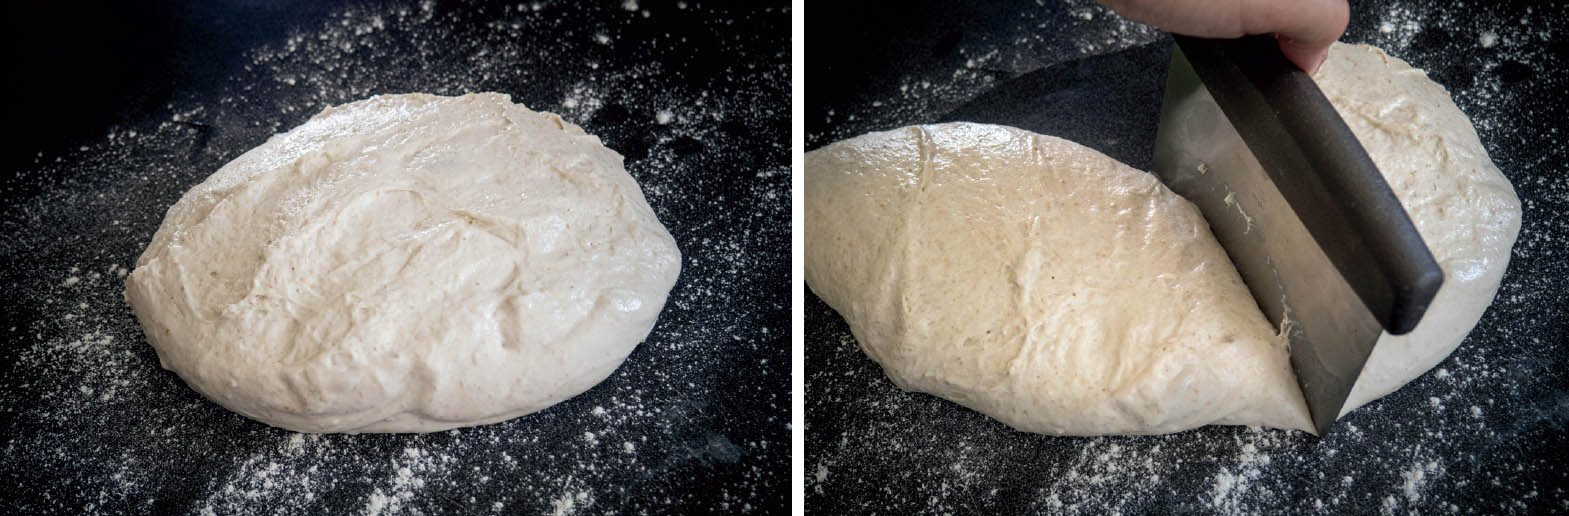
Start by turning the dough out onto your work surface. Take care not to flour the surface too heavily. I use a scoop or a teaspoon filled with flour because that makes it possible to lay down a thin film without a lot of excess. Then, using a dough scraper or a spatula, gently peel the edges of the dough away from the bowl and let it drop onto your work surface.
Lightly flour the top of the dough and detail it as needed. Most of the recipes in this book will produce two medium loaves or one large one. This is usually determined by the number of bannetons or proofing baskets that you have available. Using a pastry cutter, divide the dough in half (for example) and lightly round it. You can lightly flour both your hand and the pastry cutter, especially if the dough is too sticky, and make rotating movements to make the dough into the shape of a ball, the idea being to pre-shape it before it relaxes.
After this pre-shaping step, it is important to let the dough relax and recover from the stress it has been subjected to. This will greatly ease the shaping step and allow for greater extensibility of the dough.
A SMALL TIP
To make this pre-shaping step easier, you can also use a pastry oil mister. Spray the pastry cutter and your hands lightly before pre-shaping. This can be very useful when you are just starting out and it is hard to handle a sticky dough.

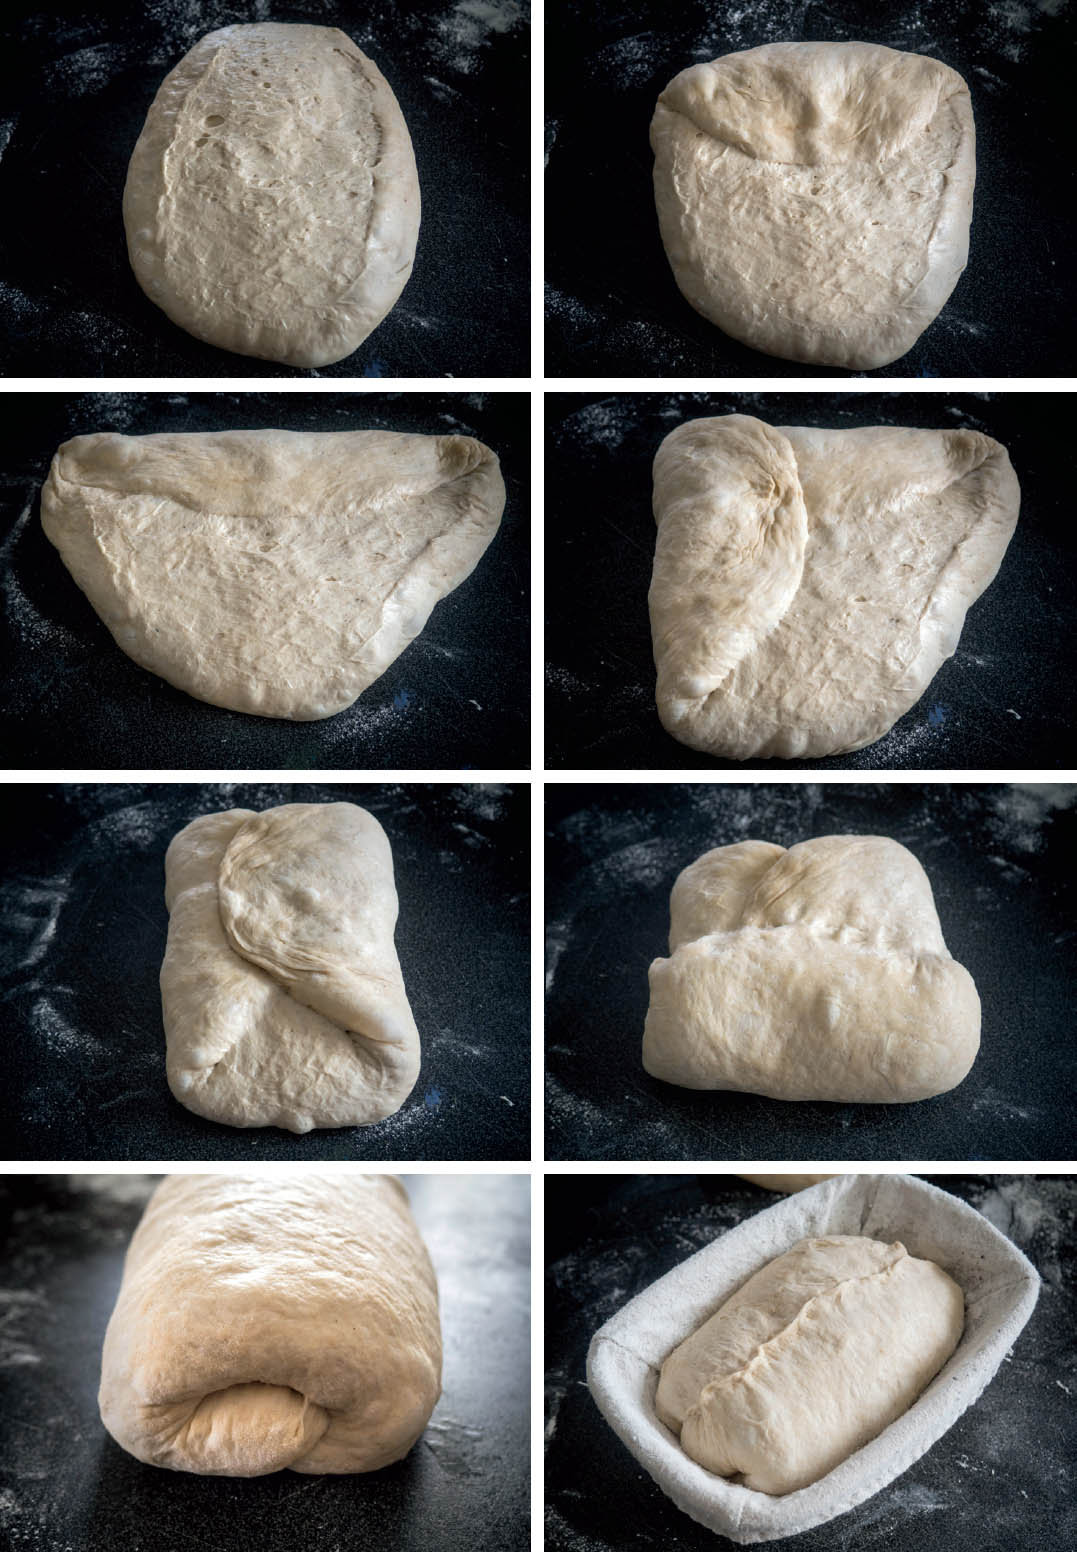
SHAPING
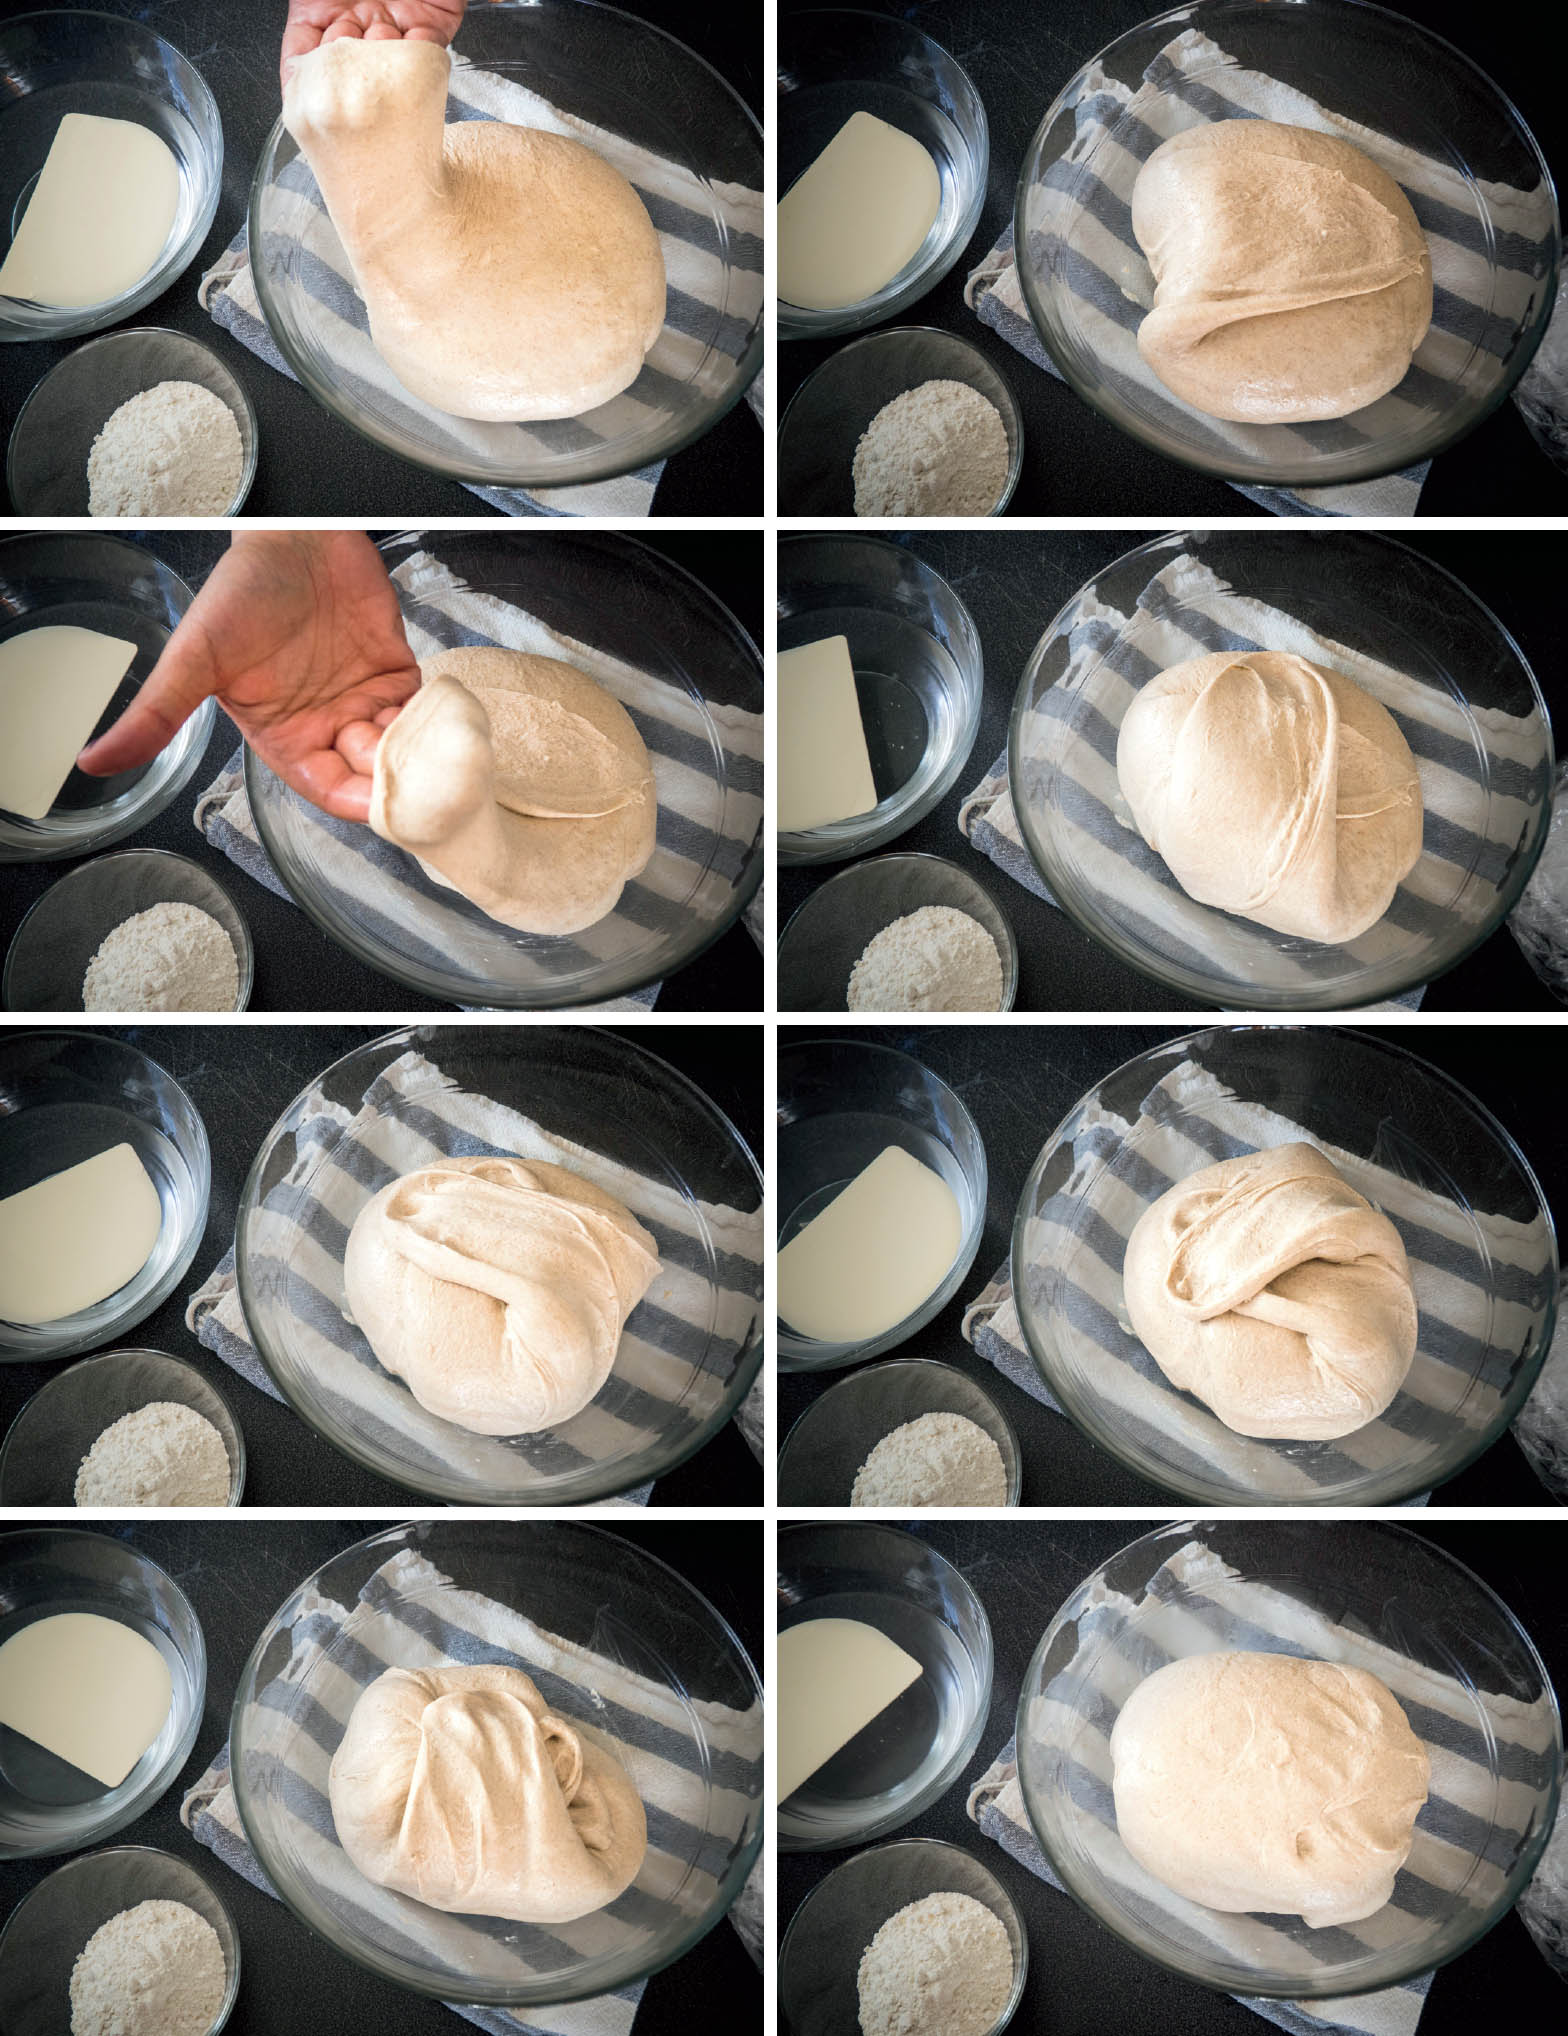
The dough is now relaxed and ready to be shaped. Whether you want to make a round loaf or a long, thin bâtard bread, dough that has relaxed is much easier to handle. To shape it, using a pastry cutter, lift the relaxed dough in a quick, sharp motion and turn it over onto the work surface so that the side that was underneath during the relaxation phase is now on top, facing you.
Depending on how you want to shape the loaf, pull the edges of the dough either toward the center or into a wallet shape. The following photos show the various stages of shaping the loaf.
After the dough is shaped, place it into a floured banneton (ideally floured with rice flour) so that the seam is on the top. Now the dough is ready for its second fermentation.
Shaping for a Round Banneton

SECOND RISE
The second fermentation, or second rise, can take place either at room temperature or in the refrigerator, or using a combination of the two. Once the bread dough has been shaped and placed in the banneton, cover it with plastic wrap and let it stand for several hours, depending on the recommendations in the recipe.
At room temperature, the dough will rise faster, especially if it is hot. If you want to slow down the rise—for example, if you want it to happen overnight so that you can start the next day—all you have to do is refrigerate the banneton. You can also let the dough rise for an hour at room temperature and then put it in the refrigerator to slow it down until the following day.
Depending on your constraints, and the time at which you want to bake your bread, you can thus slow down the rising by 12 to 24 hours. As you experiment more and more, you can try out longer rest times and see how that affects the taste and texture of the bread. This experimentation will allow you to refine and adapt your method and, most of all, to learn a lot!
SCORING AND CUSTOMIZATION
Scoring your bread is a way to put your signature on it, but it is also a useful technique. It creates weak spots in the loaf that will allow gases to escape during baking without the entire loaf exploding.
Scoring or scarifying your bread is done with a bread scorer, a razor blade, or failing that, a small, sharp knife. It should be done in a quick, firm motion, especially if the dough is soft. For a cleaner scarification, you can take the dough, which has been rising at room temperature, and put it into the refrigerator for a few minutes; this will make its surface easier to score. Before putting the bread in the oven, place a sheet of parchment paper over the banneton, and potentially also a plate on top of that to make it easier, and turn the whole thing over so that the bread is now sitting on the parchment paper with the seam underneath, ready to be scored.
You can create different designs, depending on your taste (see the examples on the facing page). The best-known scoring designs are the baguette pattern, polka dots, or a herringbone pattern. One benefit of making your own bread is also that you can let your imagination run free, creating waves for a striped effect; using patterns like ears of wheat; or using a stencil, sprinkling the top of the loaf with cocoa or flour and then using a few cuts with the scorer to create your pattern. There are countless ideas you can explore to add visual pleasure to the pleasure of your palate!
BAKING
As we saw in chapter 2, “Utensils,” the most convenient and efficient way to bake bread is to use a cast-iron baking dish. The steam that is released during baking, especially during the first few minutes, slows down the formation of the crust and thereby allows the bread to develop better.
Preheat the baking dish: put the dish, with its lid on, in the oven for 30 minutes before you start baking, in an oven heated to about 480°F (250°C). Make sure to wear oven gloves that are thick enough to prevent burns.
Once the dough is scarified, it is ready to be put into the oven. Transfer it into the baking dish and cover it; bake it covered for about 20 minutes. Then remove the cover and bake for another 20 minutes.
If you are baking on a baking stone, the principle is the same. You need to heat the stone at the same time as you heat the oven: place the stone on the rack and position the drip pan below so that you will be able to pour water onto it as soon as you start baking.
The bread should become nice and golden. Personally, I prefer it caramelized, with an extended baking time and a very brown crust!
Remove the bread from the dish and set it onto a cooling rack; allow it to cool completely before cutting it, even though the temptation to taste it while it's hot is always very strong.
