FLOUR
Breadmaking relies primarily on one precious ingredient, namely flour, and therefore, most often, on wheat, of which there are different varieties. Generally, a grain is said to be a bread- quality grain if it contains gluten. The main bread-quality grains, aside from hard wheat, are soft wheat, spelt, and rye. Hard-wheat flour, which is the flour most often used for making bread, is made up primarily of carbohydrates (starches and others), proteins (gluten), fat, water, vitamins, minerals, and enzymes.
On their way from the mill to our plates, the wheat grains undergo several different procedures in order to produce the flour that we know and eat. Bread-quality wheat has positive properties and positive capacities: it can be hydrated, the dough can be kneaded and fermented, and so on.
Wheat flour, once it has been hydrated, forms a mesh network that can trap the gases that result during fermentation. This network is a result of the composition of the flour, more specifically, of the two insoluble proteins that it contains: gliadin and, in smaller quantities, glutenin. These two proteins enter into the composition of gluten. Gliadin gives the dough the ability to stretch, whereas glutenin gives it elasticity and resilience (the ability to resist the stretching). These properties are related to the information about the flour's baking strength that is sometimes detailed on the packaging. Thus, the more gluten the flour contains, the more elastic and stretchable it will be, which influences its gas retention properties, which in turn affect the volume of the bread and the structure of the crumb.
TESTING THE FLOUR
It is important to remember that different kinds of flour, depending on their brand (even if they are of the same “T type”), contain different proportions of protein. The capacity to absorb liquid varies from one kind of flour to another and thus will involve modifications in recipes. Every kind of flour is unique and has its own specific absorption capacity. When you want to get started and you are not sure about the characteristics of the product you are using, start by slightly reducing the amount of water you use and then get used to handling the dough that you make with this flour, observing it and touching it. This is still the very best way to learn about it.
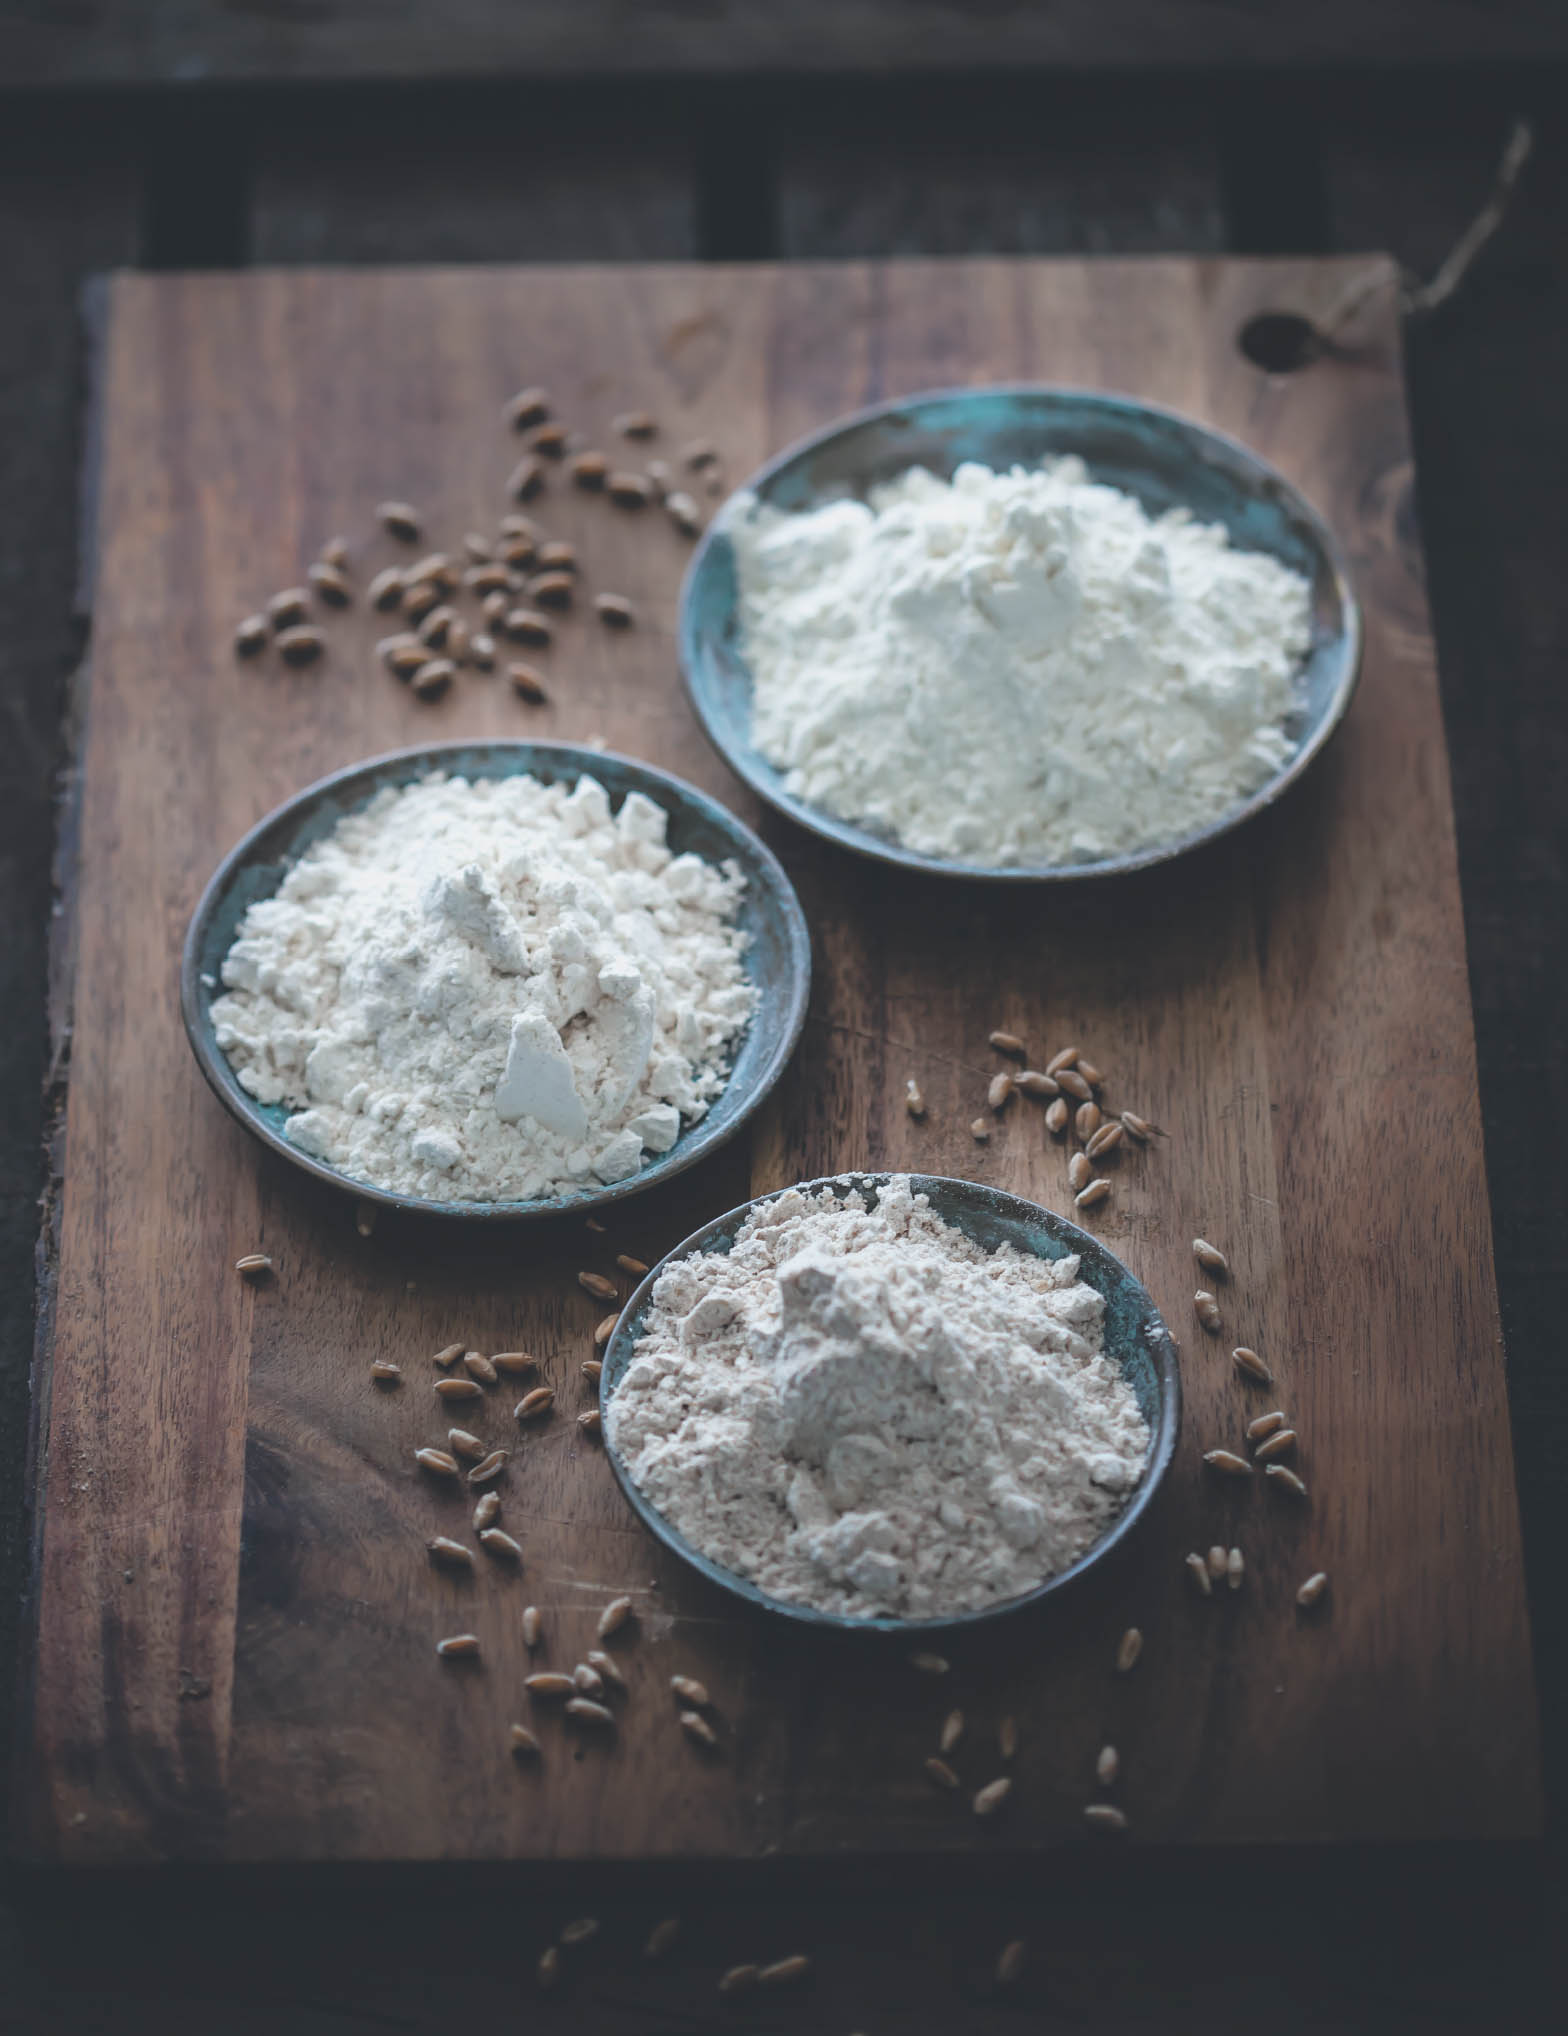
During the milling process, the bran and the germ of the wheat are mostly removed; the more thoroughly that is done, the lighter the appearance of the flour. White flour is made up mainly of the kernel of the wheat grain and part of the germ. The germ, which is rich in fat, speeds up the rancidification of the flour; this is particularly the case for stone-ground flours, in which the germ is retained.
Sometimes, the ash content of the flour will be indicated on the packaging, which corresponds to the amount of mineral content retained in the flour. This number, determined by the calcination of a flour sample, is strictly regulated. In France, for example, wheat flours are classified according to their ash content.
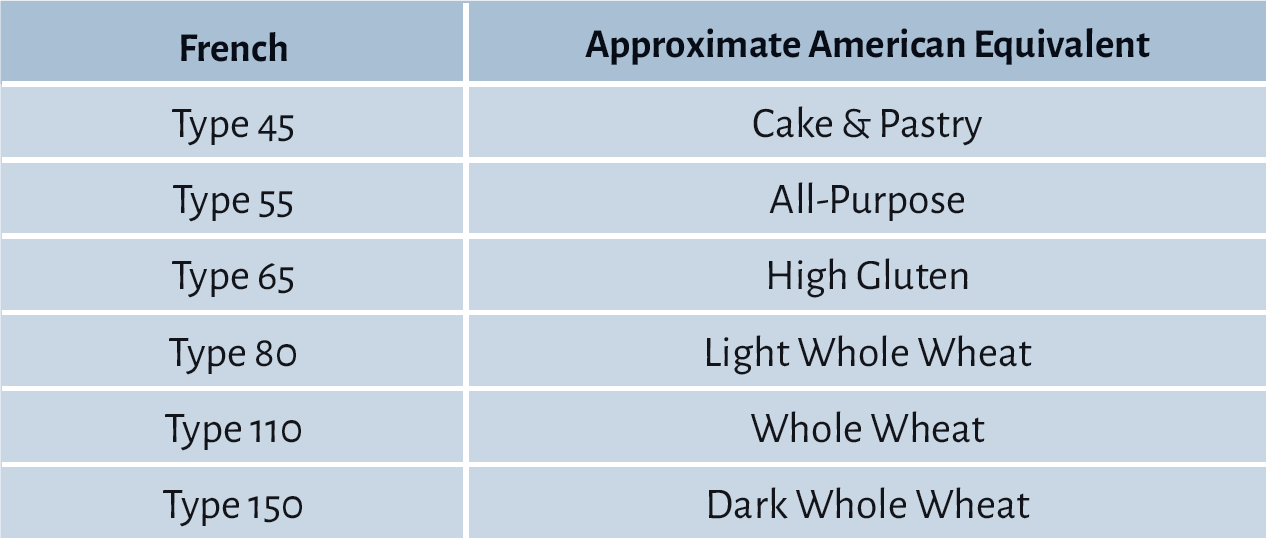
Throughout the book I refer to French flour designations along with the closest American equivalent flours. See below for a chart comparing both for easy reference:
In addition to wheat flour, other kinds of flour can also be used, most often in combination with wheat to compensate for their lack of gluten; one of these is rye flour, which I use regularly, both for making bread and for maintaining my starter. If you want to choose two main kinds of flour for your start on the wild yeast adventure, I recommend those two.
Rye flour is also available in various varieties: light, medium, and dark. It is rich in minerals, and while it is poor in gluten, it has a high absorption capacity. Grayish in color, it has a characteristically malty flavor. I usually buy it in organic grocery stores or directly from flour mills.
In this book, you will find recipes featuring a variety of kinds of flour, such as spelt flour, which is rich in fat and minerals and is another good bread-quality flour with a slightly nutty taste you will enjoy; Kamut® flour, which is produced from Khorasan wheat, grown exclusively in organic agriculture, and is higher in protein than soft wheat; and many more. The idea here is to encourage you to test new combinations by playing with the texture, appearance, and aroma of the bread.
PROPER STORAGE OF FLOUR
It is important to keep your flour in a cool, dry spot. This is even more the case for so-called milled flours, which are high in germ content and therefore more fragile.
Do not give in to the temptation to buy 25-kilogram bags of flour, which are meant for professionals. Those quantities are packaged to meet the needs of professional bakers, while a dedicated hobby baker, using smaller amounts, is going to have to store what is left over and will eventually notice that, as the weeks and months go by, the dough behaves differently because the flour has deteriorated over time. Thus, it is a better choice to buy your flour in small packages or, if you are making bread every day, in 5- to 10-kilogram bags at the most. This will avoid waste and unpleasant surprises!
WHAT ABOUT HOMEMADE FLOUR?
Making flour involves a lot of know-how, and you can't just make yourself into an instant miller. But many of us are interested in trying to make our own flour at home anyhow, something that many amateur bakers enjoy doing, especially in the United States.
It is indeed a real pleasure to work with fresh, “living” flour, and it provides many benefits, starting with nutrition, because you can grind your flour as you go along, thus retaining all of the potential of the grain. This procedure also provides an advantage in taste, because fresh flour is much more flavorful. And while freshly ground flour is more fragile, it also has the benefit of being produced only as needed, which eliminates the need for long-term storage.
People have tried a variety of ways to produce flour at home inexpensively, for instance by using a coffee grinder. The results are unreliable, however, and the machine has a tendency to break after a few uses. So if you really want to begin and invest yourself in this process, you will need to equip yourself with a grain mill that is worthy of the name!
Several different home models are available online, but the price is nevertheless still often prohibitive, in particular for occasional use, and most of the models are also quite bulky. In addition, if you want to use anything aside from whole-grain flour, you will have to buy specific sieves for each different kind of flour, allowing you to produce white, whole-grain, or “bise” (light whole-grain) flour. Certain brands, including the Moulins d'Alma, offer sets of three sieves in varying sizes, allowing you to produce these three different kinds of flour.
Some models can be attached to food processors (such a KitchenAid); the one I have chosen for myself is a Mockmill (see photo on page 26), which combines efficiency with a smaller size. In a small Parisian kitchen, that is a big advantage!
To make your homemade flour, you will, of course, also need some grain: wheat, rye, einkorn wheat, spelt, and the like. These are not always easy to find anywhere but in natural food stores. However, if you are able to buy them directly from a grain producer or a mill, you will start out with better information about the source, characteristics, and best use of the grains you plan to grind.

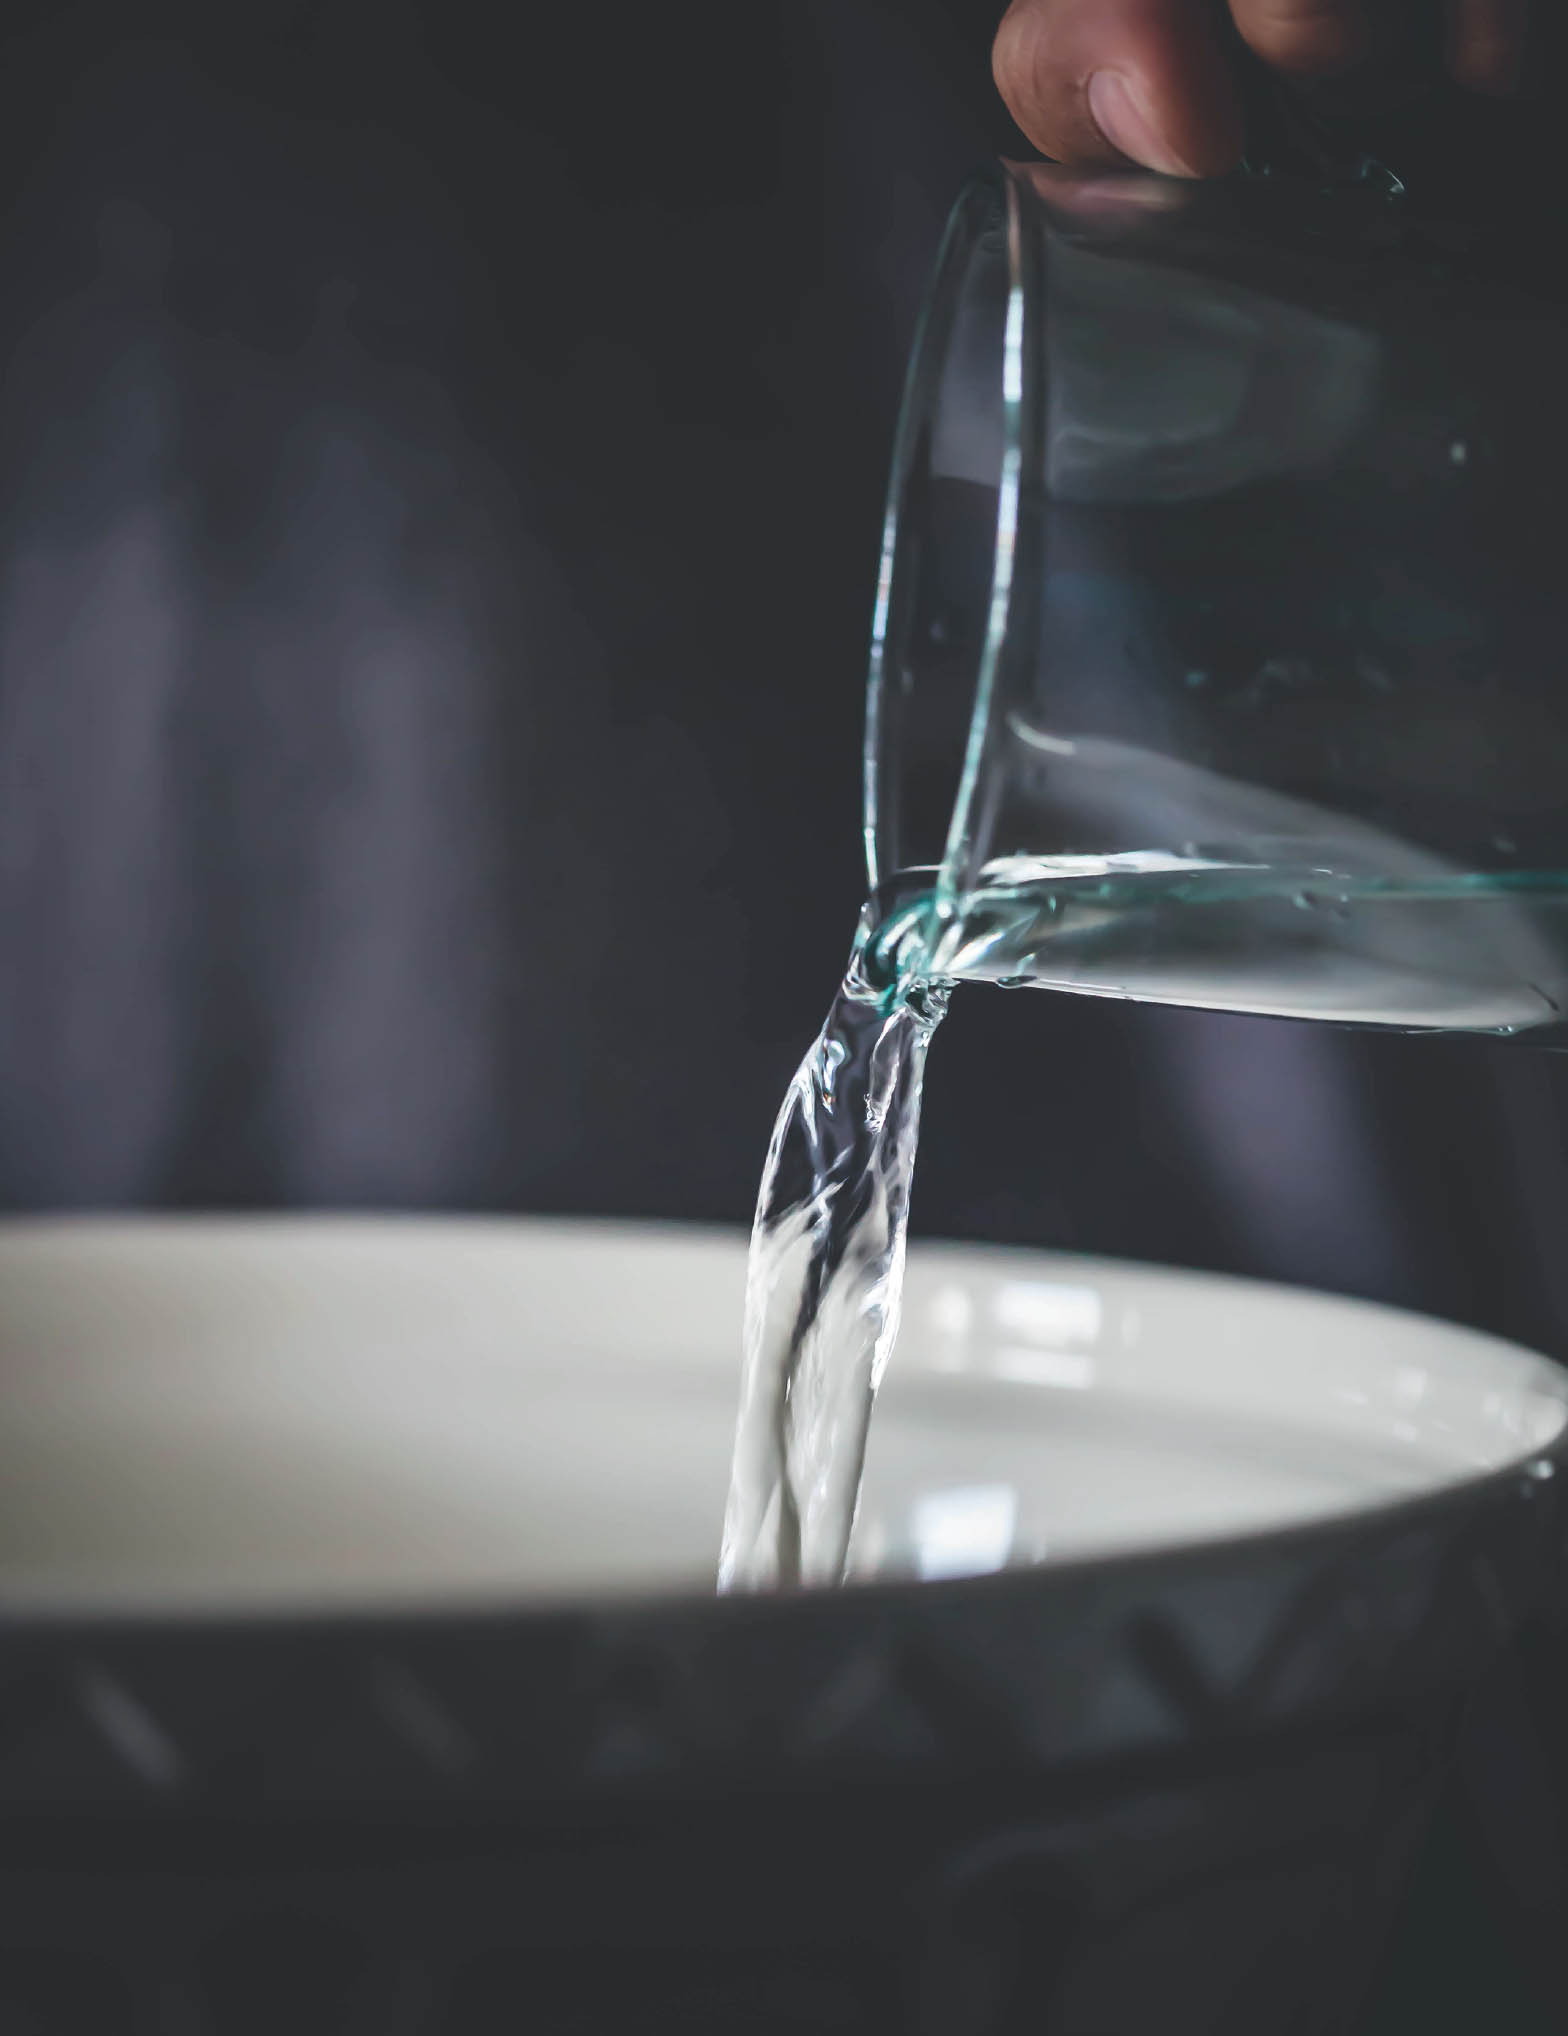
WATER
Water should be considered as an ingredient in its own right. We tend to underestimate its importance, but it plays a key role in breadmaking.
To begin with, water is essential for hydrating the flour: when the water and flour are mixed together, they will start to form a dough, thanks to the hydration of the starch and the gluten. Water also plays a role in activating the enzymatic and fermentation processes. And finally, it serves to dissolve other ingredients, such as salt. It is important to note that the quantity of water, which is to say the degree of hydration of the dough, will affect fermentation: the more hydrated the dough, the faster the fermentation (and, conversely, the less hydrated the dough, the slower the fermentation).
The quantity of water also plays a role in the texture and consistency of the dough, even apart from the absorption qualities of the flour. If you use too much water, the dough will be too sticky and hard to work with. The quantity of water can be expressed by a hydration rate that corresponds to the proportion of water in the dough, and it is often expressed in relation to 1 kilogram of flour. A dough that uses 1000 grams of flour and has a total of 650 grams of water, therefore, has a hydration rate of 65%.
Do not add the amount of water specified in the recipe all at once if you are not accustomed to the flour you are using or if you have not mastered the handling of soft dough. You have to find a happy medium, and as with the flour, you need to gradually experiment to determine the right amount of water, depending on the consistency you will be most comfortable working with. This is especially true if you are trying out a foreign recipe. American flours, in particular, do not have the same qualities or absorption capacities as French flours. It is essential to start by reducing the amount of water from what is given in the recipe and then to add more, progressively, depending on how the dough behaves as you are kneading it. This will help you to avoid ending up with a large, sticky, almost liquid mass that is impossible to shape.
The temperature of the water also affects fermentation. The room temperature during the preparation of the dough, the temperature of the ingredients, and the kneading will all determine the final temperature of the dough. You can also play with the fermentation using the water temperature. In the summer, for instance, it's a good idea to use cooler water, and even to put the flour in the refrigerator, to avoid having the fermentation speeded up too much by the higher room temperature. In the winter, on the other hand, you can use warmer water to compensate for the lower room temperature so that the fermentation will not be slowed down.
The composition of the water also affects fermentation; I use filtered water (for instance, using a Brita filter) to make my bread and maintain my starter; I suggest that you do the same. The water that we normally drink has undergone several different kinds of treatment that could have a negative effect on the dough, especially the chlorine treatment, which leaves chlorine residues in the water that could cause problems because of their disinfectant action. By filtering the water, you can minimize these effects. If you don't have a water filter, you can also simply fill a bottle with tap water and let it stand for a few hours before using it, which will help to lower the amount of chlorine, for instance, in the water.
And finally, the steam that is released during baking allows the bread to develop properly and to produce a lovely, delicate, golden crust!
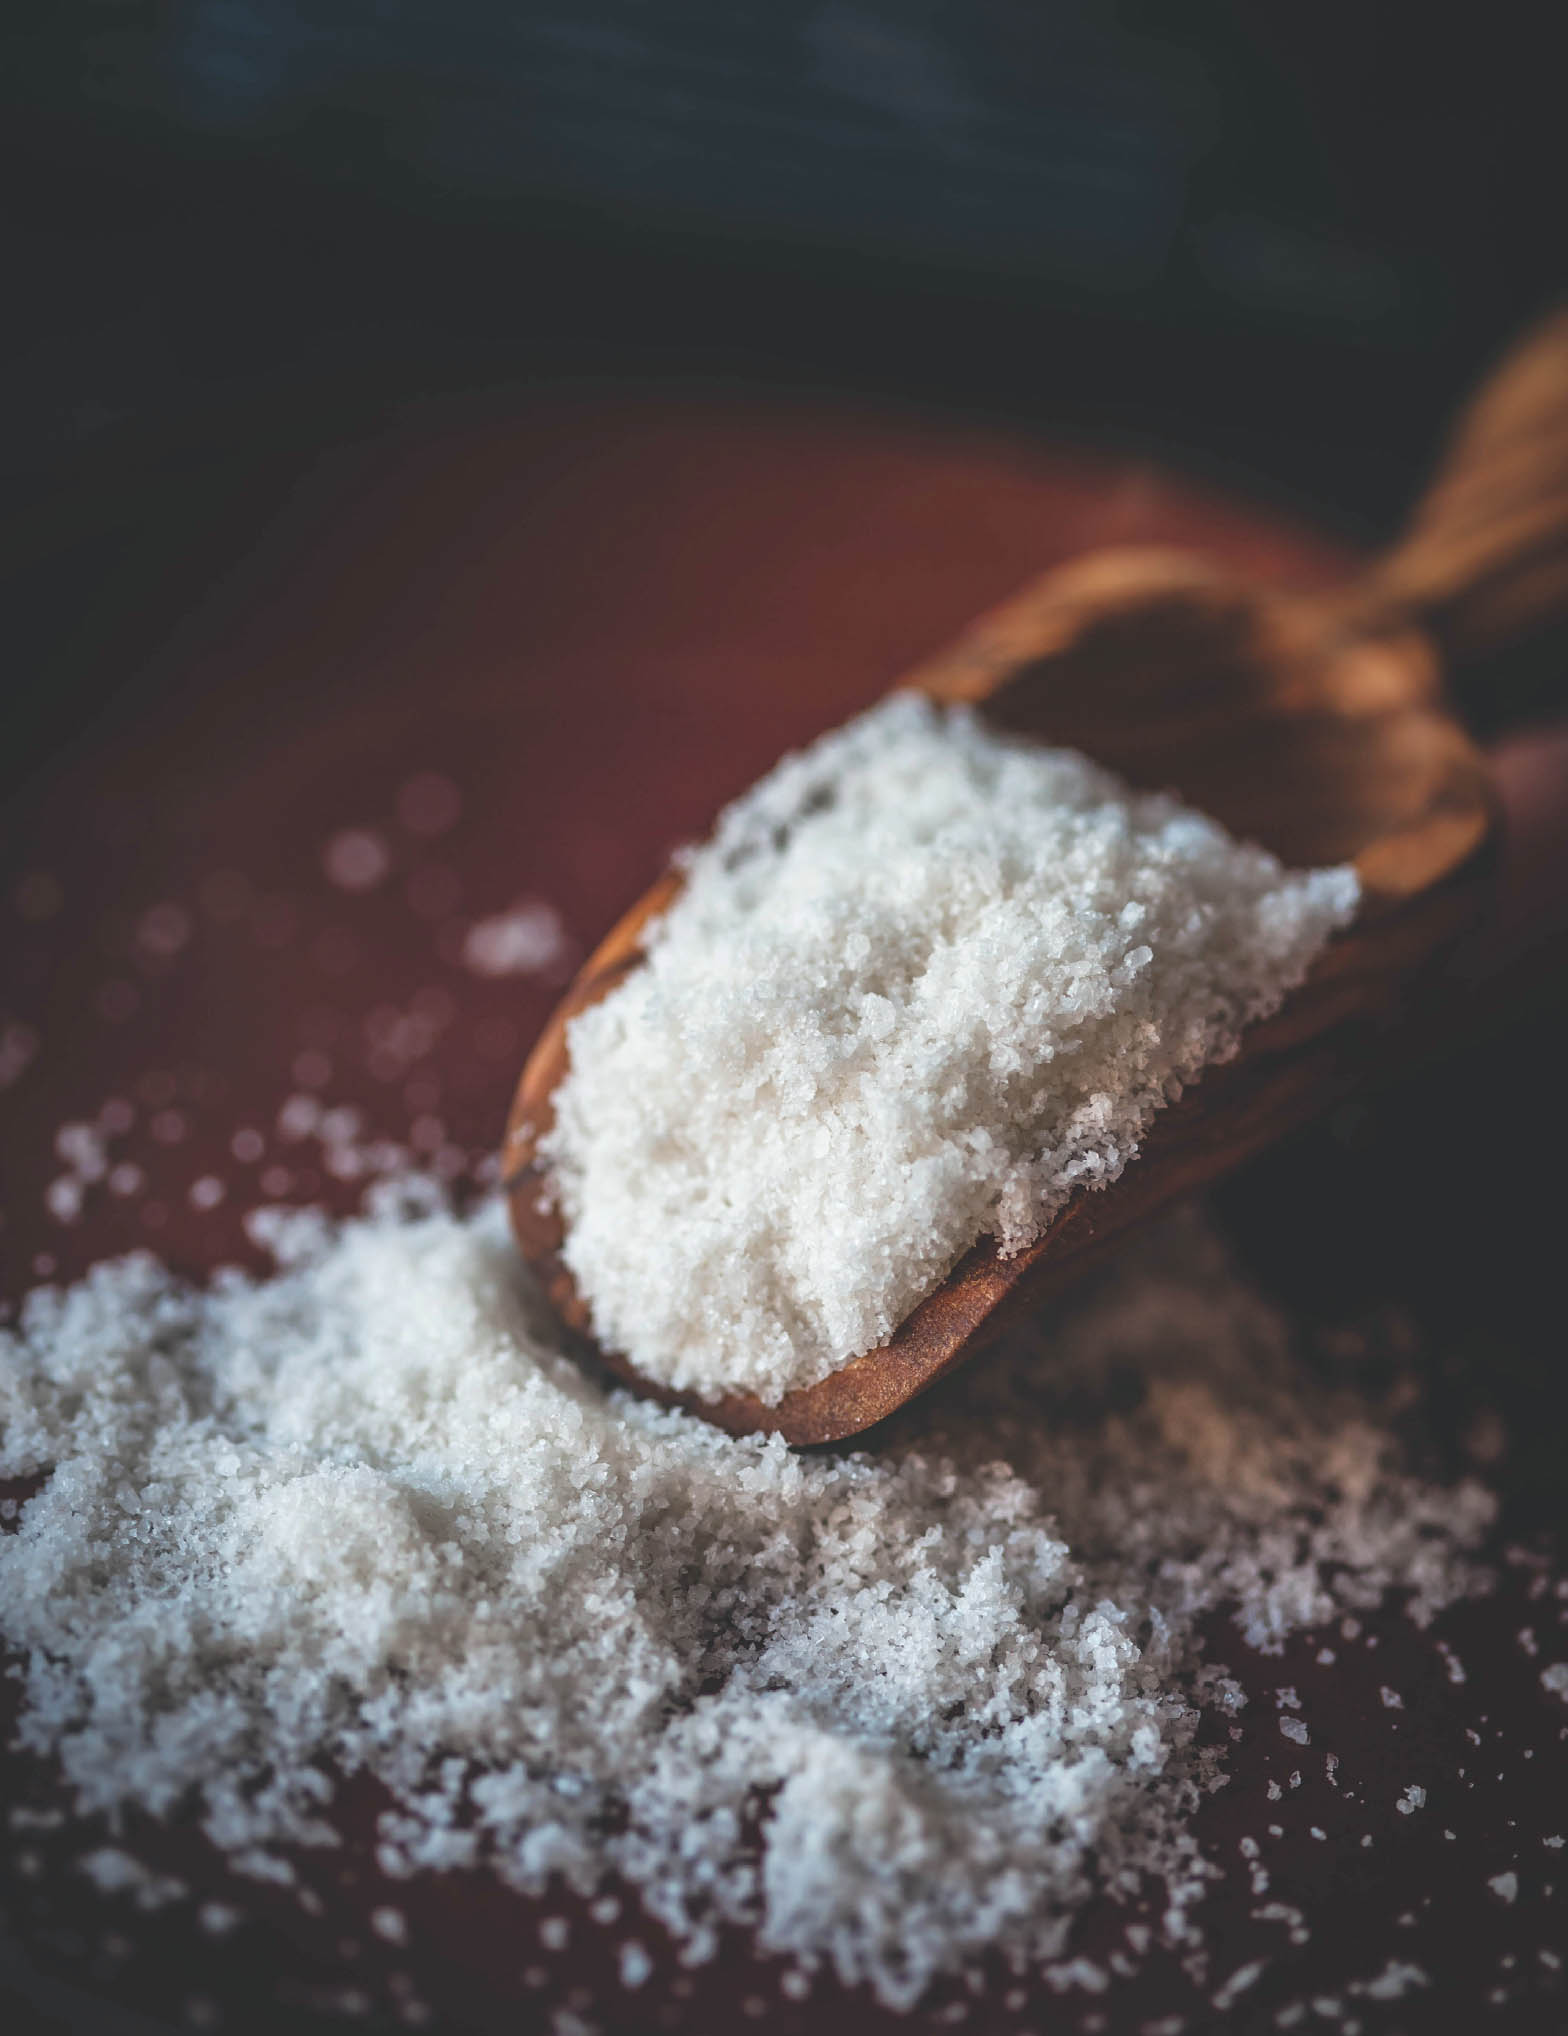
SALT
While we use salt every day to enhance the taste of what we cook, salt also plays an important role in breadmaking, not just for its ability to bring out flavor but also for its function in the breadmaking process. This is true at every stage of the process, including during the baking itself.
Beginning with the first phase of preparation, the salt comes into contact with the proteins in the flour. This interaction gives stability to the glutinous network, which will later allow for better retention of the fermentation gases, whose speed will be slowed down and regulated by the presence of salt.
In addition, salt has hygroscopic properties, which means that it retains water and humidity. (This is why you are advised never to let baker's yeast come into contact with salt, which would tend to dehydrate it.) But these properties also make the dough easier to work with and make it possible to slow down the drying out of the final product. They also guarantee a lovely, delicate, golden crust during baking.
There are various kinds of salt that are commercially available. I most often use untreated, un-refined sea salt in my bread recipes.
TEMPERATURE
I consider temperature to be an essential parameter for the success of bread made from wild yeast starter; the room temperature and the temperature of the ingredients will greatly influence the process.
Bacteria react differently depending on the heat: a low temperature will favor the development of acetic acidity, whereas a higher temperature will allow for a so-called lactic acidity, which is milder.
A good temperature for the starter is around 81 to 86°F (27 to 30°C). Even though heat increases bacterial activity, excessively high temperatures will compromise the fermentation, just as excessively low temperatures will make the dough taste too acidic.
In addition to its impact on the starter, the temperature affects the fermentation of the bread dough, especially if you look at the temperature of the dough when you have finished kneading. At this stage, the temperature will generally be about 73 to 77°F (23 to 25°C). Some technical publications and professional recipe cards refer to the base temperature. This is calculated using the room temperature and the temperature of the water and of the flour. Even though, as home cooks, we would rarely have that information, it does seem logical to take into account the temperature of the ingredients, especially of the water and the flour. As we saw earlier, it is easy enough to store your flour in a cool place when it is too hot out or to adjust the temperature of the water, both of which are simple things you can do to carry out your fermentation under favorable conditions.
INGREDIENTS AND COLORS
You can incorporate a variety of ingredients into your dough to add color. You can choose spices like turmeric, which will produce a flamboyantly colored bread, or even charcoal powder, which will give you a black bread that won't go unnoticed!
The best thing is to use natural dyes. It would be a shame to go straight for chemical dyes when nature offers us such a vast array of choice! There are powders, purees, liquids, and various tricks for coloring bread dough naturally. At the same time, though, you should beware of certain products that might potentially also add flavor, whereas others are so discreet that you will never notice their taste and only their color will show up!
Here are some examples of coloring agents you can use to get the following colors:
- Green: spinach (chlorophyll), matcha tea, spirulina, pistachio paste
- Yellow: turmeric, curry
- Orange: carrot, pumpkin
- Red: paprika, tomato, beet
- Purplish pink: red cabbage, red fruits (blueberries), purple carrots, hibiscus
- Black: powdered activated carbon, cuttlefish ink
- Brown beige: malt, cacao
- Blue: petals of blue pea (Clitoria ternatea) to be infused in water
It is fairly simple to incorporate these ingredients into the dough when they are in liquid form, like carrot juice; all you have to do is replace some or all of the liquid in the recipe with the juice. The same is true for purees. For spices and powders, however, you have to just gradually add them until you get the color you want. I usually add between a teaspoon and a tablespoon for 500 grams of flour.
For a very dramatic effect, only color part of the dough: this will allow you to make bread loaves that alternate between colored and neutral zones, which is guaranteed to give you unusual and psychedelic effects.
