Animals
Animals come in many shapes and sizes, and they provide a variety of colors to experiment with your palettes and watercolor effects.

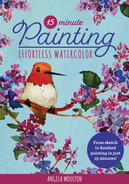
Start by sketching the head, tail, feet, and back. Keep the sketch loose and quick. Avoid too many details. Mix some blue-gray mixture, with phthalo or ultramarine blue and some Payne's gray. Tone it down with a touch of red for the belly. Mix a warm pink color for the belly and closest legs. For the back legs, use a blue mixed with brown or black (or Payne's gray). Add a lightly shaded area (violet pink) to the snout and ears. Paint the eyes on the hippo, using a small round brush. Shape them to match the anatomy of the head. For the eyes and details of the hippo, use almost-straight-from-the-tube paint that is very saturated and thick. Just add enough water to thin to consistency. Add the same dark gray or black to bottom of feet to add dimension and shading.HIPPO
STEP 1:
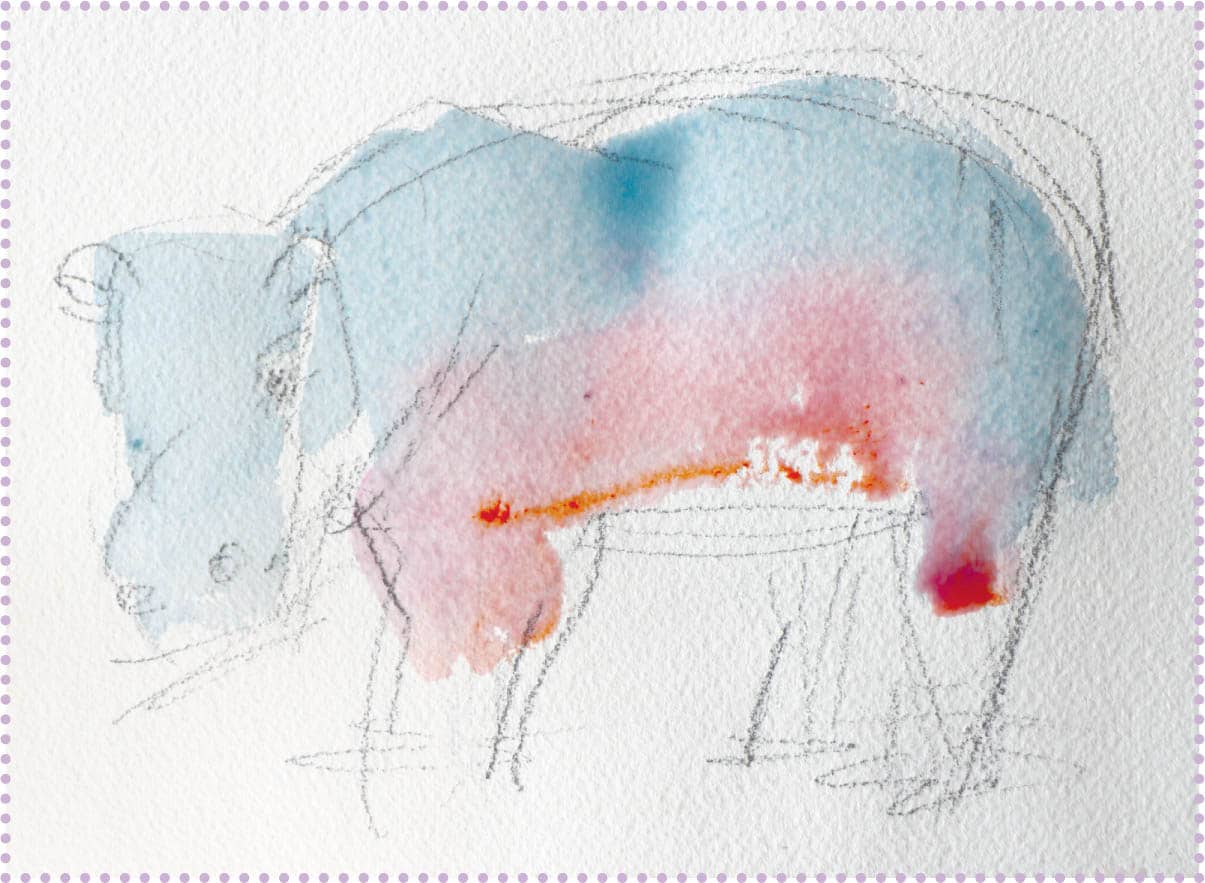
STEP 2:

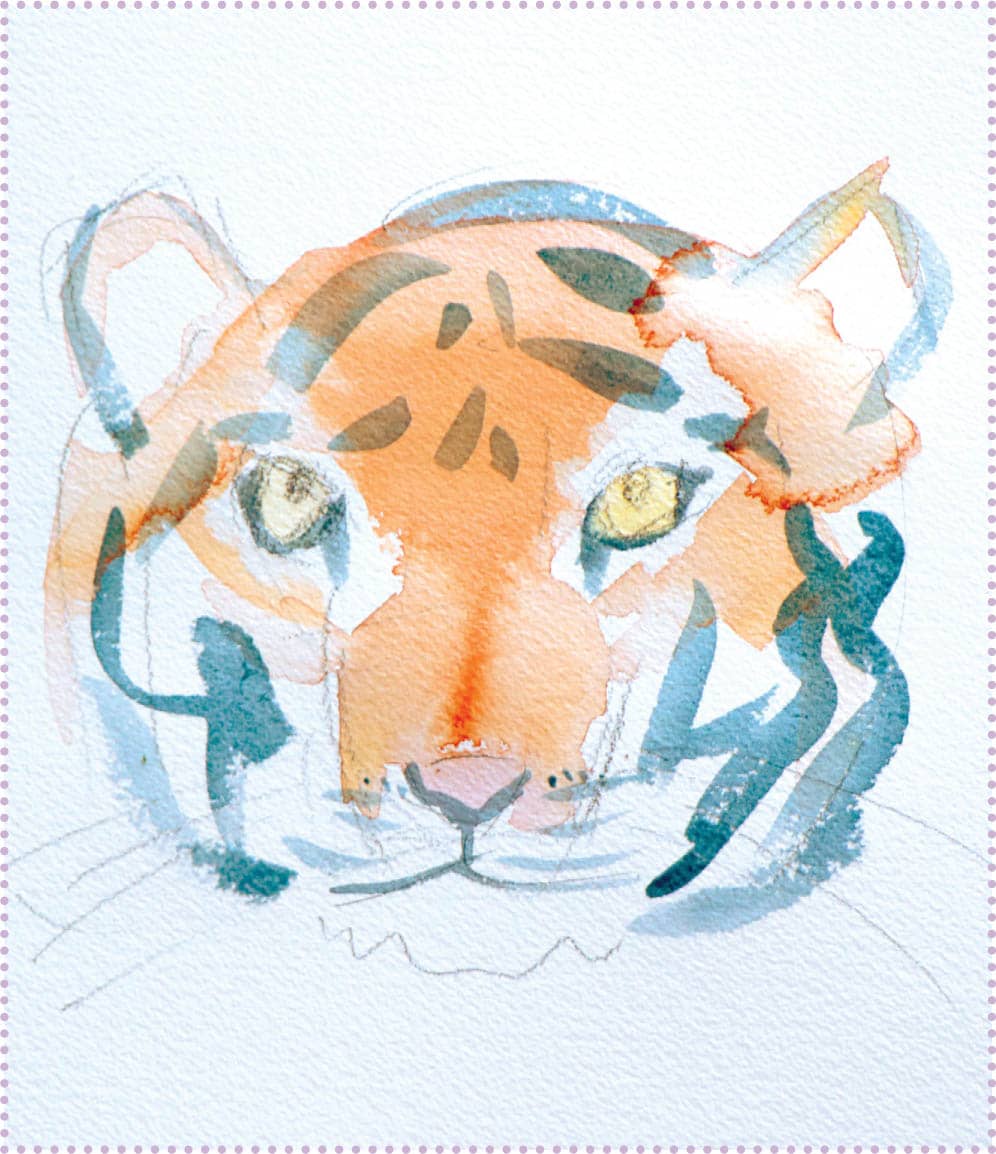
STEP 3:
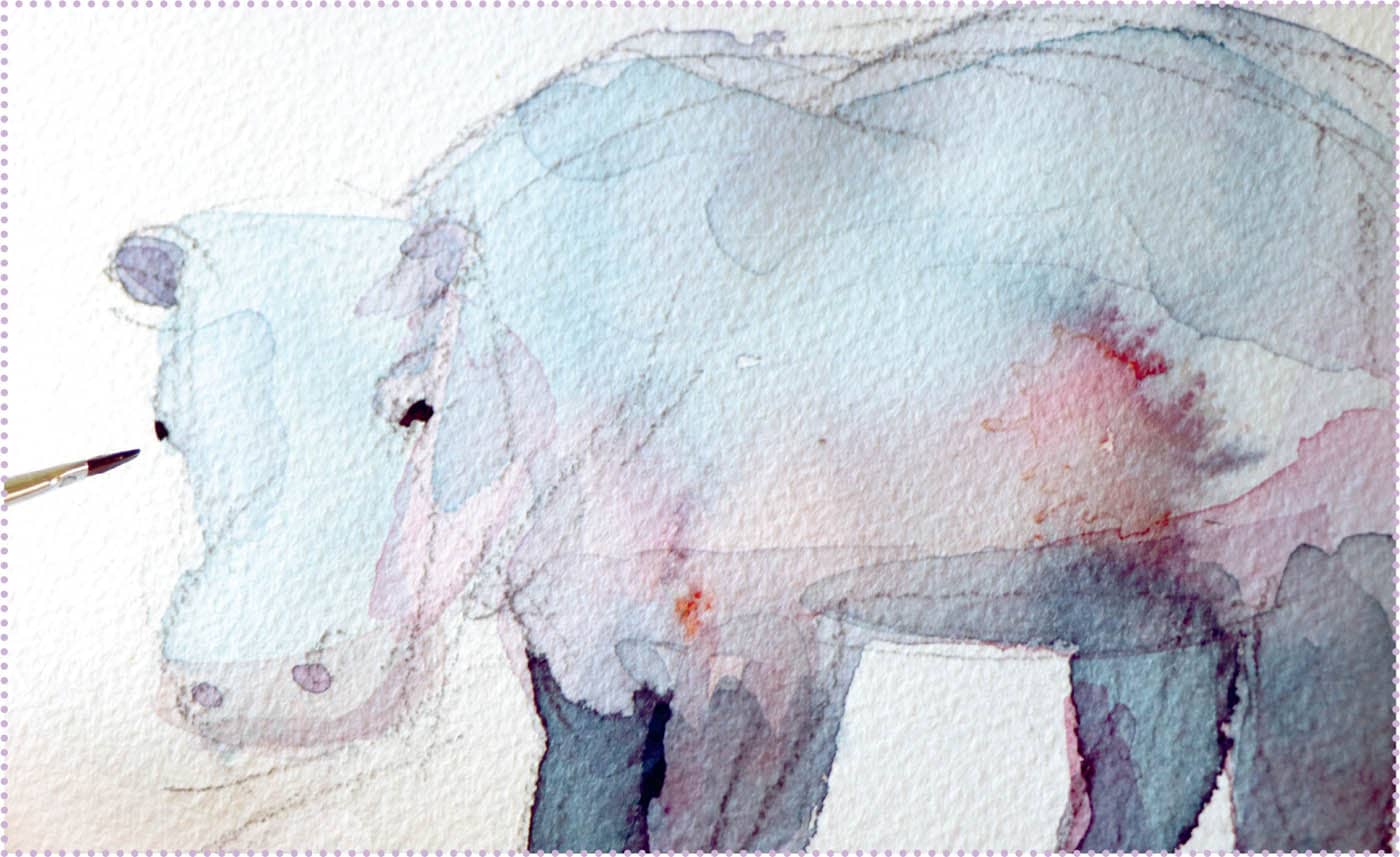

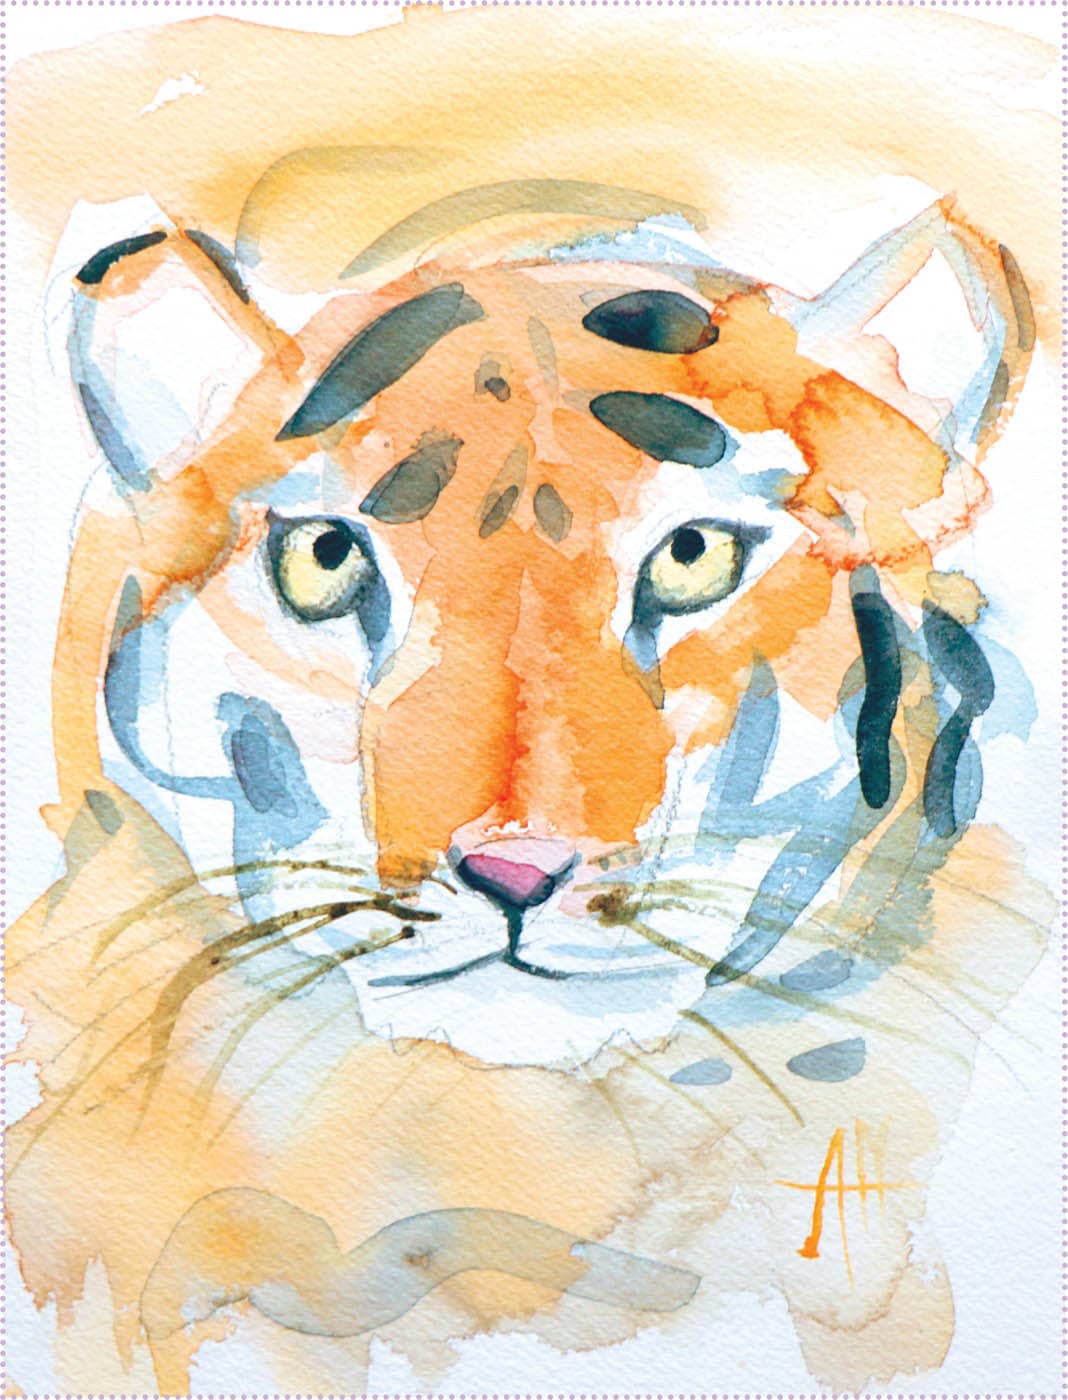
Sketch the tiger’s eyes and nose, muzzle and mouth, and ears, striped head, chin, and whiskers. Use an orange mixture with a flat brush to paint the tiger. Dab with a tissue or paper towel to remove excess paint and create a soft “fur” look. Add a pink nose, yellow eyes, and outline the ears. Once the yellow paint is dry, outline the eyes, nose, and mouth using a liner brush. Using your medium round brush, add stripes and outline the ears using curvy lines. I decide to paint the background a dull orange. Dull the orange by adding a touch of blue. Now add more transparent orange all over the tiger and the background to add more depth. Use your small round brush to paint the pupil of each eye black. Use your long liner brush to add whiskers. Use enough water that the liner brush flows smoothly across the paper. Now darken any black spots that seem too light with more black or Payne’s gray. You can also add a couple of stripes to the background to suggest a body.TIGER
STEP 1:
STEP 2:
STEP 3:

STEP 4:

STEP 5:
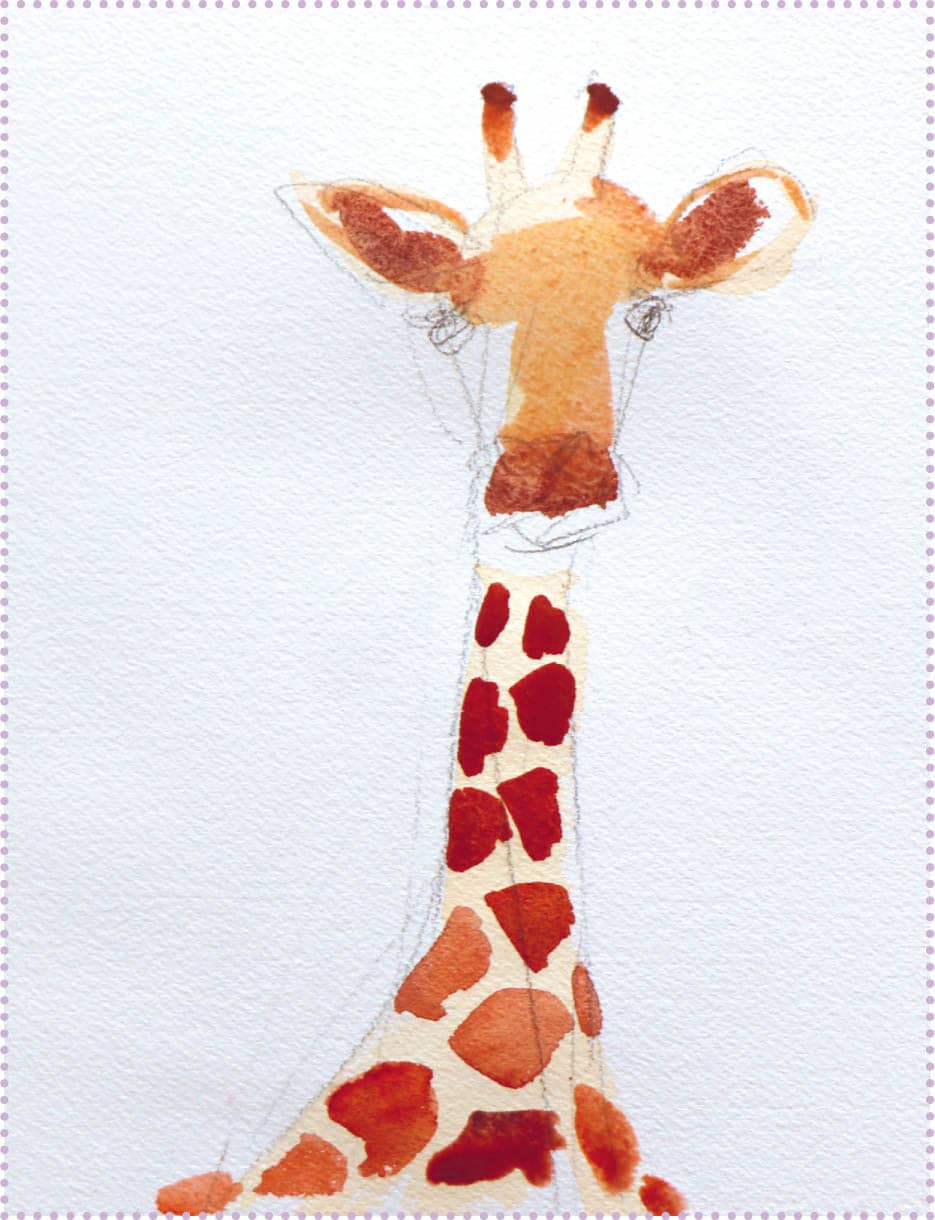
Start by sketching a giraffe head and neck on your watercolor paper. Erase any unwanted lines. Paint a yellow ochre mixture on the center of the head. Next paint the neck and outline the ears. Let dry, and then add brown spots to the neck and body of the giraffe. Add some of this brown to the nose, inside of the ears, and the ossicones on top of the head. Next, add some light brown to fill out the face and ears. Once dry, paint the eyes and eyelashes, nostrils, mouth, and top of the ossicones black.GIRAFFE
STEP 1:

STEP 2:

STEP 3:
STEP 4:

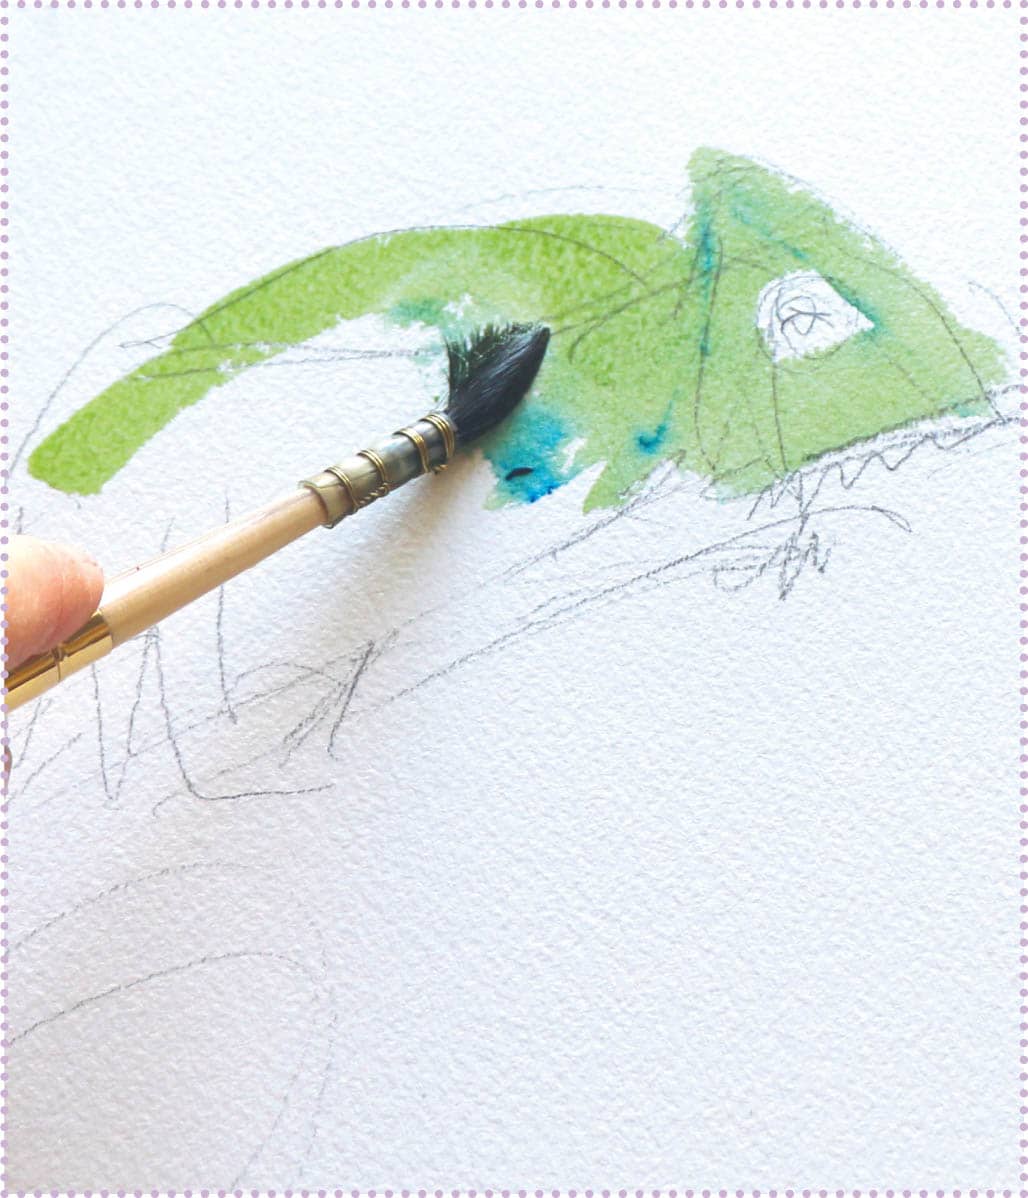
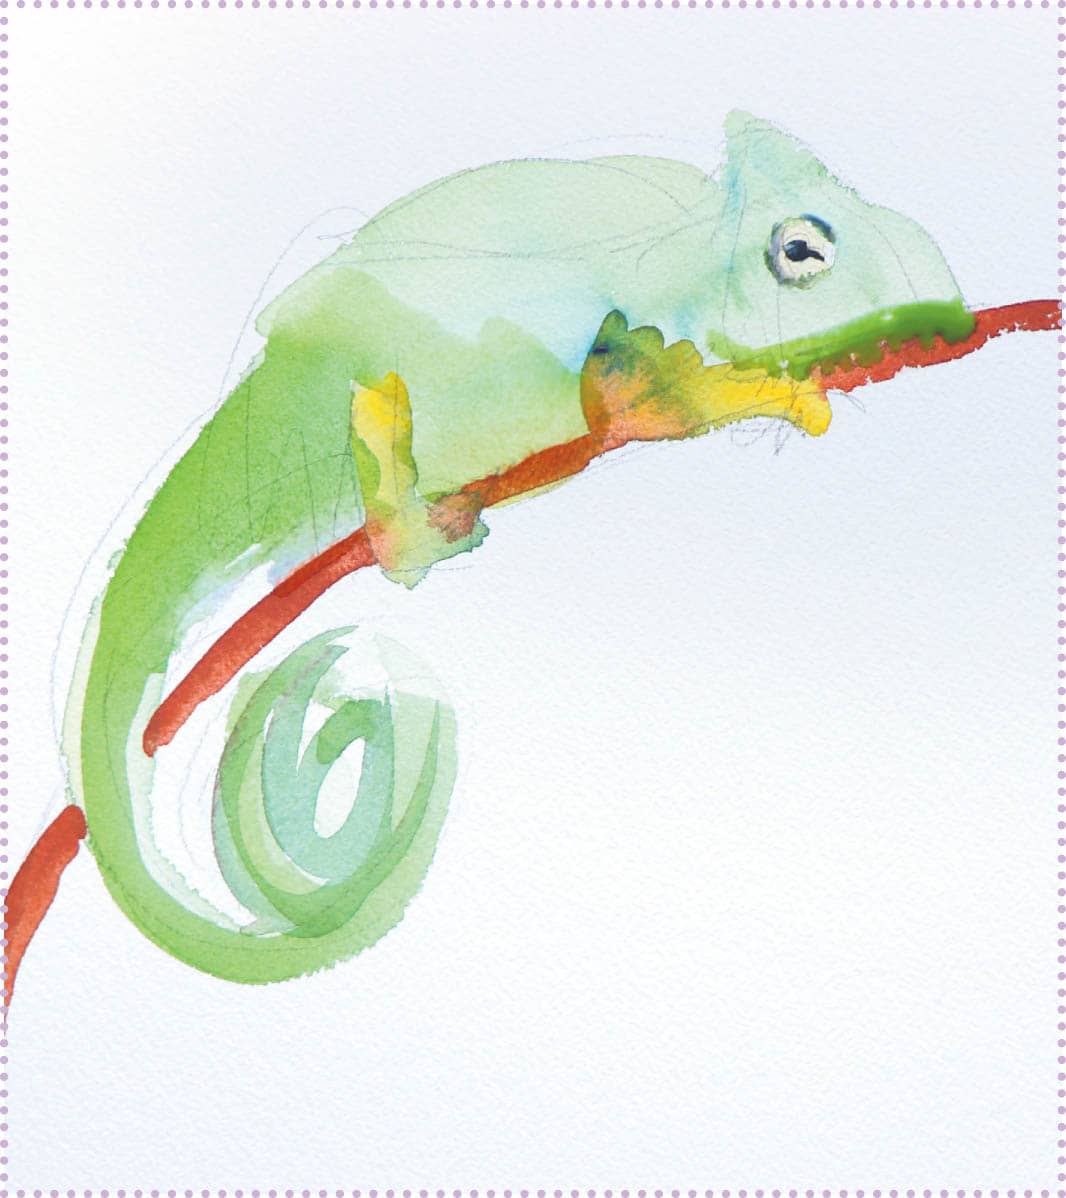
Start by sketching a chameleon with a spiral tail and a simple brown branch. Mix some blue and yellow for the green of the chameleon. If the color is too bright, add a touch of red or black to tone it down. Use a medium round or flat brush to start painting the chameleon, leaving the eye area blank. Add some yellow to the green mix for the eye, arms, and legs. Add more blue to the green mixture for the tail. Let dry a little (so it doesn’t run), and then add a green or brown branch. Add a jagged edge to the mouth with green paint and the tip of a round brush. You can dab some brown away, if needed, to create the overhanging jaw of the mouth. Once the head is dry, add a circle and pupil to the chameleon. Let dry, and add in any last details, as desired.CHAMELEON
STEP 1:
STEP 2:

STEP 3:
STEP 4
