
7
Combining Compose Files
So far, we have run our multi-container application in a monolithic way, where the application is run by specifying a Compose file that contains application containers, containers for databases such as Redis, and applications for monitoring purposes such as Prometheus. This will serve us well in the beginning; however, always running the application with all the dependencies available might bring us issues. Running a full-fledged application can consume many resources, it can be harder to troubleshoot issues, and it can prevent you from being focused on a certain component that requires your attention. There could be scenarios where you might want to use only one component and avoid interacting with or initiating other components. Also, there might be cases where you don’t want to have monitoring enabled or any other stack that assists your application but is not directly related to the scope of your application.
Compose provides us with the option to split an application into multiple files and run the entire application by combining those files. This will give us the ability to run our application in a more modular way. We should be able to run certain parts of the application and completely ignore an entire stack.
In this chapter, we will proceed with splitting our application into multiple files and running them in a modular way.
In this chapter, we will cover the following topics:
- Splitting Compose files
- Combining Compose files
- Selecting the Compose files to run
- Creating different environments
- Combining multiple Compose files into one
Technical requirements
The code for this book is hosted on the GitHub repository at https://github.com/PacktPublishing/A-Developer-s-Essential-Guide-to-Docker-Compose. In case of an update to the code, it will be updated on the GitHub repository.
Splitting Compose files
Throughout the Task Manager application development, we started using one simple Go application backed by a Redis database. Onward, we enhanced the functionality of our main application by adding two extra microservices. Since we ended up with a full-functional microservice-based application, we reckoned that more monitoring was needed; therefore, we added Prometheus and the Pushgateway to facilitate proper monitoring of our applications. Each step is required to incorporate the services into the Docker Compose file.
If we properly examine each step, we could identify components that are shared between applications and need to be available regardless of the applications we want to run. Those are core components that we should share with other services; thus, they can be logically grouped into a Compose file. More specifically, the networks and the database are a part of our core Compose project, which is essential for our application to run.
In our application, we can also identify that certain services can have their own compose file. For example, the location service can run standalone provided it has a service database available. The same applies to the event service.
The Prometheus stack is also something that can run separately since it is not directly related to the goal of our applications server. However, they are essential for running our applications properly.
So, let’s proceed to create the base of our compose application.
Task Manager base
The task-manager base would be from the networks and the Redis database. The definition of the Docker networks is essential since they are the backbone of our application’s connectivity. The database where we store data is also essential since all of our applications need to be backed by a database assisting them to store the data.
Therefore, at the root of our project, we will create the base-compose.yaml file:
// Chapter7/base-compose.yaml
services:
  redis:
    image: redis
    networks:
      - redis-network
networks:
  location-network:
  redis-network:
  monitoring-network:
If we spin up the base service, we should see the Redis database up:
// Chapter7/base-compose.yaml
$ docker compose -f base-compose.yaml up -d
$ docker compose -f base-compose.yaml ps
NAME COMMAND SERVICE STATUS PORTS
chapter7-redis-1 "docker-entrypoint.s…" redis running 6379/tcp
$ docker compose -f base-compose.yaml down
The base is ready. It provides us with a Redis database and the essential network configurations. Next, we will proceed with the location service.
Location service
The location service is the first Go-based service to have a Compose file dedicated only to run this service. We will extract the compose configuration we had previously and will use the components from the base-compose.yaml file.
The compose file for the location service is detailed as follows:
// Chapter7/location-service/docker-compose.yaml
services:
  location-service:
    build:
      context: location-service
    image: location-service:0.1
    environment:
      - REDIS_HOST=redis:6379
    depends_on:
      - redis
    networks:
      - location-network
      - redis-network
      - monitoring-network
    healthcheck:
      test: ["CMD", "curl", "-f", "http://localhost:8080/ping"]
      interval: 10s
      timeout: 5s
      retries: 5
      start_period: 5s
As you can see, extracting the Compose configuration for the location service is streamlined, and all we had to do was to copy the service configuration. However, we do see a small adaption. Instead of context: ., our code base is switched to context: location-service. The reason for this has to do with base-compose.yaml and location-service/docker-compose.yaml being located on different files. The location paths on Compose are absolute and follow the location of the first file specified. For this reason, we will use the context path from compose. The next service will be the event service.
Event service
The event service will also have no changes and will be moved to a separate file:
// Chapter7/event-service/docker-compose.yaml
services:
  event-service:
    build:
      context: event-service
    image: event-service:0.1
    environment:
      - REDIS_HOST=redis:6379
      - PUSH_GATEWAY=push-gateway:9091
    depends_on:
      - redis
    networks:
      - redis-network
      - monitoring-network
By having the first two services split up, we can proceed to the main service, the task-manager service.
Task Manager
We proceed to the task-manager service last, mainly because it is a service that interacts with the other two services.
By extracting the content to another file, the following would be the dedicated compose file:
// Chapter7/task-manager/docker-compose.yaml
services:
  task-manager:
    build:
      context: task-manager
    image: task-manager:0.1
    ports:
      - 8080:8080
    environment:
      - REDIS_HOST=redis:6379
      - LOCATION_HOST=http://location-service:8080
    depends_on:
      - redis
      - location-service
    networks:
      - location-network
      - redis-network
      - monitoring-network
    healthcheck:
      test: ["CMD", "curl", "-f", "http://localhost:8080/ping"]
      interval: 10s
      timeout: 5s
      retries: 5
      start_period: 5s
With Τask Μanager setup, we did split the Go-based services. Now, we can proceed with splitting up the Prometheus components.
Prometheus
Prometheus is targeted toward monitoring; therefore, it’s going to be on a separate file, and whether it is going to be used among the other files will be up to the user. By not including Prometheus when running the task-manager application, the monitoring features will not be there. However, there would be fewer dependencies and fewer resources will be needed.
The Prometheus compose file will require the Prometheus server and the push-gateway included. This makes sense if we take into consideration that they are both monitoring solutions.
In the following compose file, we have the configuration for Prometheus and push-gateway:
// Chapter7/monitoring/docker-compose.yaml
services:
  prometheus:
    image: prom/prometheus
    ports:
      - 9090:9090
    volumes:
      - ./monitoring/prometheus.yaml:/etc/prometheus/prometheus.yml
      - ./monitoring/alerts.yml:/etc/prometheus/alerts.yaml
    networks:
      - monitoring-network
    depends_on:
      - task-manager
  push-gateway:
    image: prom/pushgateway
    networks:
      - monitoring-network
By extracting the compose Prometheus components to another Compose file, we have modularized the task-manager application and can proceed with combining the files we created previously. Now, we should be able to use our application and have exactly the same behavior.
Combining Compose files
Now that we have split the task-manager application, we should be able to run and have the same functionality we had in Chapter 6, Monitoring Services with Prometheus. We should be able to store the tasks by executing requests to the Task Manager combined with a location.
Compose offers the option to combine multiple files.
Let’s run the application and all the services needed together:
docker compose -f base-compose.yaml -f monitoring/docker-compose.yaml -f event-service/docker-compose.yaml -f location-service/docker-compose.yaml -f task-manager/docker-compose.yaml up
![]() Network chapter7_location-network Created 0.0s
Network chapter7_location-network Created 0.0s
![]() Network chapter7_redis-network Created 0.0s
Network chapter7_redis-network Created 0.0s
![]() Network chapter7_monitoring-network Created 0.0s
Network chapter7_monitoring-network Created 0.0s
![]() Container chapter7-redis-1 Created 0.0s
Container chapter7-redis-1 Created 0.0s
![]() Container chapter7-push-gateway-1 Created 0.0s
Container chapter7-push-gateway-1 Created 0.0s
![]() Container chapter7-location-service-1 Created 0.0s
Container chapter7-location-service-1 Created 0.0s
![]() Container chapter7-event-service1 Created 0.0s
Container chapter7-event-service1 Created 0.0s
![]() Container chapter7-task-manager 1 Created 0.0s
Container chapter7-task-manager 1 Created 0.0s
![]() Container chapter7-prometheus-1 Created 0.0s
Container chapter7-prometheus-1 Created 0.0s
An observation is that the prefix starts with chapter7. This has to do with the base compose file, which is the first on the list. base-compose.yaml is on the root of Chapter7; therefore, the relative path is set to Chapter7. This works well with the configuration we have set in the monitoring project.
So far, we have been successful in splitting our original application into parts and also running them all together. The qualities of the application have been the same, and the modularization of our application makes development easier. However, we are still not flexible enough. We still need to run the application including all of the files, and we are not able to select the application we want to focus on individually. In the next section, we will see how Compose can assist us in making the application modular.
Selecting the Compose files to run
In the previous section, one of the issues we stumbled upon is the fact that we run the application’s Compose file altogether. However, modularization is in place since we split the compose file into multiple parts. Thus, the next step would be to run debug and test different modules of the application individually.
Using Hoverfly
Since our applications depend on each other, the only viable option is to run the applications together until we find an alternative. For development and testing purposes, we can mock some of the services that introduce dependencies and still be able to run our application locally.
For this purpose, Hoverfly (https://hoverfly.io/) can be of significant help. Hoverfly can intercept traffic and mock requests and responses.
We will spin up a Hoverfly instance with a capture mode in Compose:
services:
  hoverfly:
    image: spectolabs/hoverfly
    ports:
      - :8888
    networks:
      - location-network
      - monitoring-network
    entrypoint: ["hoverfly","-capture","-listen-on-host","0.0.0.0"]
By having Hoverfly enabled, we will use it in order to intercept traffic and then use it to replay the traffic as we test our application.
Extending services
In order to have a modified version of the existing service without duplicating the content, Compose provides us with the feature of extending services.
By extending services, we import the existing compose file and make alterations to the components of interest.
Let’s take a look at the following example:
services:
  db:
    extends:
      file: databases.yml
      service: postgresql
    environment:
      - AUTOVACUUM=true
Here, we created another Compose file that extends the postgresql service defined in the databases.yml Compose file and added an extra environment variable.
Capturing traffic with Hoverfly
Two services create HTTP traffic:
- task-manager toward location-service
- event-service toward push-gateway
In both cases, since the default http Go client is used, this makes it easy to set up using Hoverfly as a proxy through an env variable.
In this case, we will extend the task-manager and event-service services and enable the http proxy.
The following is the event-service adaptation:
services:
  event-service:
    extends:
      file: ./event-service/docker-compose.yaml
      service: event-service
    environment:
      - HTTP_PROXY=hoverfly:8500
    depends_on:
      - hoverfly
The following is the task-manager adaptation:
// Chapter7/task-manager/capture-traffic-docker-compose.yaml
services:
  task-manager:
    extends:
      file: ./task-manager/docker-compose.yaml
      service: task-manager
    environment:
      - HTTP_PROXY=hoverfly:8500
    depends_on:
      - hoverfly 0
By using this configuration, we can capture the traffic exchanged. Then, we can run the stack together and check whether Hoverfly has captured anything:
docker compose -f base-compose.yaml -f monitoring/docker-compose.yaml -f event-service/capture-traffic-docker-compose.yaml -f location-service/docker-compose.yaml -f task-manager/capture-traffic-docker-compose.yaml -f hoverfly/docker-compose.yaml up
After creating some tasks, we can navigate to Hoverfly and check for requests that have been captured:
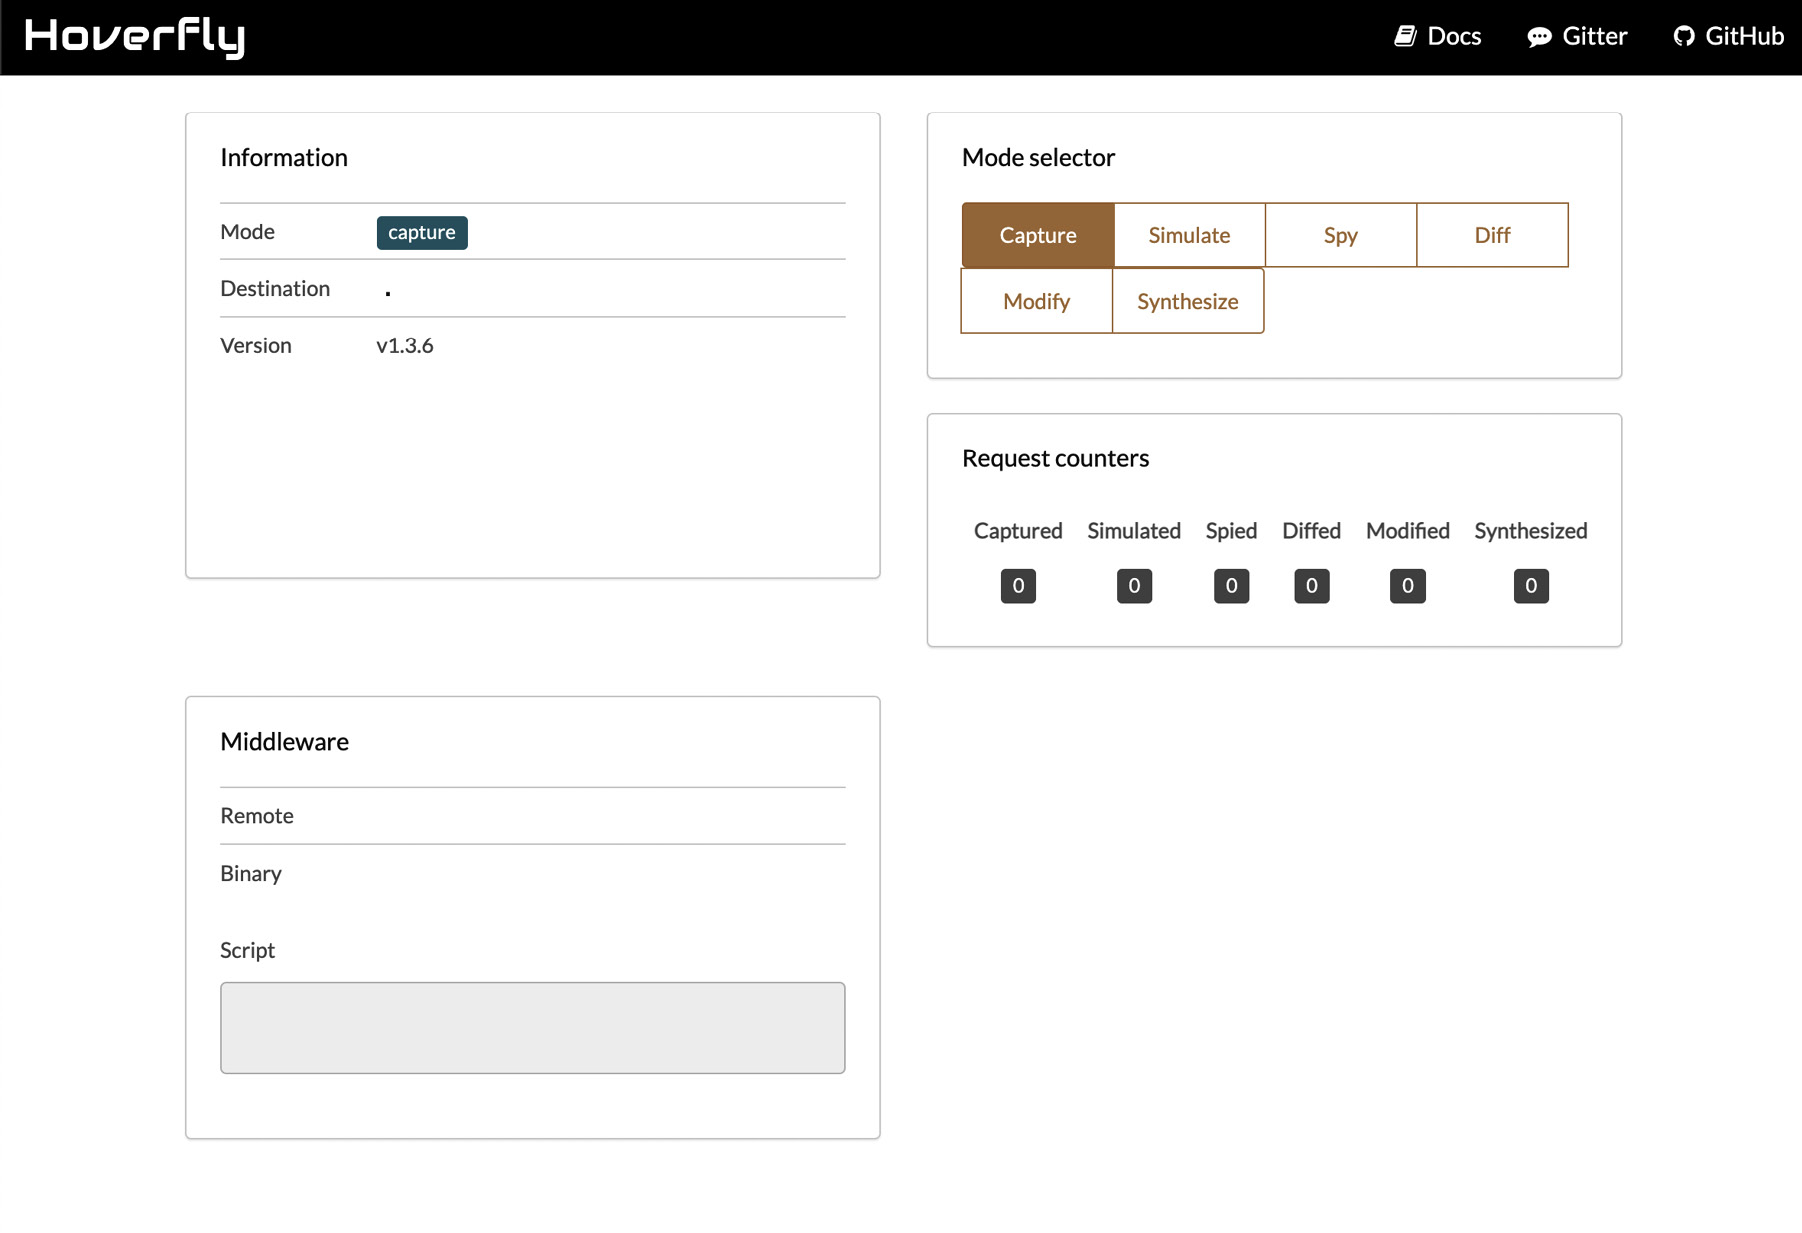
Figure 7.1 – The Hoverfly landing page
Indeed, the requests have been captured. Now we should export the data that Ηoverfly has captured.
We can export all captured data into a JSON file:
curl http://localhost:8888/api/v2/simulation
{"data":{"pairs":[{"request":{"path":[{"matcher":"exact","value":"/location/0c2e2081-075d-443a-ac20-
...
"schemaVersion":"v5.1","hoverflyVersion":"v1.3.6","timeExported":"2022-05-22T13:35:46Z"}}
The simulation retrieved earlier will fetch the captured data from all the services that are subject to intercepting traffic. We will go one step further and extract the captured traffic per service.
Extracting the location service simulation
Note that task-manager uses location-service. In order to be able to run task-manager for testing purposes, we should simulate location-service using Hoverfly.
A simulation file is already placed inside the location-service directory. In order to extract a simulation from your previous request, you can follow the next step.
Extract the simulation for the location-service directory:
cd location-service
curl --location --request GET 'http://localhost:8888/api/v2/simulation?urlPattern=location-service:8080' > location-simulation.json
The location-simulation.json file will contain a simulation scenario that can be used by running Hoverfly in simulation mode.
Extracting the Pushgateway simulation
event-service issues requests to the Pushgateway in order to expose metrics. We will export the captured from the Pushgateway.
A simulation file is already placed in the monitoring directory. In order to extract a simulation from your previous request, you can extract the simulation for the push-gateway service:
cd monitoring
curl --location --request GET 'http://localhost:8888/api/v2/simulation?urlPattern=push-gateway:9091' > push-gateway-simulation.json
The push-gateway-simulation.json file will contain a simulation scenario that can be used by running Hoverfly in simulation mode.
Adapting the simulation
While in simulation mode, Hoverfly has certain rules and matchers in terms of the components of an http request. For example, in order to simulate a request for a dynamic endpoint with path variables, Ηoverfly should be configured to respond with a payload provided the target endpoint matches a regex expression of an existing endpoint in the Ηoverfly simulation.
In our case, the body of the REST calls will be dynamic. Therefore, we will make an adaption to the previously exported simulations and accept the payload found in the body of a POST request using "body":[{"matcher":"glob","value":"*"}]}.
Creating mock applications using Ηoverfly
We can now create mock applications using the simulations we exported previously.
First, we will focus on creating a task-manager deployment using the Ηoverfly simulation for location-service.
Mock location service
Now that we have the Ηoverfly simulation, we are able to simulate location-service without the need to run the actual service. Our Compose deployment will be focused only on the task-manager service.
The compose file that will utilize Hoverfly for simulation will be the following:
services:
  location-service:
    image: spectolabs/hoverfly:v1.3.6
    ports:
      - 8888:8888
    networks:
      - location-network
      - redis-network
    volumes:
      - ./location-service/location-simulation.json:/etc/hoverfly/location-simulation.json
    entrypoint: ["hoverfly","-webserver","-listen-on-host","0.0.0.0", "-import", "/etc/hoverfly/location-simulation.json", "-pp","8080"]
Let’s run and see the results:
docker compose -f base-compose.yaml -f task-manager/docker-compose.yaml -f location-service/mock-location-service.yaml up
We are able to interact with the task-manager service without the need to spin up the location service.
Mock Pushgateway
The next service to try to run standalone would be the event service. The component it was depending on was push-gateway. Since we have the simulation from the previous step, let’s create a Docker file that would not have that dependency:
services:
  push-gateway:
    image: spectolabs/hoverfly:v1.3.6
    ports:
      - 8888:8888
    networks:
      - monitoring-network
      - redis-network
    volumes:
      - ./monitoring/push-gateway-simulation.json:/etc/hoverfly/push-gateway-simulation.json
    entrypoint: ["hoverfly","-webserver","-listen-on-host","0.0.0.0", "-import", "/etc/hoverfly/push-gateway-simulation.json", "-pp","8080"]
Now we will run the event service as a standalone without depending on using the Compose files of the other services:
docker compose -f base-compose.yaml -f event-service/docker-compose.yaml -f monitoring/mock-push-gateway.yaml up
We are able to interact with the task-manager service without the need to spin up the location service. Also, we can run the event service without the need to run the push-gateway component. We run the applications by only using the components needed and no other services. By doing so, we are able to be flexible with our development.
Creating different environments
Previously, we managed to resolve the dependencies between our services and offer the ability to run only what we needed, which served our scenario back then.
If we examine the compose commands that we ran, we can identify that different files have been used in each case.
Compose gives us the flexibility to combine the different compose files and assemble different environments.
Running with capturing enabled
As we discovered earlier, we can have an environment for capturing the traffic exchanged between applications using Hoverfly:
docker compose -f base-compose.yaml -f monitoring/docker-compose.yaml -f event-service/capture-traffic-docker-compose.yaml -f location-service/docker-compose.yaml -f task-manager/capture-traffic-docker-compose.yaml -f hoverfly/proxy.yaml up
This environment could be used when users want to create new simulations for testing.
Running with monitoring disabled
Also, we can have a lean environment without monitoring enabled:
docker compose -f base-compose.yaml -f monitoring/mock-push-gateway.yaml -f event-service/docker-compose.yaml -f location-service/docker-compose.yaml -f task-manager/docker-compose.yaml up
This environment could help in running the Compose application with fewer resources.
Running applications individually
During development, focusing on one component at a time is crucial. We are now able to do so by running the services in isolation and using mocks wherever applicable:
- task-manager:
docker compose -f base-compose.yaml -f location-service/mock-location-service.yaml -f task-manager/docker-compose.yaml up
- location-service:
docker compose -f base-compose.yaml -f location-service/docker-compose.yaml up
- event-service:
docker compose -f base-compose.yaml -f monitoring/mock-push-gateway.yaml -f event-service/docker-compose.yaml up
By having the original application split into different Compose files, it was possible for us to try different combinations of those files and have a different application outcome. By combining the different compose files that we used, we ended up with different environments serving certain purposes. For example, we can have an environment without monitoring, an environment focused on capturing traffic, or a mock environment for testing. Since we are now aware of the combinations that interest us, instead of combining the compose files manually through the command line, we can proceed with extracting a unified configuration for each case.
Combining multiple Compose files into one
We have created various environments by combining compose files. This will assist the development process; however, it will make it more complex. Compose gives us the option to combine the various compose files used for the various use cases into one.
Using config
Note that config is a Docker compose command that will merge the files specified.
For example, we can try it when we want to run the location service as standalone:
docker compose -f base-compose.yaml -f location-service/docker-compose.yaml config
The result will be the unified JSON:
name: chapter7
services:
  location-service:
    build:
      context: /path/to/git/A-Developer-s-Essential-Guide-to-Docker-Compose/Chapter7/location-service
      dockerfile: Dockerfile
    depends_on:
      redis:
        condition: service_started
    environment:
      REDIS_HOST: redis:6379
    healthcheck:
      test:
      - CMD
      - curl
      - -f
      - http://localhost:8080/ping
      timeout: 5s
      interval: 10s
      retries: 5
      start_period: 5s
    image: location-service:0.1
    networks:
      location-network: null
      monitoring-network: null
      redis-network: null
  redis:
    image: redis
    networks:
      redis-network: null
networks:
  location-network:
    name: chapter7_location-network
  monitoring-network:
    name: chapter7_monitoring-network
  redis-network:
    name: chapter7_redis-network
Here, we managed to generate a merged compose installation using config. This way, we have a more managed way to assemble the compose files we use in different scenarios.
Summary
We managed to transform a monolithic compose application into a flexible modular one with multiple Compose files. Also, based on the dependencies among Compose files, we proceeded with creating mock services in order to be able to run each service for development purposes in a lean way. Onward, we combined various compose files and created different environments for our application. Then, we proceeded to merge the various assembled files into one based on the scenario that needed tackling.
In the next chapter, we will see how we can simulate production environments using compose.