
Chapter 7
Taking Advantage of Symbols and UI Kits
IN THIS CHAPTER
![]() Creating a symbol
Creating a symbol
![]() Editing existing symbols
Editing existing symbols
![]() Using a UI kit
Using a UI kit
This chapter is all about saving time and keeping your artwork consistent. By creating symbols, you can save an object in a form that can be dragged and dropped right unto your artboard and dynamically updated as needed. In this chapter, you also find out how to use UI kits. UI kits are provided so that you can easily locate patterns for popular platforms such as iOS, Android, and Windows.
Using Symbols
If you find that you are reusing objects in your UI, you should consider converting them to symbols. Symbols are linked objects that can be reused across all artboards in a document. Because they are dynamically linked, changes to one reflect across all instances.
In this next set of steps, we use the icon artwork from the DummiesCCfiles folder at www.agitraining.com/dummies. You can use our sample files or one of your own.
To convert an object into a symbol, follow these steps:
- Open a document that contains at least one artboard, an icon, and some related text. In this example, shown in Figure 7-1, we open the file from the DummiesCCfiles folder named delivery-symbol-sample in Adobe XD.
- Select an object and some text that you want to reuse. In this example, one of the grouped Submit buttons is selected.
-
Right-click (Windows) or Ctrl-click (Mac) and select Make Symbol from the contextual menu.
 If you like keyboard shortcuts, you can select an item and press Ctrl+K (Windows) or ⌘ +K (Mac) to convert it into a symbol.
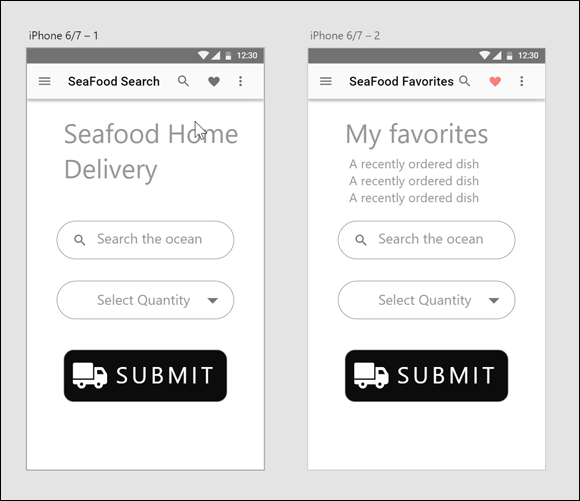
FIGURE 7-1: The delivery-symbol-sample file.
A couple things happen when you convert object(s) into a symbol:
- If you look in the Layers panel, the object that you converted into a symbol now has a symbol icon to the left of the name, as shown in Figure 7-2.
- If you click the Symbols icon in the lower left of the XD workspace, you see your symbol in a thumbnail view, as shown in Figure 7-3.
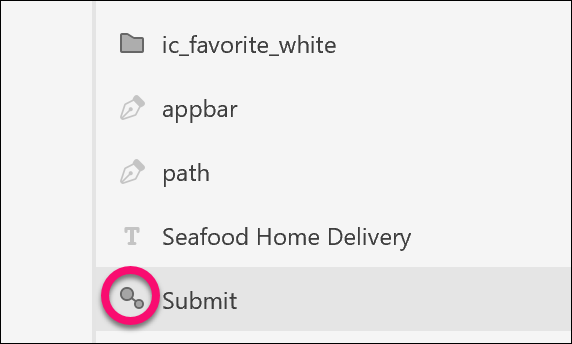
FIGURE 7-2: In the Layers panel, the symbol has an icon to the left, reflecting that it is a symbol.
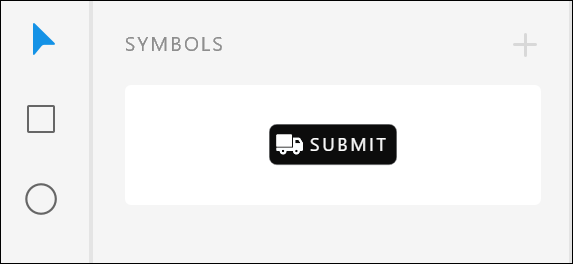
FIGURE 7-3: The symbol appears as a thumbnail in the Symbols panel.
Using your symbol
Perhaps you want to use this symbol in another location. You can do so by following these steps:
- If you are using the delivery-symbol-sample file, delete the Submit button on artboard iPhone 6/7-2 (use the Delete or Backspace keys to delete). If you are creating your own file, this step is unnecessary.
- Make sure the Symbols panel is open by clicking the Symbols icon in the lower left of the XD workspace.
-
Click and drag the newly created symbol from the Symbols panel to the second artboard. Reposition it as necessary.
You can also Alt/Option-drag a symbol to clone it to another location.
Making edits to your symbol
In this section, you see how edits to one instance of your symbol instantaneously update any other instances. To see how this works, follow these steps:
- Click the rectangle in one of your symbol instances.
- In the Properties panel, change the Fill to a different color, perhaps red. Note how that change instantly occurs in both instances of the symbol. This is the case with any property.
-
Now double-click the text in either symbol to edit it. Change the word from Submit to Send. Notice that this change of text is not reflected in the other instance, as shown in Figure 7-4. This makes a great solution when you want consistency in buttons but don’t want the same text in each one.
If the text change is something that you want reflected in all the symbol instances, right-click and choose Update All Symbols.
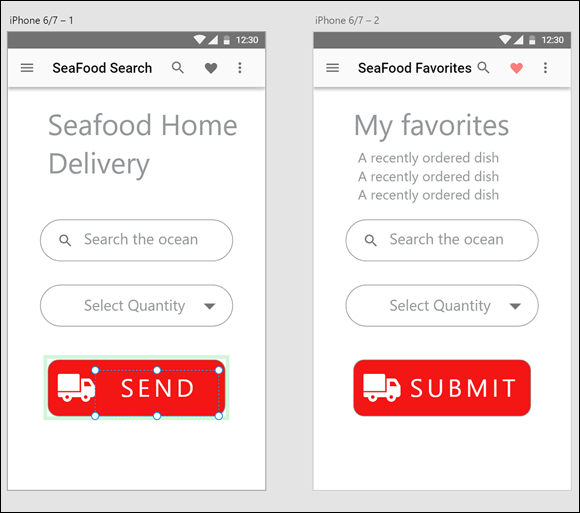
FIGURE 7-4: A change in the text in your symbol is not reflected in other instances.
Removing a symbol
If you are no longer interested in keeping your symbol instances linked, you can right-click on the symbol in the Symbols panel and select Remove Symbol from the contextual menu. The objects on the page are not deleted, but they are no longer linked to a symbol and can be edited independently. If you want to remove just one symbol to change it without affecting all instances of the symbol, select the symbol, right-click, and select Ungroup Symbol.
Taking Advantage of UI Kits
In this section, you are introduced to UI kits. A UI kit is a collection of UI elements that you can copy and paste to use in your designs. At the time of writing there were three default UI kits: Apple iOS, Google Material, and Microsoft Windows. We are sure that resourceful folks will start creating more of these over time.
To open a UI kit, choose File⇒ Get UI Kit and select a kit from the menu. This takes you to a website from which you can download the components for each of the available kits. In Figure 7-5, the Google Material UI kit has been selected.
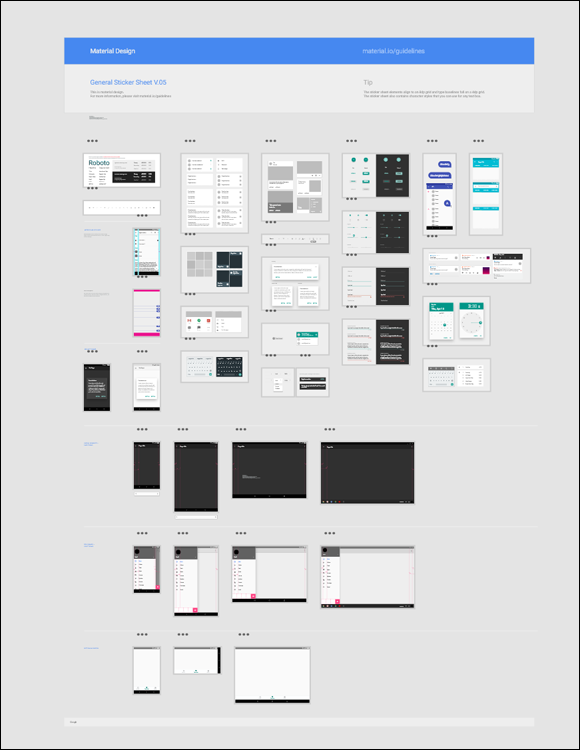
FIGURE 7-5: The Google Material UI kit provides patterns and other UI elements.
To use these elements, you can either select the items(s) you want from the Layers panel or use your Select tool and then choose Edit ⇒ Copy. If you prefer, you can use the keyboard shortcut Ctrl+C (Windows) or ⌘ +C (Mac).
Locate an artboard in a different project in which you would like to use the items and choose Edit ⇒ Paste. The keyboard shortcut is Ctrl+V (Windows) or ⌘ +V (Mac).