
4. Using Photoshop Paths, Alpha Channels, and Grayscale Images in Indesign
Lesson overview
In this lesson, you’ll learn how to do the following:
Understand the differences between a path and a clipping path in Photoshop.
Reuse Photoshop paths in InDesign.
Identify different use cases when choosing between paths and an alpha channel in Photoshop.
Reuse a Photoshop alpha channel in InDesign.
Prepare grayscale images in Photoshop and recolor them in InDesign.

This lesson will take about 45 minutes to complete. Please log in to your account at adobepress.com/DesignCIB to download the files for this lesson, or go to the “Getting Started” section at the beginning of this book and follow the instructions under “Accessing the lesson files and Web Edition.” Store the files on your computer in a convenient location.
Your Account page is also where you’ll find any updates to the lesson files. Look on the Lesson & Update Files tab to access the most current content.
This lesson will teach you how to recolor grayscale images in InDesign and isolate parts of an image using clipping paths and alpha channels.
Photoshop paths
As discussed in Lesson 2, “Enriching Illustrator Artwork with Photoshop Content,” Photoshop supports the use and creation of vector paths within a document. The purpose of a Photoshop path can vary, depending on your design. You can draw paths in Photoshop by using a combination of the Pen tool and shape tools like the Rectangle tool, Ellipse tool, and so on. Common examples include:
Drawing paths to create simple or complex geometry as shape layers.
Using path tools to trace images, allowing you to later convert the path into a selection.
Converting paths into a vector mask.
In all of these examples, paths contribute to the overall design, whether in the form of special layers or defining selections. But it is also possible to simply use the Paths panel to store paths inside a Photoshop document in case you ever need them later. And what’s even better is that Adobe InDesign can also access these stored paths when the Photoshop document is placed in InDesign.
Paths versus clipping paths
Every time you use a path-creation tool in Photoshop, you’ll create a work path that you can save in the Paths panel. Saving a regular path in the Paths panel is often done as a means of backing up the path for future use—for example, to load it as a selection, copy it to other documents, or use it as a vector shape.
You can also choose to set one of the document paths as a clipping path. The benefit of a clipping path is that it allows you to define transparent and opaque areas for your entire Photoshop document when placing the document in other applications, like InDesign or Illustrator. But keep in mind that a clipping path only allows for an area to be either visible or invisible. Semitransparent areas are not possible. A typical example of using a clipping path is to isolate an object from its background—for example, when creating a product catalog.
Using clipping paths in InDesign
In the following exercise, you’ll learn how to convert a path to a clipping path in Photoshop. You’ll then reuse the clipping path when placing the document in InDesign.
Converting a path to a clipping path
Start Photoshop, and choose Photoshop > Preferences > General (macOS) or Edit > Preferences > General (Windows).
The Preferences dialog box opens.
Click Reset Preferences On Quit and click OK in the confirmation dialog box. Then restart Photoshop.
Open plane.psd from the Lesson04/Imports folder.
Choose Window > Paths to open the Paths panel. Notice there is already a saved path available within the document.
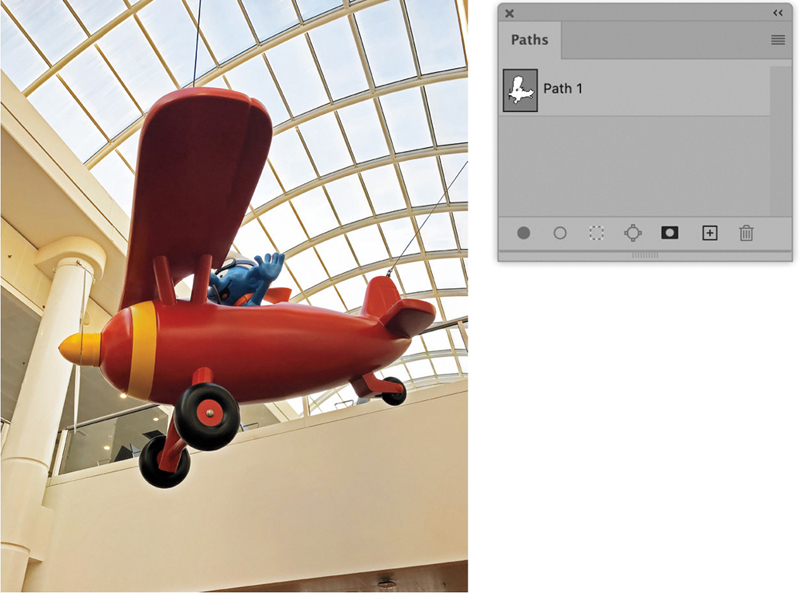
Click the path name in the Paths panel. The selected path is highlighted in blue on the canvas.
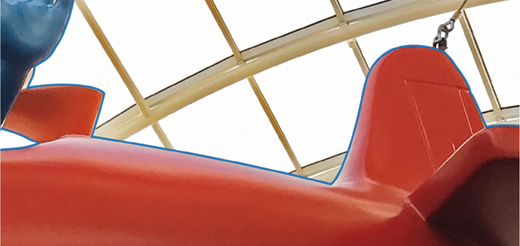
The path around the airplane will allow it to be extracted from the background, which can then be made transparent.
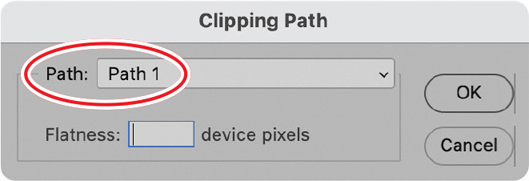
With the current path selected, open the Paths panel menu and choose Clipping Path.
In the Clipping Path dialog box, Path 1 is already chosen from the Path menu.
 Note
NoteYou can have only one clipping path per Photoshop document. If you try to convert a second path to a clipping path, it will replace the first one.
Leave the Flatness option blank so that when you print the image, your printer’s default value will be used (this determines how many straight lines are used to draw the curve of the path). Click OK to close the dialog box and convert Path 1 into a clipping path.
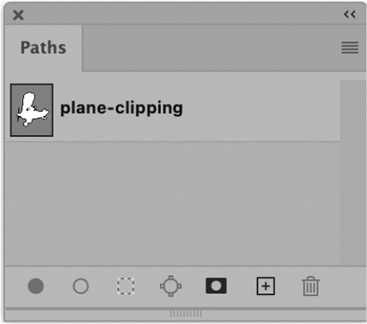
The path name now appears in bold, signifying that this path is a clipping path.
Double-click the path name and rename it plane-clipping.
Choose File > Save As and save the document as plane-clipping.psd.
Applying a clipping path in InDesign
In this part of the exercise you’ll learn how to use the clipping path in a Photoshop document that’s been placed in InDesign. Additionally, we’ll adjust text wrap options to wrap the document text around the clipped image.
Start InDesign, and then press Control+Option+Shift+Command/Alt+Shift+Ctrl to restore the default preferences.
When prompted, click Yes to delete the Adobe InDesign Settings file.
From the Lesson04 folder, open L04-magazine-start.indd.
Save the file as L04-magazineWorking.indd.
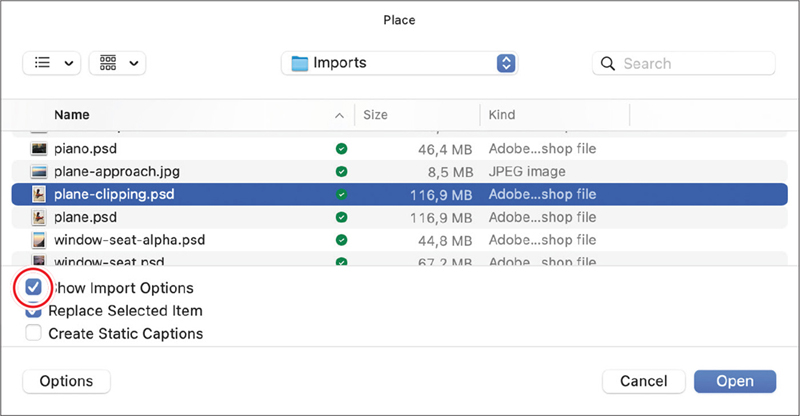
Without selecting anything, choose File > Place.
Navigate to the folder where you saved plane-clipping.psd, and select the file.
Make sure Show Import Options is selected, then click Open.
The Image Import Options dialog box opens. The image preview already shows the plane as an isolated image. This is because the clipping path is already applied by default.
NoteIf your image preview doesn’t look like this figure, you can use the copy of plane-clipping.psd provided in Lesson04/Imports.
Click the Image tab in the Image Import Options dialog box.
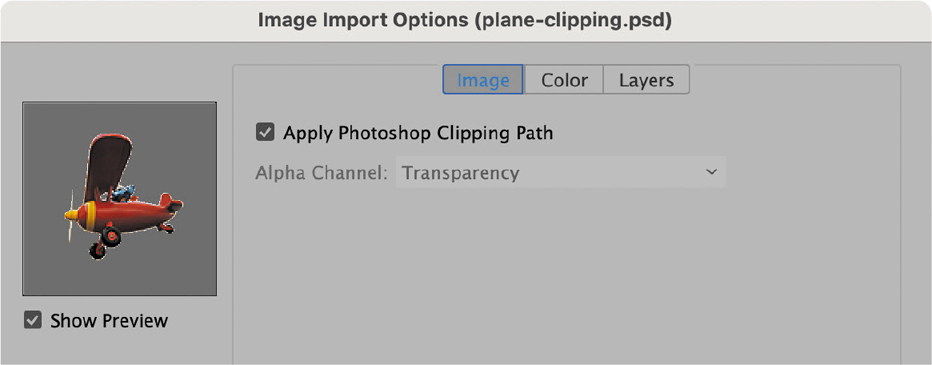
As an experiment, deselect Apply Photoshop Clipping Path and watch the preview image update. This is what would happen if you were to choose to place the document without applying the clipping path.
Select Apply Photoshop Clipping Path and click OK to place the image.
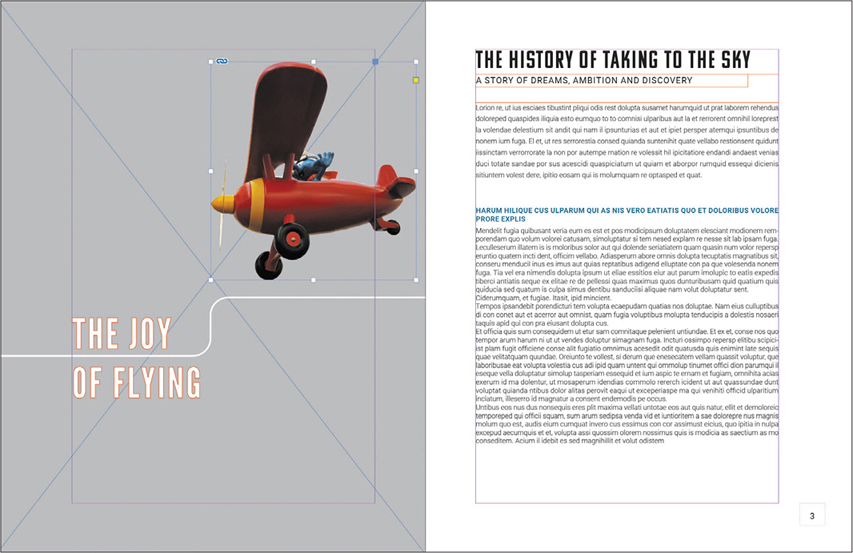
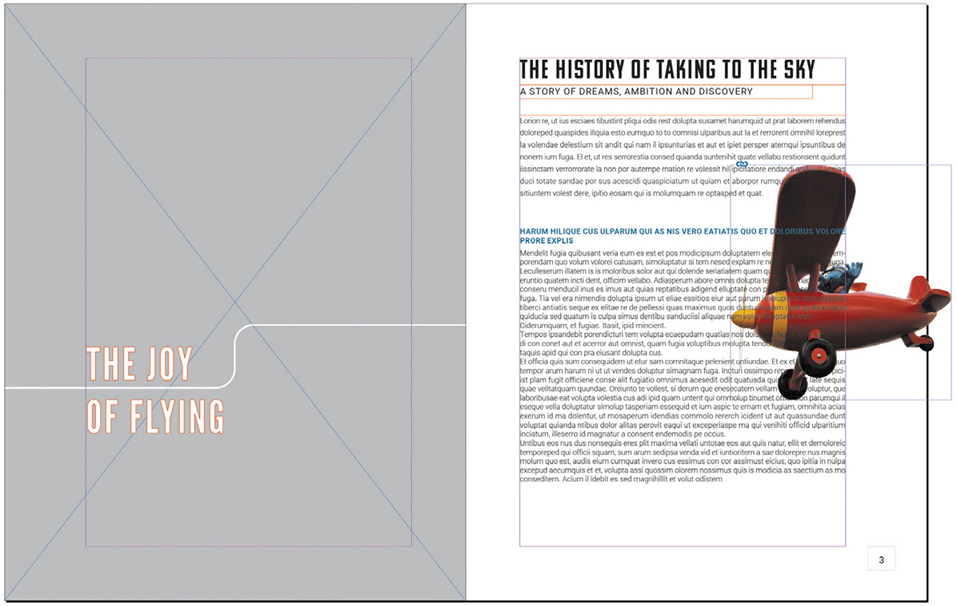
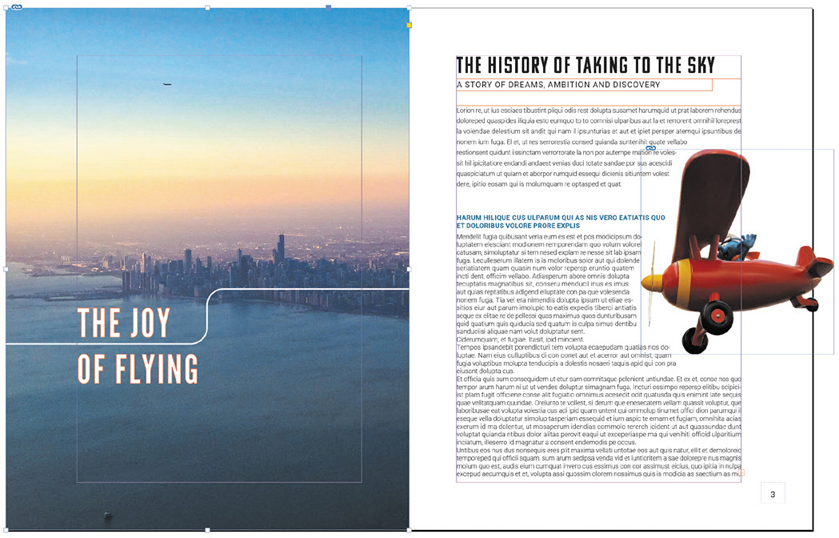
Start dragging from the middle of the top margin of page 2 to define the size of the image (don’t release the mouse button yet!). Notice that the tool tip displays the scale of the image as you move the mouse. Release the mouse button to place the image at roughly 12% of its size.
NoteNotice that the image bounding box in InDesign is no larger than the clipping path, even though the Photoshop document is larger. It looks as if we placed only the plane itself, but in fact the rest of the original canvas is hidden in the background.
Use the Selection tool
 to move the image to the right edge of the facing page, with the wing overlapping the article introduction.
The image appears behind the text because the text is on a layer that sits above the image layer.
Leave the document open.
Wrapping text around an image
Select the placed plane image.
Choose Window > Text Wrap.
Select the Wrap Around Object Shape option, which allows you to wrap text around a nonrectangular shape (which we’ll define next).
In the Wrap Options area, choose Largest Area from the Wrap To menu.
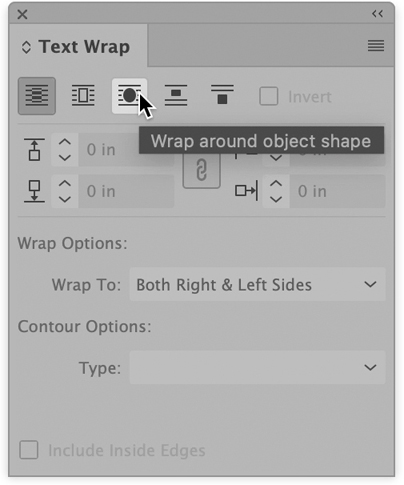
In the Contour Options area, choose Same As Clipping from the Type menu in order to use the embedded clipping path as the text wrap bounding box.
Change the Top Offset value to 0.25 in.
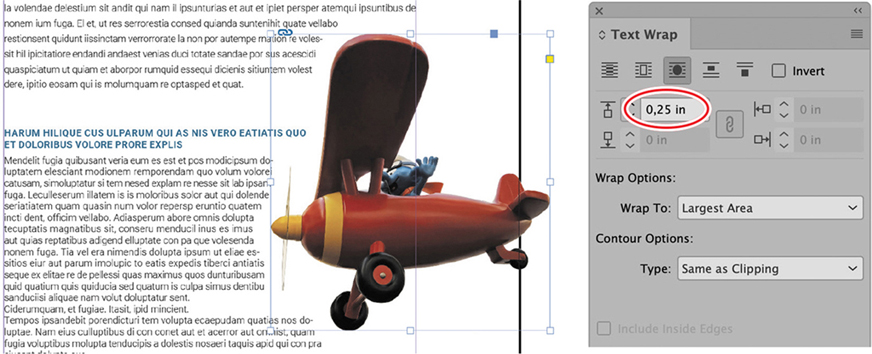
Save your file.
Using a Photoshop alpha channel
Alpha channels in Photoshop are the pixel equivalent of paths in that they give you a way to control transparency. The main difference between the two is that alpha channels are always rasterized (that is, resolution dependent) and allow for 256 levels of transparency, but paths are vectors and don’t support partial transparency. The applications are also similar within Photoshop:
You can save complex selections as alpha channels.
Some filters can use alpha channels to help define the areas of an image that they affect.
Alpha channels can be reused in other applications, such as InDesign and even Microsoft Office apps like PowerPoint or Word.
Viewing and saving an alpha channel
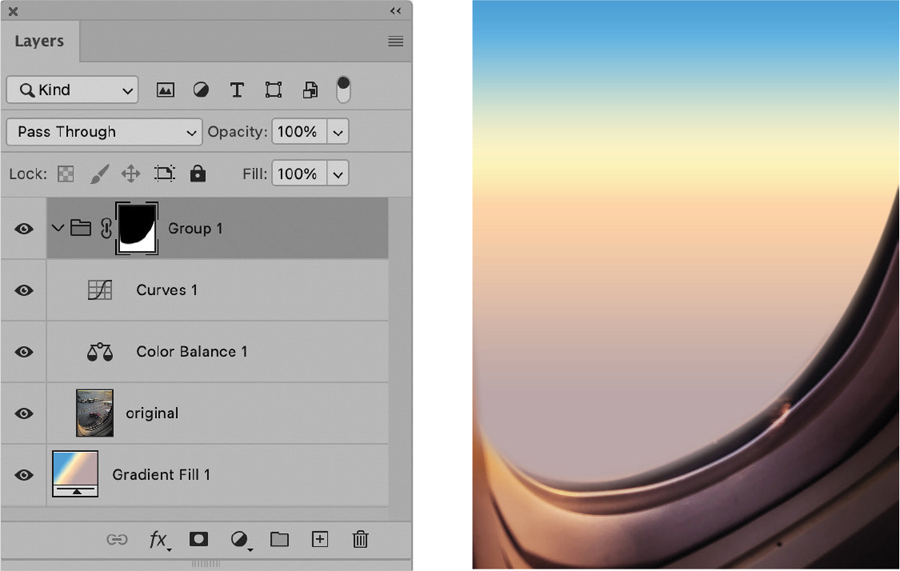
From the Lesson04/Imports folder, open window-seat.psd in Photoshop.
Open the Layers panel and notice these layers:
A layer group that holds an image layer, two adjustment layers, and a layer mask that is disabled
A gradient fill layer at the bottom of the stack
Enable the layer mask of the layer group by Shift-clicking its thumbnail. The mask covers the airplane window, so when it is enabled it renders the window area transparent, showing the gradient fill layer underneath.
 Note
NoteThe layer mask includes soft edges, which results in semitransparent pixels in the file. This would be impossible to achieve using a vector mask or clipping path.
Option/Alt-click the layer mask thumbnail in the Layers panel. Photoshop now displays only the mask.
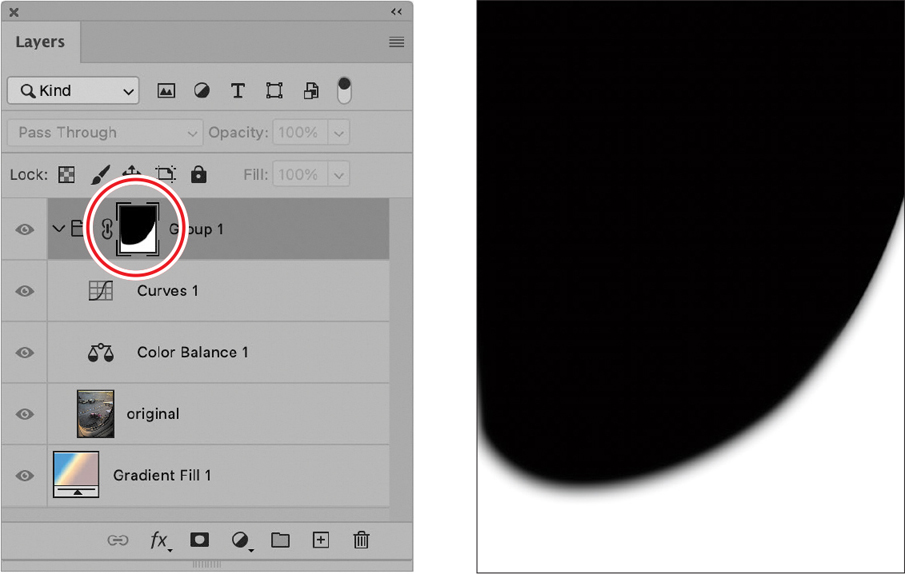
Option/Alt-click the layer mask thumbnail again to view the layers normally.
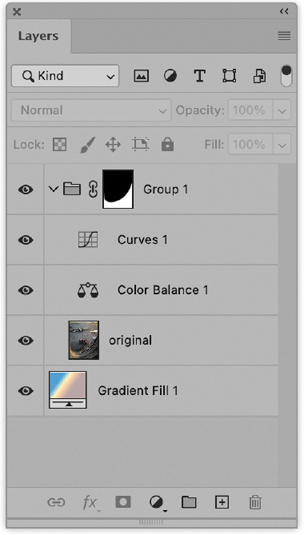
Deselect the layer group by clicking in the empty area underneath the gradient fill layer on the Layers panel. The layer is no longer highlighted in the panel.
Command/Ctrl-click the layer mask thumbnail to load it as a selection.
Choose Window > Channels to display the Channels panel.
At the bottom of the Channels panel, click the Save Selection As Channel button to convert the active selection to an alpha channel.
Choose Select > Deselect.
 Note
NoteThe normal channels in the Channels panel represent the basic color channels that make up an image, but an alpha channel is basically a mask that represents not a color but only a selected area.
Double-click the alpha channel name, rename it window, and press Return/Enter to confirm.
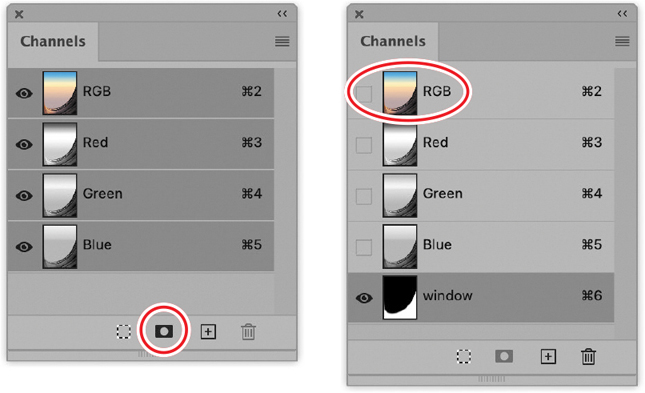
Click the RGB channel to display the normal color channels.
Choose File > Save As and save your file as window-seat-alpha.psd.
NoteSince the alpha channel will determine the document visibility when placing in InDesign, it doesn’t matter whether the layer mask was left active or inactive.
Applying an alpha channel in InDesign
Return to InDesign, where L04-magazineWorking.indd should still be open.
Focus on the left page of the document and notice the gray graphics frame.
Select the graphics frame and choose File > Place.
From the Lesson04/Imports folder, choose plane-approach.jpg and deselect Show Import Options.
Click Open to place the image in the frame.
In the Tools panel, select the Rectangle Frame tool
 .
.Drag out a graphics frame that covers the entire left page, dragging from the upper-left corner of the page to the lower-right corner.
Choose File > Place.
Navigate to the folder where you saved window-seat-alpha.psd.
Select window-seat-alpha.psd and make sure Show Import Options is selected this time. Click Open.
In the Image Import Options dialog box, click the Image tab.
By default, Transparency is chosen from the Alpha Channel menu, rather than the alpha channel that we created.
From the Alpha Channel menu, choose window (our newly saved alpha channel).
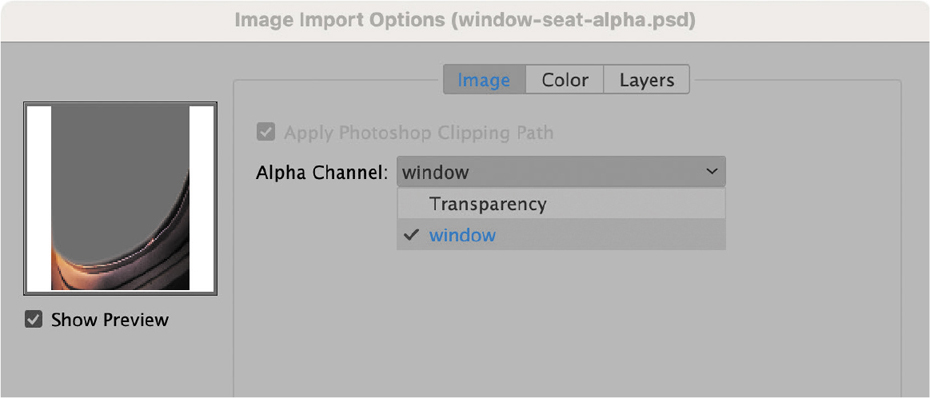
Click OK to confirm.
With the current selection active, choose Object > Fitting > Fill Frame Proportionally. Keep the frame selected.
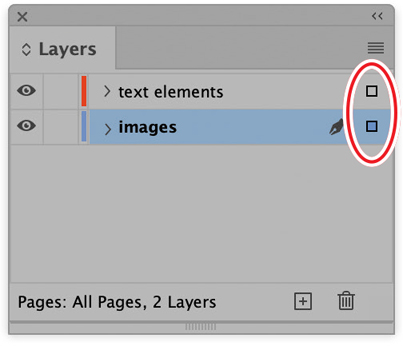
Choose Window > Layers to display the Layers panel.
Click the lock icon next to the text elements layer to unlock it.
Drag the blue square at the right side of the images layer upward and drop it onto the text elements layer. This moves the placed image on top of everything else.
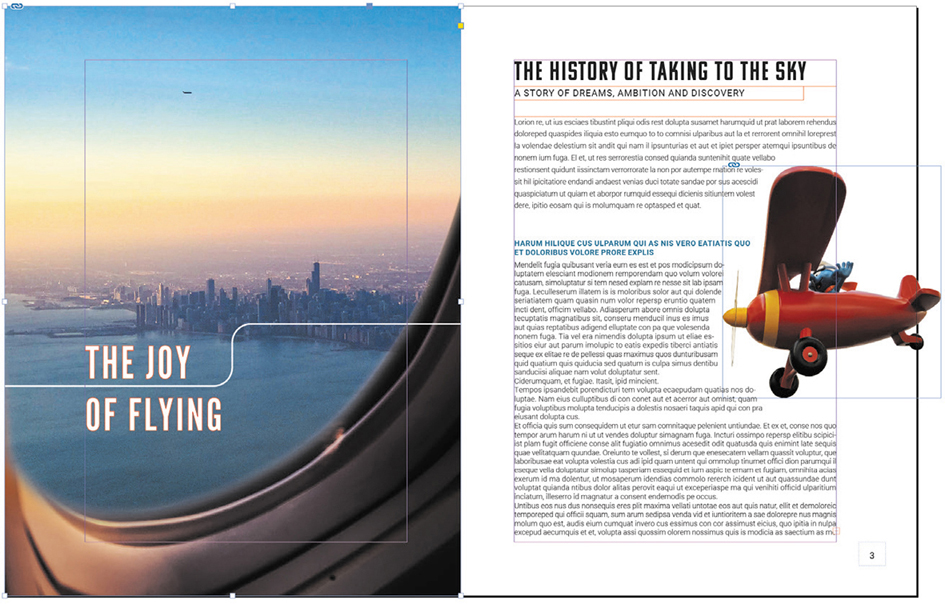
The alpha channel has allowed us to have a blurry edge at the bottom of the window image. This would not have been possible using a regular path, which allows only hard edges.
Save your file.
Why didn’t we use regular layer overrides?
The previous exercise might remind you of a similar exercise we conducted in Lesson 3, “Using Layered Photoshop Files in InDesign” in which we used layer overrides to place a transparent image of a llama at the top of the stack. So how is this approach different from what we did before?
Alpha channels in InDesign act as a type of mask that is applied to the entire Photoshop document upon placing; individual layer overrides simply show or hide specific layers in InDesign. So layer overrides manipulate the content of a placed Photoshop document, whereas an alpha channel is a type of “wrapper” that applies to the entire document, without manipulating the content layers at all.
Alpha channels aren’t as sensitive as layer overrides when used in InDesign. This means that it’s impossible for an alpha channel to reset itself if we ever change the layers in the Photoshop document. This makes it a safer choice in some scenarios, and it means we could go back to the original Photoshop document and add, change, or remove as many layers as we like.
NoteYou can still combine alpha channels with layer overrides in InDesign if needed.
 Tip
TipYou can use your alpha channel to simulate a clipping path in InDesign. To achieve this, select the placed Photoshop document and choose Object > Clipping Path > Options. From there, change the Type option to alpha channel.
Using multiple Photoshop paths
The next exercise shows you how to reuse multiple paths from the same Photoshop document in InDesign.
Inspecting all documents
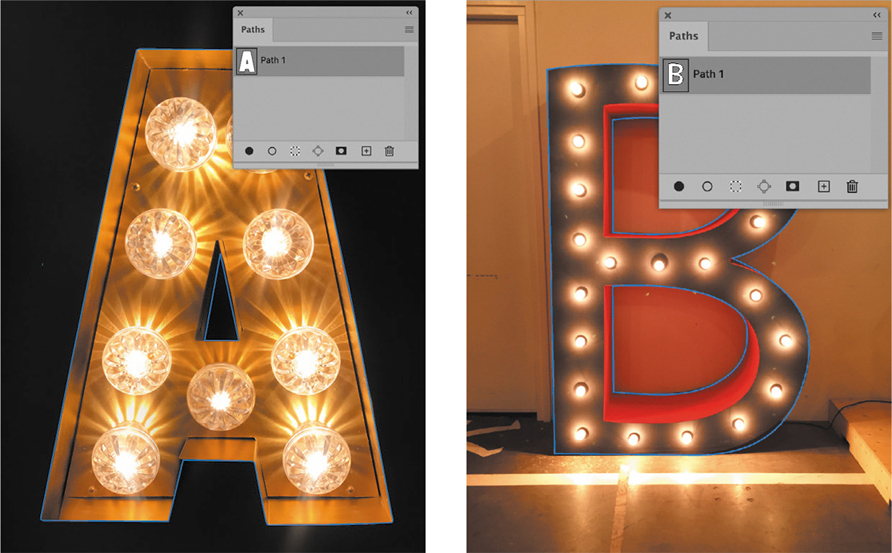
From the Lesson04/Imports folder, open A.psd in Photoshop.
Open the Paths panel and notice that there is a path named Path 1. Select the path to highlight it on the canvas. It traces the outline of the letter A.
Close the document.
From the Lesson04/Imports folder, open B.psd in Photoshop.
Perform step 2 for this file; notice that the path traces the outline of the letter B.
Close the document.
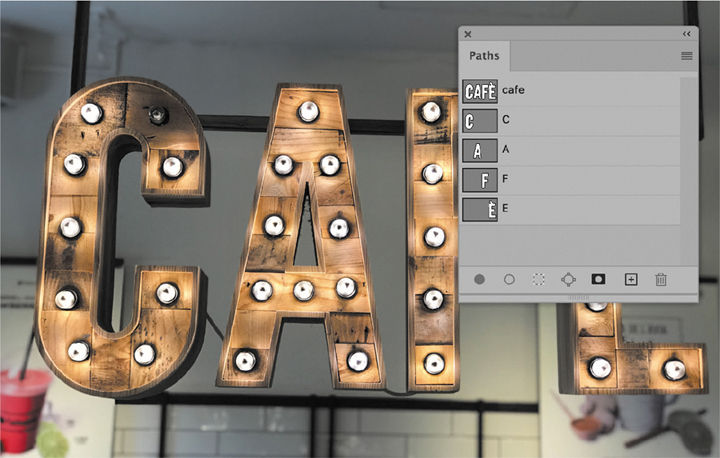
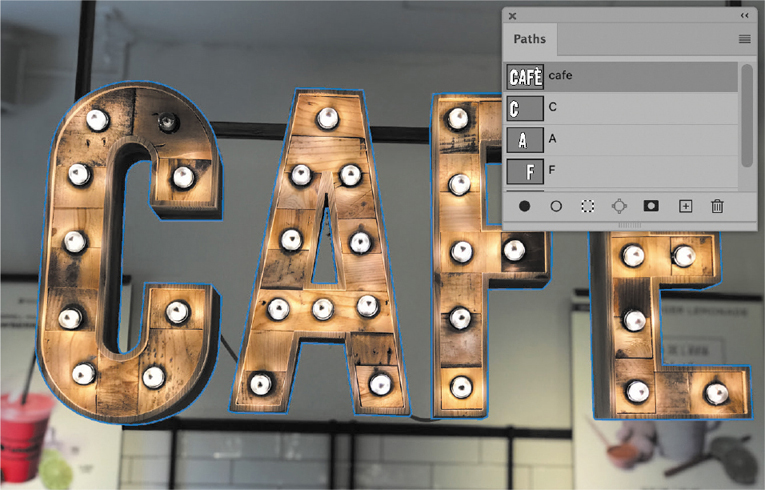
From the Lesson04/Imports folder, open cafe-letters.psd in Photoshop.
Inspect the Paths panel and notice that there are multiple paths saved in the document: one path that holds all the letters, and separate paths for each individual letter.
Close the document.
Reusing paths in InDesign
From the Lesson04 folder, open L04-flyer-start.indd in InDesign.
Save the file as L04-flyerWorking.indd.
Choose File > Place.
Navigate to the Lesson04/Imports folder and select A.psd. Make sure Show Import Options is unselected.
The reason we can’t use the Image Import Options dialog box here is that there is no way to make a regular path act as a clipping path during placing.
Choose Open to place the file.
Drag to place the image at roughly 5% of its original size.

While the image is still selected, choose Object > Clipping Path > Options.
From the Type menu in the dialog box, choose Photoshop Path. InDesign will choose the only available path in the document by default—in this case, Path 1.
Click OK.

Unlike when using a clipping path, which changes the size of the graphics frame when applied, the graphics frame in InDesign remains the same size after applying Path 1. But since Path 1 is smaller than the graphics frame, it results in a gap between the clipped image and the graphics frame. The next few steps help you update the graphics frame size by making it fit the clipped image.

Using the Selection tool
, click the placed image to select it.Choose Object > Clipping Path > Convert Clipping Path To Frame to make the Photoshop path act as the graphics frame.
This makes it easier to select and manipulate the letter A, as it’s no longer “hovering” inside a larger empty frame. Additionally, it is now easier to set the absolute size and positioning in InDesign using coordinates.
Place the image B.psd the same way you did before, and place it next to the letter A.

Keep the document open.
Changing paths in InDesign
Place cafe-letters.psd the same way you placed the other images.
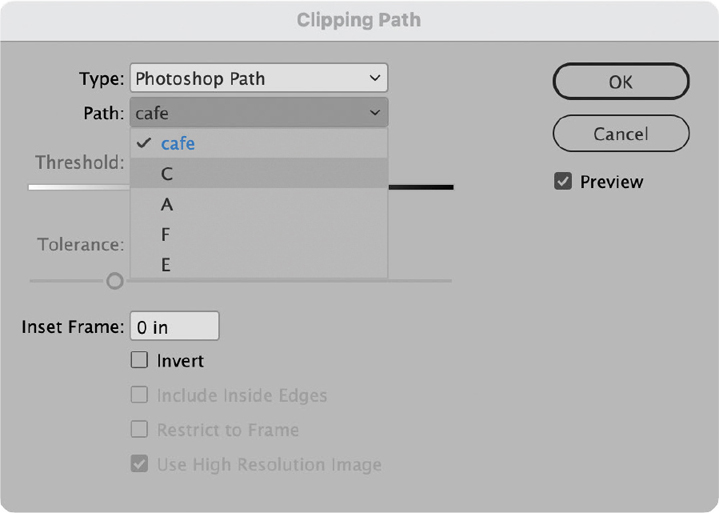
Choose Object > Clipping Path > Options.
From the Type menu in the dialog, choose Photoshop Path. Then choose path C from the list of available paths and click OK.
Choose Object > Clipping Path > Convert Clipping Path To Frame.
TipIt is possible to combine this technique with the text wrap options we used in the previous exercise.
Position the letters A, B, and C closer together so they spell out ABC.

Keep the file open.
In the next steps, you’ll learn how to change to different paths in case of a multipath Photoshop document.
Using the Selection tool
, select the letter C image.Choose Object > Clipping Path > Options.
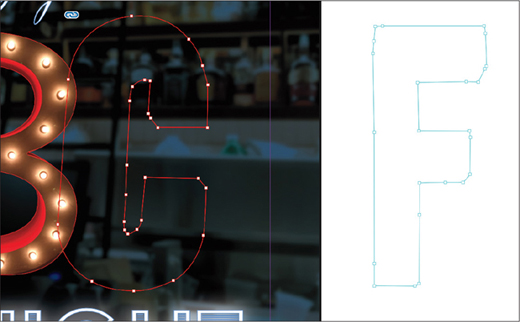
Choose Photoshop Path from the Type menu if necessary, but this time choose the letter F from the Path menu.
Click OK to close the dialog box.
The newly chosen path doesn’t match the updated shape of the graphics frame, which is still shaped as a letter C. Don’t deselect the image.
Choose Object > Clipping Path > Convert Clipping Path To Frame to update the graphics frame.
TipThis technique allows you to use the same image in multiple ways, without having to first extract and save separate Photoshop documents. Additionally, any adjustment layers added to the original Photoshop document will apply to all letters and update all versions at the same time.
Deselect the image, then use the Selection tool to select and rearrange the individual letters until they spell the word FAB.

Save your document.
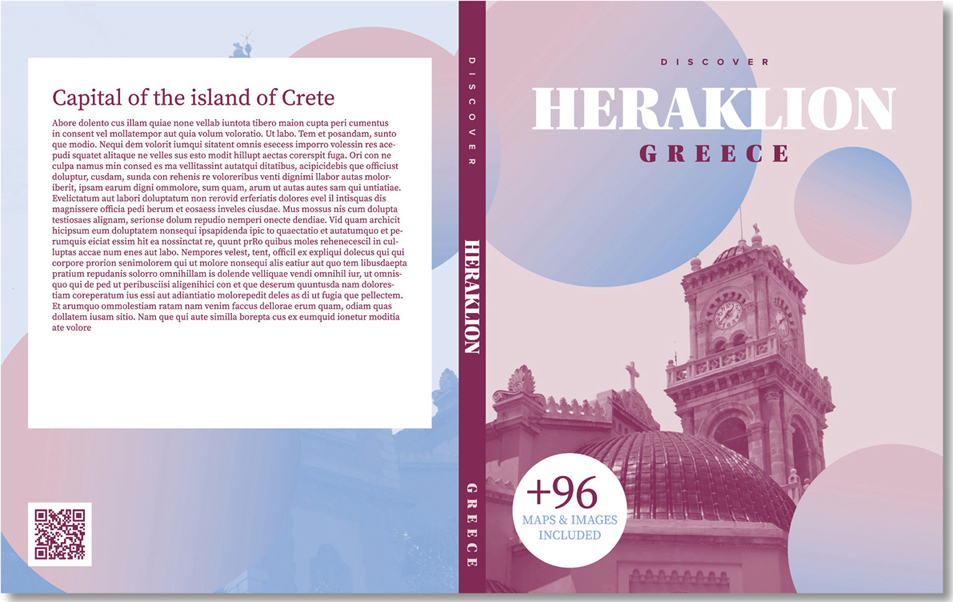
Recoloring Photoshop grayscale images in InDesign
The next technique you’ll learn allows you to take grayscale Photoshop documents and dynamically recolor them in InDesign. Traditionally, this technique is often used to prepare images for specialized print output—for example, using Pantone colors to create monotone or duotone images. But you can even apply CMYK, RGB, or spot colors from InDesign to achieve more creative effects.
Isn’t this something you can achieve using Photoshop instead? In short, yes. But the answer is more complex than that. With documents destined for traditional print output, it is imperative that you keep full control over the document’s colors. And this technique is perfect when you:
Want to apply the same InDesign swatches to text, native vector artwork, and placed images at the same time.
Want to create monotone or duotone images using spot colors.
Need to recolor multiple images with the same InDesign swatch, or want an easy way to update the chosen color of these images all at once.
Despite Photoshop’s impressive array of options for recoloring images and its various adjustment layers, it doesn’t always offer the smoothest experience:
Creating spot channels in Photoshop can be challenging for some users.
Using spot channels can create duplicate spot color swatches when placed in InDesign, causing confusion.
Photoshop and InDesign (and Illustrator) use different color management settings, which may result in visual differences when using the same Pantone colors across multiple apps. It’s possible to configure your apps to overcome this, but it requires expert knowledge of color management.
Changing multiple recolored images at the same time can be time consuming.
Preparing grayscale images in Photoshop
Preparing images for this recoloring technique is very easy. The only thing you need to do is convert your images to the grayscale color mode in Photoshop. But it’s important not to be hasty! Even though simply choosing Image > Mode > Grayscale in Photoshop works, it will often result in a grayscale image that lacks contrast. And contrast is very important for this technique.
When you recolor an image in InDesign by applying a swatch, InDesign will replace every pixel that is black (or a shade of gray) with the chosen color (or tint). This means that a pixel that is 100% black will be recolored with a tint that is 100% of the chosen color. A pixel that is 30% black will become 30% of the color, and so on. When you create grayscale images, you need to make sure that you use the full range from black to white because (1) that lets you use the full tonal range of the color you’ve chosen to recolor the image, and (2) there is no other way to adjust the image contrast in InDesign.
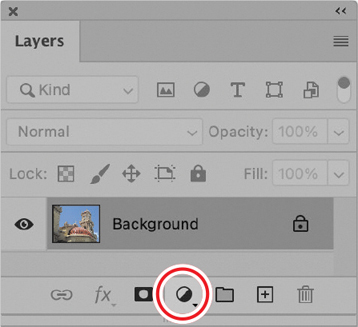
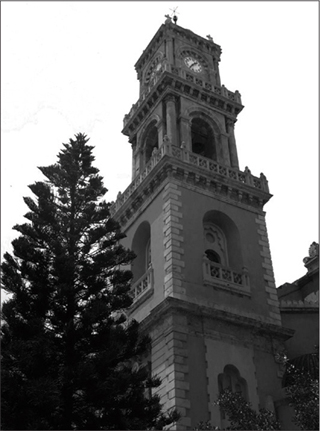
From the Lesson04/Imports folder, open heraklion.psd in Photoshop.
At the bottom of the Layers panel, click the New Adjustment Layer button and choose Black & White to create a Black & White adjustment layer.
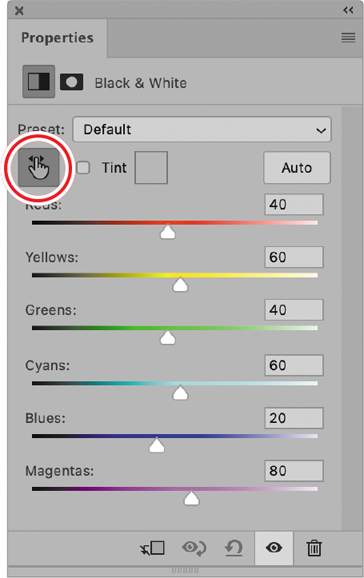
Use the Properties panel to view the available options.
 Tip
TipIf you don’t see the Properties panel, choose Window > Properties.
Next, we’ll increase the contrast of the generated grayscale image.
Click the On-Image Adjustment tool in the Properties panel.
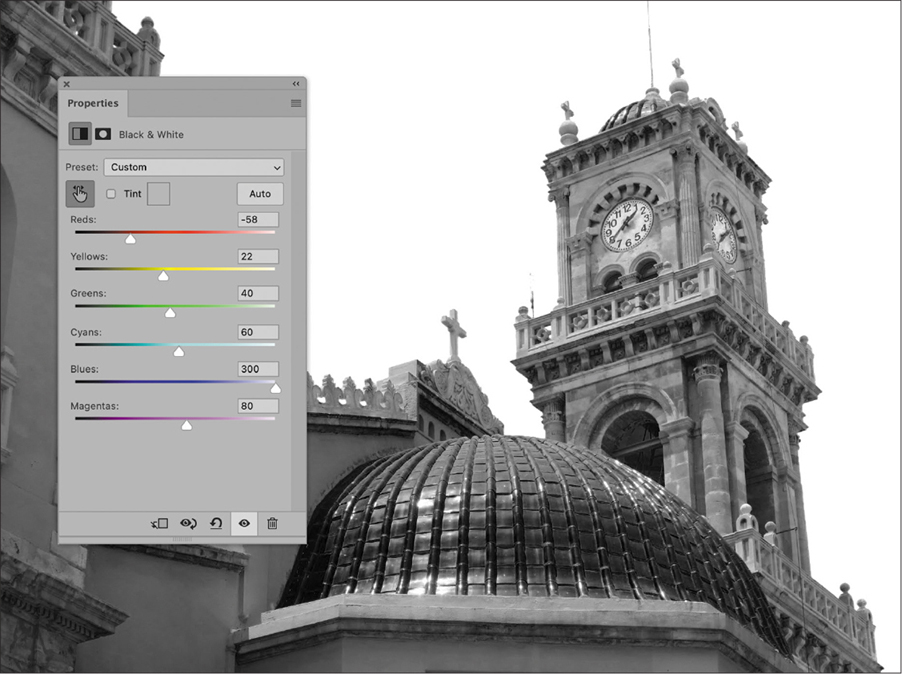
Drag on the sky toward the right in order to convert it completely to white. This changes the value of the Blue slider in the Properties panel to 300.
Drag left on a wall to darken all walls. The Yellow slider moves to the left.
Drag left on the roof tiles, which will manipulate the Red slider in the Properties panel.
 Note
NoteBe careful not to overdo the adjustments, as extreme changes can emphasize compression artifacts if the image had previously been saved as a JPEG file.
Choose Window > Info to open the Info panel.
Click one of the eyedropper icons in the Info panel and choose Grayscale from the menu to switch to that color space.

Move your cursor over the image while keeping an eye on the Grayscale values in the Info panel. It now shows the grayscale tint percentage, which gives us a way of predicting the intensity of the color we will apply in InDesign.
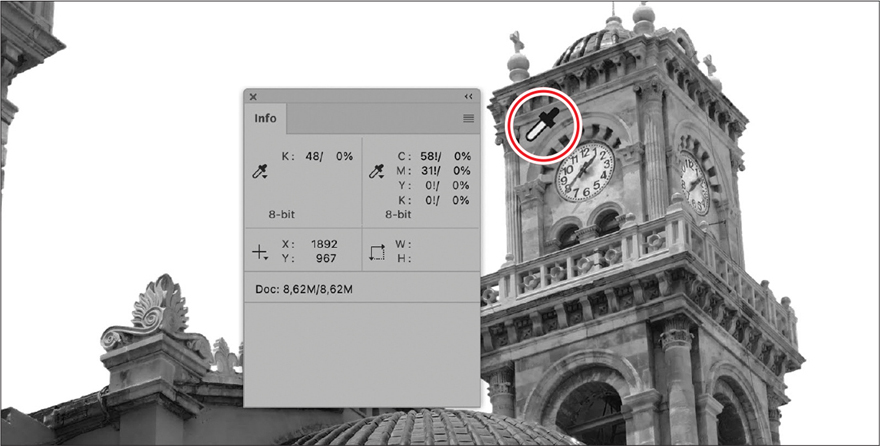
The Info panel displays two grayscale values. The value on the left represents the original grayscale tint percentage; the one on the right represents the updated tint percentage.
Now that we’ve created an image that is rich in contrast, it’s time to convert the document to grayscale.
Choose Image > Mode > Grayscale.
The Black & White adjustment layer we just created can’t live in a grayscale composition, only in an RGB. This is why we need to merge the layers during conversion.
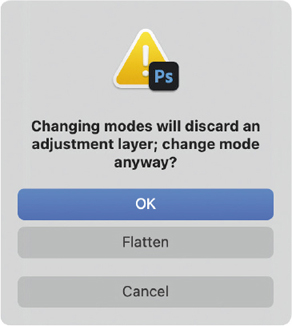
When prompted, click Flatten to merge the Black & White adjustment layer with the background.
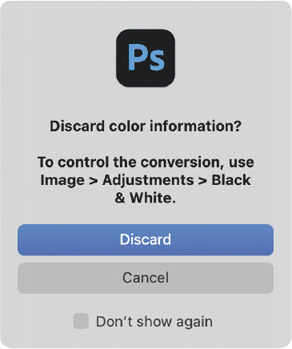
When Photoshop asks whether you’re sure you want to discard all color information, click Discard.
Choose File > Save As and save the file as heraklion-blackwhite.psd.
 Note
NoteThe technique of recoloring a grayscale image using InDesign also works when the image has been saved from Photoshop as a JPEG or TIFF. But only a PSD offers the flexibility of adding layers and building a grayscale composition without bloating the file (as a TIFF does). However, it’s important to understand that PSD files with transparency can’t be recolored using InDesign.
Close the file.
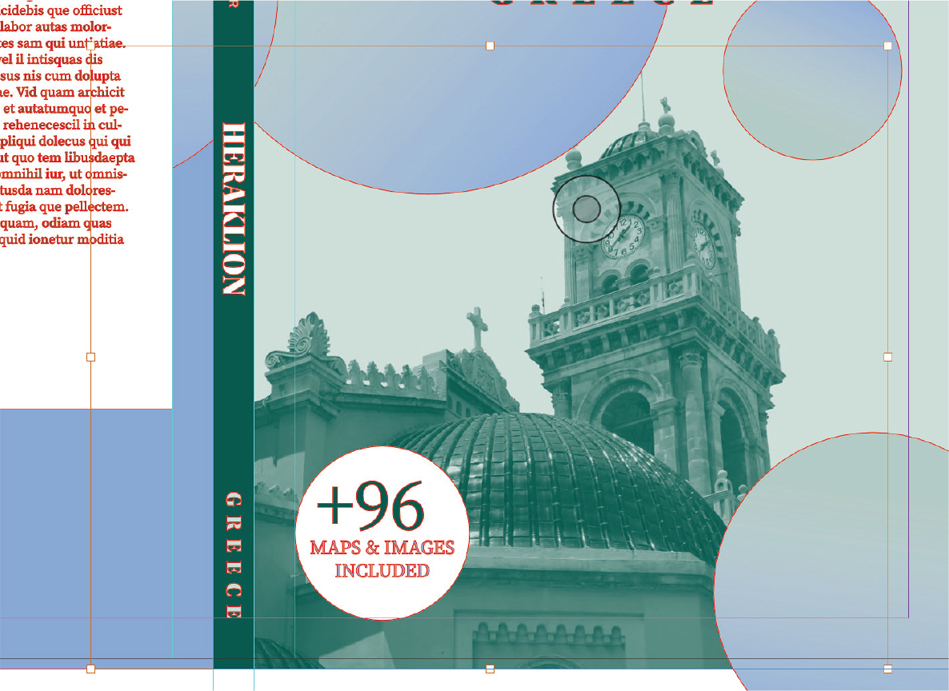
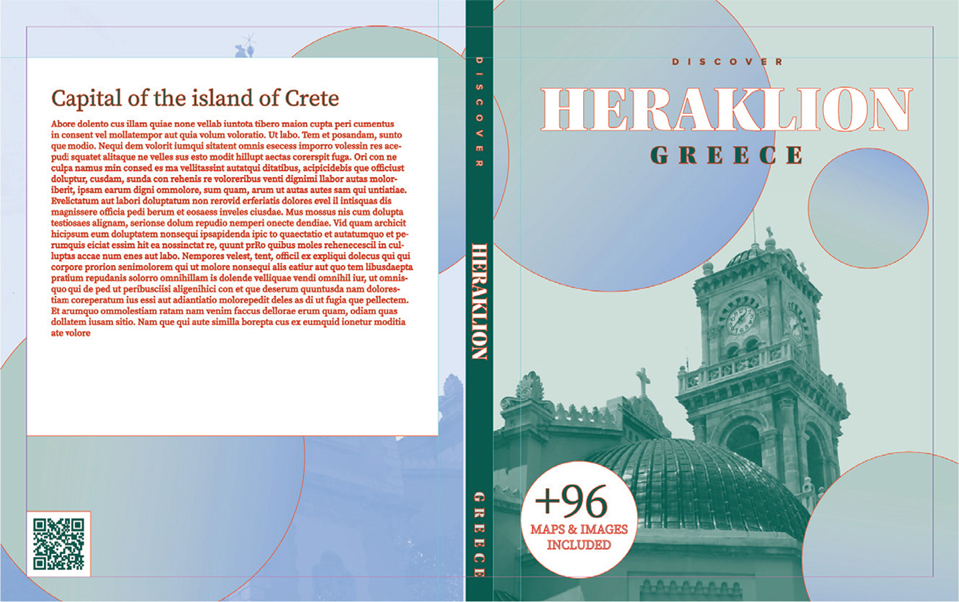
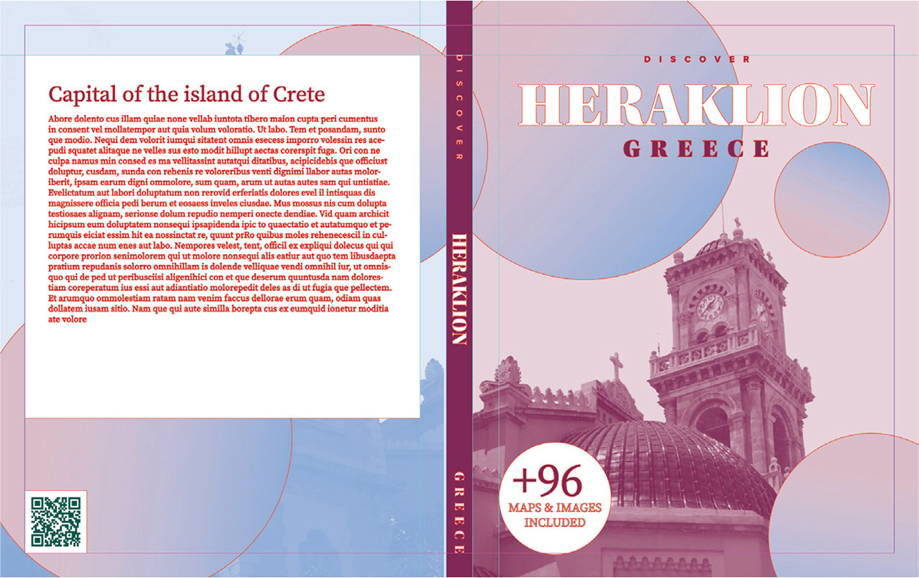
Recoloring the cover image in InDesign
From the Lesson04 folder, open L04-book-cover-start.indd in InDesign.
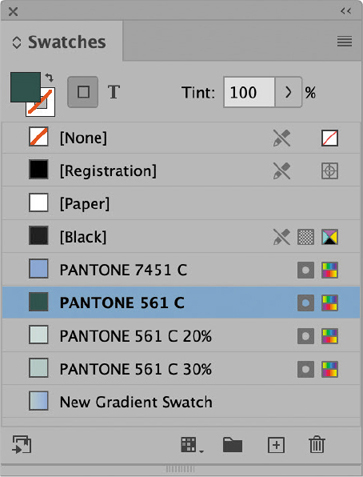
Open the Swatches panel by choosing Window > Color > Swatches.
Note that the Swatches panel holds five swatches that were added to this file, in addition to four defaults. The five added swatches are:
Two Pantone swatches with numbers 7451 and 561
Two tint swatches of Pantone 561, with tints of 20% and 30%
One gradient swatch that transitions between the Pantone 561 20% swatch and the Pantone 7451 swatch
Using the Selection tool
, select the main graphics frame on the front cover of the book.Choose File > Place.
Navigate to the folder where you saved heraklion-blackwhite.psd. Select that file, and deselect Import Options.
Click Open to place the image, but don’t deselect it yet.
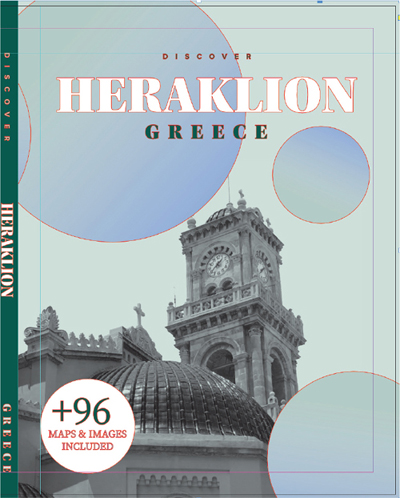
With the current selection active, click the PANTONE 561 C 20% swatch to apply the color to the image fill. This recolors each white pixel in proportion to the amount of white it contained.
Using the Selection tool
, double-click the image to select its contents. A brown selection frame appears around the image itself.The Swatches panel shows that a black swatch is applied to the contents of the image. This is because we saved the image as a grayscale image from Photoshop.
Apply the PANTONE 561 C swatch to the selected image.
The first step of our recoloring process was to apply a swatch to the fill of a placed grayscale image. This recolored all pixels in proportion to the amount of white they contained. This resulted in an image that looked like it used a combination of color for the highlights and grayscale and black for the shadows. The second step applied a second swatch to recolor all shadows in the image.
Recoloring the back cover image in InDesign
From the Lesson04/Imports folder, open heraklion-alt.psd in Photoshop.
Repeat the previous Photoshop steps for properly converting the image to grayscale and improving the overall contrast.
Save the image as heraklion-alt-blackwhite.psd.
Return to InDesign.
Select the blue background frame on the back cover of the project.
Choose File > Place.
Navigate to the folder where you saved heraklion-alt-blackwhite.psd. Select the file, then click Open.
With the selection active, choose Object > Fitting > Fill Frame Proportionally to fill the entire frame.
Deselect the image.
In the Swatches panel, select the PANTONE 7451 C swatch.
Open the Swatches panel menu and choose New Tint Swatch.
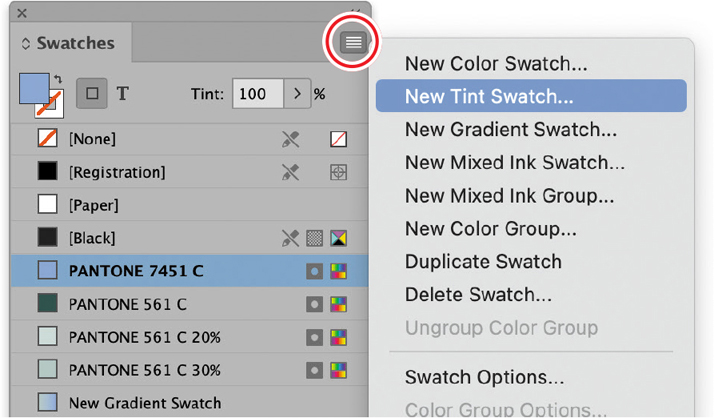
Set a value of 30%, and click OK to add the swatch to the Swatches panel and close the window.
Apply the newly created 30% swatch to the background of the back cover image.
Select the image itself by double-clicking it, and apply the PANTONE 7451 C swatch.
Keep the file open.
Updating existing colors
One of the main advantages of using InDesign swatches and tint swatches is that it allows you to dynamically update all colors in the document by changing the base swatch color values.
Continue with the previous file and make sure nothing is selected. In the Swatches panel, double-click the PANTONE 561 C swatch.
The Swatch Options dialog box opens.
Make sure that PANTONE+ Solid Coated is chosen from the Color Mode menu. In the text input field, enter the Pantone number 683. This is a purple color. Click OK to close the dialog box.
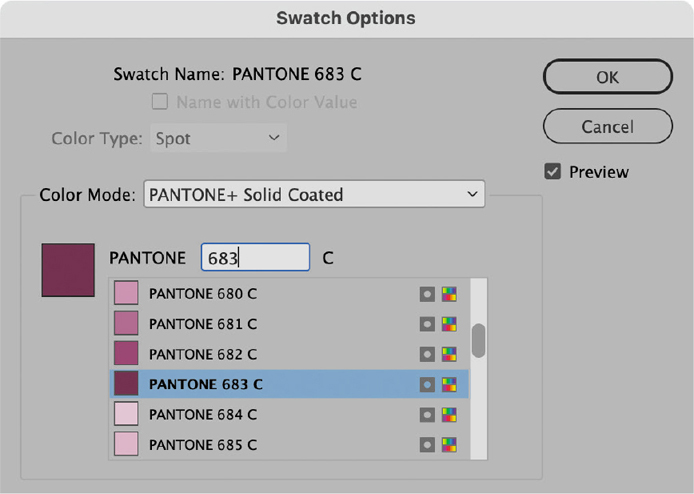
All swatches that were based on the original PANTONE 561 C swatch have now updated with the new color. This includes the tint swatches and the gradient swatch.
Use the Selection tool
to select the QR code on the back cover.The top of the Properties panel should say “Object (QR Code).”
Choose Object > Edit QR Code.
In the Edit QR Code dialog box, click the Color tab.
NoteYou can update the current Pantone swatches with any color swatch you want, including process CMYK or RGB swatches. This is a great aid to creativity.
Select the newly created PANTONE 683 swatch.
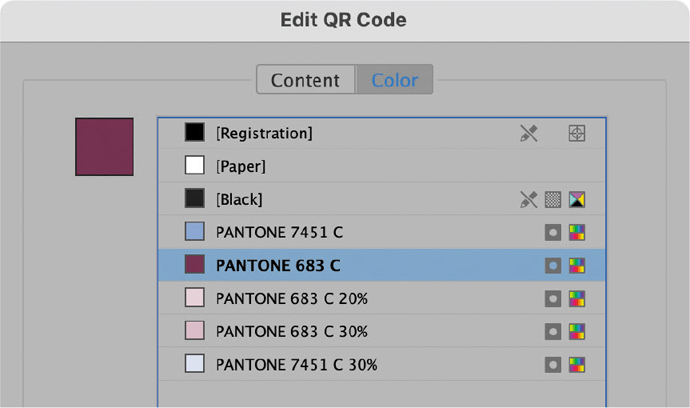
Choose OK to close the dialog box.
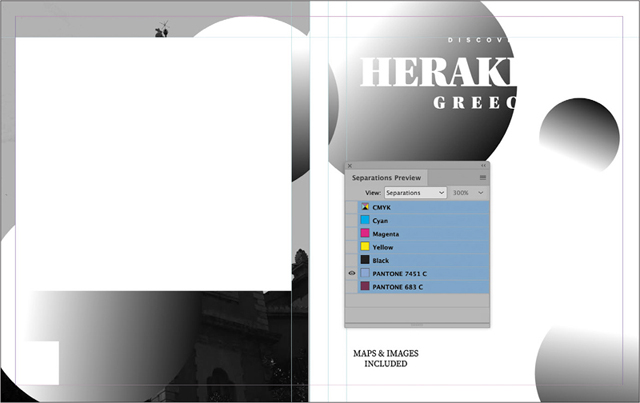
Viewing spot colors more accurately
Because this project uses only Pantone colors, it’s important to view the used spot colors as realistically as possible before creating a PDF for print. And to achieve proper duotone output, we need to verify that no process colors have been used. To do so, we need to activate the Separations Preview feature in InDesign. This will allow us to inspect individual color separations and will force InDesign to view the used Pantone colors using its LAB values, which offer a more realistic representation of the colors in the document.
Choose Window > Output > Separations Preview.
Choose Separations from the View menu on the panel.
Expand the height of the Separations Preview panel to view all separations in the list. Hide all except the Pantone separations by clicking the CMYK visibility icon.
 Note
NoteBy default, if only one color separation is visible, it is displayed in black and white.
Once you are done inspecting all color separations, close the Separations Preview panel.
Save your document and close it.
Optionally, create a package of your document using the steps described in Lesson 3.
Review questions
1 What is the difference between a path and a clipping path when placing a Photoshop document in InDesign?
2 What is the difference between applying a clipping path and applying an alpha channel to a placed Photoshop document in InDesign?
3 Which color mode do you need to use in Photoshop to prepare an image for recoloring in InDesign?
4 What is the benefit of recoloring images using InDesign, as opposed to using Photoshop, for a print project?
5 How can you verify the color separations of an InDesign document?
Review answers
1 By default, a clipping path will be automatically applied to the imported document during placing, and the resulting graphics frame in InDesign will have the same dimensions as the clipping path itself. Also, you can save only one clipping path in a Photoshop document. When you use regular paths, you can save as many as you like in the Photoshop document and choose which one to apply to the document in InDesign after it has been placed. Additionally, you might need to use the Convert Clipping Path To Frame command to make the graphics frame fit the size of the path.
2 A clipping path can only show or hide parts of an image, always resulting in a hard frame edge. Alpha channels allow for 256 levels of transparency to hide or reveal an image when placed in InDesign, which can create smooth edges and semitransparent regions.
3 InDesign can recolor placed PSD, TIFF, and JPEG images that use the grayscale color mode.
4 InDesign offers the ability of globally updating all colors in a document by updating a single swatch. Recoloring multiple images in Photoshop, on the other hand, would require you to recolor every image one by one.
5 To view a document’s color separations in InDesign, choose Window > Output > Separations Preview.