
Starting a New Project in Eclipse
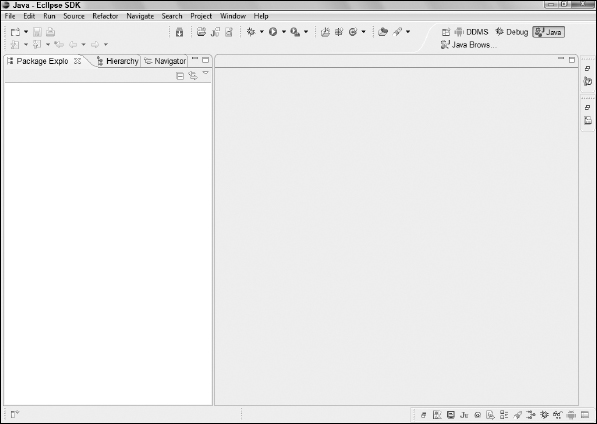
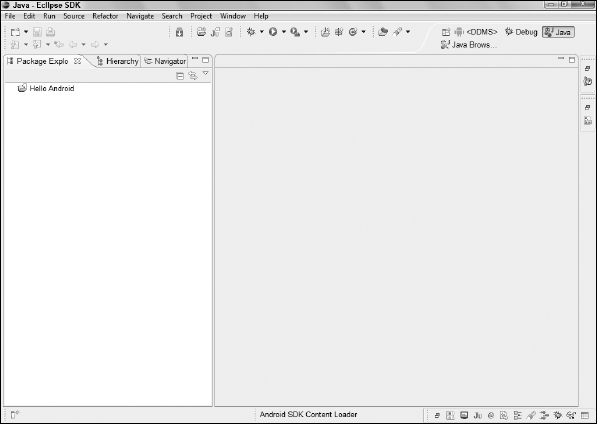
First things first: You need to start Eclipse. (Refer to Chapter 4.) After you do, your screen should look similar to the one in Figure 5-1. Now you're ready to start cooking with Android.
Figure 5-1: The Eclipse development environment.
In Chapter 4, I show you how to install the Eclipse Android Development Tools (ADT) plug-in. The ADT plug-in gives you the power to generate new Android applications directly from within the Eclipse File menu. That's exactly what you're about to do. To create your first Android Application project, follow these steps:
- In Eclipse, choose File
 New Project.
The New Project/Select a Wizard dialog box opens, as shown in Figure 5-2.
- From the New Project/Select a Wizard dialog box, expand the Android item by clicking the Android folder.
- Click Android Project within the expanded folder and then click the Next button.
The New Android Project dialog box appears, as shown in Figure 5-3.
Figure 5-2: The New Project/Select a Wizard dialog box.
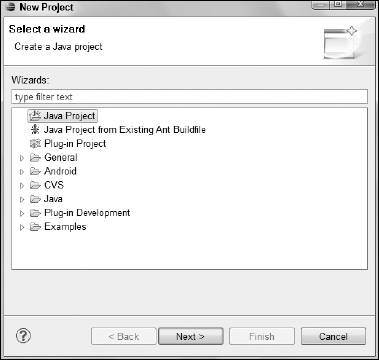
Figure 5-3: The New Android Project dialog box.
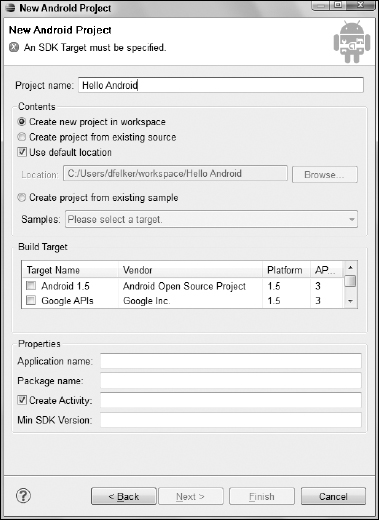
- In the Project Name field, type Hello Android.
The Project Name field is very important because the descriptive name you provide identifies your project in the Eclips workspace. After your project is created, a folder in the workspace is named with the project name you define here.
- In the Contents panel, leave the default radio button, Create New Project in Workspace, and the default check box, Use Default Location, selected.
These defaults are selected automatically when a new project is created. The Contents panel identifies where the contents of your Eclipse projects are going to be stored in the file system. The contents are the source files that make up your Android project.
 When you set up Eclipse in Chapter 4, the Eclipse system asked you to set your default workspace, usually your home directory (c:users<username>workspace). A home directory is where Eclipse places files pertinent to your project. Figure 5-4 shows my home directory.
Figure 5-4: My default workspace location for the Hello Android project is C:/Users/dfelker/workspace.
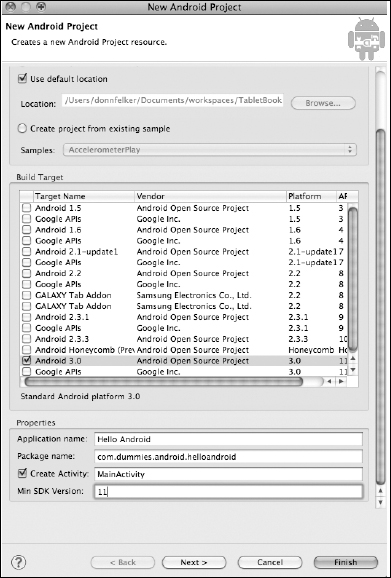
- In the Build Target section, select Android 3.0.
The Build Target section identifies which application programming interface (API) you want to use to develop this project. Selecting the Android 3.0 framework enables you to develop with the Android 3.0 APIs, which include new features such as the holographic UI, Fragments, and Action Bar APIs. If you selected Android 1.6 as the target, you'd have access only to version 1.6 APIs, and you would not be able to use any features supported by version 3.0 (or 2.2, or 2.3, and so on). Only the features in the targeted framework are supported. If you installed other software development kits (SDKs) in Chapter 4, you might have the option of selecting them at this point.
For more information, see the section “Understanding the Build Target and Min SDK Version settings”, later in this chapter.
- In the Properties section, type Hello Android in the Application Name box.
The application name is the name of the application as it pertains to Android. When the application is installed on the emulator or physical device, this name appears in the application launcher.
Java package nomenclature
A package in Java is kind of like a module: It's Java's way of organizing Java classes into namespaces. Each package must have a unique name for the classes it contains. Classes in the same package can access one another's package-access members.
Packages enable you to keep your code organized. You could use a Java package, for example, for all your Web-related communications. Any time you needed to find one of your Web-related Java classes, you could open that Java package and work on your Web-related Java classes.
Java packages have a naming convention defined as the hierarchical naming pattern. Each level of the hierarchy is separated by periods. A package name starts with the highest-level domain name of the organization; then the subdomains are listed in reverse order. At the end of the package name, the company can choose what it would like to call the package. The package name com.dummies.android.helloandroid is the name you will use for this example.
Notice that the highest-level domain is at the front of the package name (com). Subsequent subdomains are separated by periods. The package name traverses down through the subdomains to get to the final package name of helloandroid.
- In the Package Name box, type com.dummies.android.helloandroid.
This is the name of the Java package (see the nearby sidebar “Java package nomenclature”).
- Check the Create Activity check box (if it isn't already checked). In the Create Activity text box, type MainActivity.
The Create Activity section defines what the initial activity will be called. This step is the entry point to your application. When Android runs your application, this file is accessed first. A common naming pattern for the first activity in your application is MainActivity.java (how creative, right?).
- In the Min SDK Version box, type 11.
The Min SDK Version defines the minimum version code of Android that the user must have before he can run your application. Note that this field is not required to create your app.
For more information, see the section “Understanding the Build Target and Min SDK Version settings”, later in this chapter.
- Click the Finish button.
You're done! You should see Eclipse with a single project in the Package Explorer, as shown in Figure 5-5.
 If you would rather store your files in a location other than the default workspace location, deselect the Use Default Location check box. Doing this enables the Location text box. Click the Browse button and select a location where you want your files stored.
Figure 5-5: The Eclipse development environment with your first Android project, Hello Android.
Understanding Android versioning
Version codes are not the same as version names. Huh? Android has both version names and version codes. Each version name has one and only one version code associated with it. The following table outlines the version names and their respective version codes.
You can also find this information in the Build Target section of the New Android Project dialog box.
| Version Name (Platform Level) | Version Code (API Level) |
| 1.5 | 3 |
| 1.6 | 4 |
| 2.0 | 5 |
| … | … |
| 3.1 | 12 |