
Working with files in Android Studio
Parts of the main editor
Editing layout files
The Project tool window
The IDE
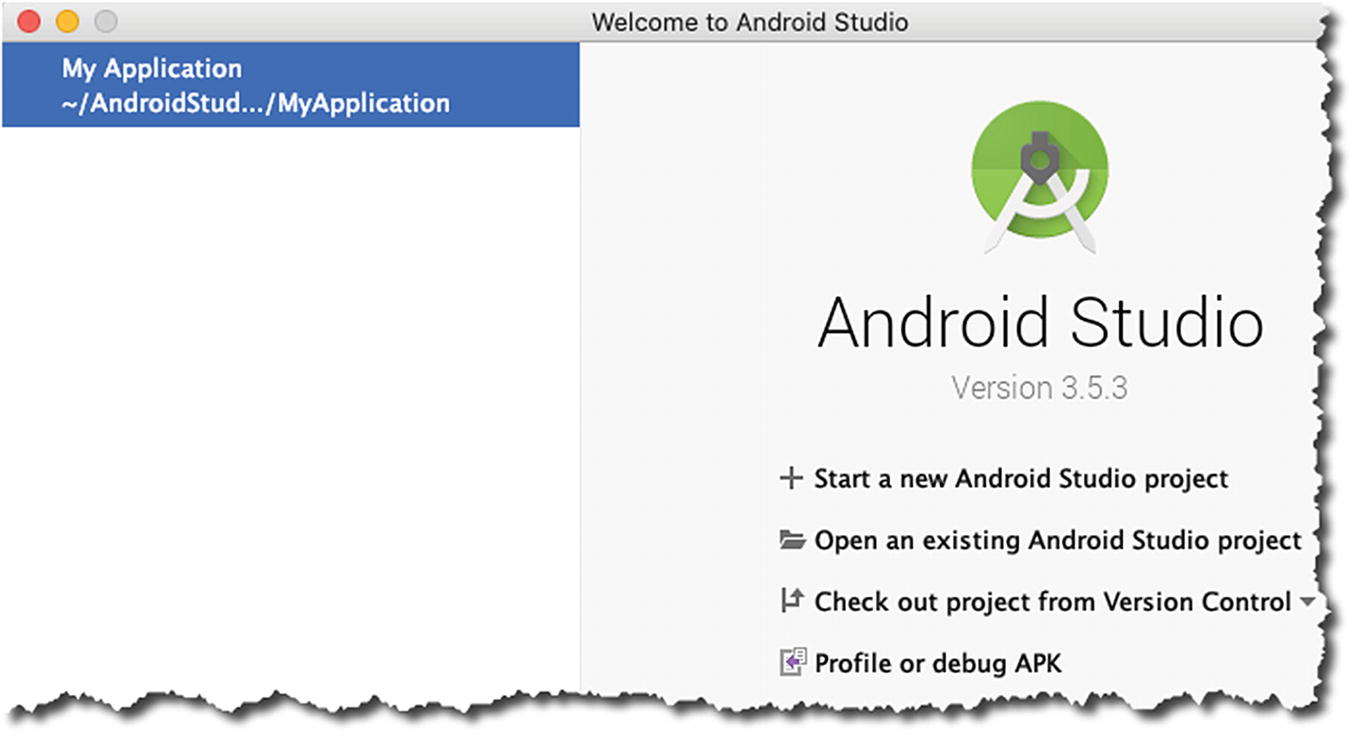
Welcome to Android Studio
➊ | Main menu bar—You can navigate Android Studio in various ways. Often, there’s more than one way to do a task, but the primary navigation is done in the main menu bar. If you’re on Linux or Windows, the main menu bar sits directly at the top of the IDE; if you’re on macOS, the main menu bar is disconnected from the IDE (which is how all macOS software works). |
➋ | Navigation bar—This bar lets you navigate the project files. It’s a horizontally arranged collection of chevrons that resembles some sort of breadcrumb navigation that you can find on some websites. You can open your project files either through the navigation bar or the Project tool window. |
➌ | Toolbar—This lets you do a wide range of actions (e.g., save files, run the app, open the AVD manager, open the SDK manager, undo, redo actions, etc.). |
➍ | Main editor window—This is the most prominent window and has the most screen real estate. The editor window is where you can create and modify project files. It changes its appearance depending on what you are editing. If you’re working on a program source file, this window will show just the source files. When you are editing layout files, you may see either the raw XML file or a visual rendering of the layout. |
➎ | Project tool window—This window shows the contents of the project folders; you’ll be able to see and launch all your project assets (source code, XML files, graphics, etc.) from here. |
➏ | Tool window bar—The tool window bar runs along the perimeter of the IDE window. It contains the individual buttons you need to activate specific tool windows, for example, TODO, Logcat, Project window, Connected Devices, and so on. |
➐ | Show/hide tool window—It shows (or hides) the tool window bar. It’s a toggle. |
➑ | Tool Window—You will find tool windows on the sides and bottom of the Android Studio workspace. They’re secondary windows that let you look at the project from different perspectives. They also let you access the typical tools you need for development tasks, for example, debugging, integration with version control, looking at the build logs, inspecting Logcat dumps, looking at TODO items, and so on. Here are a couple of things you can do with the Tool Windows: • You can expand or collapse them by clicking the tool’s name in the tool window bar. You can also drag, pin, unpin, attach, and detach the tool windows. • You can rearrange the tool windows, but if you feel you need to restore the tool window to the default layout, you can do so from the main menu bar; click Window ➤ Restore Default Layout. Also, if you want to customize the “Default Layout,” you rearrange the windows to your liking, and then from the main menu bar, click Window ➤ Store Current Layout as Default. |
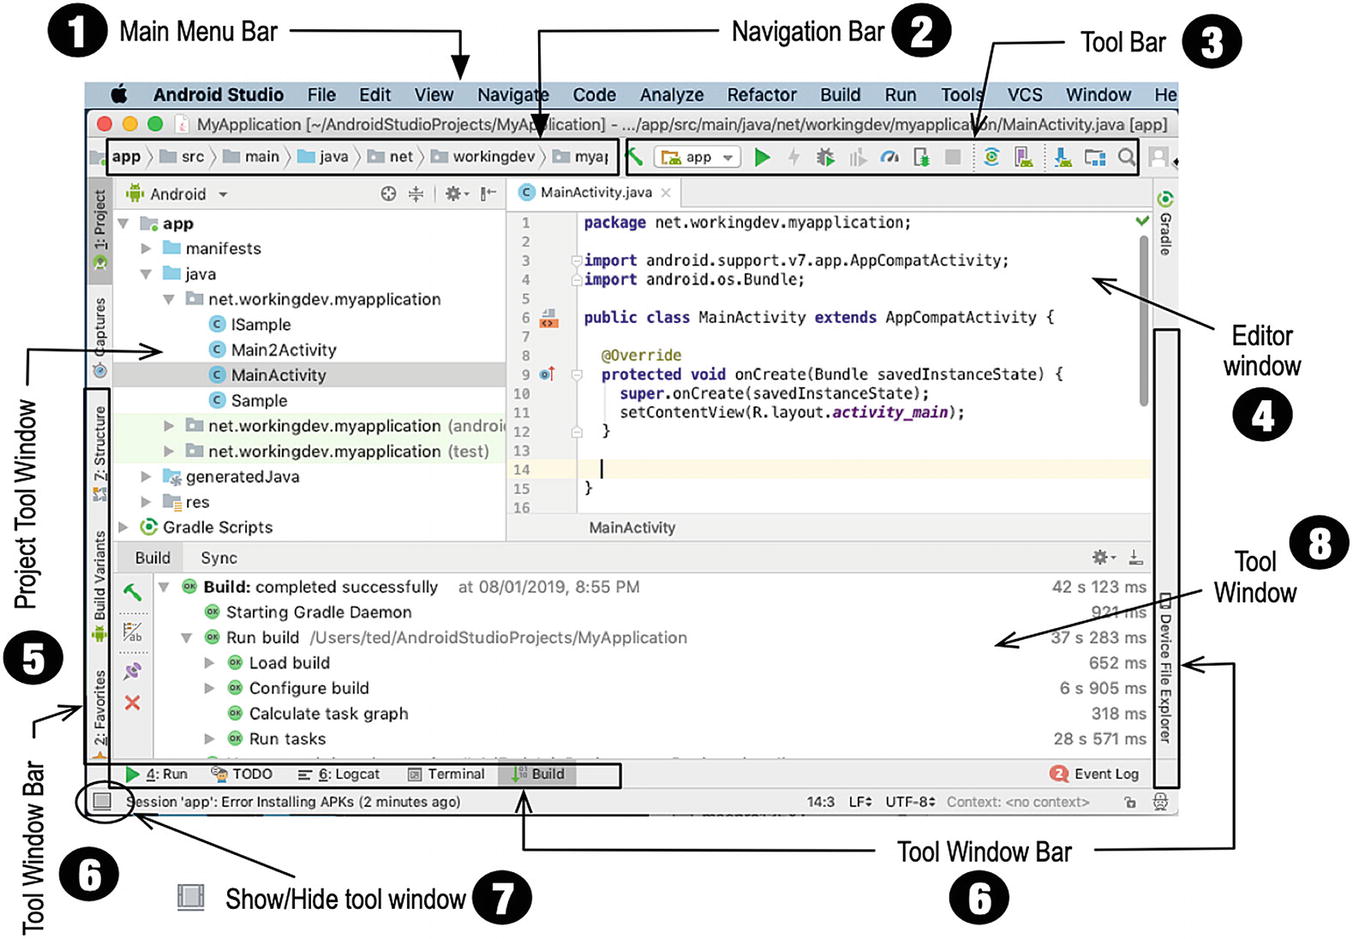
Main parts of Android Studio
Main Editor
Java source files
XML files
UI layout files
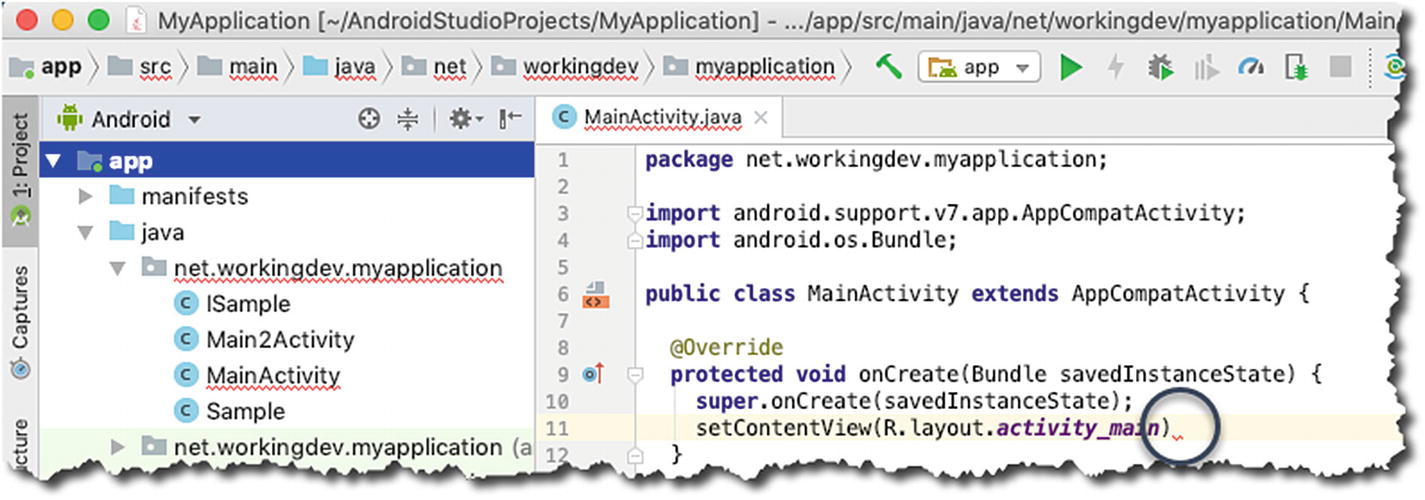
Main editor showing error indicators
Android Studio places the squiggly lines very near the offending code. As you can see in Figure 3-3, the squiggly lines are placed right at the point where the semicolon is expected.
Editing Layout Files
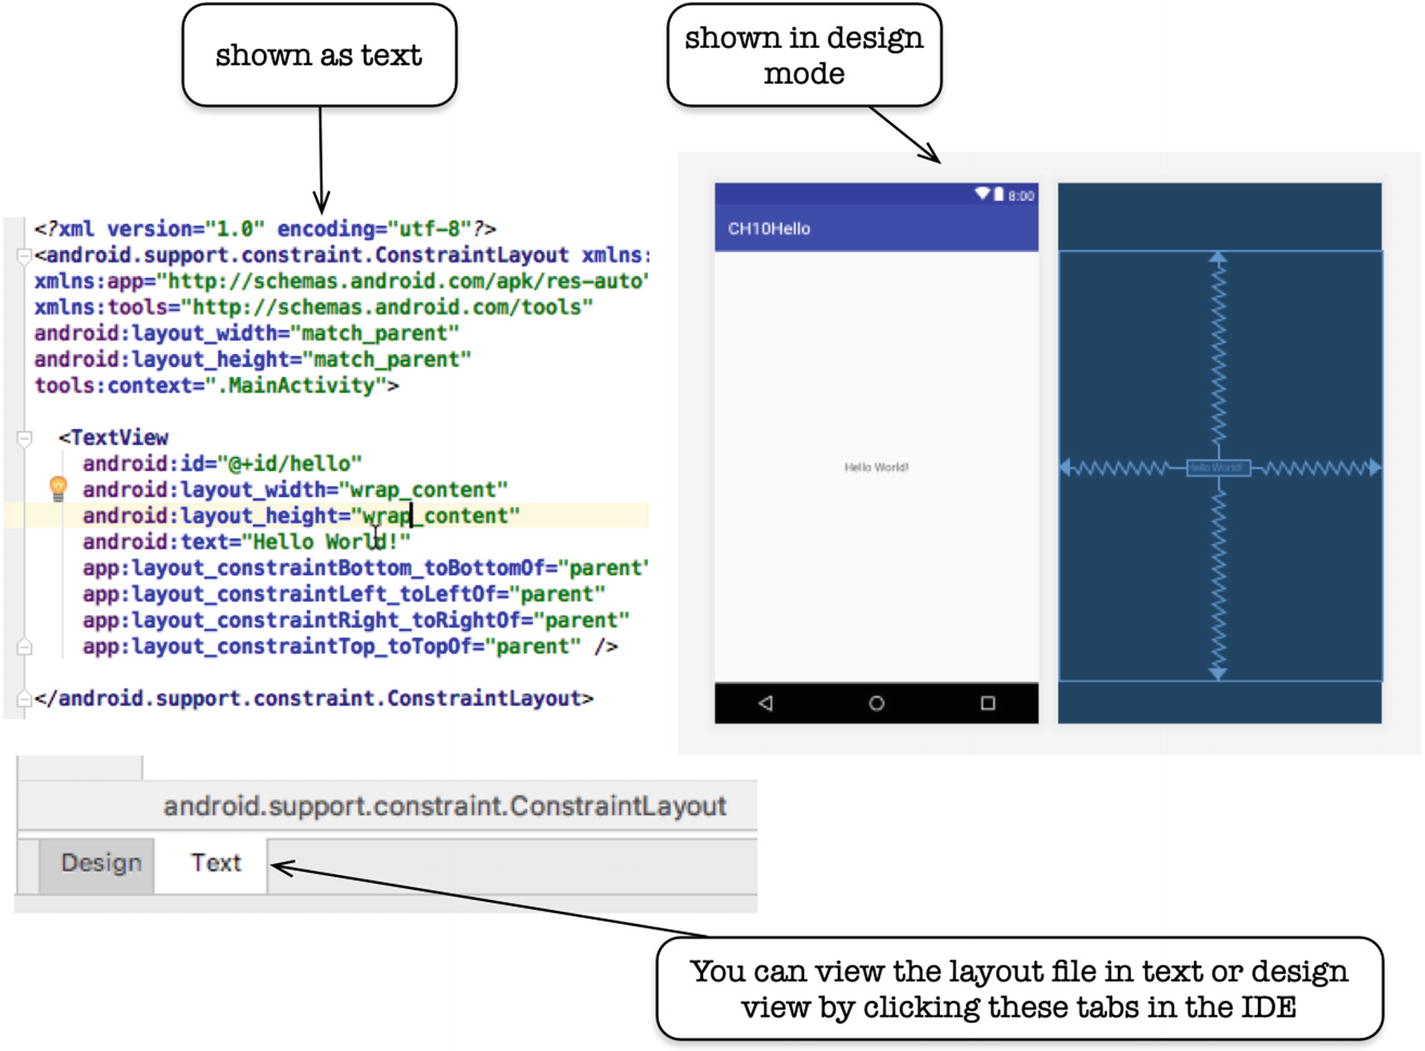
Design mode and text mode editing of layout files

Layout design tools of Android Studio
View palette—The View palette contains the Views (widgets) that you can drag and drop on either the Design surface or Blueprint surface.
Design surface—It acts like a real-world preview of your screen.
Blueprint surface—Similar to the Design surface, but it only contains the outlines of the UI elements.
Attributes window—You can change the properties of the UI element (View) in here. When you make a change on properties of a View using the Attributes window, that change will be automatically reflected on the layout’s XML file. Similarly, when you make a change on the XML file, that will automatically be reflected on the Attributes window.
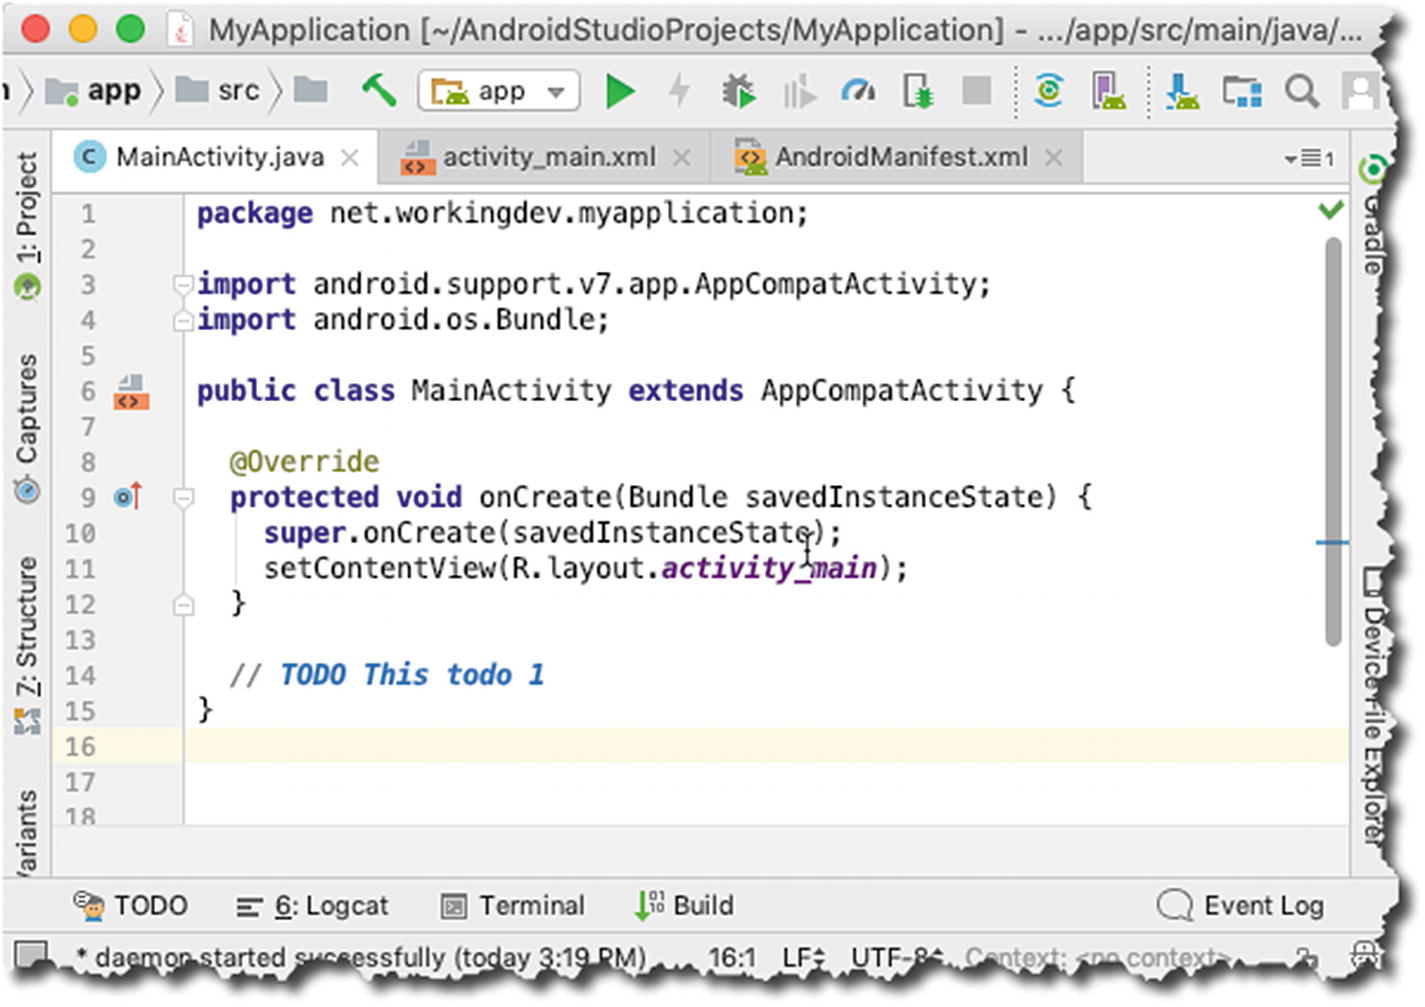
Inserting TODO Items
This may look like a trivial feature, but I hope some people will find this useful—that’s why I squeezed in this section. Each one of us has a way of writing TODO items for whatever app we’re working on. There isn’t much fuss in writing TODO items; what’s difficult is consolidating them.

TODO items
To view all your TODO items, click the “TODO” tab in the tool window bar.
How to get more Screen Space for Code
Main editor with all tool windows closed

Main editor with all tool windows closed and toolbars hidden

Distraction free mode
Presentation mode
Full screen
Project Tool Window
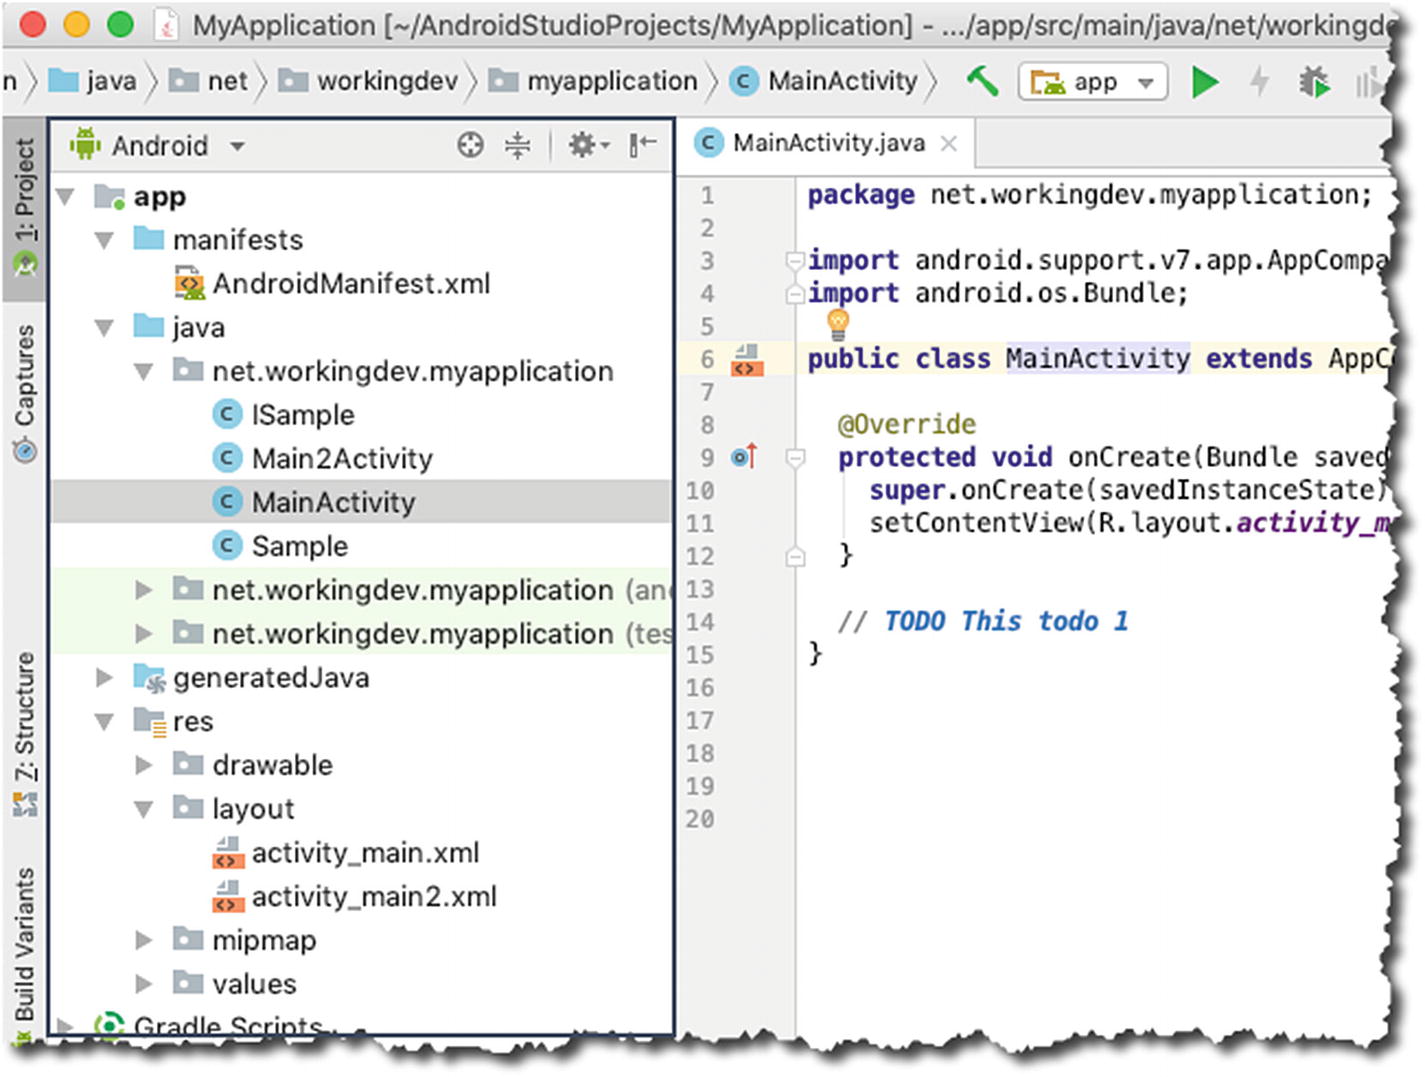
Project tool window

How to change Views in the Project tool window
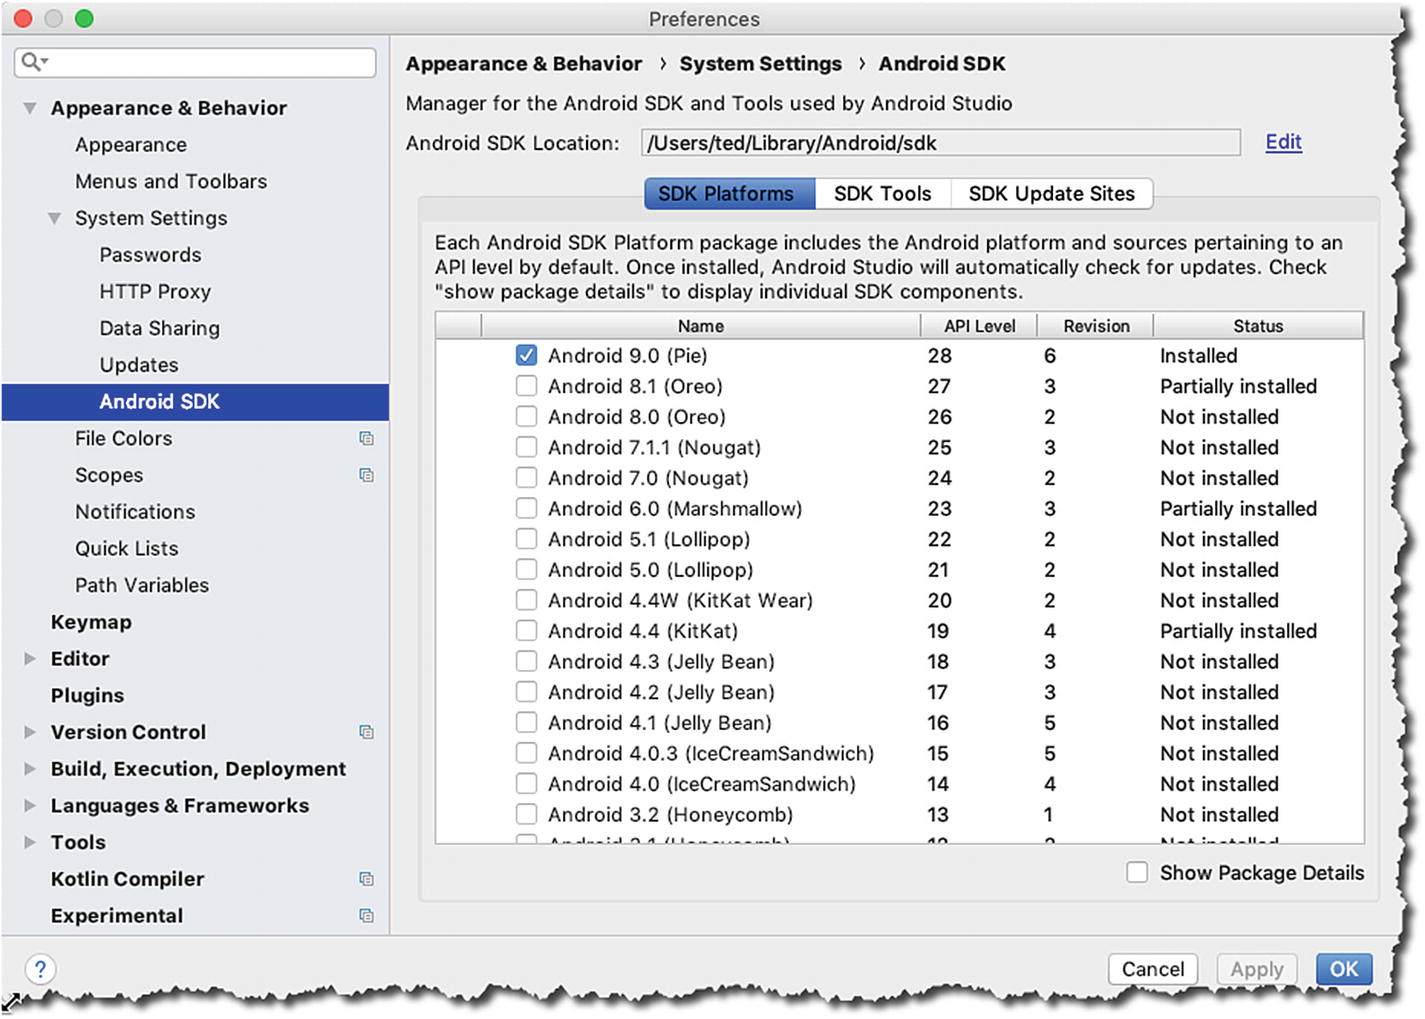
Settings/Preferences window
Preferences/Settings
If you want to customize the behavior or look of Android Studio, you can do so in its Settings or Preferences window; it’s called Settings if you’re on Windows or Linux, and it’s called Preferences if you’re on macOS.
From the main menu bar, click File ➤ Settings.
Use the keyboard shortcut Ctrl+Alt+S.
From the main menu bar, click Android Studio ➤ Preferences.
Use the keyboard shortcut Command+,.
You can access a variety of Settings in this window, ranging from how Android Studio looks, whether to use spaces or tabs on the editor, how many spaces to use for tabs, which version control to use, what API to download, what system images to use for AVD, and so on.
Key Takeaways
- You can see more of your code by increasing the screen real estate for the main editor. You can do this by
Collapsing all the Tool Windows
Hiding the tool window bars
Entering Distraction Free Mode
Going to Full Screen mode
You can change how you view the project files from switching the view in the Project tool window.
Adding a TODO item is easy in Android Studio; just add a single line comment followed by a TODO text, like this: // TODO This is my todo list