After 11 chapters of learning the basics of Android programming, learning Android Studio, a bit of theory about game development, and two games that were built from scratch, we’re just about ready to conclude.
I’m sure you’ve got some newfound confidence after building those two games from scratch. It’s a nice warm feeling when you get to see your work running and humming on that emulator or device; but the learning curve for game programming is steep. The bar is already very high on the quality of games being released nowadays.
Android NDK
Vulkan introduction and basic setup
Game engines and game frameworks
Android NDK
Quite a few of the gaming resources, libraries, frameworks, or even engines that you’ll encounter in game programming will either be written in C or C++. So, you’ll need to know how to play nice with these libraries and the languages themselves. Android has a way to work side by side with C/C++. That’s the NDK, which is short for Native Development Kit.
The NDK is an addition to the Android SDK that lets you write C/C++ and assembly code that you can then integrate into your Android application. The NDK consists of a set of Android-specific C libraries, a cross-compiler toolchain based on the GNU Compiler Collection (GCC) that compiles to all the different CPU architectures supported by Android (ARM, x86, and MIPS), and a custom-built system (https://developer.android.com/ndk/guides/ndk-build) that should make compiling C/C++ code easier when compared to writing your own make files.
The NDK doesn’t expose most of the Android APIs, such as the UI toolkit. It is mostly intended to speed up some code that can benefit by writing them in C/C++ and calling them from within Java. Since Android 2.3, Java can be bypassed almost completely by using the NativeActivity class instead of Java activities. The NativeActivity class is specifically designed to be used for games with full window control, but it does not give you access to Java at all, so it can’t be used with other Java-based Android libraries. Many game developers coming from iOS choose that route because it lets them reuse most of the C/C++ on Android without having to go too deep into the Android Java APIs. However, the integration of services such as Facebook authentication or ads still needs to be done in Java, so designing the game to start in Java and call into C++ via the JNI (Java Native Interface) is often the most preferred way. With that said, how does one use the JNI?
The JNI is a way to let the virtual machine (and hence Java code) communicate with C/C++ code. This works in both directions; you can call C/C++ code from Java, and you can call Java methods from C/C++. Many of Android’s libraries use this mechanism to expose native code, such as OpenGL ES or audio decoders.
NativeSample.java
As you can see, the method we declared doesn’t have a method body. When the JVM running your Java code sees this qualifier on a method, it knows that the corresponding implementation is found in a shared library instead of in the JAR file or the APK file.
A shared library is very similar to a Java JAR file. It contains compiled C/C++ code that can be called by any program that loads this shared library. On Windows, these shared libraries usually have the suffix .dll; on Unix systems, they end in .so.
NativeSample.h
The tool takes a Java class as input and generates a C function signature for any native methods it finds. There’s a lot going on here, as the C code needs to follow a specific naming schema and needs to be able to marshal Java types to their corresponding C types (e.g., Java’s int becomes a jint in C). We also get two additional parameters of type JNIEnv and jobject. The first can be thought of as a handle to the VM. It contains methods to communicate with the VM, such as to call methods of a class instance. The second parameter is a handle to the class instance on which this method was invoked. We could use this in combination with the JNIEnv parameter to call other methods of this class instance from the C code.
Of course you still need to write the C source file that actually implements the function and compile it before the Java code can use it.
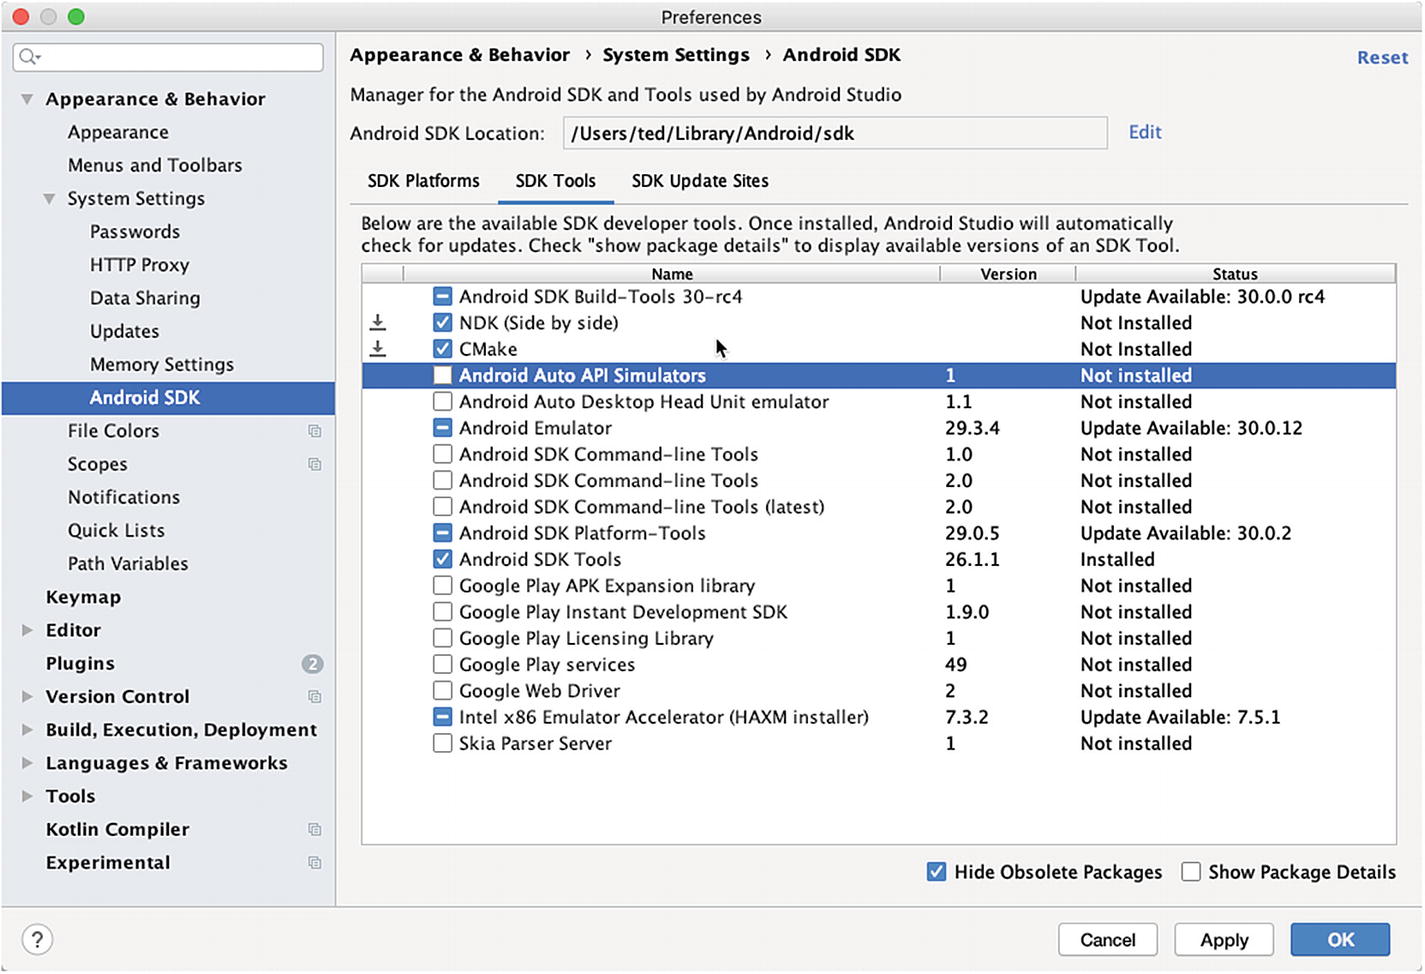
Install CMake and NDK (Side by side)
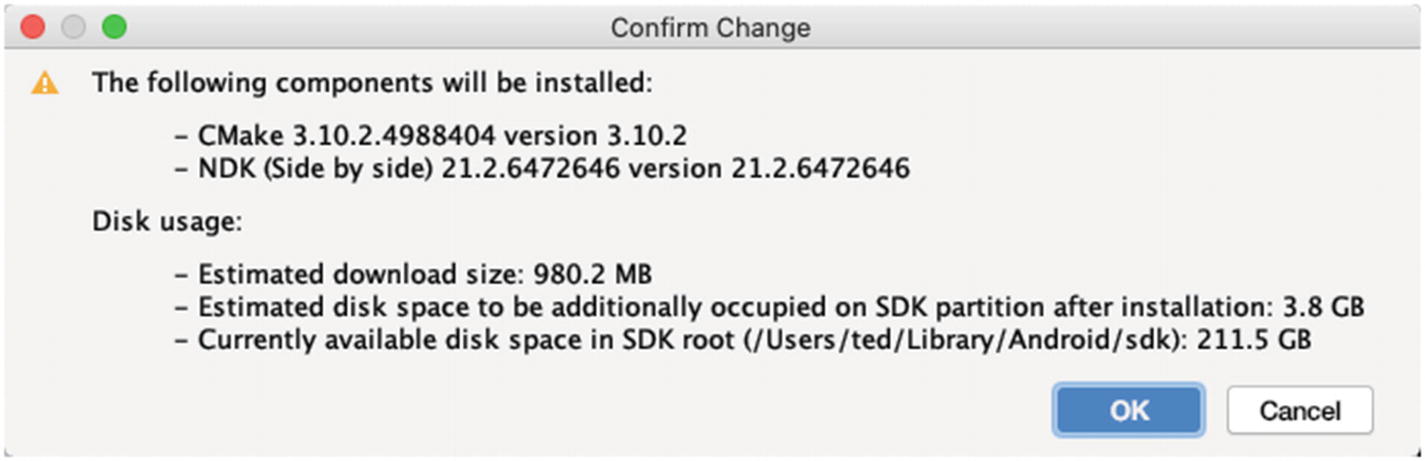
Confirm change
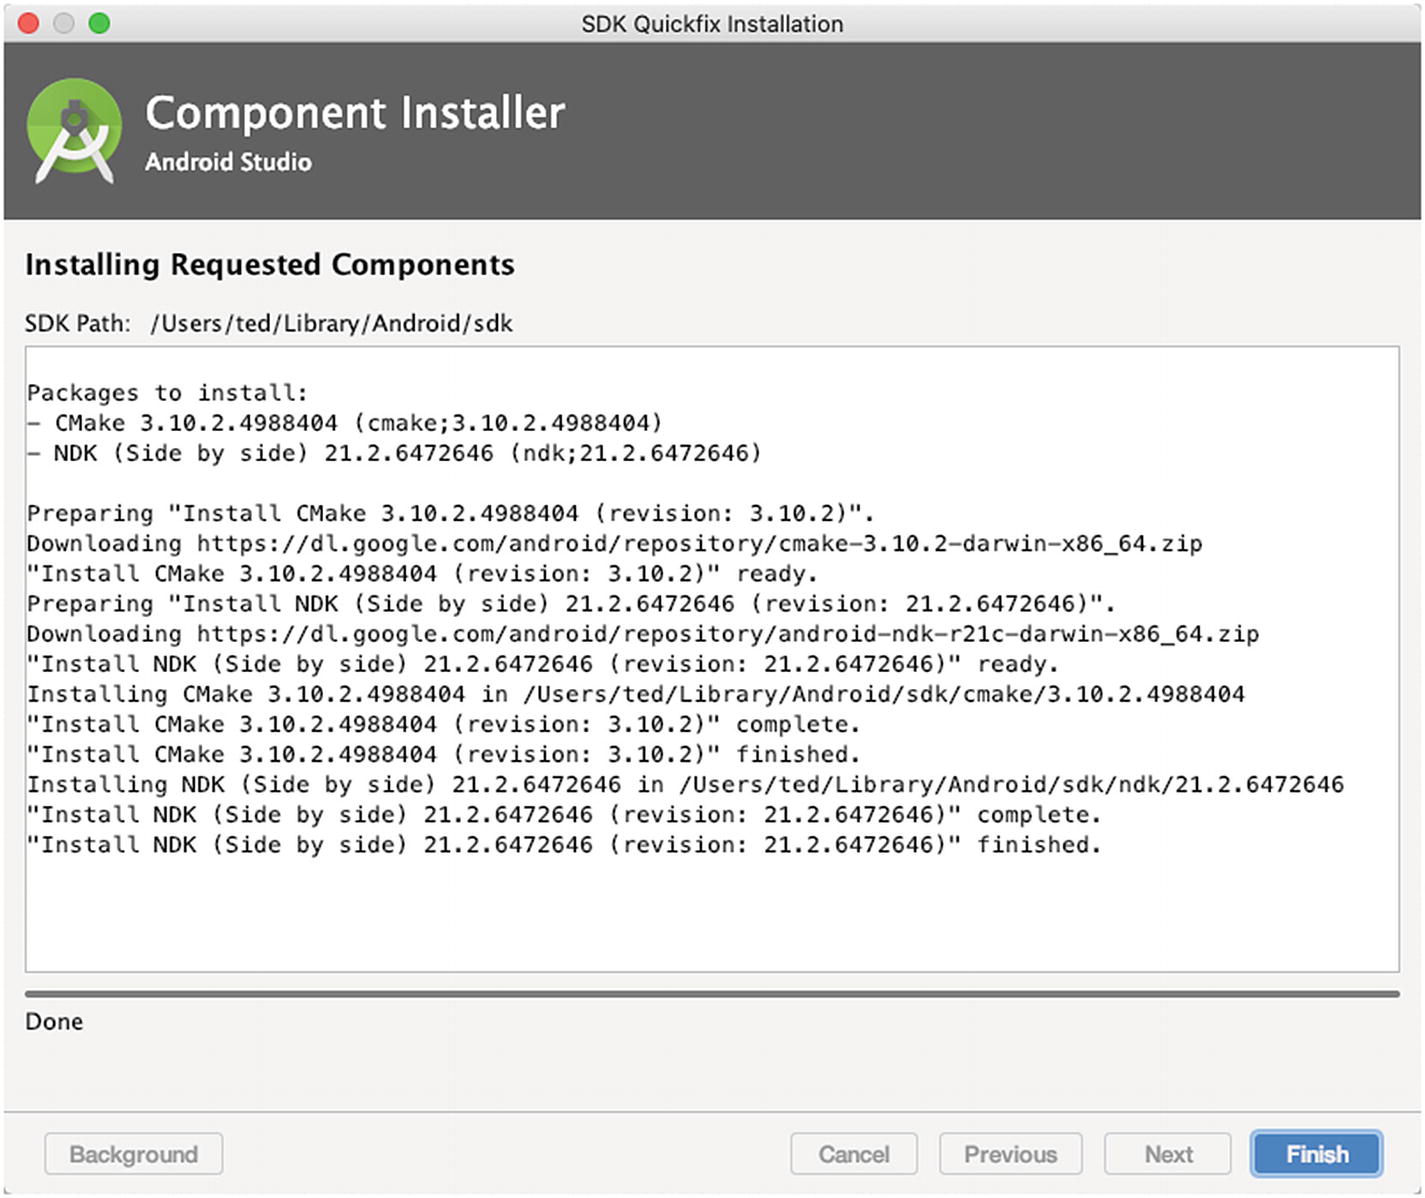
Now, you’re ready to use NDK in your projects.
Vulkan
Vulkan is a new API by the Khronos Group (the same group that gave us OpenGL) that provides a much better abstraction for modern graphics cards. This new interface allows us to better describe what the application intends to do, which can lead to better performance and less surprising driver behavior compared to existing APIs like OpenGL and Direct3D. The ideas behind Vulkan are similar to those of Direct3D 12 (which you can only use on Windows) and Metal (a graphics API that can only be used on the Apple ecosystem), but Vulkan has the advantage of being fully cross-platform and allows you to develop for Windows, Linux, and Android at the same time.
The price to pay for these benefits is that we have to work with a significantly more verbose API. Every detail related to the graphics API needs to be set up from scratch by your application, including initial frame buffer creation and memory management for objects like buffers and texture images. The graphics driver will do a lot less hand holding, which means that we need to do more work in our app to ensure correct behavior.
Vulkan may not be for everyone. If you’re geeked up about high-performance graphics and are willing to put some work in, this may be right down your alley. On the other hand, if you’re more interested in game development rather than computer graphics, you can always stay with OpenGL ES—it won’t be deprecated in favor of Vulkan anytime soon.
The Android platform includes an Android-specific implementation of the Vulkan API.
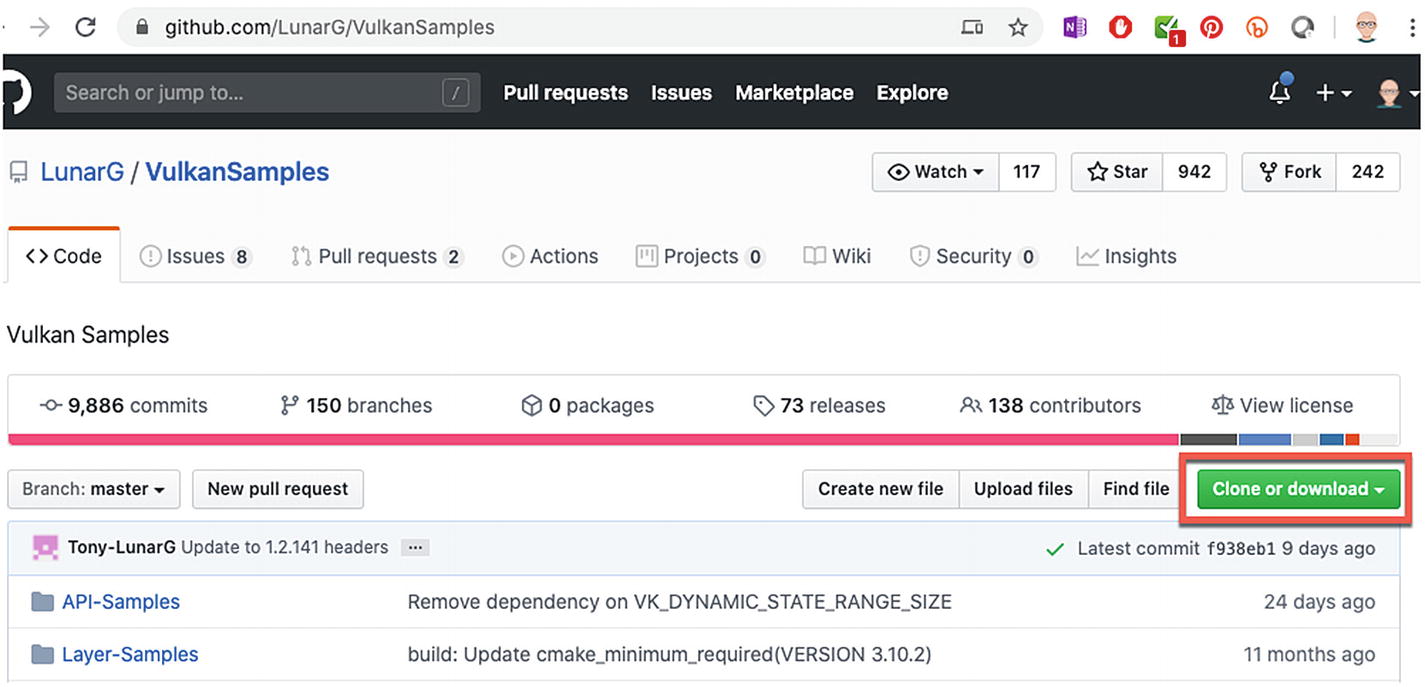
VulkanSamples.git
You will need to install Python 3 on your system, if you don’t have it yet. You can get it from the Python website www.python.org/downloads/.
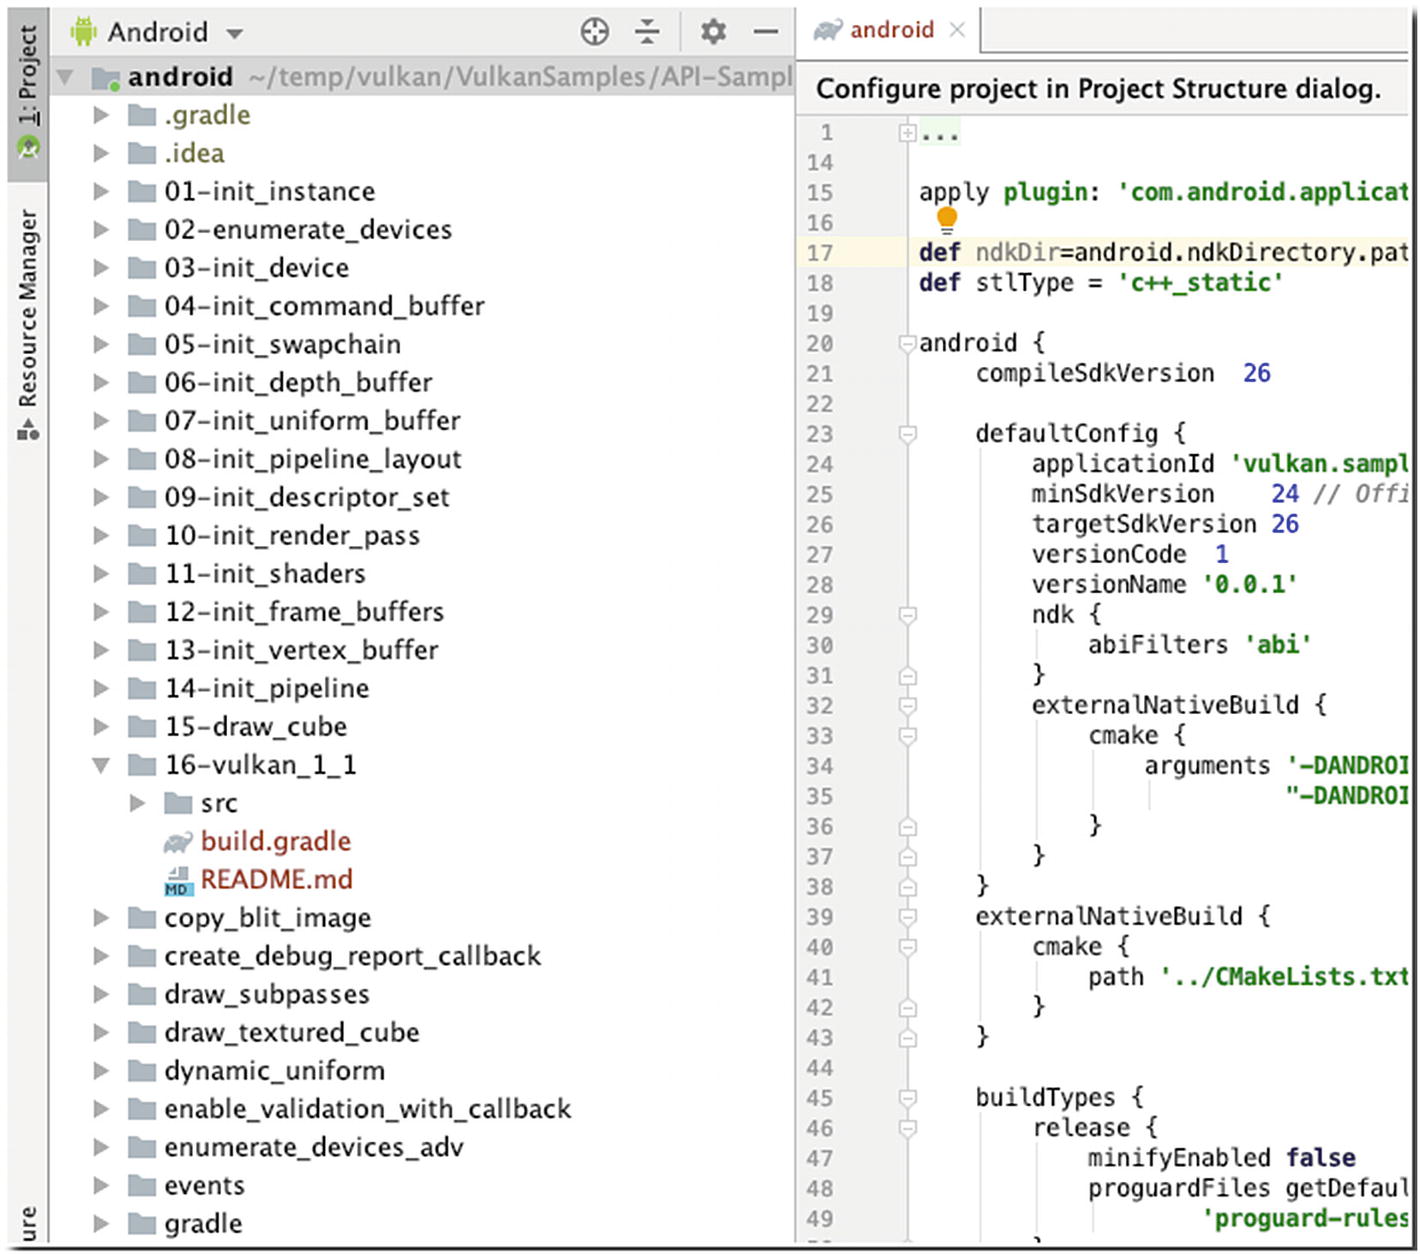
Project pane displaying samples after the import
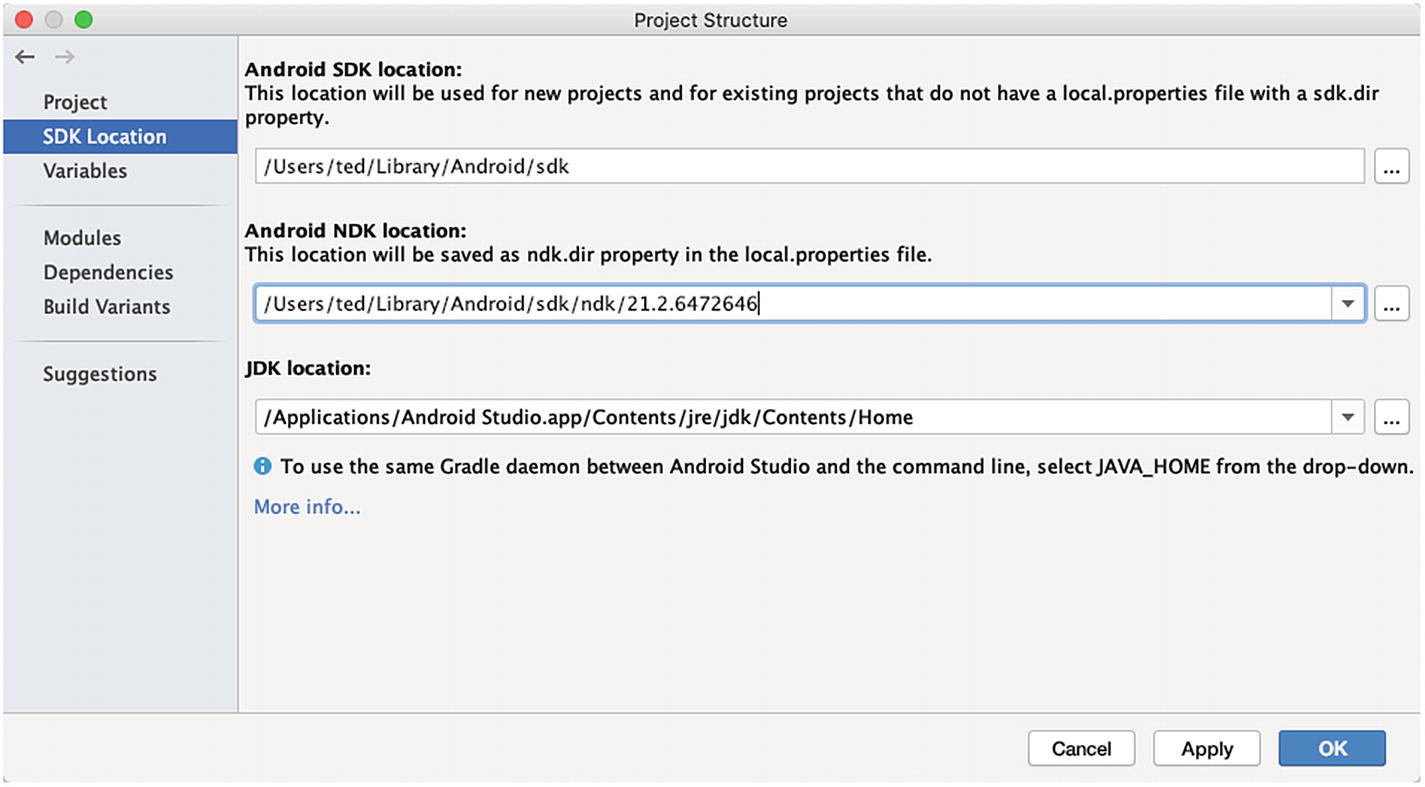
Project Structure, NDK and SDK
If your NDK isn’t set, click the drop-down arrow (near the ellipsis, the three dots on the right). The drop-down should suggest the recommended directory. If Android Studio doesn’t have a suggested directory, you need to check if you’ve already installed the NDK. See our discussions on the NDK installation in the previous sections of this chapter.
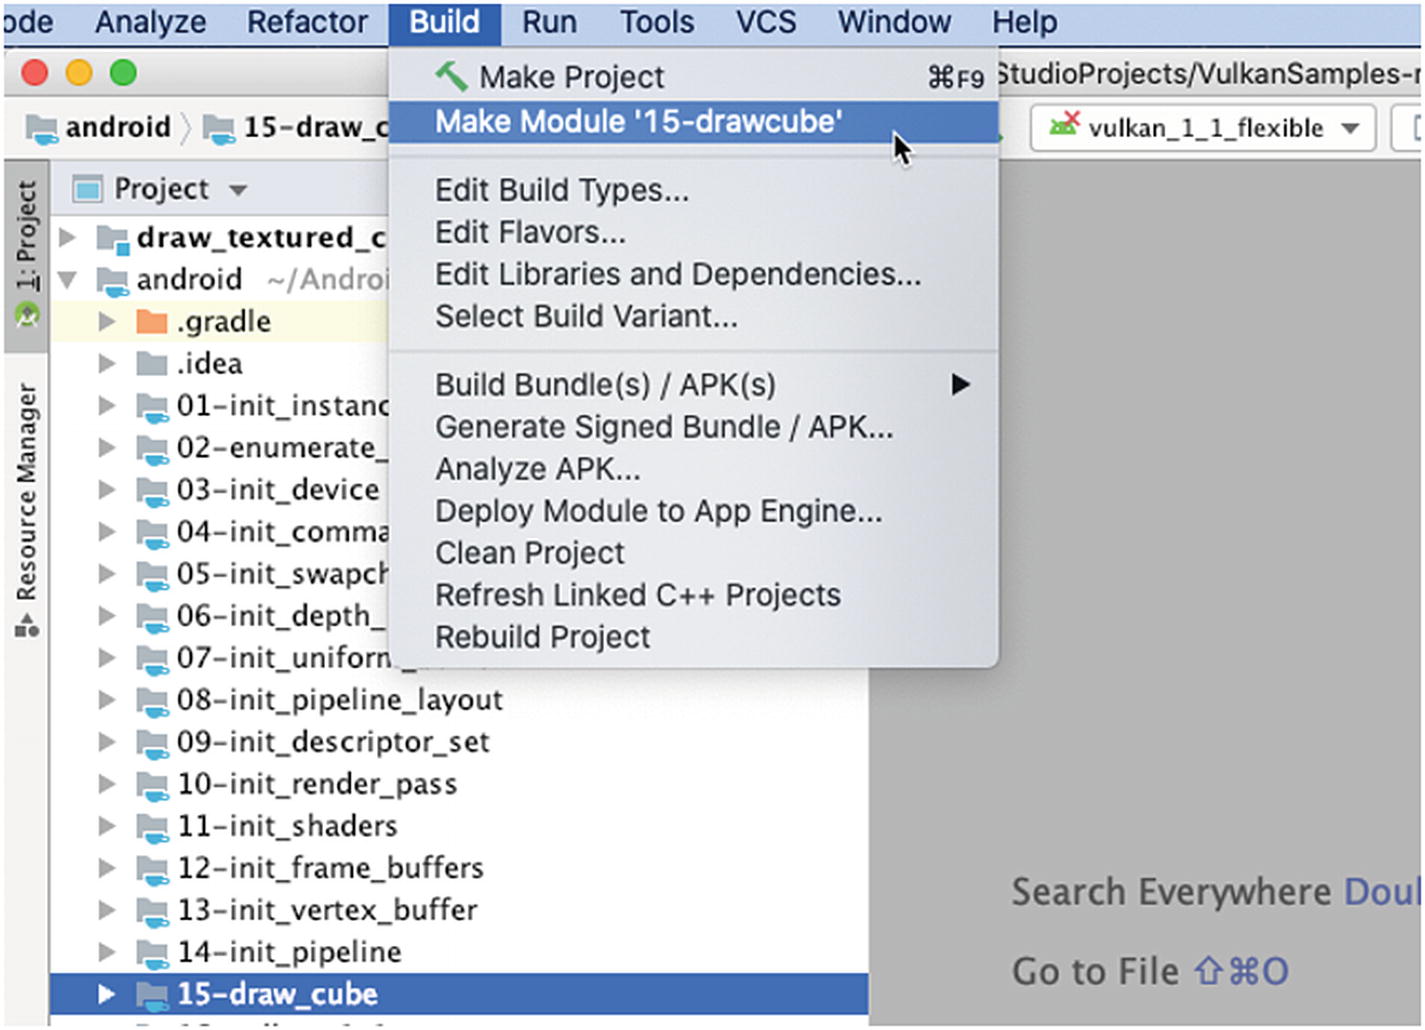
Make module
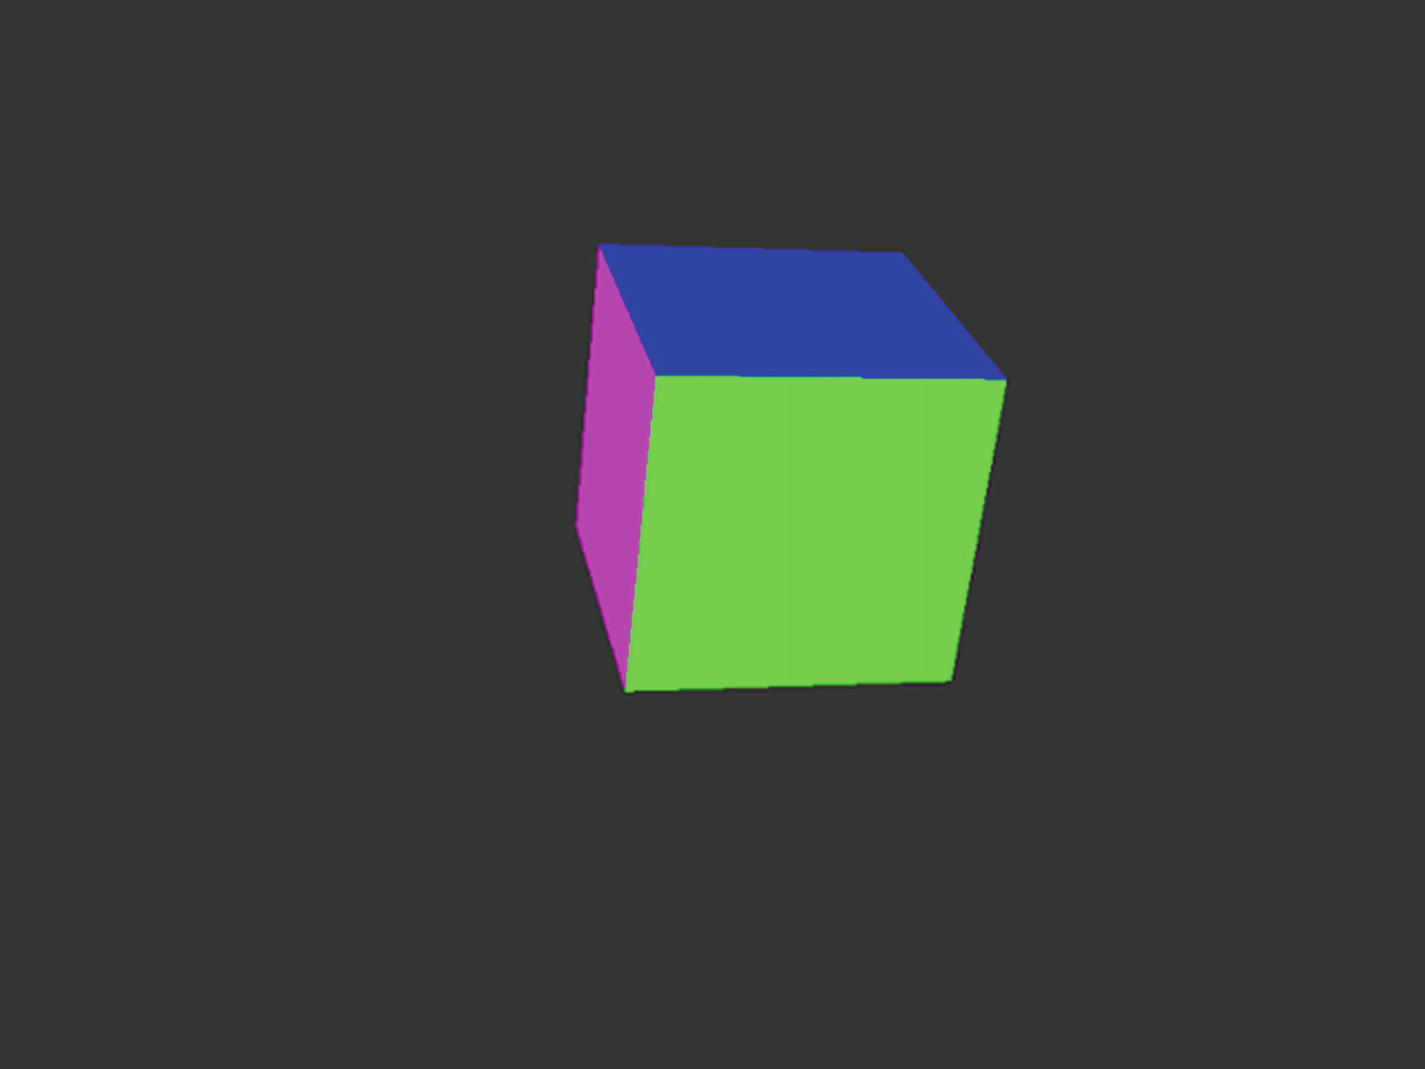
drawcube module
These instructions on how to set up a Vulkan environment in Android came from the Android Development website (https://developer.android.com/ndk/guides/graphics/getting-started); the instructions may change by the time this book goes to print; so, make sure to visit the page when you set up your Vulkan environment.
Game Engines and Frameworks
You had a tiny slice of a game developer’s life in Chapters 6 and 7 because we built two small games, but we built them from scratch. Though the games were not very sizable, as lines of code and assets go, we had to do everything. We had to tell the program where to get the graphics file, load them on specific coordinates on the screen, play some audio during specific timings in the game, and so on. It’s like painting a house using a toothbrush—yes, you have a lot of control over every aspect of the game, but it’s just a lot of work too. You can bet that most of the AAA games you played weren’t built that way.
Most modern games either use a game framework or a game engine. A game engine is a complete package. It’s a comprehensive set of tools to help you build a game from scratch. Engines typically contain some scene or level editor, tools to import game assets (models, textures, sounds, sprites, etc.), an animation system, and a scripting language or API to program the game logic. You will still need to write code to use an engine, but most of it will be focused on the game logic. The system-level boilerplate code will be facilitated for you by the game engine.
The Android SDK provides a decent framework for games. Remember when we used the View objects and the ImageView objects? The Android SDK also provided some decent support so we can handle events, get the window to full size, and draw some rudimentary graphics on the screen. Those are the things a framework does; but there are other frameworks apart from what the Android SDK offers.
To be honest, you don’t really need a game engine nor a framework; but they do make your life a lot easier during game programming. Building a nontrivial game without an engine or framework can be arduous and perilous. If your end goal is to build a game, you will be better served to consider using third-party tools.
There are many frameworks and engines out there; I’ve compiled only those that include Android as a target platform; not all of them will use Java or the Android SDK for development. You should remember that this list is not comprehensive at all, but it should get you started.
Frameworks
HaxeFlixel. http://haxeflixel.com/
It’s a 2D game framework. You can deploy it on HTML5, Android, iOS, and Desktop. If you don’t mind learning the Haxe language, you can try this out.
LÖVE. https://love2d.org/
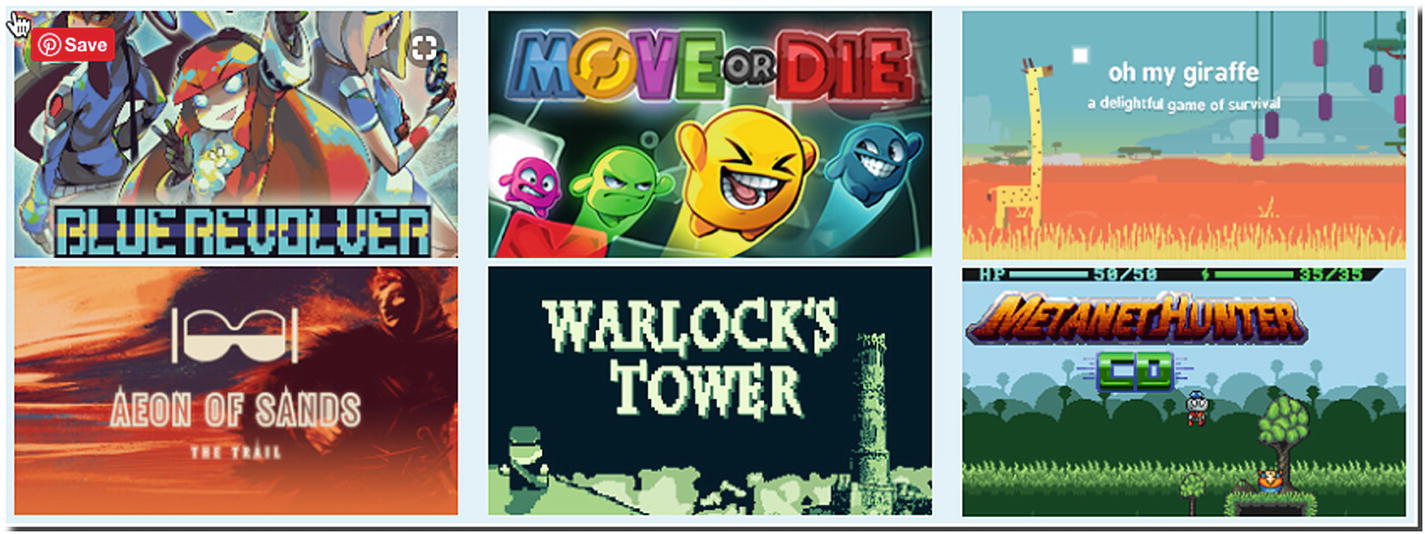
Commercial games done with LÖVE
MonoGame. www.monogame.net/
It’s another 2D framework that targets iOS, Windows, Android, macOS, PS4, PSVita, Xbox One, and Switch. The language used is C# (which shares a lot of language element similarities with Java).
Engines
Cocos2D. http://cocos2d.org/
It’s a 2D engine that targets Android (in development), PC, macOS, and iOS. Depending on your platform, you’ll have to use either C++, C#, or Objective-C.
CopperCube. www.ambiera.com/coppercube
This is a 3D engine that you can use for games that will run on Windows, macOS, Android, and the Web. It supports the languages C++, JavaScript, and Visual Scripting.
Defold. www.defold.com/
You can target Windows, macOS, Linux, iOS, Android, and HTML with this 2D engine if you don’t mind using the Lua language.
Esenthel. www.esenthel.com/
It’s a 2D/3D engine that targets Windows, Xbox, Mac, Linux, Android, iOS, and the Web. You’ll have to code on C++.
GameMaker Studio 2. www.yoyogames.com/
This is a commercial 2D engine that targets Windows, Mac, Android, iOS, Windows Phone 8, HTML5, Ubuntu, Tizen, and Windows UWP. It uses a custom language called GML. There is a free (but limited) trial.
Unity. http://unity3d.com/
This is a 2D/3D engine that targets Windows, macOS, Linux, HTML5, iOS, Android, PS4, XB1, N3DS, Wii U, and Switch. C# is the language of choice here. This is free to use up until the first $100,000 revenue. Check out their website for more details.
Unreal Engine 4. www.unrealengine.com/
You can target Windows, iOS, Mac, PS4, XB1, Switch, HTML5, HoloLens, Lumin, Android, and Linux. This is a 2D/3D engine. You’ll have to use either C++ or Blueprints Visual Scripting (JavaScript language can be used with the use of some plugins). It’s free to use until the project makes more than $1M. Check the website for more details.
Key Takeaways
In this final chapter, we learned a little bit about the NDK, Vulkan, and game engines and frameworks. Game programming is a big topic; we’ve only scratched the surface in this book. I hope you continue your journey to building interesting and engaging games. May the force be with you!