
![]()
Case Study: A Practical Approach
Your most unhappy customers are your greatest source of learning.
—Bill Gates
The preceding quotation tells the gist of our first case study. How do you identify what a client feels about your product or service? Can you digitize the process? Can you make the feedback data-collection process easy? Can you make an app for that? The answer to these questions is definitely yes.
This case study, presented courtesy of SEED Management Services, targets services offered at any hotel SEED Management Services is a company based in Pune, India that has developed an app called Survey Data ++. This app handles digitization of long and complex questionnaires.
This chapter covers the steps to be taken to complete the application.
The prerequisites for this process are as follows:
- Make sure you have set up an AppBuilder account at www.telerik.com.
- Make sure you have read the previous chapters to understand the concepts behind hybrid mobile application development.
- Download jquery-1.10.2.js from www.JQuery.com.
- Download the Star Rating plug-in from www.krajee.com.
- Make sure that along with the Star Rating jQuery plug-in, you have the star-rating.css file.
- Download bootstrap-3.0 CSS files from http://getbootstrap.com/ for a responsive UI.
Creating a Feedback Application
Let’s get started with the application:
- Log in to https://platform.telerik.com/#workspaces, as shown in Figure 13-1.

Figure 13-1. AppBuilder—creating a workspace
- Click the Create App button.
- Fill in all the details on the next screen, as shown in Figure 13-2.

Figure 13-2. AppBuilder—continuing to create a project
- Click the Create App button.
- On the next screen, shown in Figure 13-3, click the Create AppBuilder Hybrid Project button.
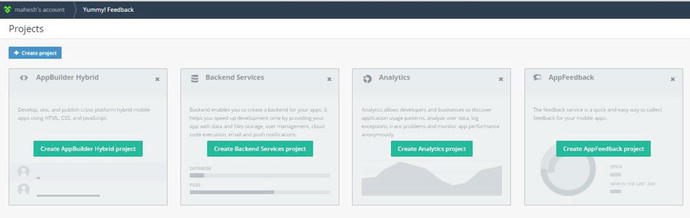
Figure 13-3. AppBuilder—project creation continued
- The screen shown in Figure 13-4 appears. Enter details as shown and then click Create Project.

Figure 13-4. AppBuilder—project creation continued
- A project workspace—the default Project Navigator window—appears, as shown in Figure 13-5.

Figure 13-5. AppBuilder—Project Navigator
- Add the files indicated in the list of prerequisites earlier. Figure 13-6 shows the project structure after adding the files.

Figure 13-6. AppBuilder—displaying the project content
- Open index.html from the Project Navigator.
- Let’s inject code into index.html. Import the required JavaScript and CSS files into the <head> tag, as shown in Figure 13-7.

Figure 13-7. AppBuilder—index.html references
- Add a <title> for the page and a required style for the message and content divs, as shown in Figure 13-8.

Figure 13-8. Title and style markup code
The <body> content at a glance will look like Figure 13-9.

Figure 13-9. HTML UI—markup code
The main <div> container contents are a hotel label, camera icon, and feedback form, as shown in Figure 13-10.

Figure 13-10. Responsive containers in the markup
The feedback form is a responsive <table>. Note that the text boxes used in <table> are with specific classes referenced from the Star Rating jQuery plug-in. The rest of the classes used are from responsive CSS and are discussed in Chapter 7. See Figure 13-11.

Figure 13-11. Responsive containers in markup continued
The next <div> is for displaying a Thank You message to the customer, as shown in Figure 13-12. This step completes the UI.

Figure 13-12. A div container for the message
Writing the Business Logic
Now let’s focus on jQuery code. Follow these steps:
- The code snippet in Figure 13-13 does the validation and collects data entered by the customer in the feedback form via the Submit button click. Copy this code and paste it into the <script> ...</script> block inside the index.html page:

Figure 13-13. Validation and data collection using jQuery code
- The code shown in Figure 13-14 captures an image from the camera with a JPEG extension. Copy and paste this code as a continuation to the preceding block, between the <script> </script> tags inside the index.html page.
- Figure 13-15 shows the supporting functions for storing feedback data and the photo image. These functions are discussed in Chapter 8. This step completes the entire code.
- Now, do the build as shown in Figure 13-16. We already discussed the build process in Chapter 4.

Figure 13-16. Build ing the code
- Do the package building as discussed in Chapter 4.
- Install and test the application on the respective devices.
Figure 13-17 shows snapshots of the application from the device and simulators.

Figure 13-17. application, under execution on different devices


Summary
In this chapter, you created a feedback system application as a hybrid mobile application. You used camera access and file storage within the device’s SD card itself. The case study illustrated that JSON and jQuery AJAX are vital for developing hybrid mobile applications.