Building apps today isn’t really about writing code. You may have learned how to write code in school or at a bootcamp intensive workshop, and those experiences are valuable ways to learn about the principles of coding. However, when you start your first coding job, you may find that you’re asked to correct a typo in the title of a report that an existing app produces. It’s a simple job that you can divide into two parts.
First, find where the typo is (a basic app can easily have many thousands of lines of code—Windows is estimated to have 50 million lines). It might not take long to find a typo in a single line of code, but how long does it take to find the line of code in the first place?
Second, fix the typo.
A month later, after you have finished the task of changing the title typo, you may find yourself actually building an app. That job, too, can be divided into several component parts.
First, implement a user authentication process. You can do this using the Facebook API or using some open source code from a trusted web source. You just have to find the code or API and then put it into your app.
Second, you need to implement your app’s functionality that comes into play after the authentication process is complete. Depending on what the app is, you may have to write it from scratch, but chances are that you’ll find yourself revising existing code from a similar project.
Third, you may take your new app and port it to a different platform.
Coding today is often about reading and understanding existing code and then reusing it in new apps and new combinations. Yes, there is a lot of from-scratch coding going on, but there’s also a lot of reuse of existing code happening in the development world.
A number of factors have come together to create and support this world of reusable and repurposed code, which, after all, represents many, many hours of effort by many, many people. Reusing analysis and code is just as important as reusing and recycling natural resources. In the case of code, reuse means not reinventing the wheel. By not starting from scratch each time an app is created, the entire world of software development can move forward.
Component Architecture Overview gives you an idea of what it’s like to build apps from components.
Looking at the iOS and macOS Building Blocks provides an overview of what those blocks are.
Building with the Building Blocks provides an overview of how to put them together.
Component Architecture Overview
Since the beginning of the computer age in the 1940s, there has been a development backlog of projects waiting to be done. (A companion backlog accompanied the rise of the web.) The need for software seemed unstoppable. Various strategies emerged, and components were a key part of many of them, both for the web and for software in general.
The idea was that building complete websites, programs, and apps from scratch was an unsustainable model. There had to be some way of speeding things up by reusing code that had already been written and debugged. The problem with this simple idea was that it wasn’t possible to easily reuse code—changes always needed to be made.
One way of reusing code to speed up the development process was to take existing code and extract its key functions and features. These elements could be reused more easily than an entire code base. This was the beginning of component software development.
Use a framework or shell. In this model , there is a framework into which you can plug components.
The framework model was popular in the 1990s; IBM’s Software Object Model (SOM) was one of the first. Microsoft entered the component software world with Object Linking and Embedding (OLE) and Component Object Model (COM). A consortium of Apple, IBM, and WordPerfect worked on OpenDoc. All of these were frameworks into which you could plug specialized components (from the user’s point of view, most were documents into which you could plug components).
Build a product from components. In this model, you combine a number of reusable components (off-the-shelf or written specifically for the project) to make a single product. There usually isn’t a framework or container as a shell; in some projects, there is indeed such an overarching container or shell, but it may be created specially for each project.
Regardless of the component model you’re working with, there is a critical issue that crops up as soon as you start thinking about components: What language will you use? In today’s world, the languages for iOS (and macOS) are Swift and Objective-C. However, one of the features of component architecture is that in some cases you can mix different languages, as you will see in the “Command-Line Integration” section later in this chapter.
Looking at the iOS and macOS Building Blocks
The building blocks in this section are all built in the Swift and Objective-C languages for iOS and macOS, and with APIs such as UIKit for iOS and AppKit for macOS, as well as their companions. This section will provide a brief overview of the building blocks; for more information, look on developer.apple.com.
Extensions
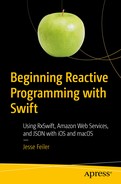
Extensions in Swift let you add functionality to an existing class, structure, enumeration, or protocol type. You can find an example in the Adopting Drag and Drop in a Custom View sample code on developer.apple.com. The drag-and-drop functionality is defined in protocols (see the following section for more on protocols and delegates) and implemented in extensions.
Using extensions in a Swift class
At runtime, you can reference the functions and other members of the extension just as you would reference elements of the class.
Extensions can be added to base classes and other structures for which you only have the API and not the source code.
Delegates and Protocols
A protocol can define functions that will be implemented in any class that conforms to the protocol. Whereas with an extension the extensions are added to the base class, with a protocol the protocol defines the code that you will add to the base class.
Delegates often work together with protocols so that the implementation of the protocol code is not placed into the base class; rather, it is placed in a separate file called a delegate. The specific file that implements the protocol is typically assigned to a field called delegate in the base class .
Frameworks
If you work with iOS or macOS a lot, you are probably familiar with the basic frameworks, such as AppKit (macOS) and UIKit (iOS), along with smaller frameworks such as AddressBook. Frameworks can contain functions and properties. You add them to a Swift project with an import statement; with Objective-C, you can use an #import or #include statement. (In Objective-C, the #import directive imports the framework once; #include may import it several times.)
Building with the Building Blocks
You can use delegates and protocols, extensions, and frameworks within an Xcode project. You can use a workspace to combine several projects, and you can use other tools to combine multiple components. Both workspaces and the combinations of building blocks will be described in this section.
Using a Workspace
With a workspace, Xcode takes care of managing the building of whichever target within the workspace you want to build. Targets may share elements from the workspace and will use them as needed to build various targets (such as for iOS and watchOS with the same workspace).
Building with Combinations of Building Blocks
The building blocks from Apple (frameworks, protocols, and delegates, as well as extensions) often provide a neat and elegant way to extend and expand your code. However, there are cases in which a single feature requires the use of multiple building blocks—for example, a feature might need one very big framework to be installed, along with a dozen or more smaller (but related) frameworks. Protocols and delegates are now commonplace in many structures, and extensions, likewise, may be added to the mix. Thus, implementing a new feature using shared code may require many additions to your code base.
Situations in which multiple building blocks need to be added to an app are common, and they can be difficult to manage. There are several tools available to help you manage such combinations. These tools use a structure that organizes the changes to your app so that a script or other tool can apply the changes in the right places and in the right order. One of the most widely used of those tools is CocoaPods, which is the topic of Chapter 2.
GitHub has become the most widely used code-sharing tool and site today, and it is integrated with most package managers. Thus, the download of the latest GitHub version of the complex building blocks is done for you automatically as you run the package manager.
Package managers like CocoaPods use their own code and scripts to perform the integration. To do so, they—and you—must use some command-line code. If you are used to macOS and the Finder, you may not use the command line very often. Don’t worry—the products hide most of that syntax from you. However, for the cases in which you do need to access a file or folder from the command line, the following section will provide some tips.
Command-Line Integration
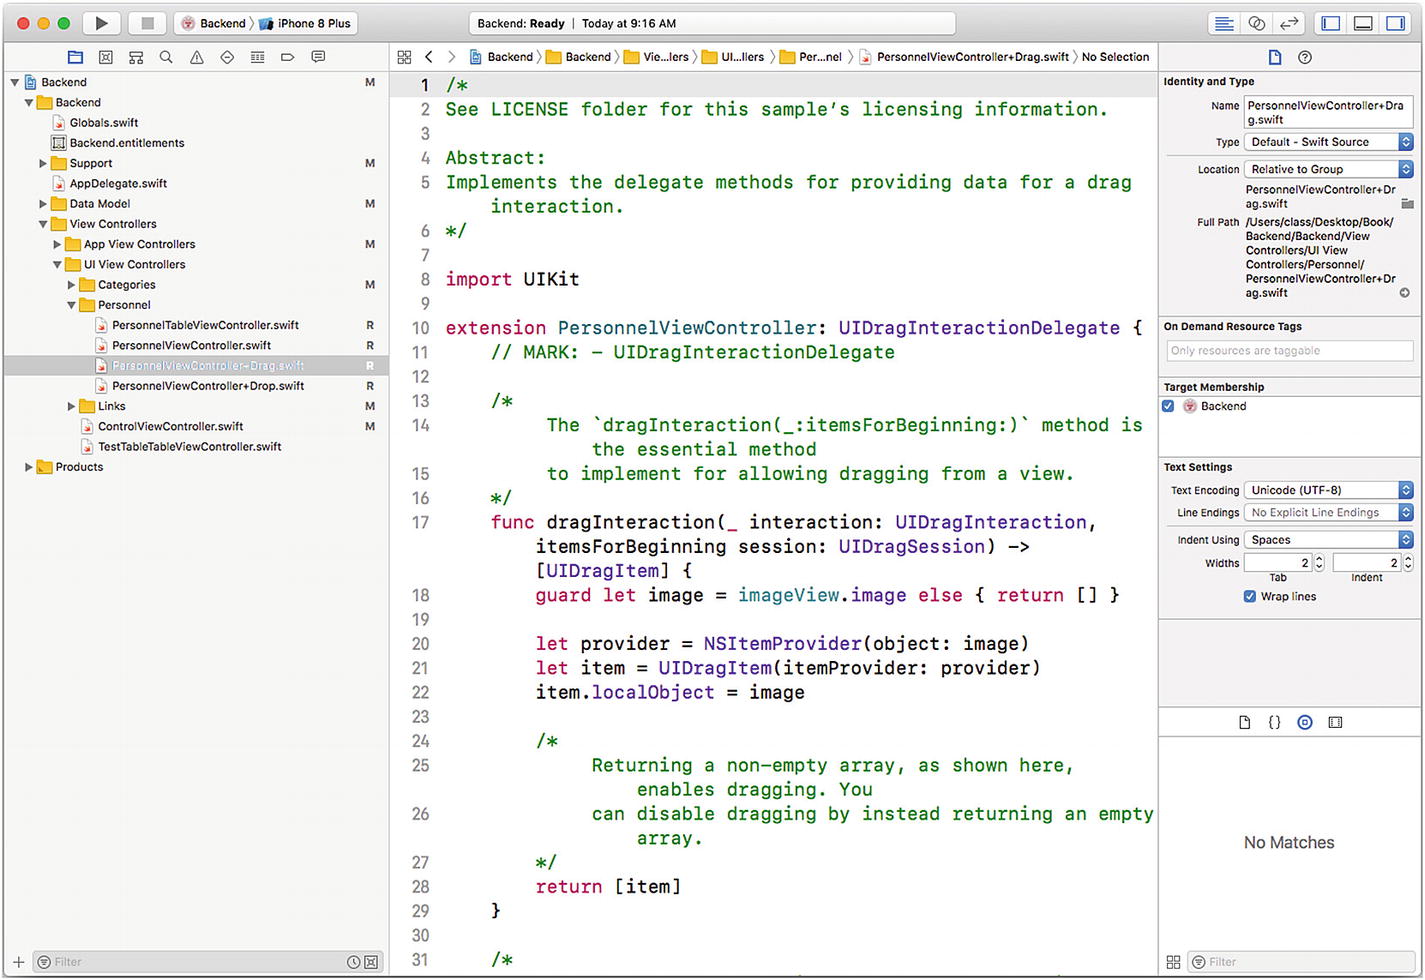
Use Terminal to access the command line
The first line shows you the date and time of the last login. On the second line, you can see the name of the computer you are using. You then see the identifier of the user you are running, and a symbol such as $ marks the end of the automatically generated text. You type your command after that.
Note
You can customize the formatting of lines in Terminal.
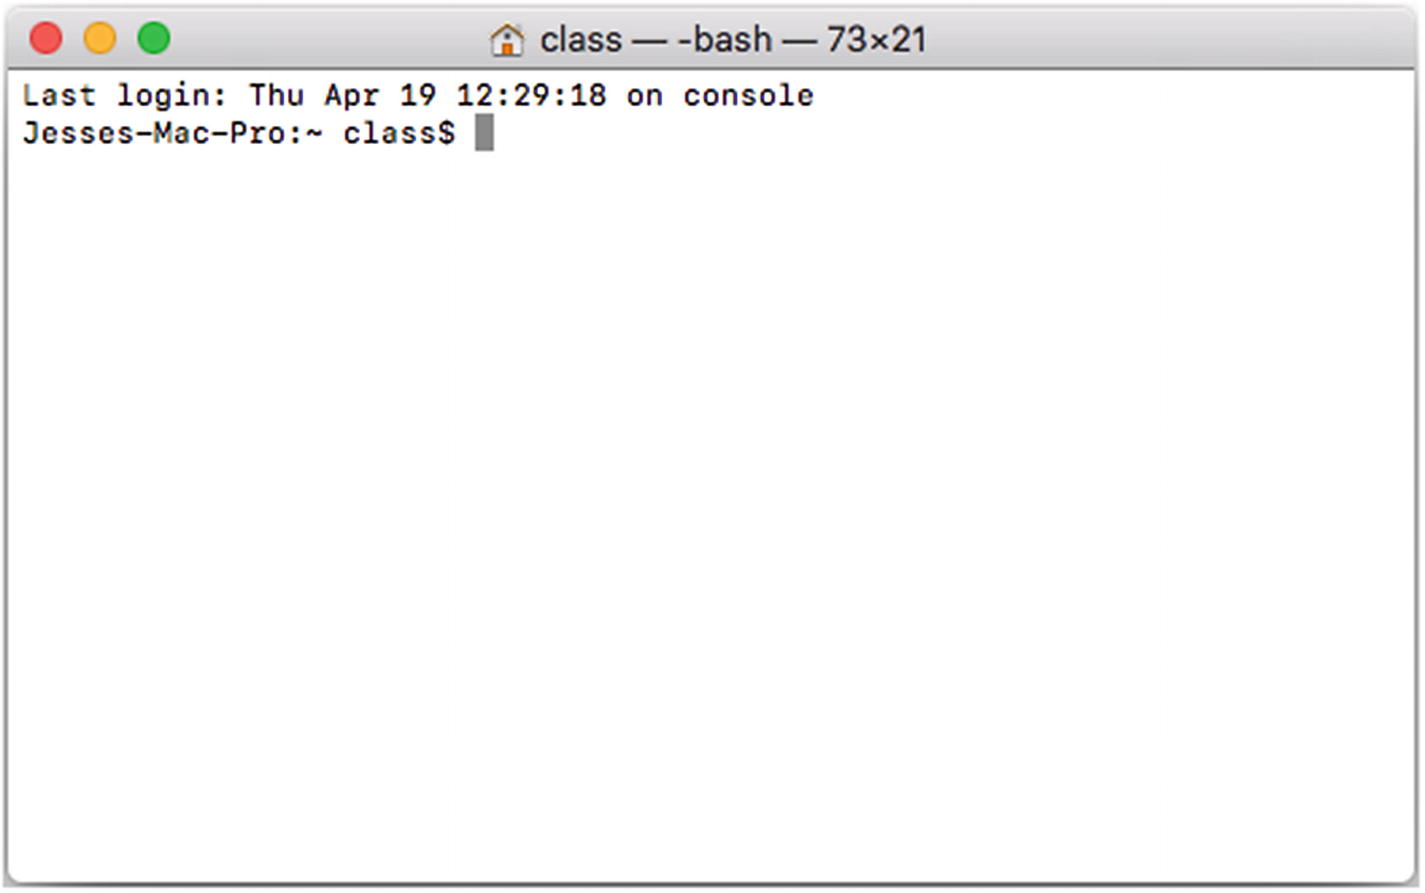
Enter the ls command
In a command-line interface, you deal with only one line at a time. You cannot copy or paste into previous lines of code, but you can backspace on the line you’re editing. You end the line with a Return character, and the command is executed.
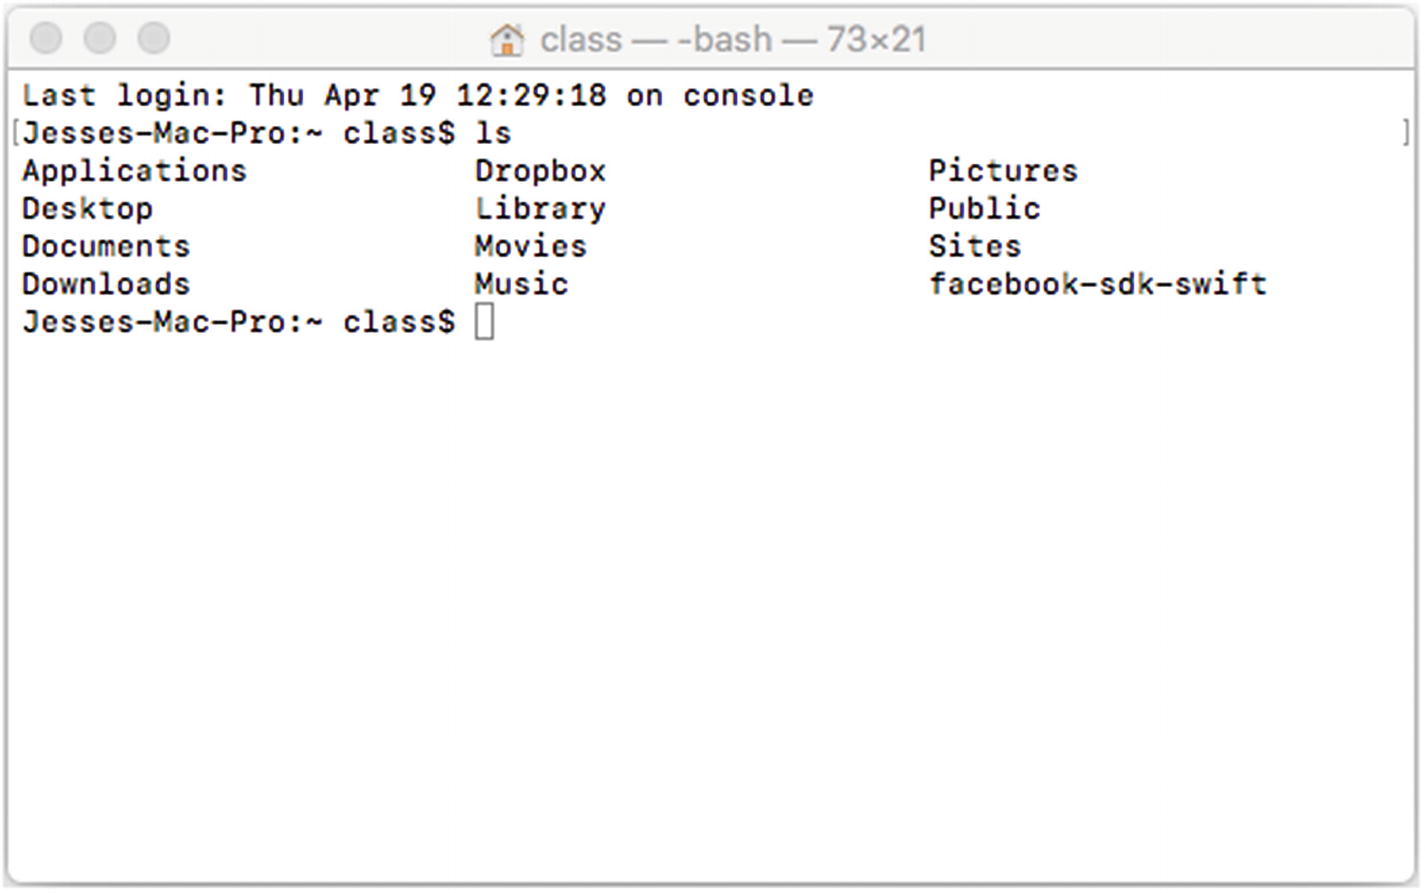
Results of the ls command in Terminal
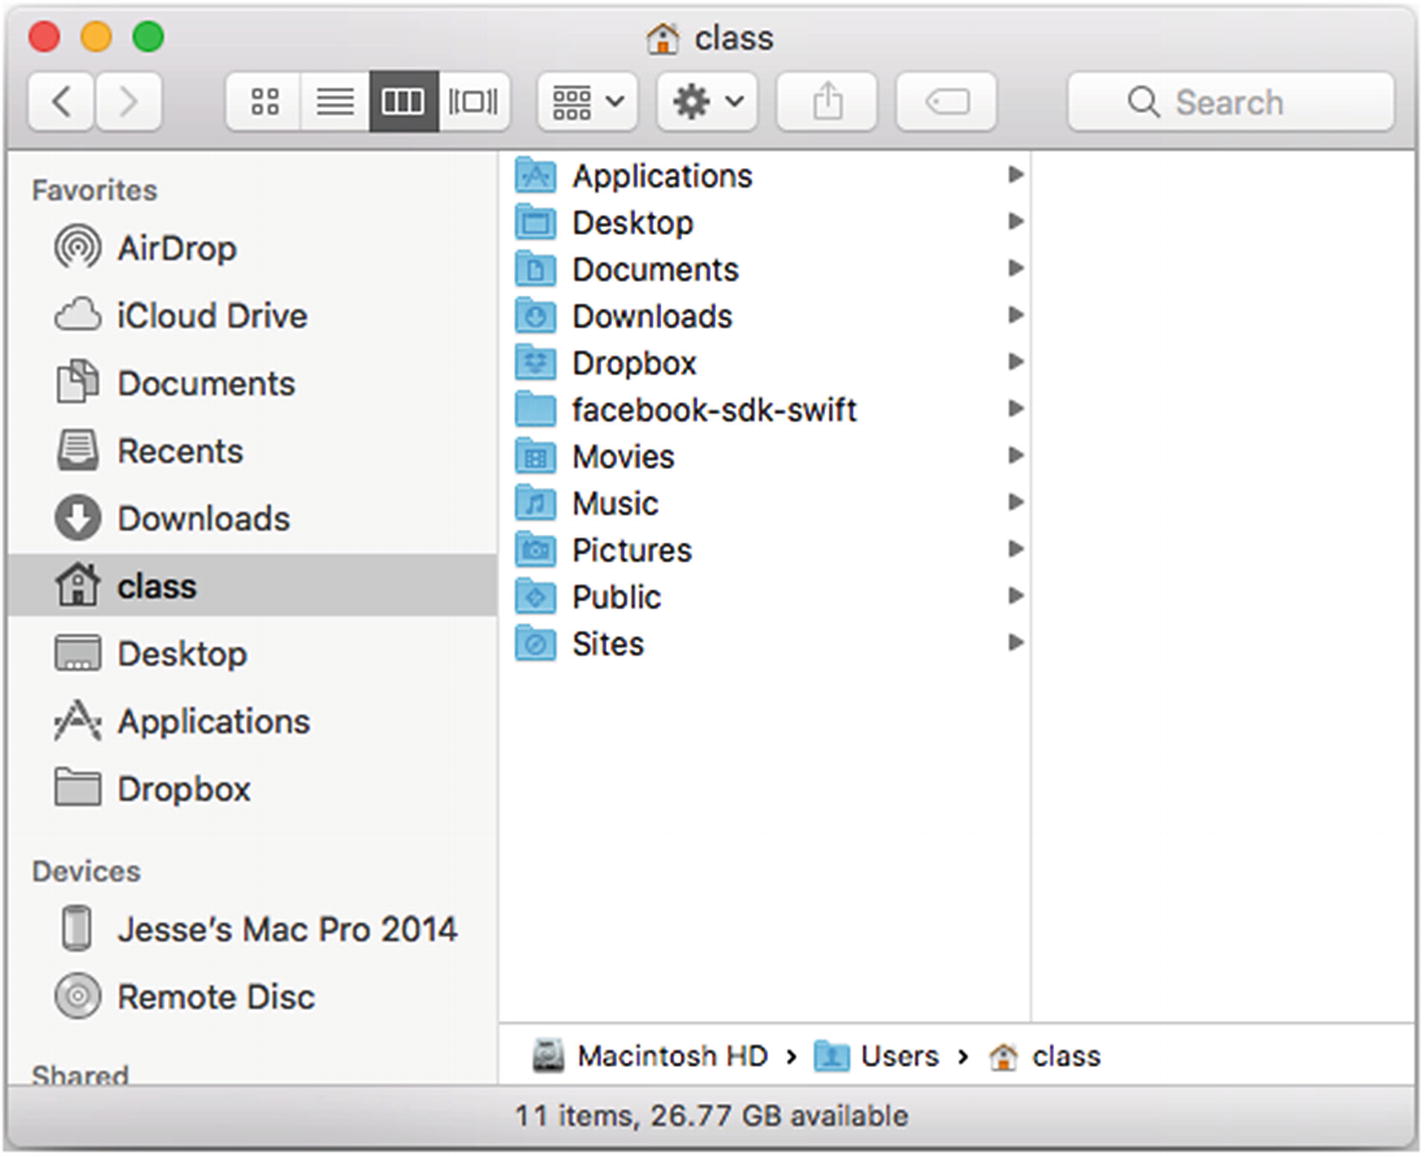
Files in Finder
There’s one other command that you may need to use when you’re working with Terminal : You can change which directory you are in by typing cd. You can then type in the name of the directory you want to use, or you can drag and drop a directory from the Finder onto the line in Terminal that you have started by typing cd. The text representation of that directory will be placed into the line of Terminal code. As soon as you press Return, the directory will be changed.
Summary
Xcode has a variety of tools that you can use (along with Objective-C and Swift) to build complex apps with reusable code, saving you development and debugging time. This chapter has provided a brief overview to get you started.
For more information, use your standard online resources as well as the discussion boards on developer.apple.com. For now, it’s time to move on to the package managers.