© Jesse Feiler 2018
Jesse FeilerBeginning Reactive Programming with Swifthttps://doi.org/10.1007/978-1-4842-3621-5_4

4. Using JSON Data with Swift

Jesse Feiler1 
(1)
Plattsburgh, New York, USA
 

In this chapter, you will see the basics of JSON syntax. You can use it with many modern languages, and Swift is no exception. In fact, Swift’s integration with JSON is strong, powerful, and easy to use. If you add in Swift Playgrounds which is available on iPad and in Xcode on your Mac, you get a powerful cross-platform data exchange format that also is easy to test with a playground (so that you don’t have to write an app—even a stripped-down app—to explore the data, syntax, and code).

In this chapter, you will see how to explore JSON with Swift Playgrounds as well as how to explore the iOS/Swift interfaces that are available.

Note

These features are shown using Xcode 9 and Swift 4. These include significant changes from previous versions of Xcode and Swift.

Getting Started with a JSON Swift Playground

The Swift Playgrounds app is the perfect tool to use to get acclimated to JSON. In this chapter, you will see how to use a playground for experimentation. To begin with, you can create a playground and add JSON text, such as the examples shown in Chapter 3, to it. Using Swift Playgrounds, create a new playground , as you can see in Figure 4-1.
../images/459488_1_En_4_Chapter/459488_1_En_4_Fig1_HTML.jpg
Figure 4-1

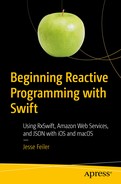
Create a Swift playground

Note

The examples in this chapter are shown using Playgrounds in Xcode on macOS. Xcode is the tool you use for writing code, and a project such as this one may be easier to work with on macOS than on iOS, but you can use either one.

Open the project navigator at the left side of the window by clicking on the icon at the top right or by using the View ➤ Navigators ➤ Show Project Navigator command from the menu bar. When you open the project navigator, you’ll see the files inside your project, as you can see in Figure 4-2.
../images/459488_1_En_4_Chapter/459488_1_En_4_Fig2_HTML.jpg
Figure 4-2

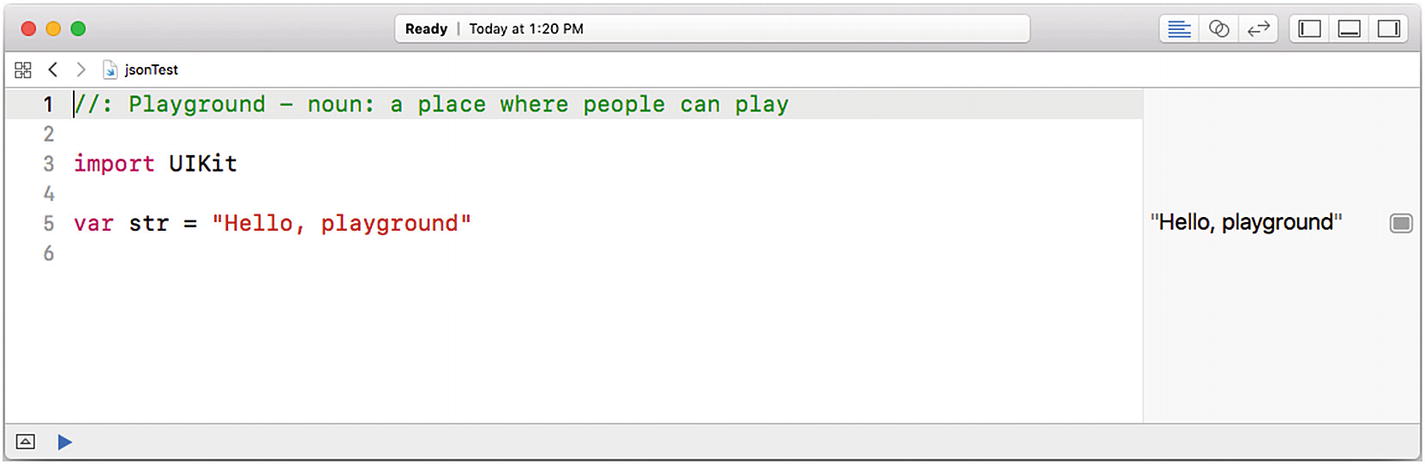
Open the project navigator at the left side of the Xcode window

Note

A Swift Playgrounds project consists of a single file in the Finder, but that file is a package containing the files you see in the project navigator. You can open the package using Control-click in the Finder or by using the right button while you click on the package. Working within Swift Playgrounds and the Xcode project navigator is simpler and more direct.
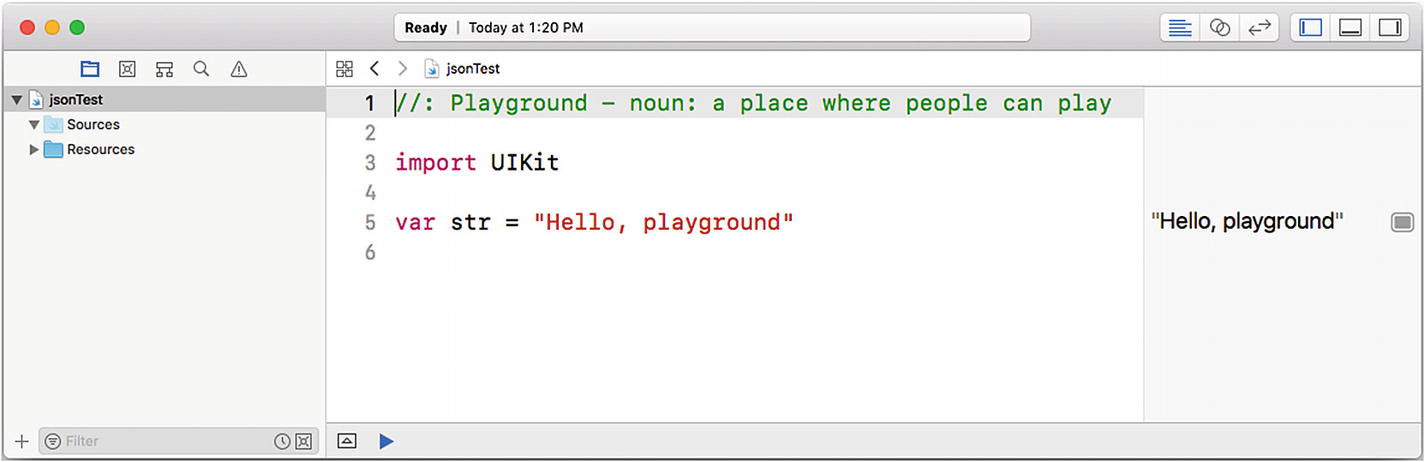
You can use the disclosure triangles to open the sections of the project. To add a file to contain your JSON code (or any other data you want to use in the playground), command-click on the Resources section and choose New File from the contextual menu. You can click the file name to change it if you want. Figure 4-3 shows a new file named test.json that has been created. There are two blank lines in it in the figure.
../images/459488_1_En_4_Chapter/459488_1_En_4_Fig3_HTML.jpg
Figure 4-3

Create a new file

You can type in the file or copy and paste code into it (Figure 4-4). (The code in this chapter is downloadable as described in the Introduction.)
../images/459488_1_En_4_Chapter/459488_1_En_4_Fig4_HTML.jpg
Figure 4-4

Type or paste code into your file

You now need to connect your playground to the file. Physically, the file is inside the playground package, as shown in Figure 4-3, but you need to read the data. There are two lines of code that you’ll use (and reuse and reuse) to do this. First, specify the name of the file and where it is—inside the playground bundle. Here is the line of code:
let url = Bundle.main.url(forResource: "test", withExtension: "json")

Change the file name and extension name for your own file.

Then, read the string of characters from the file using this code:
do {
let jsonCode = try String(contentsOf: url!, encoding: .utf8)
}
catch {
  fatalError ("handle error properly")
}

You can customize the variable name for the content (jsonCode) and the text for the fatalError string . Otherwise, you can use the code as is. (You can also change fatalError to another method of catching an error if you want to.)

The code is shown in Figure 4-5.
../images/459488_1_En_4_Chapter/459488_1_En_4_Fig5_HTML.jpg
Figure 4-5

Enter the code to read the file

When you have entered the code, you can run it, as you see in Figure 4-6.
../images/459488_1_En_4_Chapter/459488_1_En_4_Fig6_HTML.jpg
Figure 4-6

Run the code

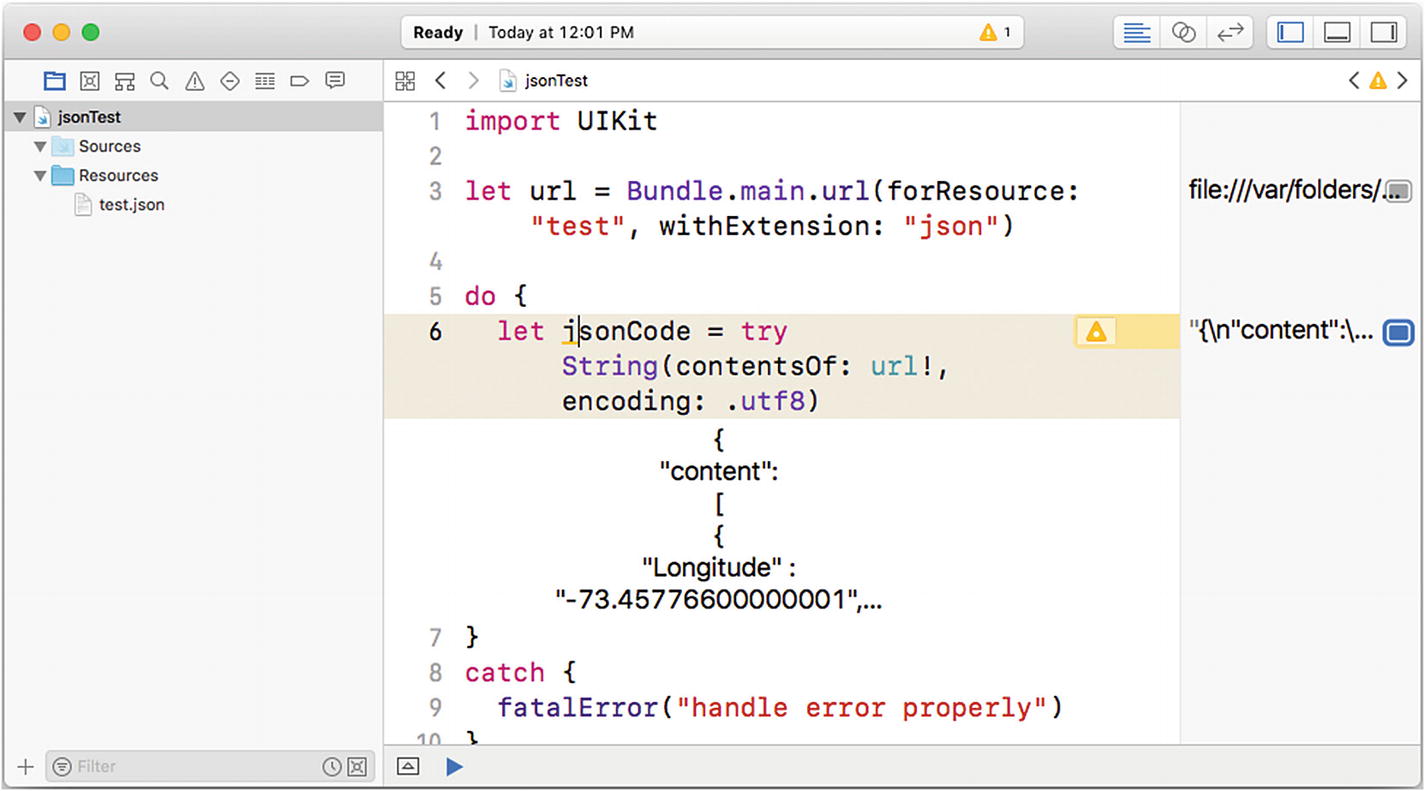
Check to make certain that you see the code properly and don’t have an error. (This is the step that may catch you up until you’re used to creating files inside a playground.)

If you want to show the content from the sidebar, a window appears, as shown in Figure 4-7.
../images/459488_1_En_4_Chapter/459488_1_En_4_Fig7_HTML.jpg
Figure 4-7

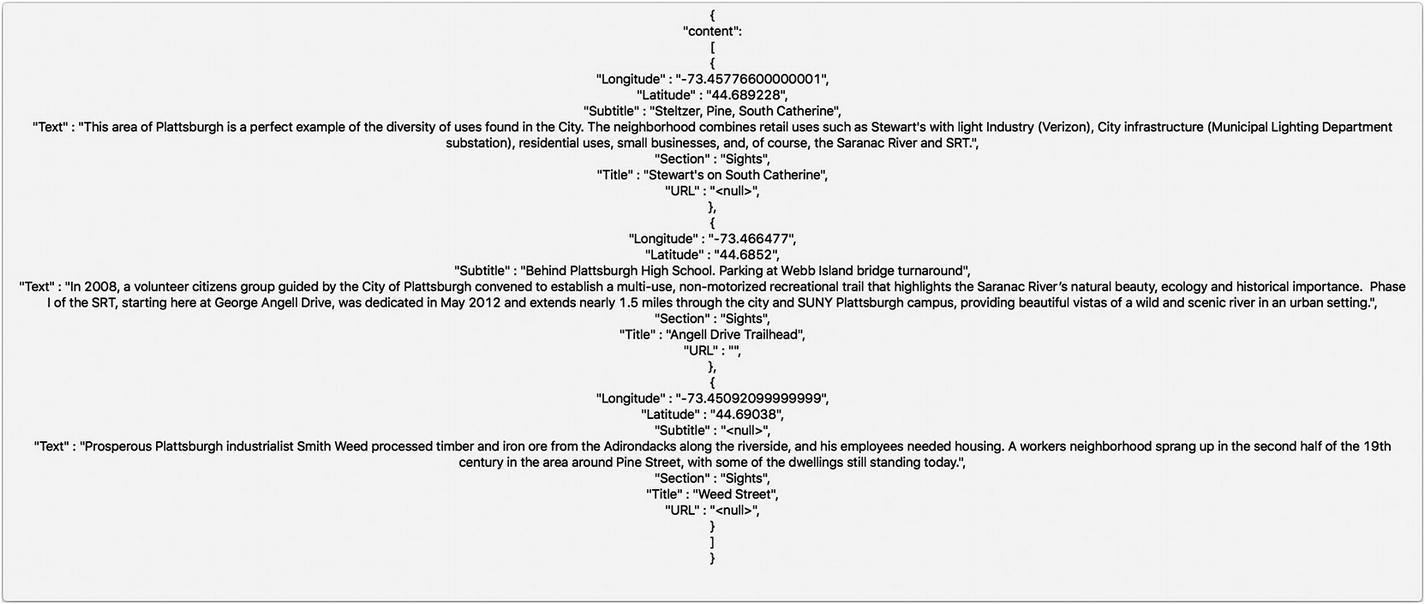
Review the JSON code as it runs

Using the JSON Integration Tools in Swift

What you have seen so far is how to create a file inside a playground and how to read its contents. The reading process is the same whether the file is in a playground or somewhere else—perhaps even being sent over a network.

What is more common is reading from a file and handling its contents not as a string but as JSON data. That is what this section will cover.

Integrating a Swift Array

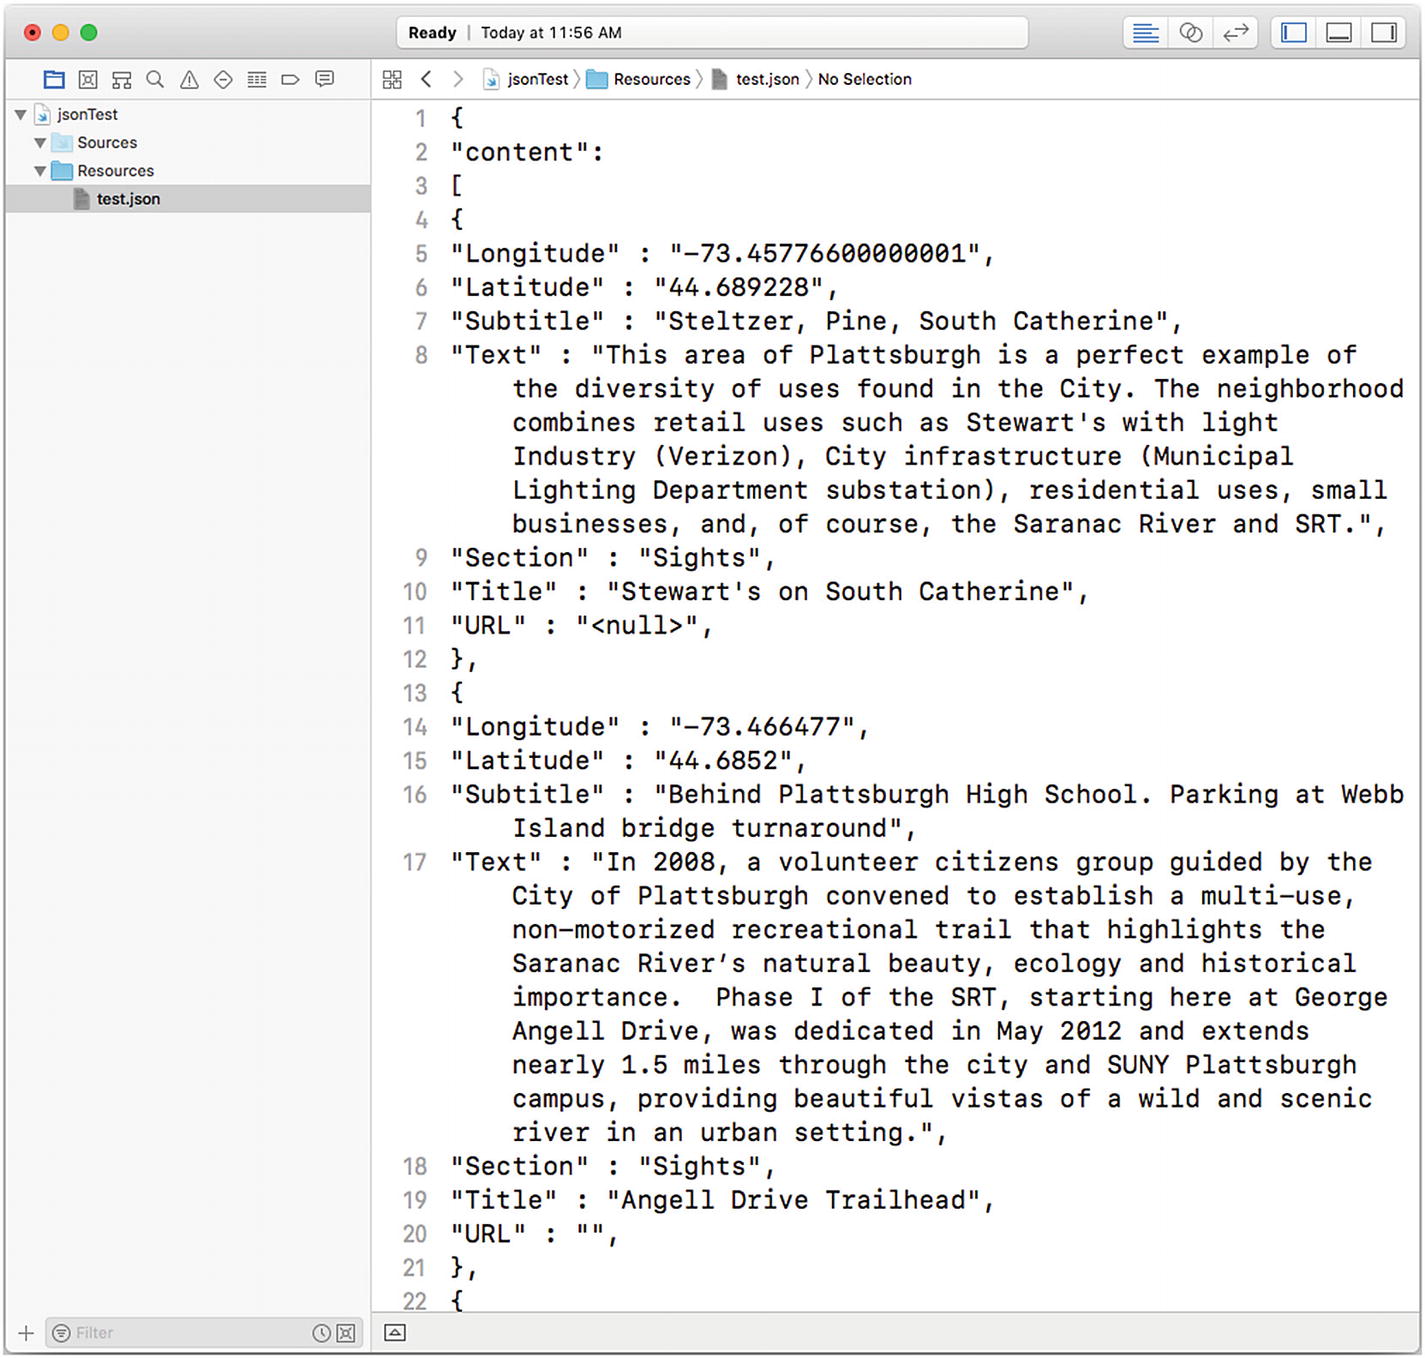
Begin with some JSON code that you can create in an editor like BBEdit or in Xcode (or even in TextEdit).

You can start with a JSON array, such as the following:
[3, 69, 8, 66]
Note that the elements of the array are separated by commas and that the array is enclosed in square brackets. You can create a playground and then add a new file to it in the Resources section. Figure 4-8 shows how this will play out in this chapter.
../images/459488_1_En_4_Chapter/459488_1_En_4_Fig8_HTML.jpg
Figure 4-8

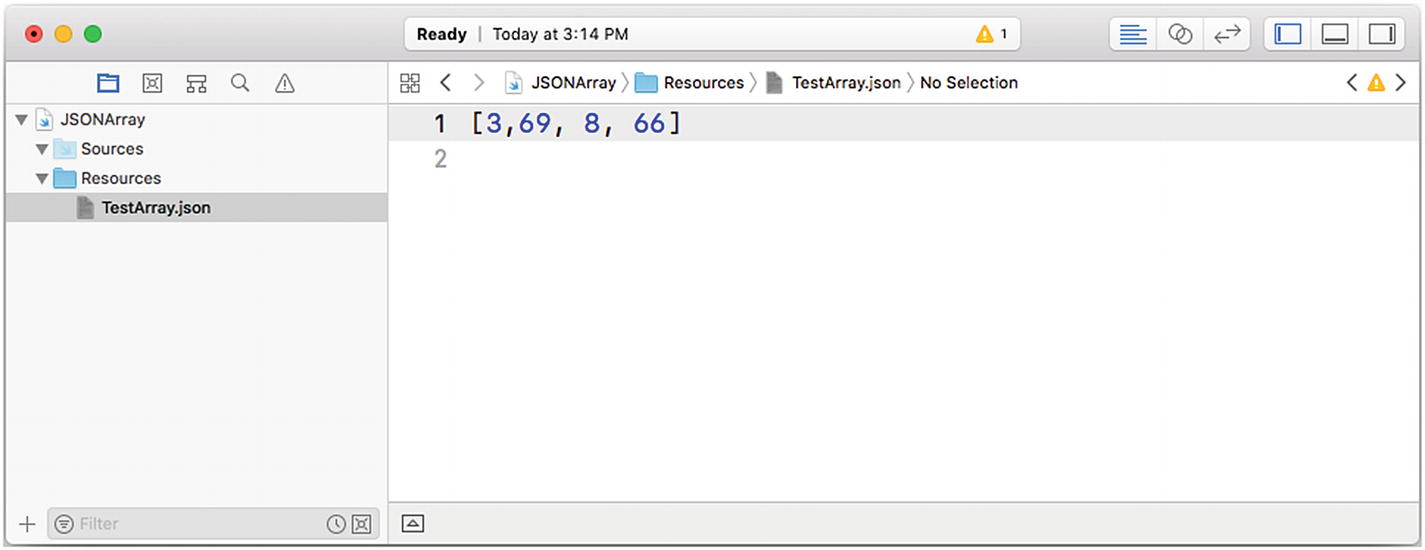
Create a JSON array in a file inside your playground bundle

You continue by specifying the URL for the file, as you have seen previously in this chapter.
let url = Bundle.main.url(forResource: "ArrayTest", with Extension: "json"
Next, instead of extracting the data from the file as a string, use the JSONSerialization.json file built into FoundationKit to retrieve it as a JSON object. Note that this should always be done inside a do block that can catch a failure, as you can see in Figure 4-9.
../images/459488_1_En_4_Chapter/459488_1_En_4_Fig9_HTML.jpg
Figure 4-9

Catch a failure

Once it has been created as a JSON object, you can print it using Swift. What is most important in the code in Figure 4-9 is that after the JSON object has been created, it can be modified, as always, in Swift. For example, you can convert the array (in a JSON sense) to a Swift array of integers using
let test = jsonObject as! [Int]

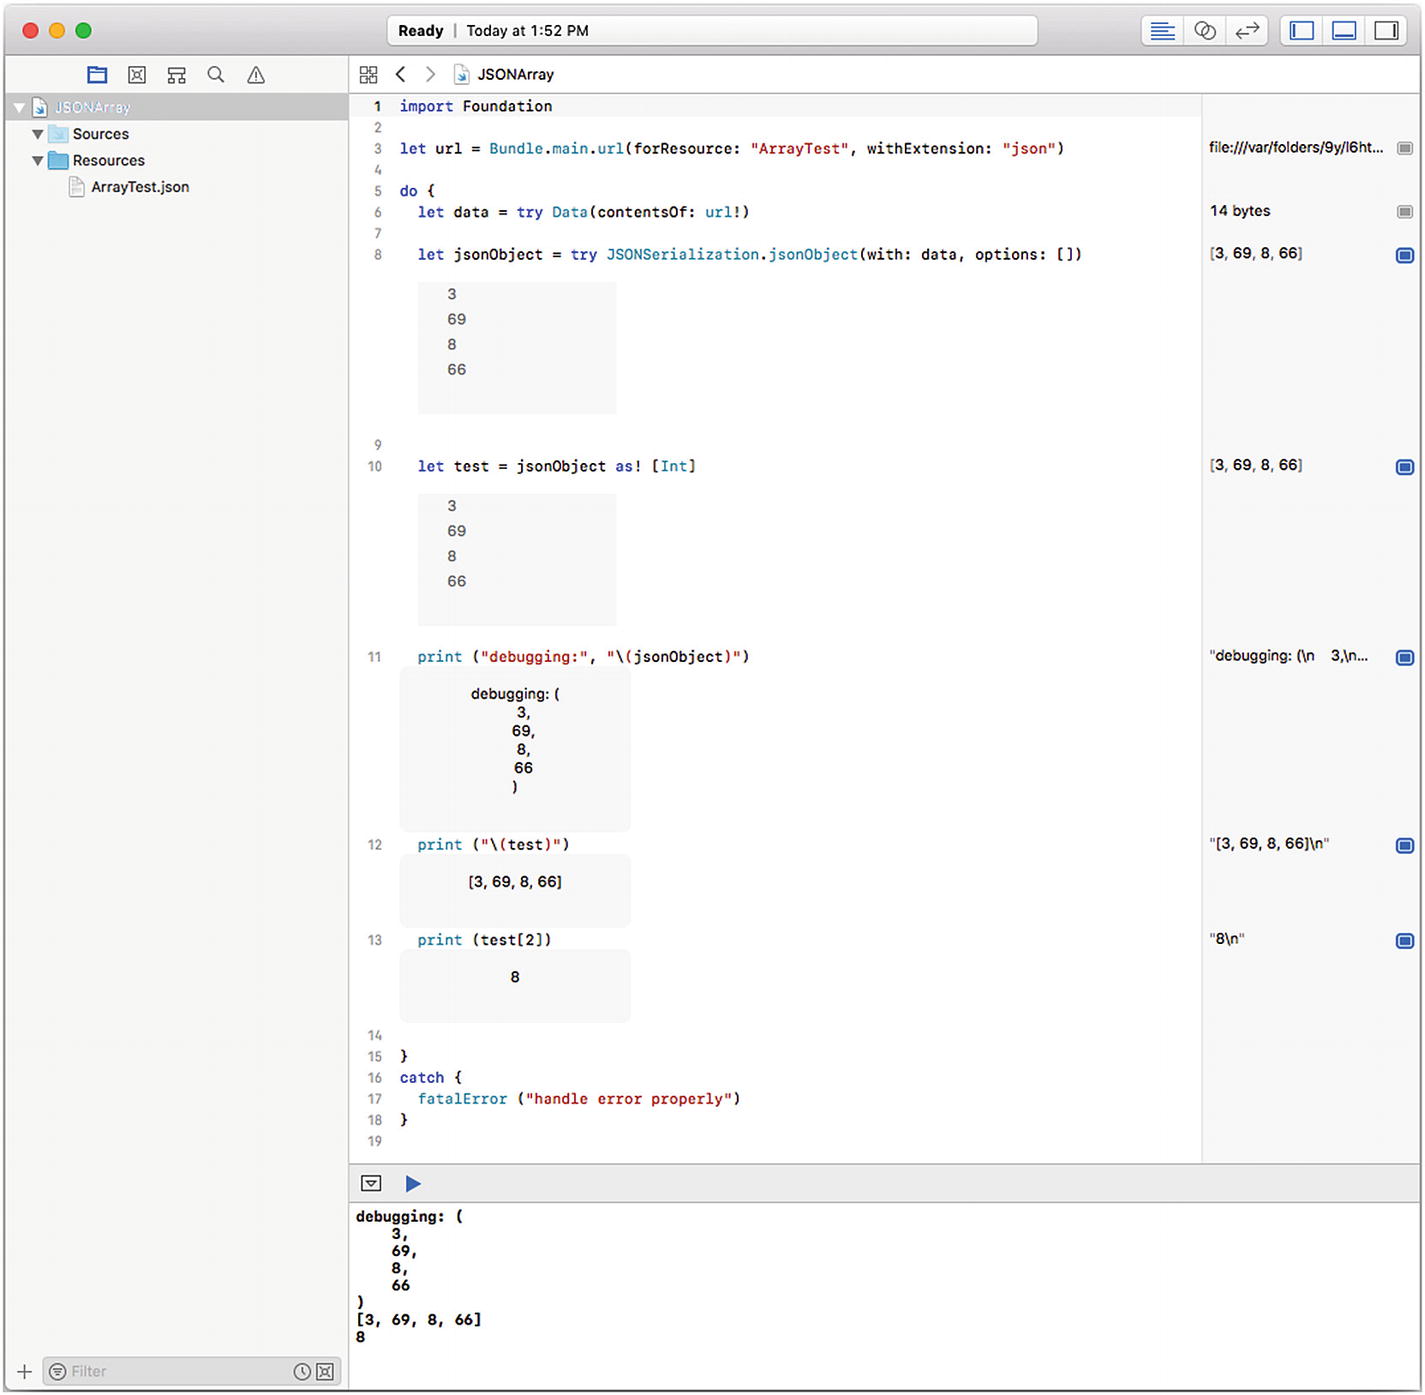
You can see this in line 10 of Figure 4-9. (In practice, you would use as? to catch an error in the conversion.)

Several other lines of testing and debugging are shown in the figure, but perhaps the most important is line 13:
print (test[2])

Line 13 creates the test variable with the typed array, as noted previously in this section. The reason that line 13 is so important is that the JSON code that was probably specified as a typed-in string now is converted to a real object, and you can use the subscript [2] to access the data—just like any other Swift data.

Integrating a Swift Dictionary

The same basic steps apply if you want to use a JSON array in Swift. As you can see in Figure 4-10, you create the file in your playground’s bundle.
../images/459488_1_En_4_Chapter/459488_1_En_4_Fig10_HTML.jpg
Figure 4-10

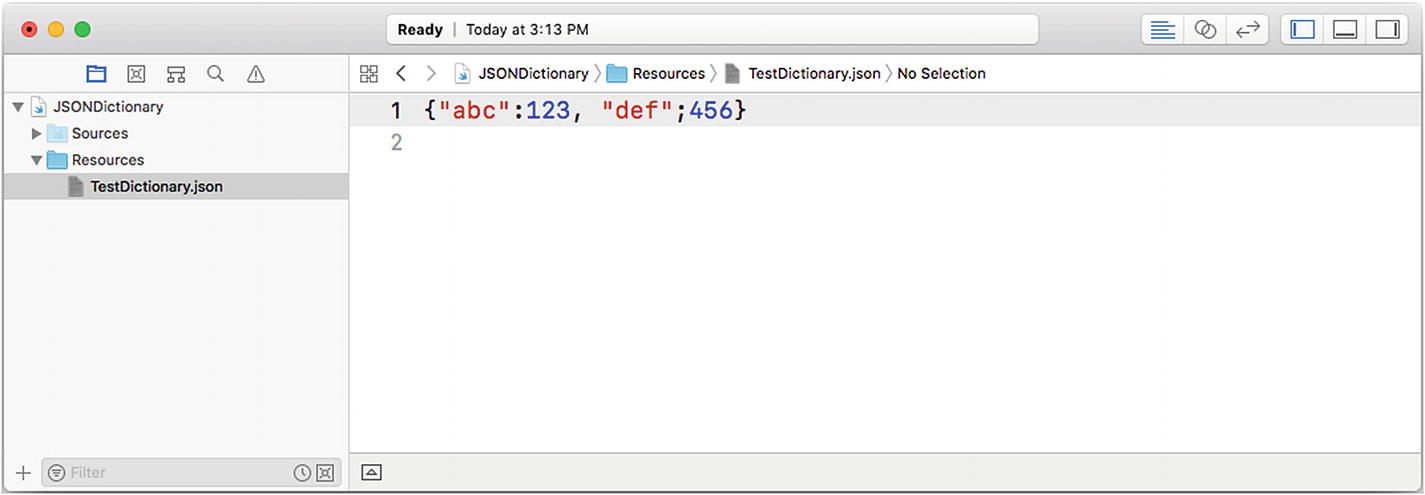
Use a dictionary with Swift and JSON

Note that the brackets are curly brackets, which is the style that JSON uses for its objects. Square brackets (as shown in Figure 4-8) are for a JSON array.
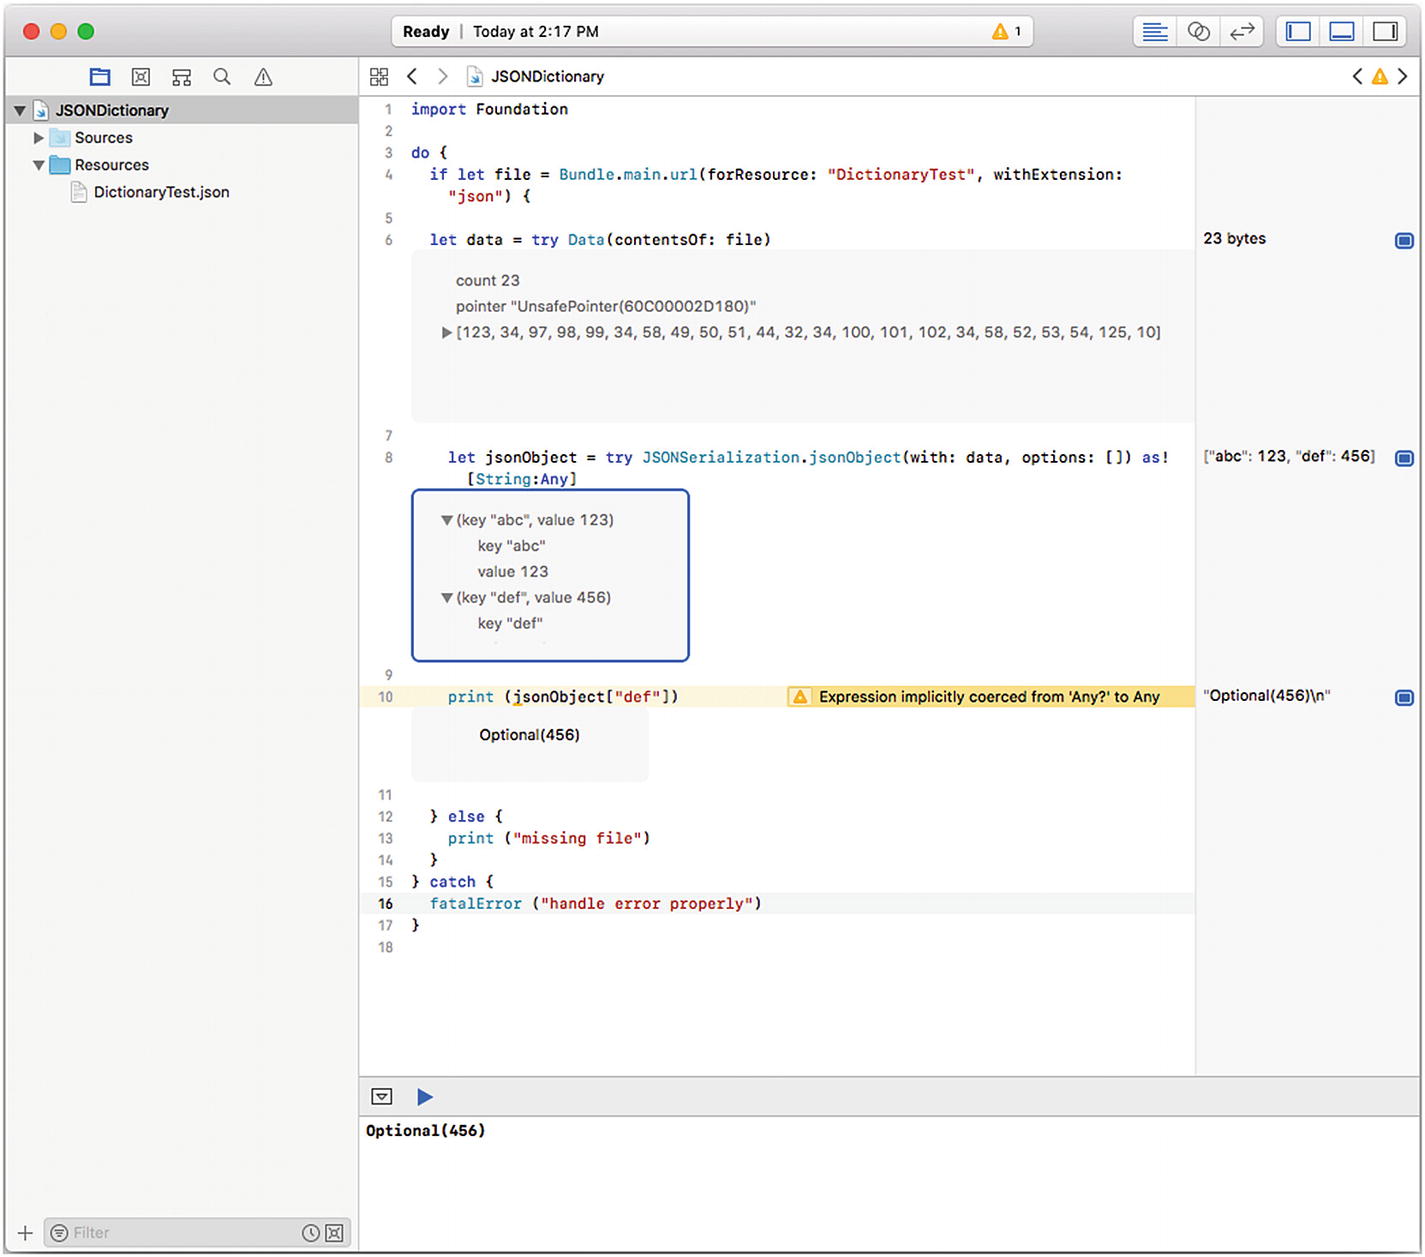
Note

This is the area you need to pay attention to. The rules of JSON and Swift are similar but not identical. For example, a Swift array has elements of a common type, but that is not necessarily the case in JSON. That is why you must always catch failures that may occur when using JSONSerialization.json.

Figure 4-11 shows the same type of testing and experimentation you saw being used for a JSON/Swift array in Figure 4-9.
../images/459488_1_En_4_Chapter/459488_1_En_4_Fig11_HTML.jpg
Figure 4-11

Experiment with a JSON/Swift dictionary

Summary

The ability to move data back and forth using a common syntax like JSON is important both within a single app and between multiple apps. This chapter has showed you the basics.

Note that beginning with Xcode 9, the Codable protocol is provided to further enhance Swift’s JSON capabilities.

You have not yet seen the basic types of building blocks that let you share code and data across apps and platforms. In the next chapter, you will begin to look at very specific uses of these building blocks by examining Facebook logins that you can use in iOS (and other) apps.

..................Content has been hidden....................

You can't read the all page of ebook, please click here login for view all page.
Reset
18.221.86.215